Quick-assembly 3d printing puts you in control from the start. You do not need advanced skills to assemble these kits. Many quick-assembly 3d printing models use snap-fit joints and modular parts, so you avoid complicated steps. You can confidently begin your 3d printing journey without fear of making mistakes. Enjoy a smoother and faster setup process.
Key Takeaways
- Quick-assembly 3D printing kits let you build your printer easily without special skills or many tools.
- Snap-fit joints and modular parts make setup fast, reduce mistakes, and allow easy upgrades or repairs.
- Most kits come with clear instructions, labeled parts, and helpful support like videos and online communities.
- You can assemble your printer in under an hour using simple tools often included in the kit.
- If you make a mistake, you can quickly fix it by disassembling parts and using available support resources.
Quick-Assembly 3D Printing
What Makes It Different
You will notice that quick-assembly 3d printing stands out from traditional kits in several ways. Traditional kits often require you to sort through dozens of small parts, use specialized tools, and follow complex instructions. Quick-assembly 3d printing changes this experience. You receive a kit with pre-labeled components, clear instructions, and a design that focuses on simplicity. Most of the time, you only need basic tools, if any at all.
Quick assembly kits use snap fit joints to connect parts. These joints let you assemble your printer quickly and without frustration. You do not need to search for screws or adhesives. Instead, you push parts together until they click into place. This approach saves you time and reduces the risk of making mistakes during assembly.
Tip: Snap fit joints help you avoid misalignment and make the setup process much smoother.
Modular and Snap-Fit Designs
Modular parts and snap fit joints bring measurable benefits to your 3d printing experience. You can assemble and disassemble your printer without tools, which makes maintenance and upgrades easy. The modular design means you can swap out parts or reconfigure your setup whenever you want.
- Snap fit joints lower the number of parts you need, so you spend less time assembling.
- These joints allow for rapid prototyping and quick testing of new parts.
- Well-designed snap fit joints use features like chamfers and fillets to guide parts into place, reducing the chance of errors.
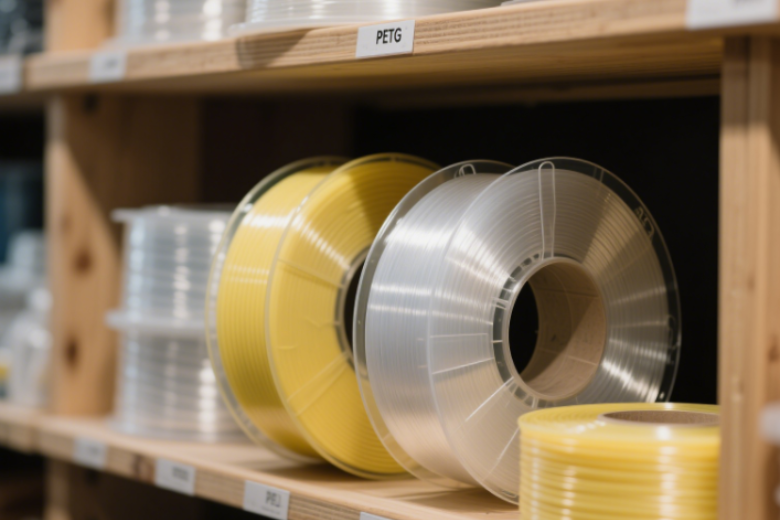
- Material choices such as Nylon or PETG give snap fit joints strength and flexibility, so they last through many cycles of use.
- Modular connectors let you change your printer’s configuration without hassle.
You benefit from a system that supports frequent assembly and disassembly. Lugs and stops in the design prevent over-insertion, which protects the joints from damage. By following design guidelines for snap fit joints, manufacturers ensure reliable performance and long-lasting durability. Quick-assembly 3d printing gives you a user-friendly, efficient way to start your 3d printing journey.
Benefits for Beginners
Easy Setup
You want to start your 3D printing journey without feeling overwhelmed. Quick-assembly kits make this possible. Each printer arrives with pre-labeled parts and a clear instruction manual. You do not need to spend hours sorting through confusing components. Manufacturers design these kits so you can assemble your printer in less than an hour. You simply follow step-by-step guides, often with helpful diagrams or even video tutorials.
Many kits use snap-fit joints and modular parts. You push the pieces together, and they lock into place. This design reduces the risk of mistakes and helps you avoid frustration. You do not need to worry about aligning parts perfectly or using adhesives. The printer comes together smoothly, giving you confidence as you build.
Tip: Take your time during each step. Double-check the orientation of each part before snapping it into place. This habit ensures your printer works perfectly from the start.
Minimal Tools Needed
You do not need a workshop full of tools to assemble your printer. Most quick-assembly kits require only the most basic items, such as a screwdriver or Allen key, which often come included. The design of these printers focuses on user-friendliness and simplicity.
- Magnet-based connections let you bond parts easily. You do not need glue or welding equipment.
- Snap-fit joints and modular connectors allow you to assemble and disassemble your printer without special tools.
- Traditional joinery methods, like lap joints and dovetail joints, are built into the 3D models. You rely on precise digital design, not complicated assembly equipment.
- You can test print small parts to check the fit before final assembly. If something does not fit, you adjust the digital model and print again, not needing extra tools.
This approach saves you time and money. You do not need to buy expensive equipment or learn new skills. You focus on building and using your printer, not on collecting tools.
Support Resources
You never have to feel alone when assembling your printer. Manufacturers and online communities offer a wide range of support resources. You find detailed guides, video tutorials, and active forums where users share tips and solutions. Many companies provide customer support through chat, email, or phone.
User review platforms, such as Boardgamegeek and Goodreads, use specialized rating systems. These systems display average ratings, review counts, and rating distributions. You can filter and sort reviews to find the most helpful feedback. This information helps you choose a printer with reliable support and a strong reputation.
Customer experience metrics, like CES (Customer Effort Score), CSAT (Customer Satisfaction), and NPS (Net Promoter Score), measure how well support teams help users.
Companies collect feedback right after support interactions, ensuring they address your needs quickly.
Ongoing surveys and open-ended questions help manufacturers improve their support services.
Note: Always check recent reviews and support ratings before choosing your printer. High scores and positive feedback indicate a company that values its customers and provides effective help.
You gain peace of mind knowing that help is always available. Whether you need troubleshooting advice or want to upgrade your printer, you can find answers quickly and easily.
Assemble 3D Printed Pieces
Step-by-Step Process
When you assemble 3d printed pieces, you benefit from a clear and logical process. Manufacturers label each part and provide detailed instructions, making it easy to follow along. Start by gathering all necessary tools and materials. Most kits include everything you need, such as adhesives, sandpaper, and safety gear. Clean each part with isopropyl alcohol to remove dust and grease. Sand the bonding surfaces, beginning with coarse grit and moving to finer grits, to ensure a smooth fit.
Test fit the pieces before final assembly. This step helps you check alignment and guarantees that snap fit joints will lock securely. Many kits use snap fit joints, threaded fasteners, or aluminum extrusions. Snap fit joints allow you to push parts together until they click, while threaded fasteners provide extra strength at key points. If your kit uses threaded connections, you may find embedded nuts inside the printed parts. This design improves connection strength and makes assembly easier.
The table below shows how different connection methods compare in terms of strength:
|
Test Type |
Underextrusion Sample |
Silicone Glue Sample |
Pressure Tolerance (kPa) |
|---|---|---|---|
|
Peel-off Test |
3.18 ± 1.39 N |
N/A |
|
|
Pressure Test |
36.6 ± 0.4 kPa |
< 8 kPa |
N/A |
You can see that proper assembly methods lead to stronger, more durable results.
Tips for Success
To assemble 3d printed pieces successfully, keep these tips in mind:
- Always clean and sand mating surfaces before connecting 3d printed parts.
- Remove any grease, paint, or old glue to ensure a strong bond.
- Choose adhesives based on the size and material of your parts.
- Work in a well-ventilated area, especially when using glue.
- Test fit snap fit joints several times before final assembly to avoid misalignment.
- Use clamps or alignment tools to hold parts steady while adhesives cure.
- After assembly, sand and polish interlocking areas to reduce friction and improve appearance.
Tip: Snap fit joints simplify the process and reduce the need for complex tools. They help you achieve a snug fit and make it easy to disassemble or upgrade your project later.
By following these steps and tips, you can assemble 3d printed pieces with confidence and achieve professional results.
Common Concerns
Skills Needed
You might wonder if you need special skills to assemble a 3D printer. Most quick-assembly kits require only basic abilities. You follow clear instructions and use simple tools. Many users feel nervous at first, but you will find that the process feels much easier than expected. The modular design and snap-fit joints guide you through each step. You do not need advanced technical knowledge. If you can follow a recipe or build a simple model, you can assemble your printer.
Note: Quick-assembly kits remove the complexity found in traditional kits. You spend less time worrying about mistakes and more time enjoying your new printer.
Troubleshooting
Sometimes, you may face small issues during assembly or first use. These problems often include misaligned parts, loose connections, or unclear instructions. Quick-assembly kits address these concerns by providing labeled parts and step-by-step guides. If you encounter a problem, you can usually fix it by reviewing the instructions or checking online resources.
The following table compares user concerns between new and traditional kits, showing how modern designs improve the experience:
|
Kit Type |
Success Rate |
User Concerns Highlighted |
|---|---|---|
|
Quick-Assembly Printer |
90% |
Easier to use, no special tools needed |
|
Traditional Printer Kit |
31% |
Complex to use, difficult assembly |
You see that quick-assembly printers offer a much higher success rate and fewer concerns about complexity.
Finding Help
You always have access to support when you need it. Manufacturers provide customer service through chat, email, or phone. Online forums and user groups share tips and solutions for common printer issues. Many kits include links to video tutorials and troubleshooting guides. If you get stuck, you can post a question and receive answers from experienced users.
- Look for printers with active communities.
- Check for detailed manuals and video guides.
- Use customer support if you need extra help.
Tip: Do not hesitate to ask for help. Most users find that support resources make the printer assembly process smooth and stress-free.
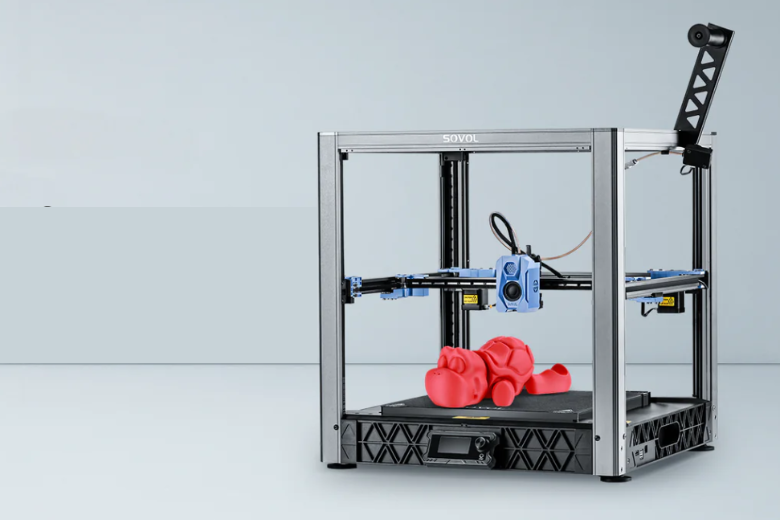
Quick-assembly 3D printing kits give you a smooth start. You benefit from easy setup, fast results, and strong support. Leading models offer features like auto-bed leveling, preset software, and sturdy frames. The table below shows how top kits help beginners succeed:
|
Printer Model |
Key Beginner Features |
User Feedback Highlights |
|---|---|---|
|
Creality Ender 3 V2 |
Easy assembly, user-friendly interface |
Reliable print quality, silent operation |
|
Bambu Lab X1 |
Fast setup, preset parameters |
Stable printing, automatic scanning |
|
FlashForge Adventurer 3 Lite |
Auto-bed leveling, cloud software |
Hassle-free, remote monitoring |
|
Dobot Mooz |
Simple operation, high precision |
Trusted by schools, optimized printing |
Tip: Do not hesitate to ask for help. Most users find that support resources make the printer assembly process smooth and stress-free.
FAQ
How long does it take to assemble a quick-assembly 3D printer?
Most users finish assembly in under an hour. You follow clear instructions and use labeled parts. Snap-fit joints and modular designs help you avoid complicated steps. You can start printing soon after setup.
Do I need any special tools or equipment?
You do not need special tools. Most kits include everything you need, such as screwdrivers or Allen keys. You can assemble your printer on a standard desk or table.
Can I upgrade or modify my printer later?
You can upgrade or modify your printer at any time. Modular parts and snap-fit joints allow you to swap components or add new features. Many kits support future upgrades.




Leave a comment
All comments are moderated before being published.
This site is protected by hCaptcha and the hCaptcha Privacy Policy and Terms of Service apply.