


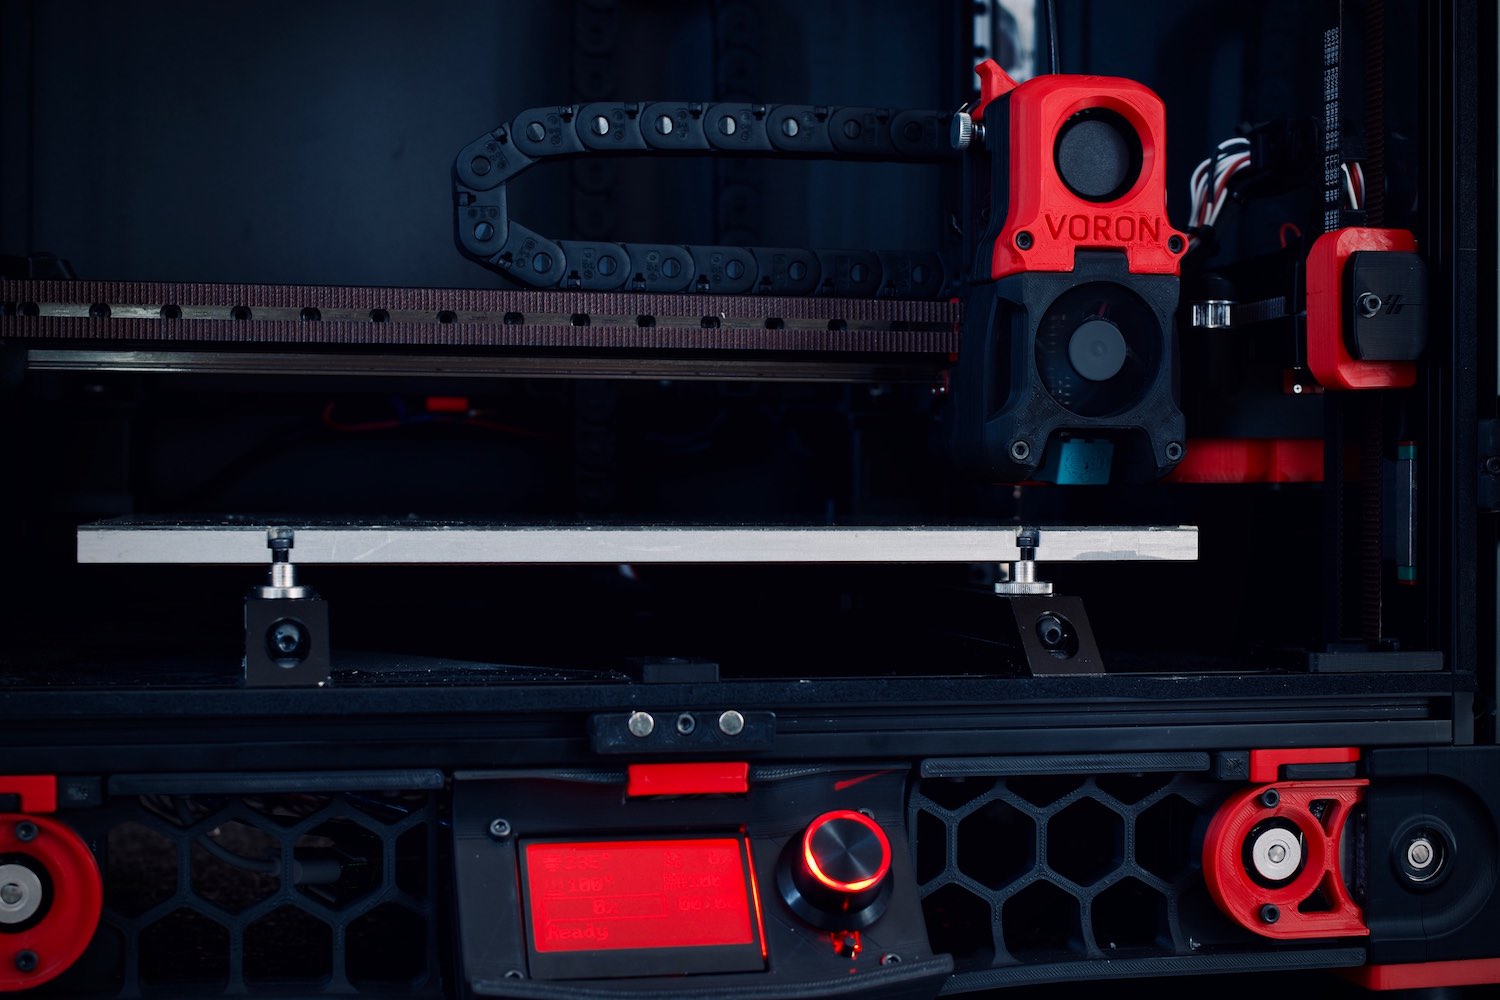
A Voron 3D printer is a favorite among DIY enthusiasts who love creating their own tools. It’s not just a printer—it’s a project that lets you build something powerful and highly customizable. You get to enjoy top-notch performance without breaking the bank. Plus, you can tweak it to fit your specific needs. Sounds exciting, right? Don’t worry if this sounds complex. With the right guidance, you’ll find the process both fun and rewarding. Ready to dive in?
Key Takeaways
- Getting ready is very important. Collect all tools and parts first to prevent delays.
- Create a neat workspace. A tidy and comfy area helps you stay focused and build easier.
- Follow the steps closely. Check alignment and tighten parts so your printer works well.
- Adjust your printer after building it. Good adjustments are key for great prints and steady performance.
- Be part of the Voron group. Talking with other builders gives help, advice, and motivation during your 3D printing adventure.
Preparation for Building a Voron Printer

Building a Voron printer is an exciting project, but preparation is key to making the process smooth and enjoyable. Let’s walk through the essentials you’ll need before diving into the assembly.
Tools required for assembly
Having the right tools on hand can save you a lot of frustration. You don’t need a professional workshop, but a few specific tools will make the job much easier. Here’s a list of must-haves:
- Tweezers: Perfect for handling small screws and delicate parts.
- Ball-end hex keys: These are great for reaching screws in tight or awkward spots.
- 1-2-3 blocks and clamps: Essential for keeping the printer frame straight during assembly.
- Soldering iron: You’ll need this for wiring tasks, especially when connecting the electronics.
- Digital caliper: Helps you measure components with precision, ensuring everything fits perfectly.
If you’re new to using some of these tools, don’t worry. The Voron Documentation provides clear instructions and tips to help you use them effectively. Take your time to familiarize yourself with each tool—it’ll pay off during the build.
Components and materials checklist
Before you start, double-check that you have all the components and materials for your Voron printer. Missing parts can delay your progress and lead to unnecessary frustration. Here’s a quick checklist to guide you:
- Frame and motion system: Aluminum extrusions, linear rails, and belts.
- Electronics: Controller board, stepper motors, and wiring.
- Hotend and extruder: These are critical for the printing process.
- Build plate: Choose one that suits your printing needs, such as glass or PEI-coated plates.
- Fasteners and hardware: Screws, nuts, and washers in various sizes.
The cost of building a Voron printer can range from $1,000 to $2,000, depending on the components you choose. For example, the Voron 2.4 offers a larger build volume and uses a CoreXY motion system, which provides excellent speed and precision. Investing in high-quality parts, like an aluminum frame and reliable linear rails, will improve the printer’s stability and print accuracy.
Researching the Voron model and resources
Not all Voron models are the same, so it’s important to pick the one that fits your needs. The Voron 2.4 is a popular choice for its large build volume and robust design, but other models like the Voron V0.1 are great for compact setups. Take some time to explore the features of each model and decide which one aligns with your goals.
Once you’ve chosen a model, dive into the wealth of resources available. The Voron Documentation is a fantastic starting point, offering detailed assembly guides and troubleshooting tips. You’ll also find active online communities where builders share their experiences and advice. Many users report that building a Voron is a rewarding learning experience, and they often highlight its reliability compared to cheaper printers.
Pro tip: Bookmark helpful resources and keep them handy during the build. You’ll thank yourself later when you need quick answers to questions that pop up along the way.
Setting up an efficient workspace
Before you start assembling your Voron printer, take some time to set up a workspace that’s organized and comfortable. A well-prepared area can save you from unnecessary headaches and make the entire process more enjoyable. Here’s how you can create the perfect setup:
1. Choose the Right Location
Pick a spot where you can work without interruptions. A quiet corner in your home or garage works well. Make sure the area has enough space to spread out all the components and tools. You’ll also need good lighting to see small parts clearly. If possible, set up near a power outlet for your soldering iron and other electronic tools.
2. Organize Your Tools and Parts
Keep everything within arm’s reach. Use small containers or trays to sort screws, nuts, and other tiny hardware. Label them if you can—it’ll save you time when you’re looking for specific pieces. A pegboard or magnetic tool holder is great for keeping your tools visible and easy to grab.
Pro Tip: Lay out all the components and tools before you start. Double-check that nothing is missing. This simple step can prevent frustrating delays later.
3. Protect Your Workspace
Building a 3D printer involves cutting, soldering, and handling delicate parts. Cover your work surface with a mat or thick cardboard to protect it from scratches and heat. If you’re working on a table, make sure it’s sturdy enough to handle the weight of the printer frame and other components.
4. Stay Comfortable
You’ll spend hours assembling your printer, so make sure you’re comfortable. Use a chair with good back support and keep a water bottle nearby to stay hydrated. If you’re working in a garage or basement, consider using a fan or heater to maintain a comfortable temperature.
5. Keep It Clean
A clutter-free workspace helps you focus. Clear away unnecessary items and clean up regularly as you work. This reduces the risk of losing small parts or damaging components.
By setting up an efficient workspace, you’ll make the process of building your Voron printer smoother and more enjoyable. A little preparation goes a long way in ensuring success.
Step-by-Step Assembly of the Voron Printer
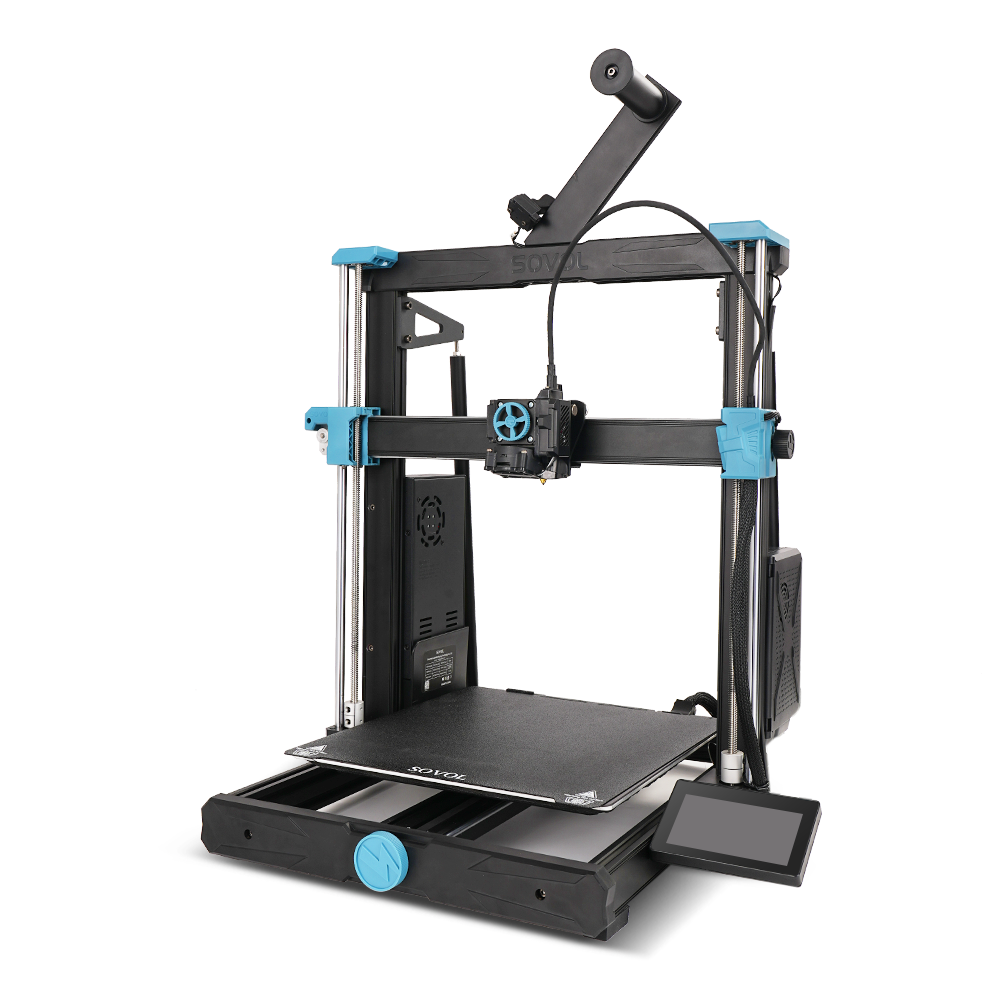
Building the printer frame
The frame is the backbone of your Voron printer. A sturdy frame ensures consistent print quality and precision, so it’s worth taking your time to get this step right. Start by laying out the aluminum extrusions and fasteners. Follow the assembly guide for your chosen Voron model to connect the pieces.
When assembling the frame, pay attention to alignment. Use 1-2-3 blocks and clamps to keep everything square. Even a slight misalignment can affect the printer’s performance later.
Tip: Check for flex in the frame during partial assembly. If you notice any wobbling, add braces or tighten the fasteners. A rigid frame is crucial for maintaining print accuracy, just like industrial machines that rely on solid structures.
Once the frame is fully assembled, double-check all connections. Tighten screws evenly to avoid uneven stress on the structure. This step sets the foundation for the rest of the build, so don’t rush it.
Installing motion systems (linear rails, belts, etc.)
Now it’s time to install the motion systems that will bring your Voron printer to life. Start with the linear rails. These rails guide the movement of the print head and build plate, ensuring smooth and precise motion. Carefully align the rails with the frame and secure them using the provided screws.
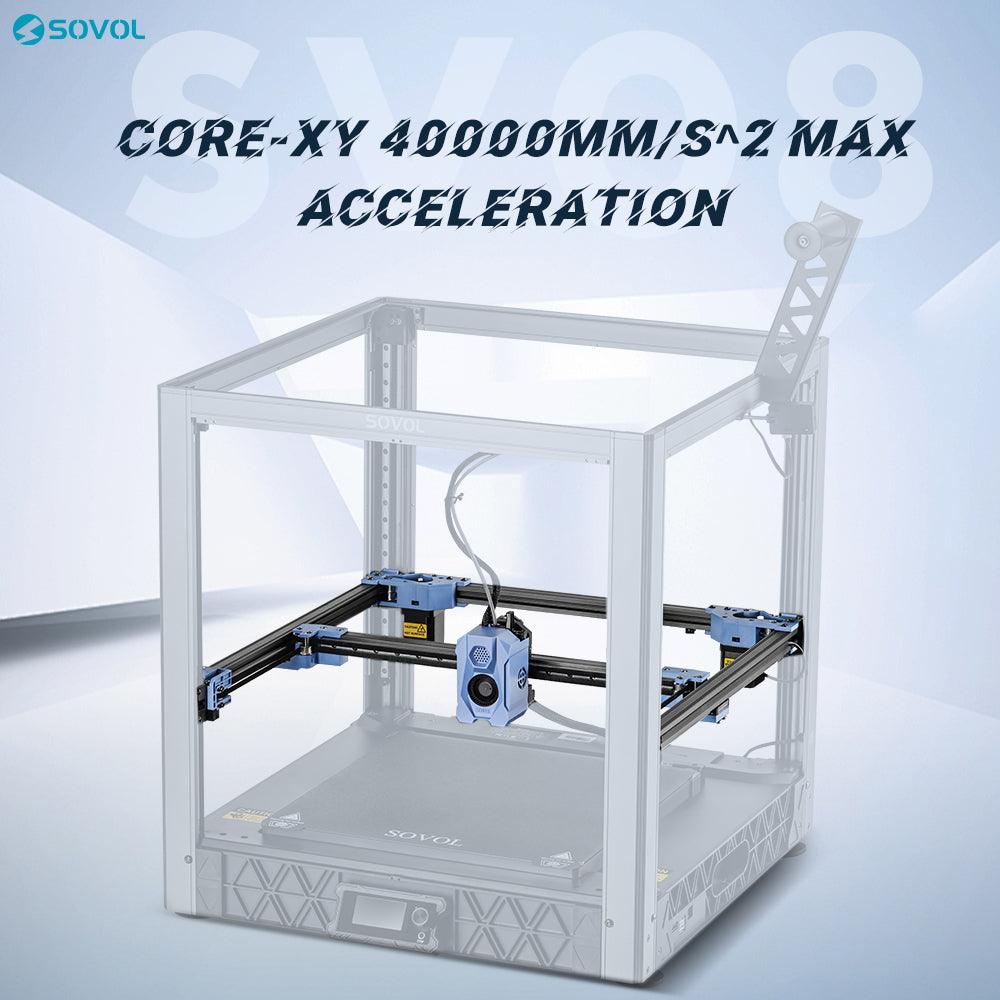
Next, attach the belts. These are part of the CoreXY motion system, which is known for its speed and accuracy. Thread the belts through the pulleys and tension them properly. Loose belts can cause print defects, while overly tight belts may wear out faster.
Pro Tip: Use a digital caliper to measure belt tension. This ensures consistent performance across all axes.
Finally, install the stepper motors. These motors drive the motion system and need to be mounted securely. Connect the motor shafts to the belts and test their movement manually. Everything should glide smoothly without resistance.
Mounting the extruder and hotend
The extruder and hotend are the heart of your Voron printer. They handle filament feeding and melting, so proper installation is key. Begin by mounting the extruder onto the frame. Make sure it’s positioned correctly to avoid filament jams during printing.
Next, attach the hotend to the extruder. Align it carefully and secure it with screws. The hotend must be stable to maintain consistent extrusion.
Note: Double-check the wiring connections for the hotend. Loose wires can cause heating issues, which will affect print quality.
Once everything is mounted, inspect the assembly. Look for any loose parts or misalignments. A well-installed extruder and hotend will save you time during calibration and testing later.
Wiring and electronics setup
Now comes the part where your Voron printer starts to feel alive—wiring and electronics! This step might seem intimidating, but with a bit of patience and attention to detail, you’ll get through it smoothly. Let’s break it down.
1. Safety First
Before you touch any wires, unplug the printer. This is non-negotiable. Working with live wires can be dangerous, so always double-check that everything is powered off.
2. Gather Your Wiring Tools
You’ll need a few tools to handle the wiring properly. A soldering iron, wire strippers, and a multimeter are essential. If you’re new to soldering, practice on spare wires first. It’s a skill worth mastering for this project.
3. Follow the Wiring Guide
Each Voron model has a specific wiring guide. Stick to it like glue. Start with the controller board and work your way out to the motors, hotend, and other components. Use MicroFit 3.0 connectors for stepper motors and hotend connections. For the MCU board, JST connectors are the way to go.
4. Use the Right Wires
Silicone wires are your best friend here. They’re flexible and heat-resistant, making them perfect for a 3D printer. For mains AC wiring, go with at least 18 AWG. It’s thick enough to handle the current safely.
5. Verify Connections
Stepper motor wiring can be tricky because there’s no standard color coding. Use a multimeter to check continuity and ensure everything is connected correctly. A quick test now can save you hours of troubleshooting later.
Here’s a handy table summarizing the best practices for wiring and electronics:
|
Category |
Recommendations |
|---|---|
|
Safety Note |
Always ensure the printer is unplugged before working on wiring. |
|
Wiring Tips |
Practice crimping and soldering; use at least 18 AWG for mains AC wiring. |
|
Connectors |
Use MicroFit 3.0 connectors for stepper motors and hotend; JST connectors for MCU board connections. |
|
Cables |
Silicone wiring is preferred for flexibility and heat resistance; PTFE wires are a premium option. |
|
Stepper Motor Wiring |
Verify motor wiring as there is no standard color coding; use a multimeter to check continuity. |
|
Controller Wiring |
Follow specific wiring guides for each printer model and controller selection. |
Pro Tip: Label your wires as you go. It’ll make future maintenance a breeze.
Once all the wiring is done, double-check everything. Look for loose connections or exposed wires. When you’re confident everything is secure, you’re ready to move on.
Installing the build plate and optional enclosure
The build plate is where the magic happens—it’s the surface where your prints come to life. Installing it correctly is crucial for achieving great results.
1. Choose the Right Build Plate
Voron printers are compatible with various build plates, like glass, PEI-coated, or magnetic flex plates. Each has its pros and cons. For example, PEI-coated plates offer excellent adhesion, while magnetic flex plates make it easy to remove prints.
2. Install the Build Plate
Start by attaching the heated bed to the printer frame. Use the screws and springs provided in your kit. Make sure it’s level and secure. Then, place the build plate on top. If you’re using a magnetic plate, align it carefully to avoid shifting during prints.
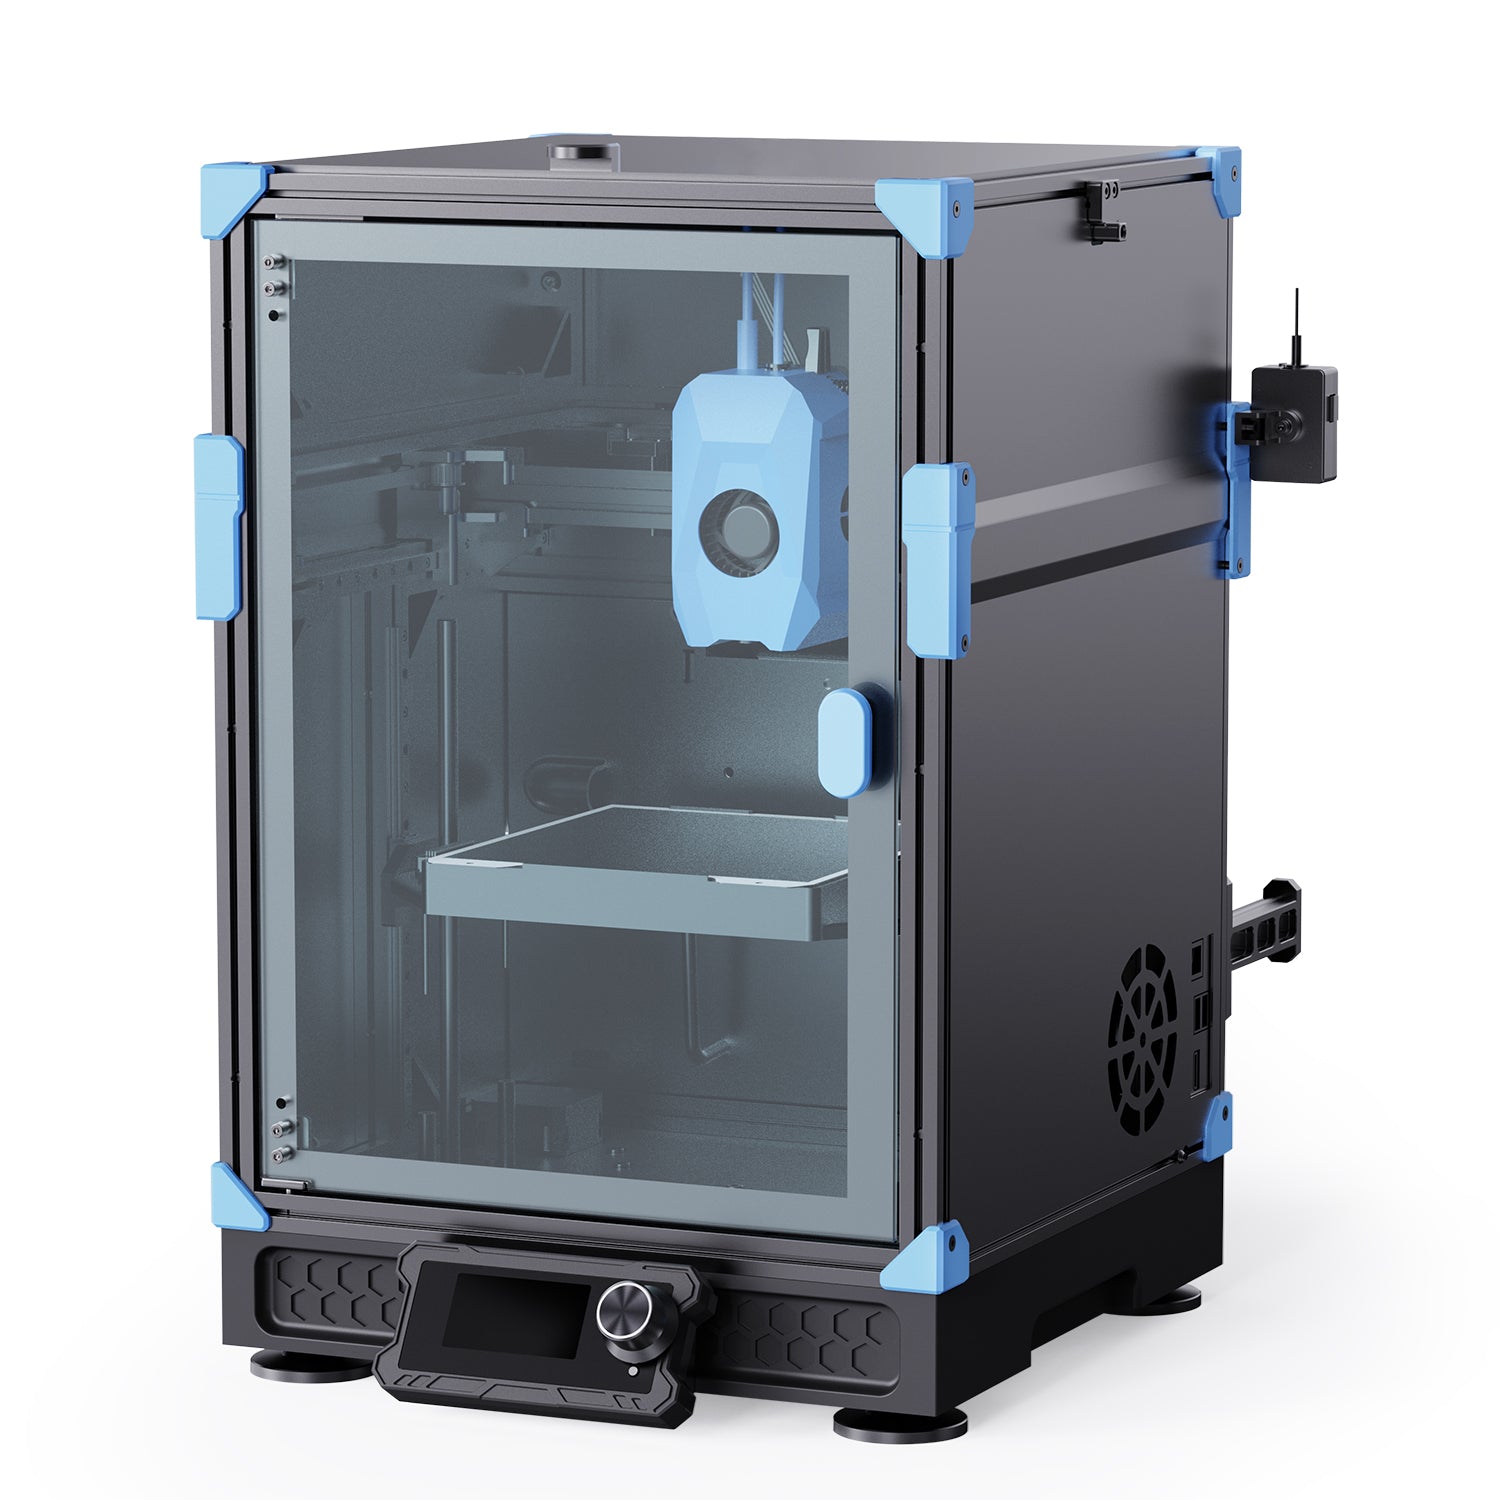
3. Add an Enclosure (Optional)
An enclosure isn’t mandatory, but it’s a game-changer for printing materials like ABS or nylon. It helps maintain a stable temperature and reduces warping. You can build a custom enclosure using acrylic panels or repurpose an IKEA Lack table for a budget-friendly option.
Note: If you’re adding an enclosure, ensure proper ventilation. Overheating can damage the electronics.
4. Test the Build Plate
Before moving on, test the build plate’s heating and leveling. Power up the printer and check if the bed heats evenly. Use a piece of paper to test the gap between the nozzle and the plate. This will save you time during calibration.
With the build plate installed and the optional enclosure set up, your Voron printer is almost ready to print. Take a moment to admire your progress—you’re doing great!
Calibration and Testing of the Voron Printer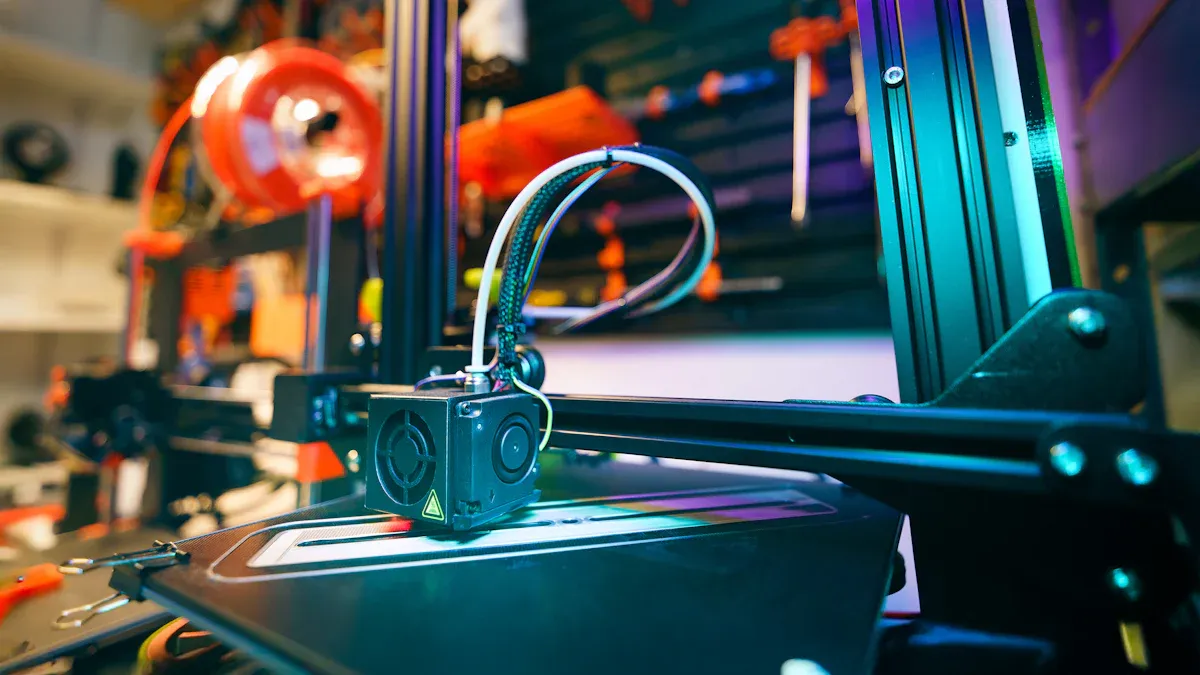
Once your Voron printer is fully assembled, it’s time to bring it to life with calibration and testing. These steps ensure your printer delivers accurate and high-quality prints. Let’s dive into the process.
Initial calibration steps (bed leveling, nozzle alignment)
Calibration is the foundation of consistent print performance. Start with these essential steps:
- Extruder Calibration: Measure how much filament your extruder feeds. Adjust the steps per millimeter in your printer’s firmware to ensure precise extrusion.
- Tuning Temperature Settings: Set the nozzle and bed temperatures based on your filament type. Perform small test prints to confirm the settings work well.
- Performing Test Prints: Print a calibration cube or temperature tower. These help you check dimensional accuracy and find the best temperature for your material.
Tip: Use a piece of paper to level the bed. Slide it between the nozzle and the bed, adjusting the screws until you feel slight resistance. This simple trick ensures proper nozzle alignment.
Running test prints to verify functionality
After calibration, it’s time to test your printer’s functionality. Start with basic prints like a 20mm calibration cube. This will help you spot any issues with dimensions or layer adhesion.
Next, try a temperature tower. This print shows how your filament behaves at different temperatures. Look for smooth layers and strong adhesion to identify the optimal setting.
Pro Tip: Don’t rush this step. Testing helps you catch small problems before they become big headaches. Plus, it’s exciting to see your printer in action for the first time!
Fine-tuning for optimal print quality
Even after successful test prints, fine-tuning can take your Voron printer to the next level. Adjust the following for the best results:
- Print Speeds: Experiment with slower speeds for detailed prints or faster speeds for larger models.
- Retraction Settings: Reduce stringing by tweaking retraction distance and speed in your slicer software.
- Flow Rate: Adjust the flow rate to ensure your prints aren’t over- or under-extruded.
Note: Keep a log of your settings. This makes it easier to replicate successful prints or troubleshoot issues later.
With calibration and testing complete, your Voron printer is ready to produce stunning 3D prints. Take pride in your work—you’ve built a machine capable of incredible precision and performance!
Troubleshooting Common Issues
Even with careful assembly, you might encounter some hiccups while building your Voron printer. Don’t worry—troubleshooting is part of the process. Let’s tackle some common issues and how to fix them.
Fixing misaligned components
Misaligned components can lead to poor print quality or even mechanical failures. To ensure everything is aligned, start by checking the frame. Use tools like 1-2-3 blocks to confirm the frame is square. Misalignment often shows up as issues like "ghosting" or "ringing" on vertical surfaces. Running a Vertical Surface Test can help you spot these problems. Another useful test is the Z Wobble Test, which checks for cyclical wobble in the Z-axis. If you notice wobbling, recheck the rigidity of your frame and tighten any loose screws.
Tip: Always tighten screws evenly. Uneven tension can cause slight shifts in alignment, which might not be obvious at first but will affect print quality.
Resolving wiring and connectivity problems
Wiring issues can be tricky but are usually easy to fix once identified. Start by reviewing your connections against the wiring guide for your Voron model. Common problems include incorrectly crimped connectors or loose wires. For example, one builder found that their X and Y endstops weren’t working due to incorrect crimping on the MCU side. Fixing the shared GND and VCC connections resolved the issue.
When working with endstop cables, pay attention to the connectors. The XY endstop cable typically has a 4-pin JST-XH connector on one end and two 3-pin JST-XH connectors labeled for X Stop and Y Stop on the other. Double-check these connections to avoid errors.
Pro Tip: Use a multimeter to test continuity. This ensures all wires are properly connected and functioning as expected.
Addressing print quality issues (e.g., warping, stringing)
Print quality issues like warping and stringing can be frustrating, but they’re fixable. Warping often happens when the print cools unevenly. To combat this, use a heated bed and consider adding an enclosure to maintain a stable temperature. For stringing, adjusting retraction settings can make a big difference. Start by tweaking the retraction distance and speed. Lowering the extruder temperature by 5-10 degrees can also help reduce oozing.
Here are some additional tips to minimize stringing:
- Increase travel speed to reduce the time the nozzle spends moving over open spaces.
- Enable features like Combing Mode in your slicer software to avoid crossing open spaces.
- Use the "Avoid crossing outline for travel movement" option to further reduce stringing.
Note: Small adjustments can have a big impact. Test each change with a simple print to see what works best for your setup.
By addressing these common issues, you’ll ensure your Voron printer runs smoothly and produces high-quality prints. Troubleshooting might take some time, but it’s a valuable learning experience that will make you a more confident builder.
Tips for Optimizing Your Voron Printer
Upgrading components for enhanced performance
Upgrading your Voron printer can take its performance to the next level. Some upgrades improve speed, while others enhance print quality or reliability. Start with the motion system. Swapping out stock belts for high-quality Gates belts reduces backlash and improves precision. Upgrading stepper motors to higher torque models can also boost performance, especially for the X and Y axes.
Here’s a quick look at how upgrades can impact performance:
|
Axis |
Before Upgrade |
After Upgrade |
|---|---|---|
|
X |
24k (ish) |
|
|
Y |
14k (ish) |
20k (ish) |
You can also upgrade the hotend to a high-flow model like the Revo Voron. This allows faster extrusion, perfect for large prints. Don’t forget about cooling. Adding a better part cooling fan ensures smoother layers and fewer defects. These upgrades might seem small, but they make a big difference in your printer’s capabilities.
Regular maintenance and cleaning
Keeping your Voron printer in top shape requires regular maintenance. Start by cleaning the linear rails. Dust and debris can build up over time, causing rough movements. Use a lint-free cloth and a few drops of machine oil to keep them smooth. Check the belts for wear and tension. Loose or frayed belts can affect print accuracy.
Inspect the hotend regularly. A clogged nozzle can ruin prints, so clean it with a needle or replace it if needed. Don’t forget the build plate. Wipe it down with isopropyl alcohol to maintain good adhesion. A little maintenance goes a long way in preventing bigger problems.
Software and firmware adjustments for efficiency
Your printer’s software and firmware play a huge role in its performance. Start by updating the firmware to the latest version. New updates often fix bugs and improve features. Adjust the acceleration and jerk settings in the firmware to match your upgrades. Lower values improve print quality, while higher values increase speed.
In your slicer software, fine-tune settings like retraction and flow rate. These tweaks reduce stringing and ensure consistent extrusion. You can also enable features like input shaping to minimize vibrations. Small adjustments in software can make your Voron printer more efficient and reliable.
Pro Tip: Back up your firmware settings before making changes. This ensures you can restore them if needed.
Building a Voron 3D printer is a journey worth taking. You’ve learned how to prepare, assemble, calibrate, and troubleshoot your machine. Sure, challenges might pop up, but they’re just part of the adventure. With patience and persistence, you’ll overcome them and gain valuable skills along the way.
Why wait? Start your build today and join the vibrant Voron community. You’ll find support, share tips, and celebrate your progress with fellow enthusiasts. Your 3D printing masterpiece is just a few steps away!
FAQ
What makes the Voron printer different from other 3D printers?
Voron printers stand out for their high performance, customization options, and reliability. Unlike pre-assembled printers, you build it yourself, which means you can choose premium components and tailor the machine to your needs. It’s a DIY project with professional-grade results. 🛠️✨
How long does it take to build a Voron printer?
The build time depends on your experience and the model you choose. For most people, it takes 20–40 hours spread over a few days. Take your time, follow the guides, and enjoy the process. It’s as much about learning as it is about building!
Do I need advanced skills to build a Voron printer?
Not at all! You don’t need to be an engineer or a tech wizard. Basic mechanical and soldering skills are enough. The detailed assembly guides and active Voron community will help you every step of the way. You’ve got this! 💪
Can I upgrade my Voron printer later?
Absolutely! Voron printers are designed with upgrades in mind. You can swap out parts like the hotend, belts, or even the controller board. Many builders start with a basic setup and improve it over time. It’s a printer that grows with you. 🚀
What should I do if I run into problems during the build?
Don’t panic! Check the official Voron Documentation and online forums. The Voron community is incredibly supportive and full of experienced builders. Post your questions, share photos, and you’ll get help quickly. Remember, every problem is a chance to learn. 😊


Hagyj egy megjegyzést
Az összes megjegyzés moderálódik, mielőtt közzéteszik.
Ezt a webhelyet a hCaptcha rendszer védi, és a hCaptcha adatvédelmi szabályzata, valamint szolgáltatási feltételei vonatkoznak rá.