


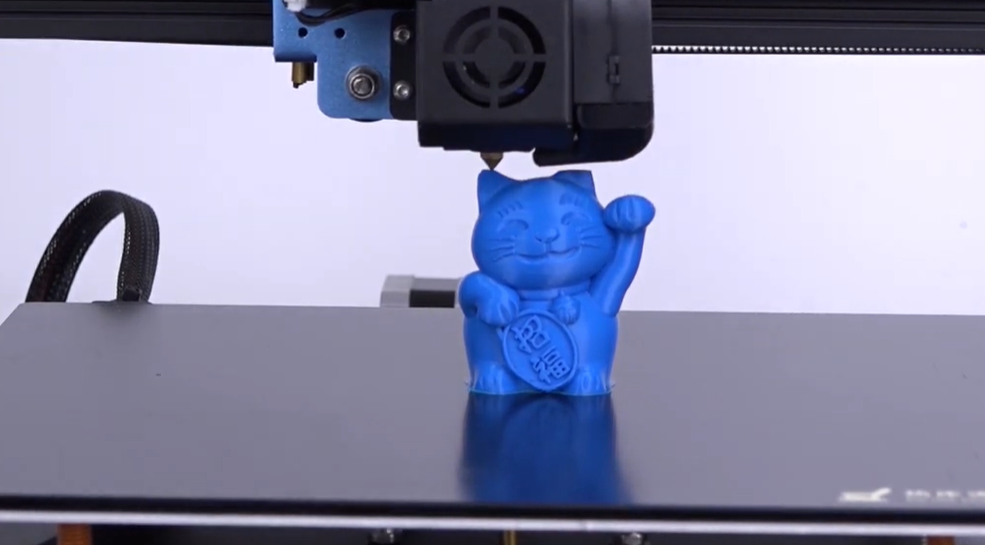
PLA Filament is a top choice for both new and skilled 3D printers. Its special features make it easy to create great prints without much trouble.
- PLA breaks down naturally, works at low heat, and doesn’t warp much—great for beginners.
- It’s cheap and comes in many colors, making it popular with hobbyists and small businesses.
- It’s flexible, so users can easily make detailed and nice-looking items.
These reasons show why PLA is so popular in 3D printing and why people of all skill levels use it.
Key Takeaways
- PLA filament is great for beginners. It melts easily and doesn’t warp much, so printing is simple.
- Keep the print bed clean. Use a heated bed set to 50°C. This helps prints stick better and prevents mistakes.
- Change cooling and retraction settings to make prints look better. This also helps stop stringy problems.
Understanding PLA Filament
What Makes PLA Filament Unique?
PLA filament is special because of its chemical and physical traits. It melts at low heat (60–65°C), making it easy to print. This helps prints solidify fast and avoids mistakes. PLA is strong, with a tensile strength of 6,600–8,000 psi and flexural strength of 10,000–12,000 psi. This means printed items are tough and last long.
|
Property |
Value |
|---|---|
|
Density |
1.24 - 1.25 g/cm³ |
|
Heated bed temperature |
20 – 70 °C |
|
Tensile Strength |
6,600 - 8,000 psi |
|
Flexural Strength |
10,000 - 12,000 psi |
|
Elongation at Break |
5% - 8% |
|
Glass Transition Temperature |
60 - 65°C |
|
Melting Point |
150 - 160°C |
|
Thermal Conductivity |
0.13 - 0.2 W/m·K |
|
Coefficient of Thermal Expansion |
70 - 80 x 10^-6 /°C |
These features make PLA great for printing detailed and neat designs.
Benefits of Using PLA for 3D Printing
PLA has many perks that make printing easier. It prints fast, often at speeds up to 60 mm/s. Its smooth melting helps keep prints clean and accurate. The low melting point also makes printing quicker and reduces errors.
PLA works for many projects, like models or decorations. It’s cheap and comes in lots of colors, so hobbyists and pros love it.
Why PLA is the Best Overall PLA for Beginners
PLA is the top choice for beginners because it’s simple to use. It prints at low heat and doesn’t need a heated bed, making setup easy. PLA also keeps shapes accurate, so prints look just right.
It’s affordable, so new users can try printing without spending much. PLA lets you test settings without wasting too much material. These reasons make PLA perfect for starting 3D printing.
Essential Tips for PLA Success
Getting the Print Bed Ready for PLA
A clean print bed is key for good PLA prints. Make sure there’s no dust or leftover material on the surface. Wipe it with isopropyl alcohol, especially if using glass or PEI sheets. While PLA doesn’t always need a heated bed, keeping it at 50°C helps prints stick better.
|
Manufacturer |
Bed Temp (°C) |
Print Temp (°C) |
|---|---|---|
|
MatterHackers Build Series PLA |
50 |
205±15 |
|
Fillamentum Extrafill PLA |
50 |
220±10 |
|
Ultimaker PLA |
50 |
200–210 |
If the bed is too hot, the bottom layers may spread out, causing an "elephant's foot." If it’s too cool, prints might not stick and could fail. Use painter’s tape or glue sticks for extra grip if needed. These steps will help you avoid common problems and get better results.
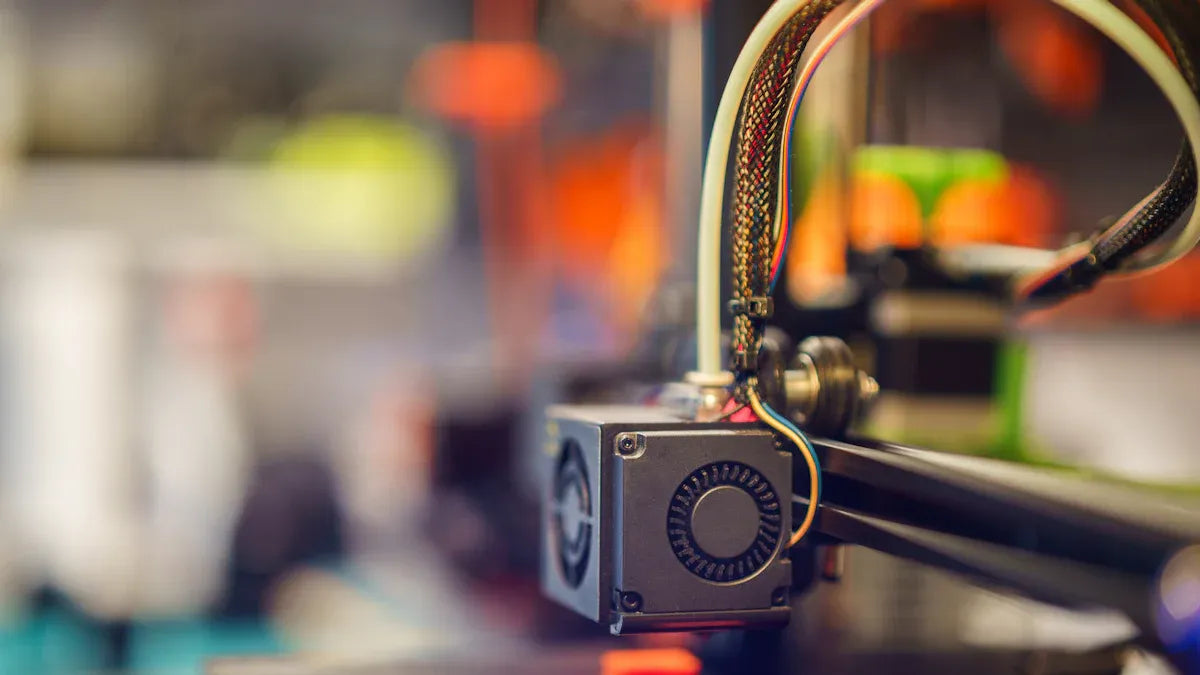
Choosing the Right Extruder Temperature for PLA
The extruder temperature affects how well PLA prints. Most PLA works best between 200°C and 220°C, but this depends on the brand. For example, MatterHackers Pro Series PLA prints well at 205°C, while Fillamentum Extrafill PLA does better at 220°C.
|
Parameter |
Suggested Temp (°C) |
|---|---|
|
215 |
|
|
Nozzle Temp (other layers) |
210 |
|
Bed Temp |
60 |
|
Heatbed Material |
Smooth PEI sheet |
Watch for signs of wrong temperatures. If it’s too hot, you’ll see stringing or blobs. If it’s too cool, layers might be weak or incomplete. Adjust the temperature by 5°C at a time to find the best setting for your PLA.
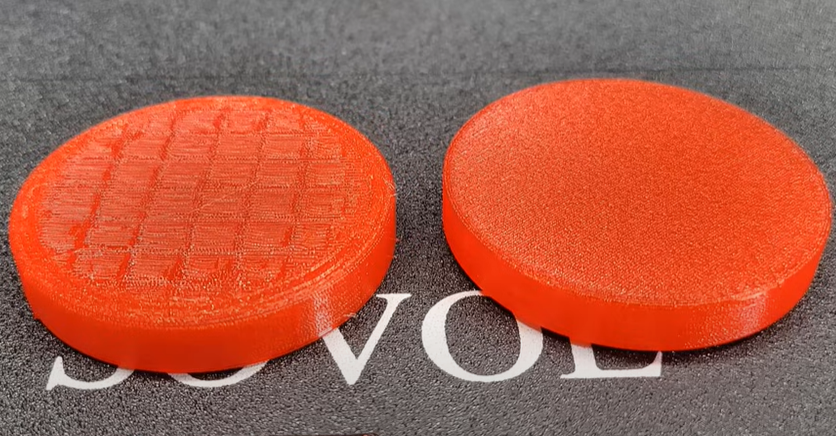
Cooling Settings for PLA Prints
Cooling is important for strong and neat PLA prints. PLA hardens fast, so good cooling keeps details sharp and prevents warping. Use a cooling fan at 100% after the first few layers. This keeps the print strong and avoids sagging or bending.
Studies show that good cooling improves PLA’s strength and stiffness. For example, printing at 110 mm/s with temperatures of 230–215–200°C can make PLA stronger. But poor cooling can weaken layer bonds. Balance cooling, speed, and temperature for the best results.
Fine-Tuning Retraction Settings for PLA
Retraction settings control filament flow during non-print moves. Proper settings reduce stringing and oozing, making prints look better. Start with a retraction distance of 1.5 mm and a speed of 40 mm/s. If stringing happens, increase the distance by 0.5 mm and test again.
Tips for retraction:
- Raise retraction speed by 5 mm/s if oozing occurs.
- Change one setting at a time to see its effect.
- Keep testing until stringing and oozing are gone.
Finding the right settings takes practice. Once adjusted, these changes will improve how your prints look and feel.
Common Mistakes to Avoid with PLA
Overheating PLA Filament
Overheating is a frequent problem when using PLA filament. If the filament gets hotter than its ideal range of 180°C to 250°C, it can bubble, burn, or clog the nozzle. These issues often cause bad prints or failed projects.
To prevent overheating, keep an eye on your extruder temperature. Lower the heat by 5°C at a time until you find the best setting for your PLA. Adjust the cooling fan speed to help control the heat during printing. Printing slower also helps the filament cool and avoids overheating problems.
Tip: If you see stringing or blobs on your print, it might be overheating. Quickly adjust your settings to fix the issue. Small tweaks can improve your print quality a lot.
Poor Bed Adhesion with PLA
Bad bed adhesion can ruin prints before they even start. PLA sticks well to clean surfaces, but dust, oil, or leftover material can cause problems. If the bed isn’t ready, prints might lift or warp.
Clean the print bed with isopropyl alcohol to remove dirt. For glass or PEI sheets, make sure the surface is smooth and clear. While PLA doesn’t always need a heated bed, setting it to 50°C can help prints stick better. If sticking is still a problem, try painter’s tape or a thin layer of glue stick.
Note: Don’t overheat the bed, as it can make the bottom layers spread out. This causes defects like "elephant's foot." Keep the bed temperature balanced for the best results.
Ignoring Cooling Requirements for PLA
Cooling is key to making strong and detailed PLA prints. Without good cooling, PLA can bend, warp, or lose its shape. Use a cooling fan at 100% after the first few layers to help the material harden quickly and stay in shape.
Studies show that cooling is important for both 3D printing and other uses. Poor cooling can make printed items weaker. Balancing cooling, print speed, and temperature is important to avoid these problems.
Tip: Always check your cooling fan before printing. Good cooling improves print quality and helps your PLA filament last longer.
Using Incorrect Retraction Settings
Retraction settings control how the filament moves when it’s not printing. Wrong settings can cause stringing, oozing, or nozzle clogs. For PLA, start with a retraction distance of 1.5 mm and a speed of 40 mm/s. Adjust these settings slowly based on your results.
|
Setting Type |
How It Affects Prints |
|---|---|
|
Retraction Distance |
Too low causes stringing; too high may clog the nozzle. |
|
Retraction Speed |
Too fast can break filament; too slow causes oozing. |
|
Minimum Travel |
Balances between clogging and stringing issues. |
Fine-tuning takes time and testing. Change one setting at a time to see how it affects your prints. Once you find the right settings, your prints will look smoother and more polished.
Tip: If you’re unsure about retraction settings, check the filament maker’s guide. They often suggest the best values for their PLA.
Pro Tips for Advanced PLA Printing
Trying Different Layer Heights for PLA
Layer height affects how smooth and detailed your prints look. Smaller heights, like 0.1 mm, make smoother surfaces and better details. Larger heights, such as 0.3 mm, print faster but lose detail.
Check your printer’s nozzle size to pick the right height. A good rule is to use 25–75% of the nozzle size. For example, a 0.4 mm nozzle works well with heights from 0.1 mm to 0.3 mm.
Tip: Test different heights to balance speed and quality. Change settings slowly to avoid ruining your prints.
Picking the Right PLA for Your Projects
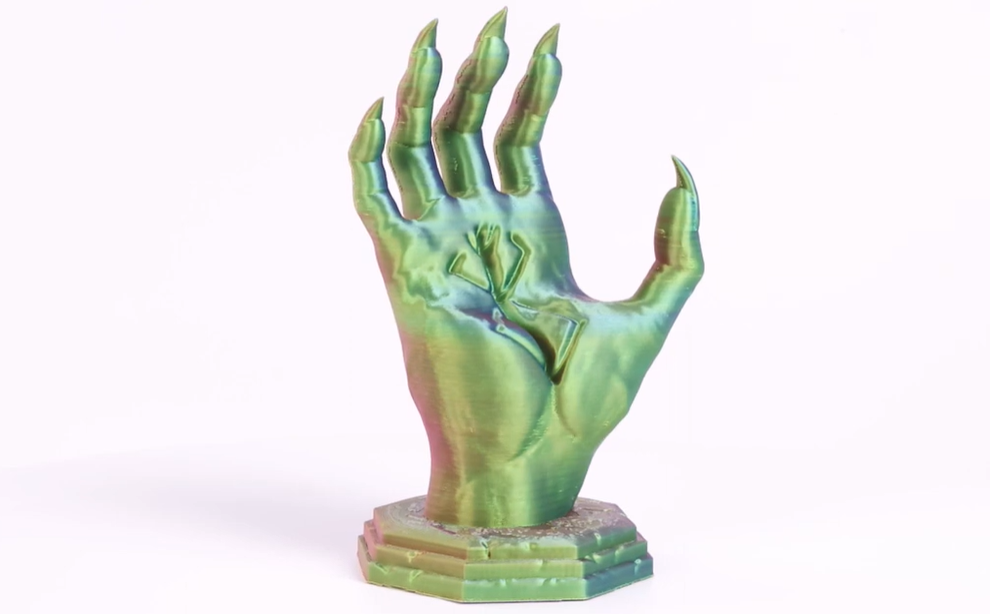
The best PLA depends on what you’re making. Regular PLA is easy to use and cheap, so it’s great for beginners. For special projects, try glow-in-the-dark or flexible PLA.
Think about the material’s makeup, extra features, and if it works with your printer. Choose filaments with consistent thickness for better printing. Read reviews to learn about durability and quality.
- Material Makeup: Look for pure PLA or added features.
- Printer Match: Make sure it fits your printer’s needs.
- Special Features: Pick PLA with cool effects or flexibility.
- Cost: Compare prices but don’t skip on quality.
Note: Glow-in-the-dark PLA looks cool, while flexible PLA is useful for bendable items.
Improving PLA Prints with Post-Processing
Post-processing makes PLA prints smoother and stronger. Using ethyl acetate or chloroform vapors can reduce roughness a lot. Ethyl acetate can improve roughness by 35%, while chloroform can reach up to 97%.
For mechanical smoothing, try blasting with corundum particles. Use sizes like 180 µm or 630 µm for better surfaces. Adjust the pressure and time for the best results.
|
Treatment Method |
Surface Improvement |
|---|---|
|
Ethyl Acetate Vapor |
Up to 35% |
|
Chloroform |
Up to 97% |
Adjusting Print Speed and Flow Rate for PLA
Changing speed and flow rate can improve prints and save time. Start with 40–60 mm/s, as most brands suggest. Slowly raise speed by 10 mm/s and watch for problems like shifting layers.
Tweak acceleration and jerk settings for smoother movements. Start with 500 mm/s² acceleration and test up to 3000 mm/s². For jerk, try 5–20 mm/s. Raise the extrusion temperature by 5–10°C to keep flow steady at higher speeds.
- Start Speed: Begin with 40–60 mm/s.
- Small Changes: Increase speed little by little.
- Cooling Fans: Make sure fans work well to avoid issues.
- Higher Temperature: Slightly raise heat for better flow.
Tip: Balancing speed, heat, and cooling gives better results, especially for fast printers.
Learning to print with PLA filament needs practice and patience. Use the tips in this blog, like setting the right temperatures and cooling. Try different settings to see what works for your projects. Take your time. With steady effort, you’ll make great prints and improve your 3D printing skills.
FAQ
How should I store PLA filament?
Keep PLA in a sealed bag with silica gel to stop moisture. Store it in a cool, dry spot away from sunlight.
Why does my PLA print have strings?
Strings happen when retraction settings or nozzle heat are wrong. Change retraction distance and speed, or lower the heat by 5°C.
Can I reuse failed PLA prints?
Yes, you can reuse PLA by shredding it and recycling it. You can also check if local recycling centers take PLA.


Zostaw komentarz
Wszystkie komentarze są moderowane przed opublikowaniem.
Ta strona jest chroniona przez hCaptcha i obowiązują na niej Polityka prywatności i Warunki korzystania z usługi serwisu hCaptcha.