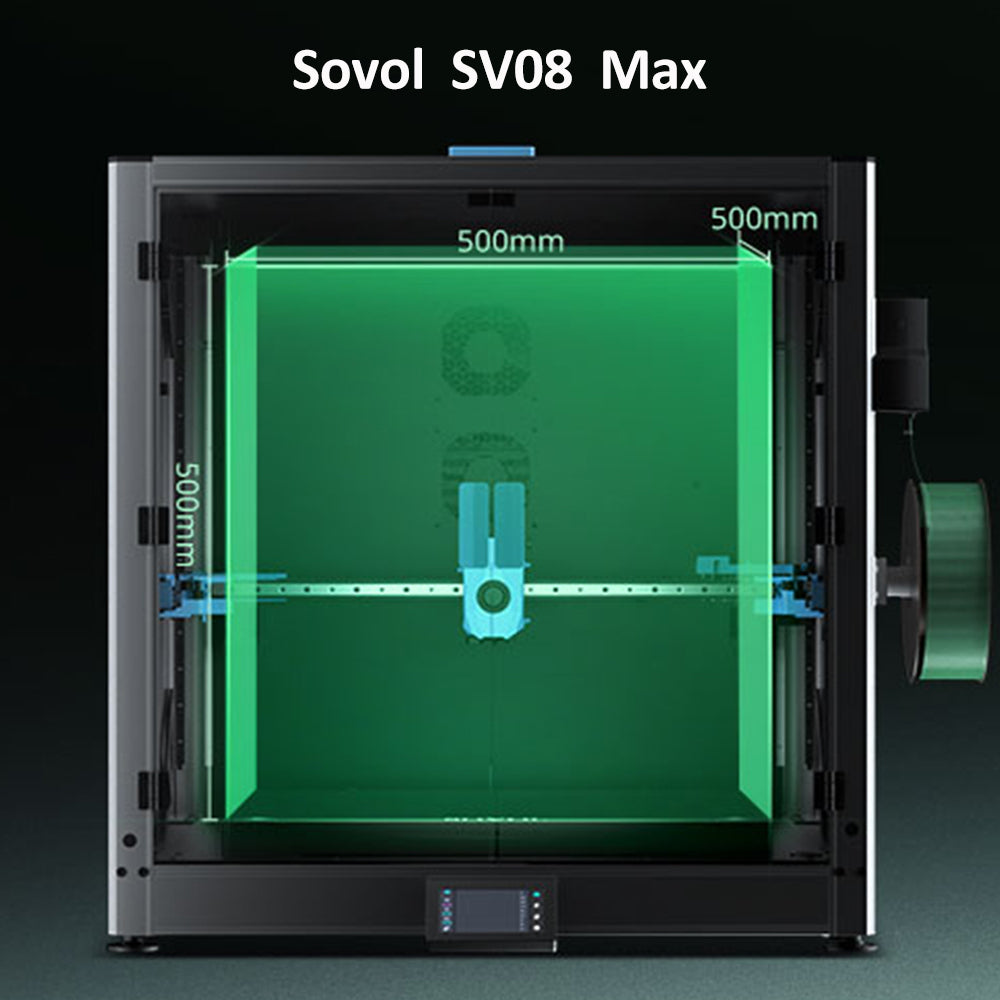
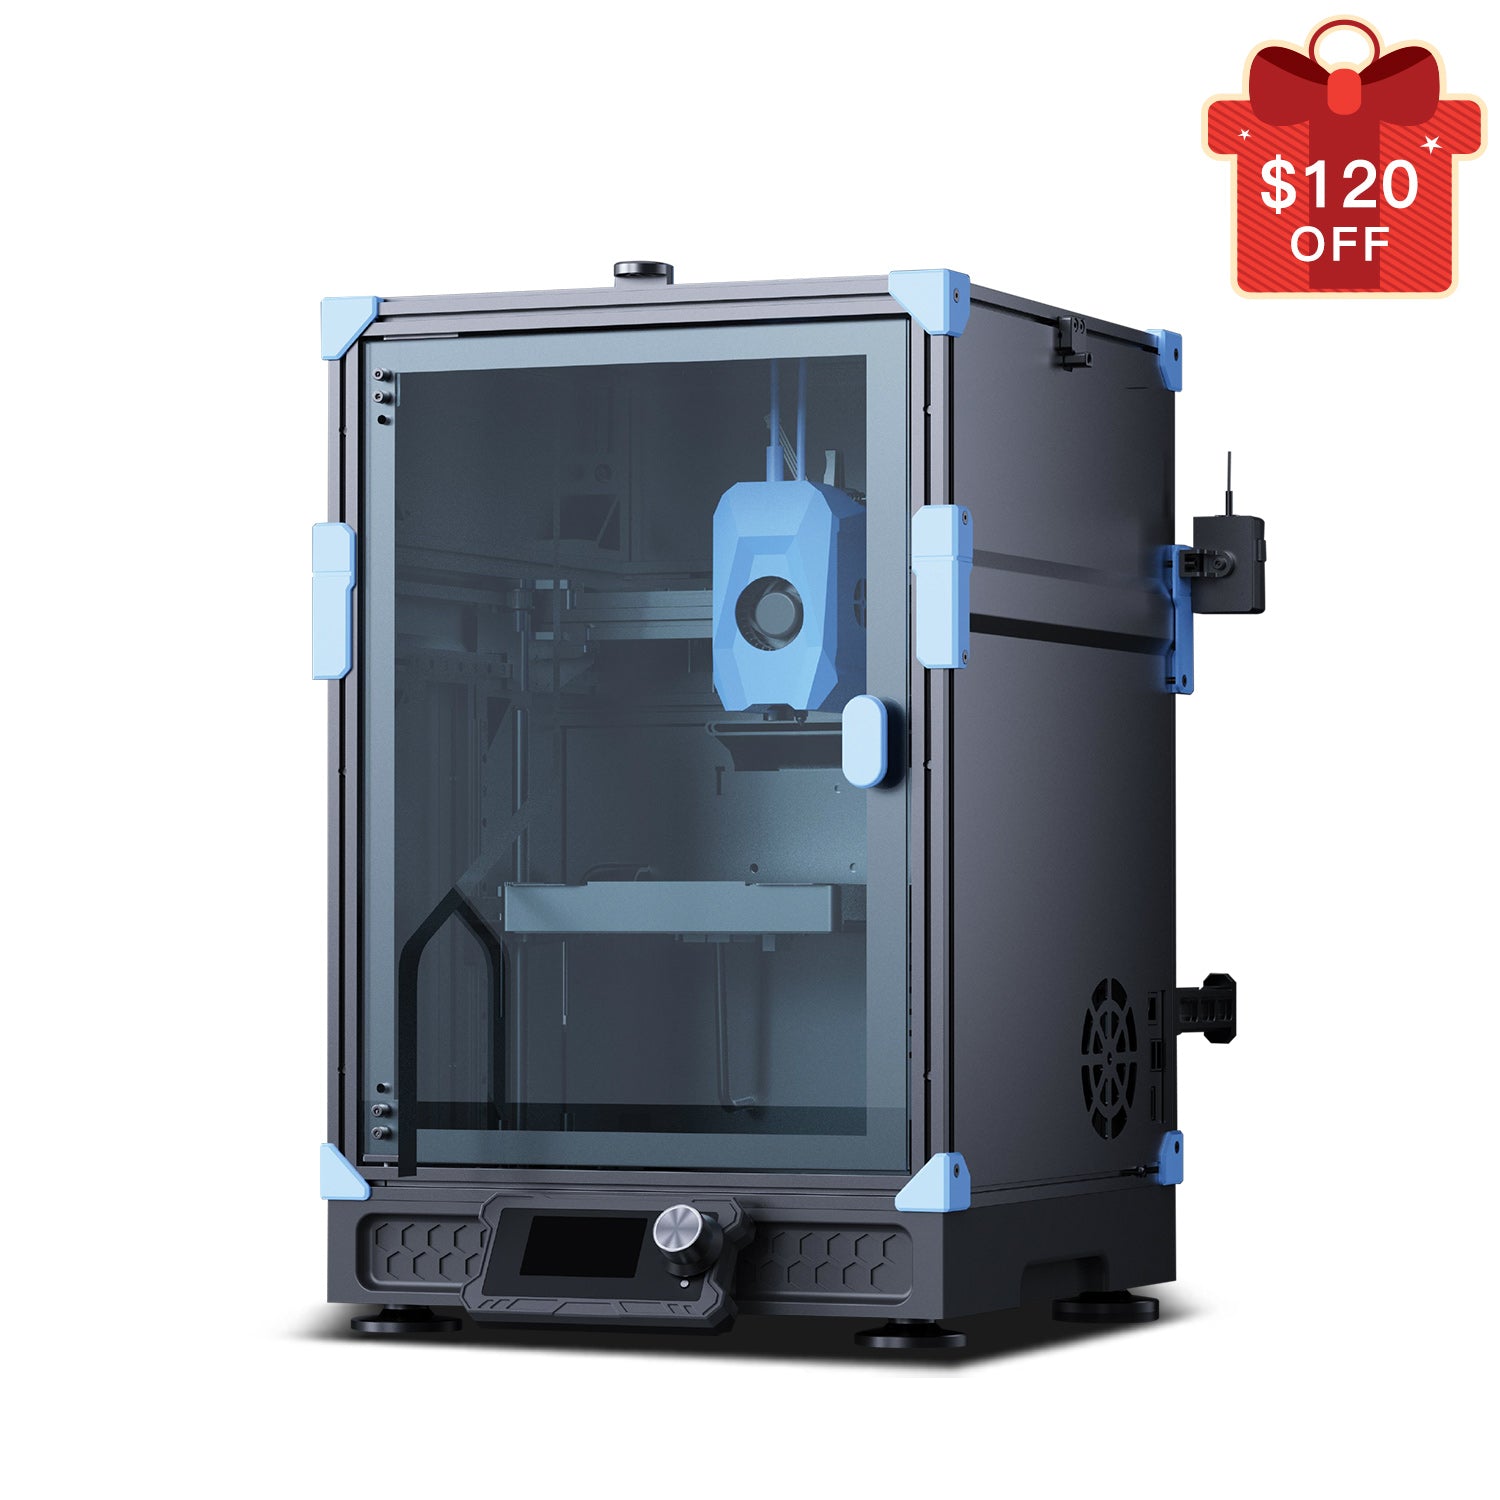
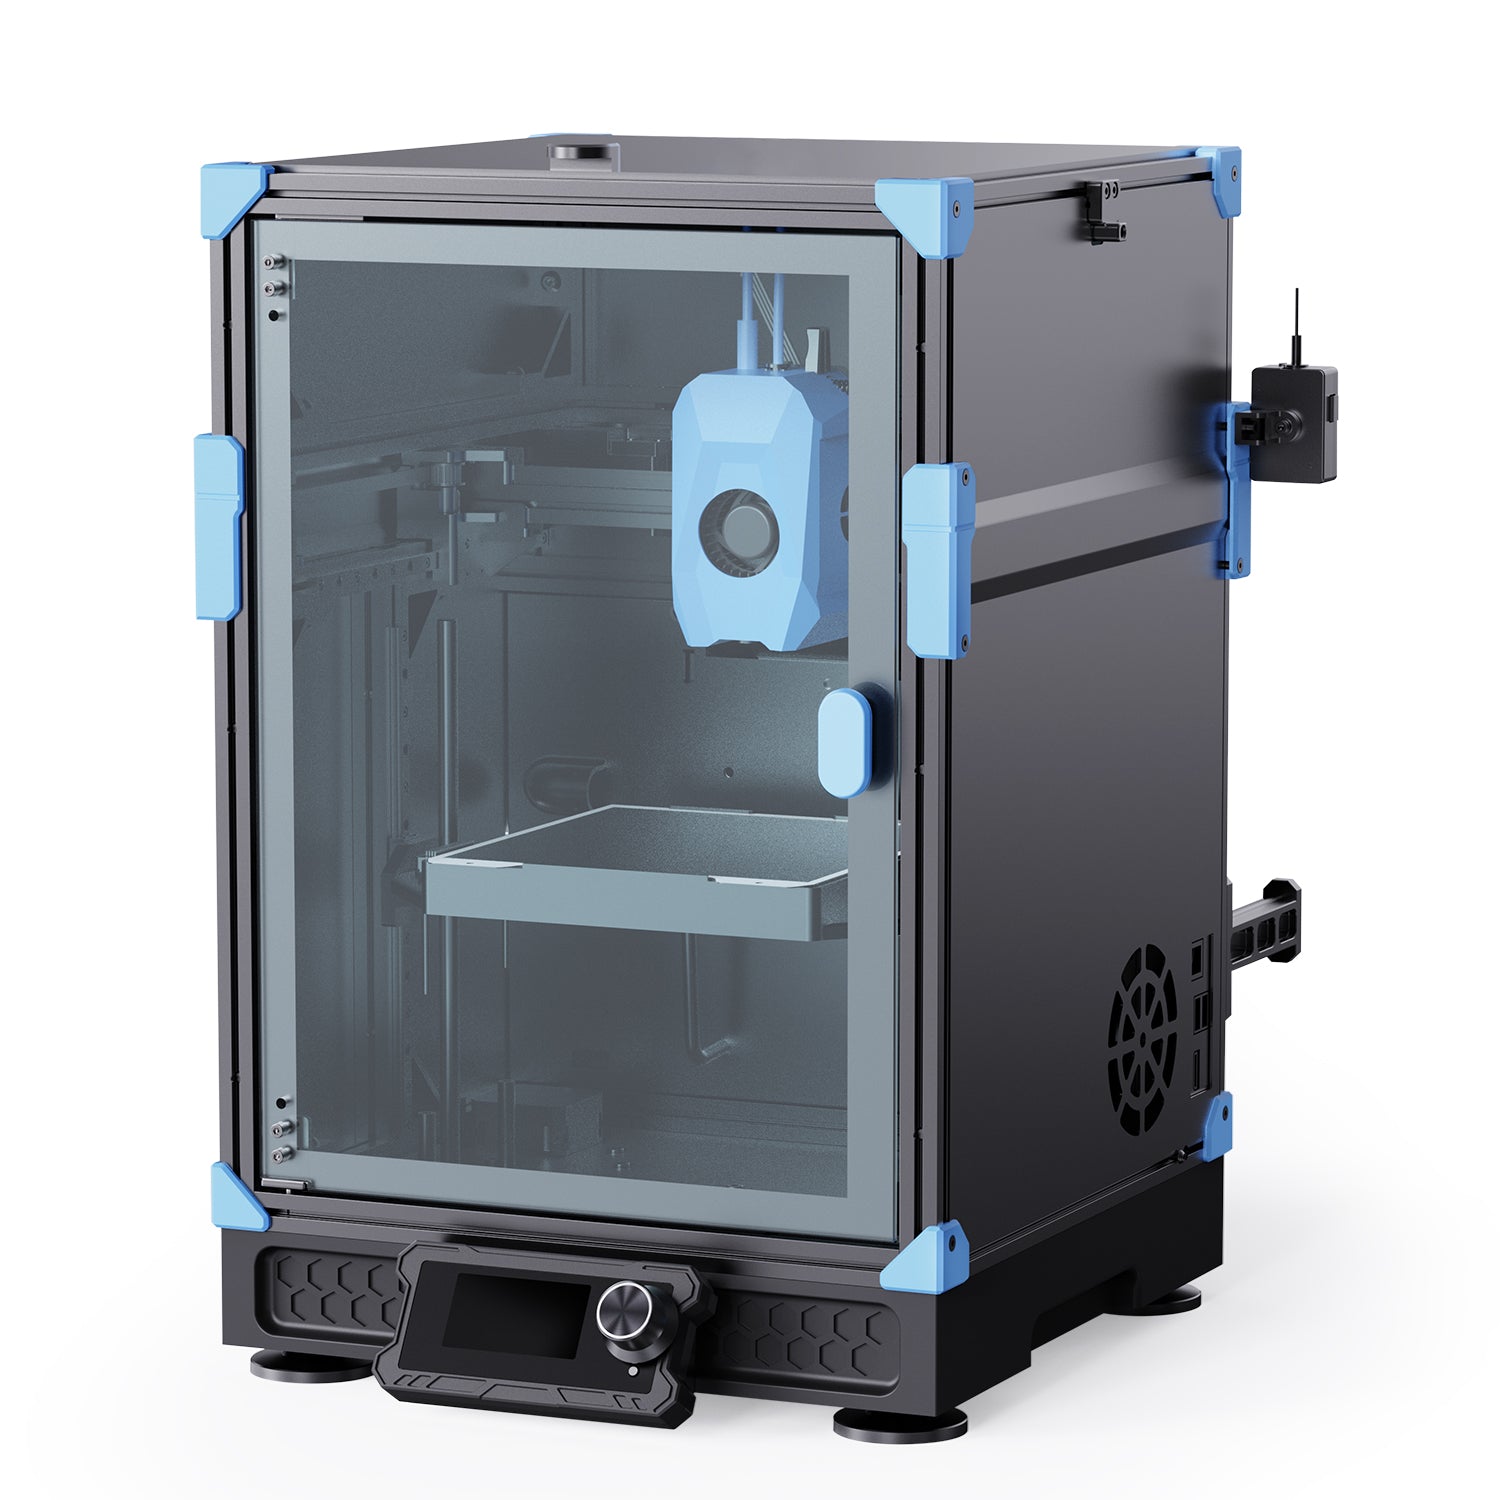
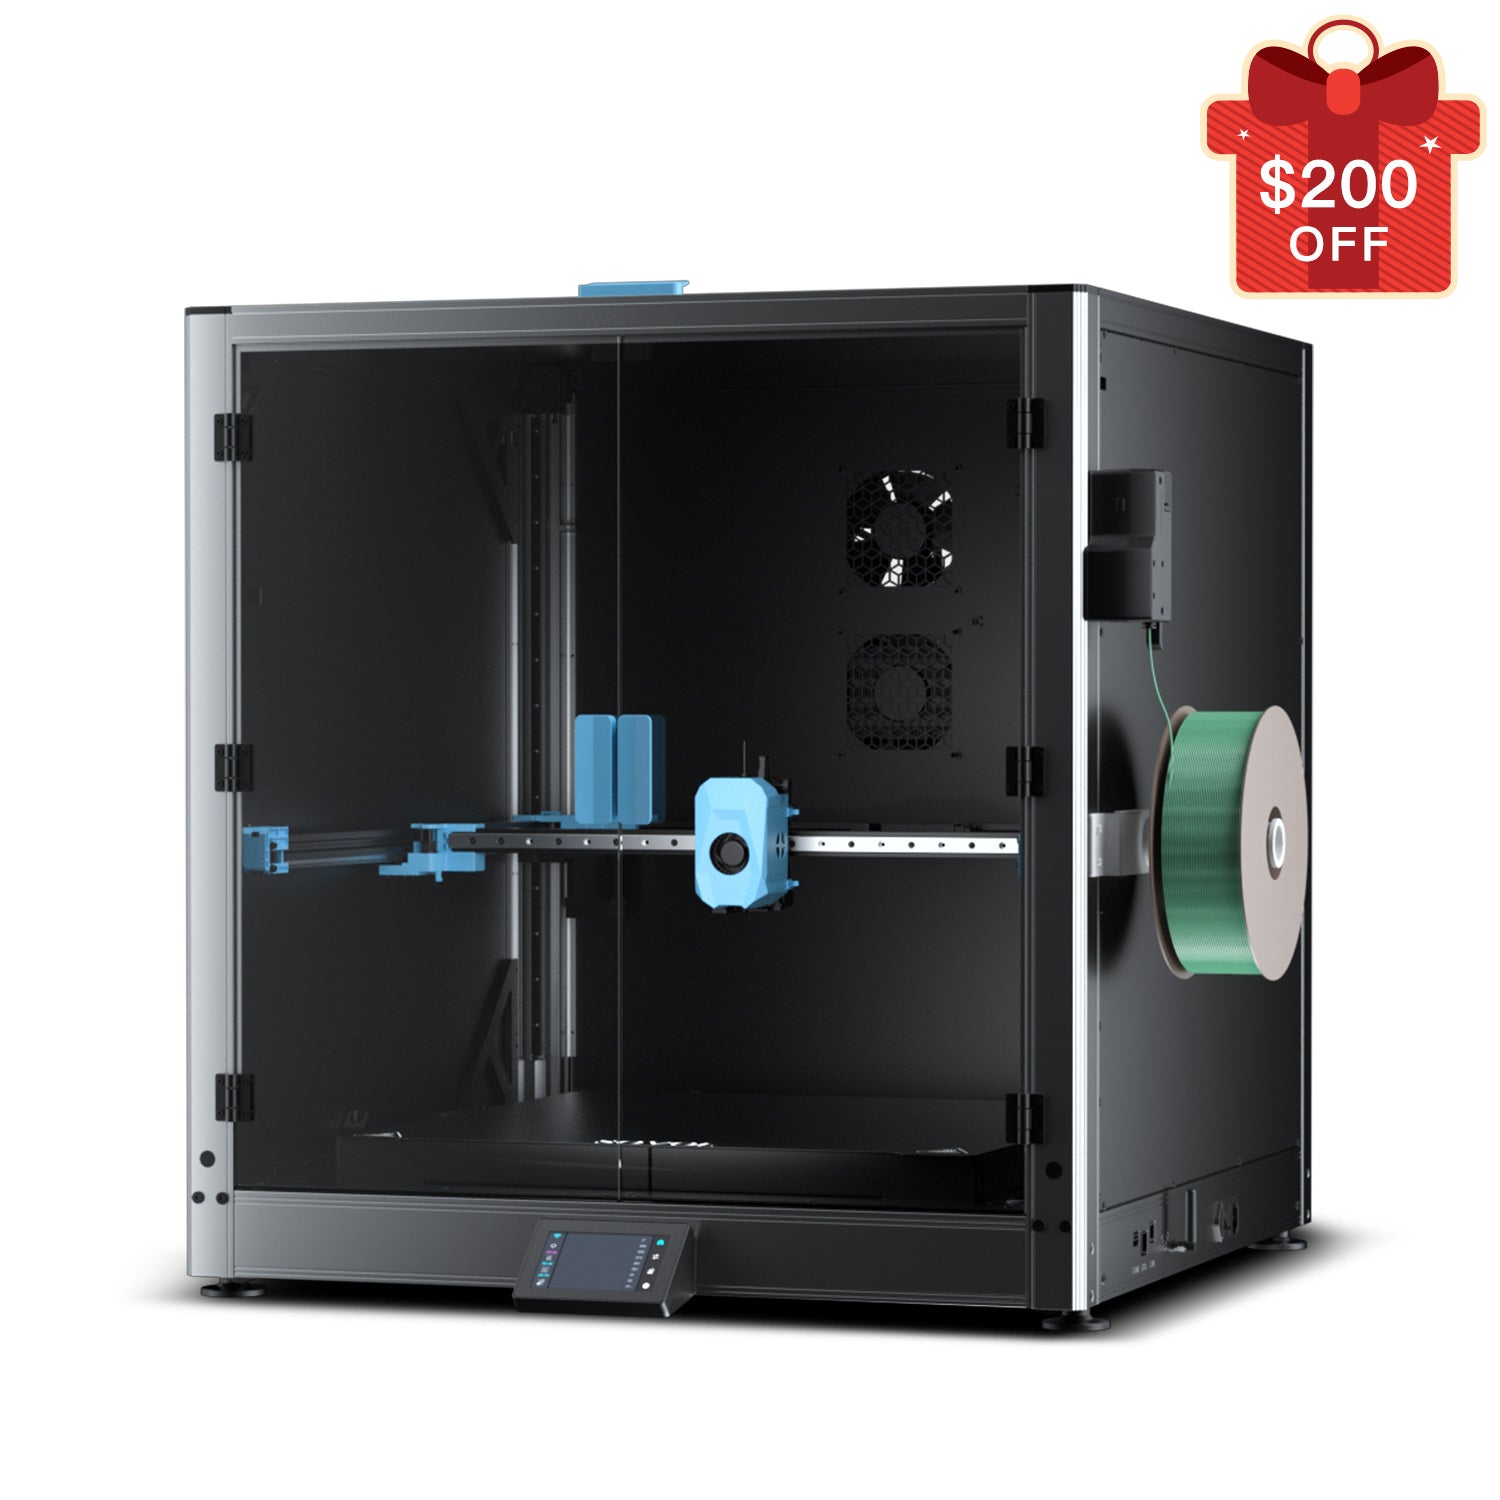
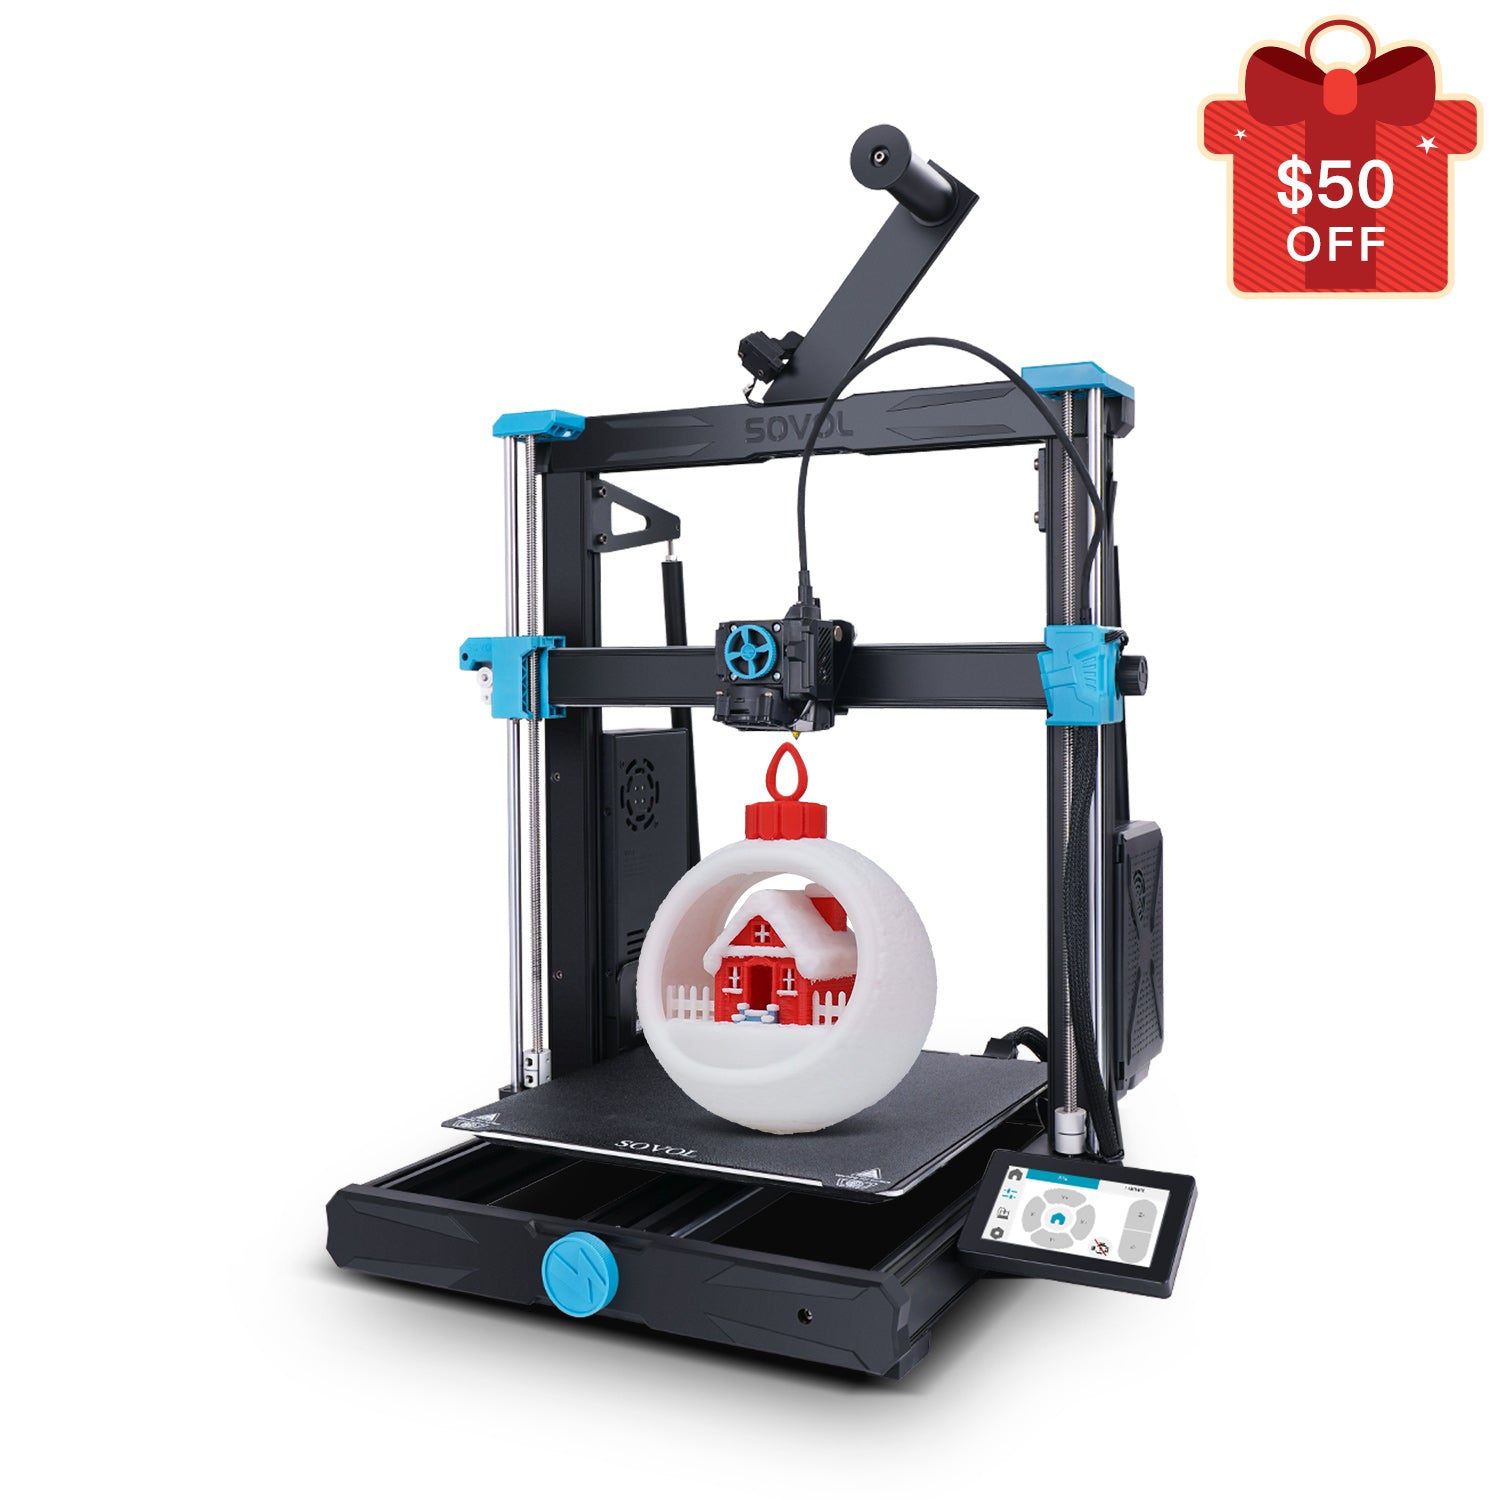
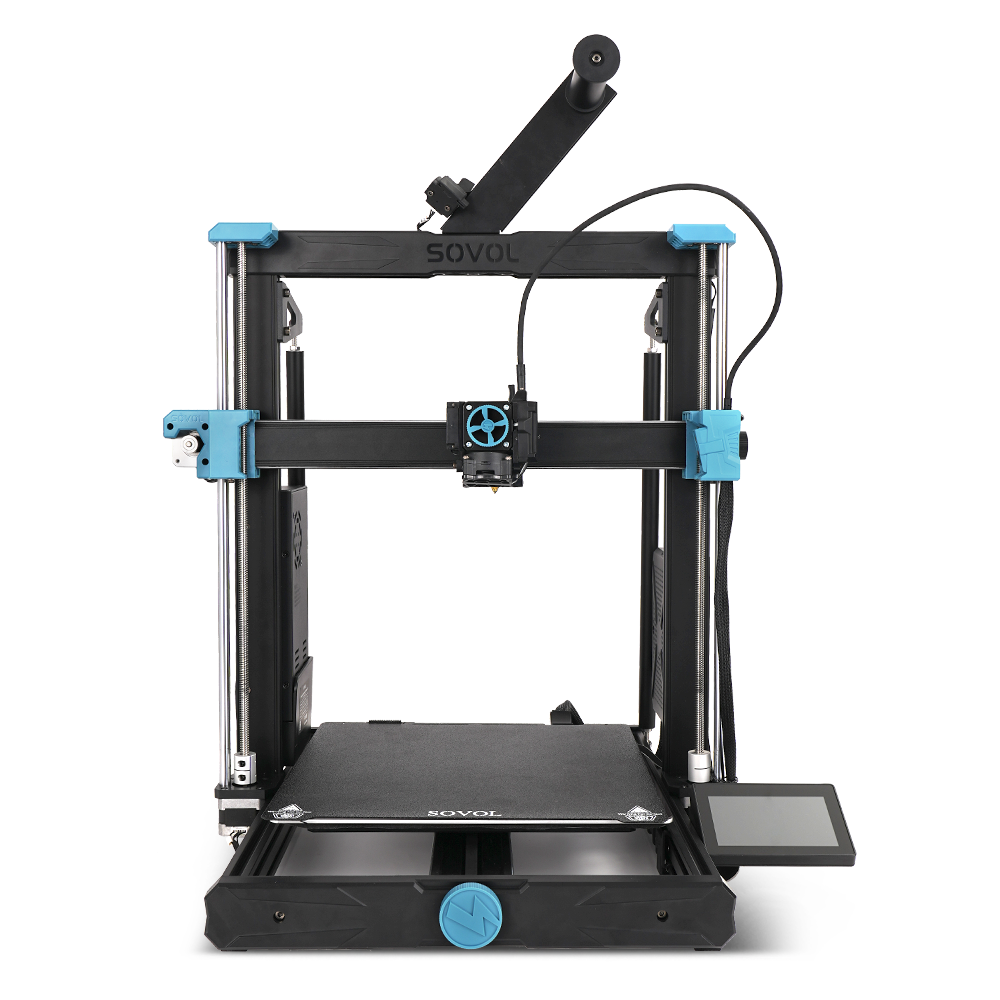
A 3d printer cabinet for print farm optimization gives you a safer and more efficient workspace. You protect yourself from burns and harmful fumes by keeping hot components and emissions contained. You also boost print quality and equipment reliability.
- Safety interlocks stop the printer if you open the cover, so you avoid unsafe operation.
- Good ventilation reduces exposure to fumes and keeps the air clean.
A 3d printer cabinet for print farm optimization helps you organize your printers, keeps flammable materials away, and makes maintenance easier.
Key Takeaways
- Using a 3D printer cabinet improves safety by keeping hot parts and harmful fumes contained.
- Enclosures help control temperature and humidity, which leads to better print quality and fewer failed prints.
- Organizing printers inside cabinets saves space, reduces noise, and makes maintenance easier.
- Modular cabinets allow you to grow your print farm by adding or removing sections as needed.
- Proper ventilation and easy access in cabinets protect your health and make printer management simple.
Why Use a Cabinet
Print Farm Efficiency
You want your 3d printer farm to run smoothly. An enclosure helps you organize your workspace. You can stack printers or line them up side by side. This setup saves space and makes it easy to manage many machines. When you use a 3d printer cabinet for print farm optimization, you keep cables, tools, and supplies in order. You also reduce clutter. This organization boosts efficiency and helps you scale up production. You can add more printers as your needs grow.
Tip: Label each enclosure with the printer name or number. This makes tracking jobs and maintenance much easier.
Print Quality
A stable environment leads to better prints. An enclosure keeps out dust and blocks drafts. You control the temperature inside the enclosure. This control helps you avoid warping and other print problems. You also keep humidity low, which protects your filament. When you use an enclosure, you trap fumes and odors. This keeps your workspace cleaner. You get higher print quality and more reliable results. Your 3d printer farm will produce better parts every time.
- Enclosures reduce the risk of failed prints.
- You get consistent results across all machines.
- Clean air inside the enclosure means fewer defects.
Safety
Safety matters in every 3d printer farm. An enclosure keeps hot parts away from your hands. You lower the risk of burns and accidents. The enclosure also contains fumes from melted plastic. You protect yourself and others from breathing in harmful air. Some enclosures have filters that remove fumes before they escape. You also reduce fire risks by keeping flammable items outside the enclosure. This setup makes your production area safer for everyone.
Note: Always check that your enclosure has proper ventilation. This step helps remove fumes and keeps the air fresh.
Benefits
Environmental Control
You need a perfect environment for your 3D printers to work at their best. An enclosure helps you control temperature and humidity. You can keep humidity between 40% and 45% by using dehumidifiers and silica gel packs. This range keeps your filament dry and prevents print failures. Oscillating fans inside the enclosure help spread heat evenly. You do not have to rely on air conditioning as much, and you avoid overheating. Some advanced enclosures use sensors and controllers to keep temperature and humidity stable. These systems use heat and water balance models to make sure your 3d printer cabinet for print farm optimization always has the right conditions. When you control the environment, you get better print quality and fewer failed prints.
Tip: Place temperature and humidity sensors at different spots inside the enclosure. This helps you spot any hot or cold areas and adjust airflow for even better results.
Noise and Vibration Reduction
A busy print farm can get loud. Enclosures help reduce noise and vibration from your printers. You can use sound-damped steel sheets or panels to lower noise by 5 to 25 decibels. This makes your workspace quieter and more comfortable. The table below shows how different materials and designs can cut down noise:
|
Application |
Noise Reduction (dB(A)) |
Notes |
|---|---|---|
|
Sound damped steel sheets |
5 - 25 |
Covers most of the enclosure surface |
|
Vibratory separator dome |
16 |
Noise dropped from 105 dB(A) to 89 dB(A) |
|
Chiller panels |
8 |
Uses acoustic absorbent and damping layers |
|
Cowls and safety guards |
3 - 9 |
Common in industrial enclosures |
You also reduce vibration by using sturdy materials and tight seals. Less vibration means your printers stay in place and your prints come out smoother. You can focus on your work without the constant hum and shake of machines.
Consistent Print Results
You want every print to look the same, no matter which printer you use. An enclosure blocks dust and drafts. It keeps temperature stable, so your prints do not warp or crack. You also keep fumes and odors inside, which protects both your prints and your health. When you use an enclosure, you get the same high quality from every machine. You do not have to worry about changes in the weather or sudden temperature drops. Your print farm runs smoothly, and you spend less time fixing problems.
- Stable temperature means fewer failed prints.
- Dust protection keeps your parts clean.
- Controlled humidity stops filament from absorbing water.
Safety and Risk Management
Safety should always come first in your print farm. An enclosure keeps hot parts and moving pieces away from your hands. You lower the risk of burns and accidents. You also trap fumes inside, so you do not breathe in harmful air. Good enclosures use filters to clean the air before it leaves the cabinet. Research shows that better safety systems can cut workplace accidents by up to 20%. You can make your print farm safer by following these steps:
- Identify and fix hazards before they cause problems.
- Train everyone to use the equipment safely.
- Supervise workers to make sure they follow safety rules.
- Use software to track and investigate any accidents.
When you use an enclosure, you protect yourself, your team, and your equipment. You also lower the risk of fire by keeping flammable items outside the cabinet. A safe print farm lets you focus on quality and production, not on accidents.
Key Features
Modularity for 3D Printer Farm
You need a modular enclosure system to grow your print farm. Modular cabinets let you add or remove sections as your needs change. This flexibility supports scalability and helps you fit large printers or a modular 3d printer. Modular design also gives you diverse printing capabilities. You can mix different printer models in one setup. When you choose modular features, you make upgrades and maintenance much easier.
Ventilation and Airflow
Proper ventilation is a must for any enclosure. You want to keep fumes away from your workspace. Strategic ventilation systems pull fumes out and bring in fresh air. Good airflow and ventilation help control temperature and humidity. This keeps your printers running smoothly and your prints looking great. You also protect yourself from harmful fumes.
Tip: Place fans near the top of the enclosure to move hot air out quickly.
Insulation
Insulation keeps the inside of your enclosure at a steady temperature. You avoid sudden changes that can ruin prints. Thick panels and seals block outside air and keep heat inside. This feature helps you save energy and get better print results.
Accessibility
Easy access matters when you work with many printers. Large doors, sliding panels, or removable sides let you reach your machines fast. You can swap out parts, load filament, or fix problems without hassle. Accessibility also helps you clean and maintain your enclosure.
Spool Storage
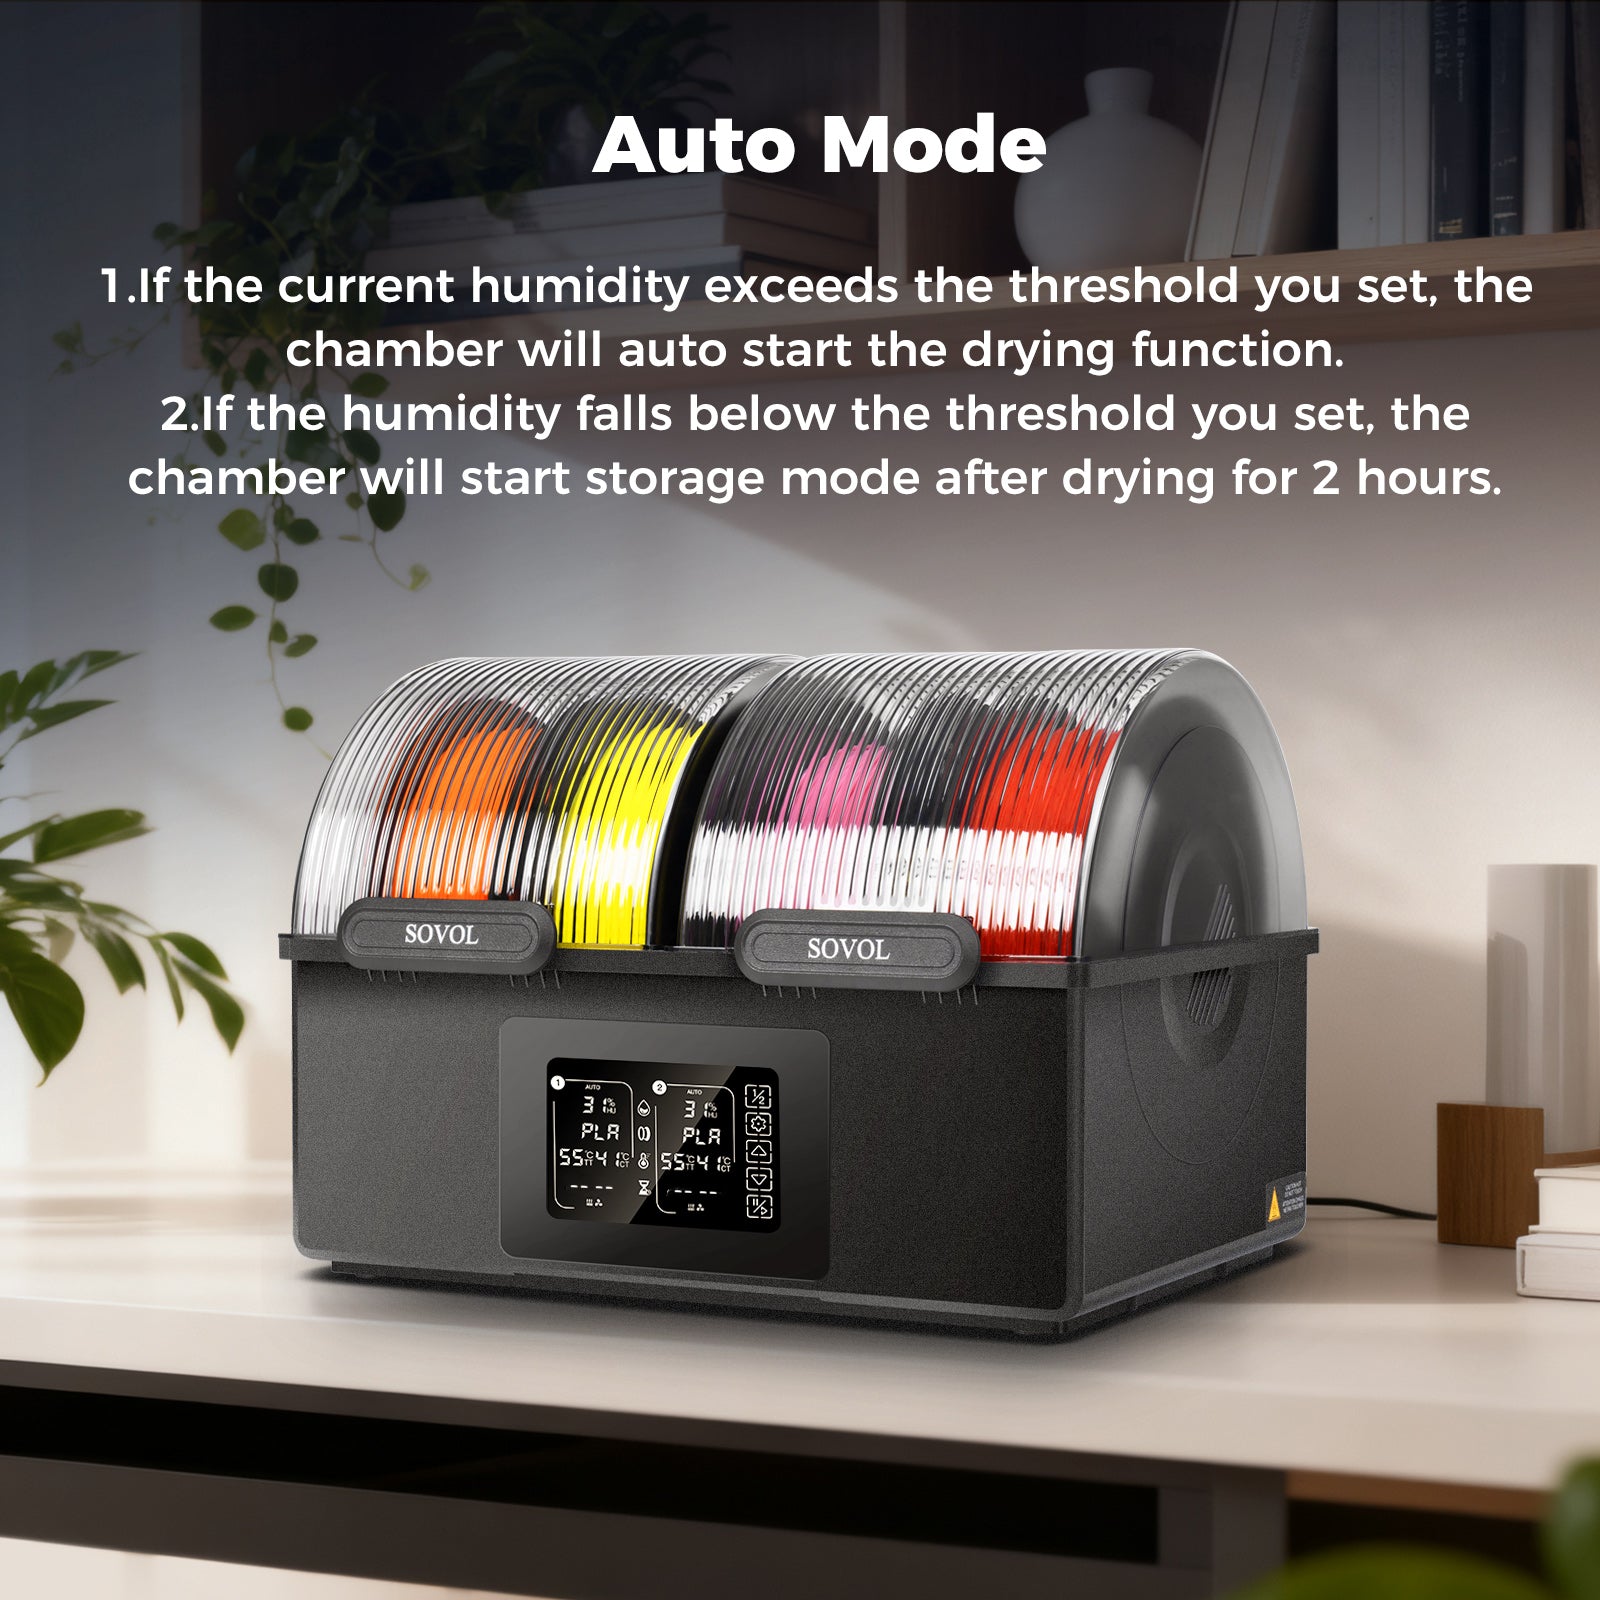
You need a place to store filament spools. Built-in spool storage keeps your supplies dry and organized. You can feed filament directly into the printer without opening the enclosure. This setup protects your filament from dust and humidity.
Monitoring and Management
Modern enclosures support monitoring and management. You can use sensors to track temperature, humidity, and fumes. Some systems offer remote monitoring, so you check your print farm from anywhere. Centralized management systems help you control multiple printers at once. These features save you time and improve safety.
Installation Guide
Planning and Measuring
Start your setup by measuring your workspace and each printer. Sketch a layout for your enclosure. Make sure you leave enough space for doors to open and for airflow. Plan where you will place each printer and how you will access them for maintenance. Think about where you will run cables and how you will organize your tools.
Tip: Use masking tape on the floor to outline your planned enclosure before you build.
Materials and Tools
Gather all materials before you begin your setup. You will need sturdy panels, corner braces, screws, and seals for your enclosure. Prepare tools like a drill, screwdriver, measuring tape, and wire cutters. For the frame, you can use metal plates or aluminum pieces. Have wire-zippers ready to manage cables and prevent mechanical interference.
Assembly Steps
Follow these steps for a strong enclosure setup:
- Build the frame using metal plates. Secure corners with braces.
- Cut holes for cable access and airflow.
- Attach panels and doors, making sure they fit tightly.
- Use wire-zippers to organize motor wires and avoid tangles.
- Test for short circuits after connecting wires.
Ventilation Setup
Check that your setup includes proper airflow. Measure airflow rates at fan inlets and outlets using a flow hood. Make sure your enclosure meets the required air quantity for safe operation. Place fans near the top to move warm air out.
Electrical and Grounding
Follow safety codes for your setup. The table below shows important standards:
|
Standard / Code |
Description |
Why It Matters |
|---|---|---|
|
US electrical safety |
Prevents shock and damage |
|
|
IEC 60364 |
International grounding |
Ensures safe grounding |
|
IEEE 142 |
Grounding in industry |
Protects equipment |
Inspect grounding regularly. Test for low resistance to keep your setup safe.
Printer Placement
Place each printer inside the enclosure with enough space for movement. Keep hot parts away from cables. Store spools in dry areas within the enclosure. Arrange printers so you can reach them easily for maintenance.
Testing and Adjustment
Run a calibration print after your setup. Check print quality and alignment. Adjust offsets if needed. Measure support layers with a caliper to ensure accuracy. Repeat tests until your enclosure setup gives consistent results.
Note: Save all calibration settings for future reference.
Optimization Tips
Layout for 3D Printer Farm
You can boost production by arranging your enclosures in a smart way. Place printers in rows or clusters to save space and reduce walking distance. Group printers by material or function. This setup helps you manage jobs faster and keeps your workflow smooth. Keep tools and supplies close to each enclosure. You will spend less time searching and more time printing. Research shows that using systematic layouts and grouping printers by capability increases throughput and supports seamless operation. Print scheduling and job allocation tools help you avoid idle time and keep your production moving.
Tip: Use labels and color codes for each enclosure. This makes it easy to track jobs and spot issues quickly.
Reducing Interference
You want each enclosure to work without problems from nearby machines. Arrange enclosures with enough space between them to cut down on vibration and noise. Studies in other industries show that the right spacing and layout can reduce interference and improve results. The table below shows how spatial arrangement affects performance:
|
Study (Author, Year) |
Focus Area |
Key Finding |
|---|---|---|
|
Auld et al. (1983) |
Spatial arrangement |
Better layout reduces interference |
|
Fischer & Miles (1973) |
Competition patterns |
Layout impacts performance |
|
Holliday (1963) |
Row width effects |
Wider spacing lowers interference |
Keep cables tidy and separate to avoid signal problems. Use sound-dampening panels if your enclosures are close together.
Maintenance Best Practices
Regular care keeps your enclosures and printers running well. Wipe down surfaces daily to keep dust away. Clean printheads and rollers every week. Check filters and replace them as needed. Keep humidity between 40% and 60% and temperature near 68°F for best results. Use a hygrometer and thermometer inside each enclosure. Cover printers when not in use and store them away from dust and moisture. These steps help you get consistent print quality and reduce downtime. Good maintenance is key for optimal management and reliable production.
Note: Track your maintenance schedule with a simple checklist or app.
Scaling Up
As your print farm grows, you need a plan for scaling production. Modular enclosures let you add more printers without using extra floor space. You can stack cabinets or build new rows. Mounting brackets keep everything stable and safe. Use software for management and real-time monitoring. This helps you control more printers and keep your workflow organized. A synchronized multi-printer setup lets you handle bigger jobs and meet higher demand. Modular design and networked control systems make it easy to expand while keeping your operation efficient.
A 3d printer cabinet for print farm optimization gives you a safer, more organized, and efficient workspace. When you use an enclosure, you control temperature, reduce noise, and protect your equipment. You can track key metrics like downtime and maintenance costs after installing an enclosure to see real improvements.
- An enclosure helps you spot trends and fix issues quickly.
- You boost technician productivity and keep your print farm running smoothly.
- Real-time dashboards make it easy to monitor your enclosure setup.
Choose the right enclosure, install it carefully, and review your setup often. You will see better print quality and safer operations.
FAQ
How does a 3D printer cabinet improve print quality?
A 3D printer cabinet keeps dust and drafts away from your prints. You control the temperature and humidity inside the cabinet. This helps you get smoother, more reliable results every time.
Can I use any cabinet for my print farm?
Not all cabinets work for every printer. You need a cabinet that fits your printer’s size and allows for good airflow. Look for cabinets made for 3D printers to get the best results.
What safety features should I look for during cabinet installation?
You should check for safety interlocks, good ventilation, and fire-resistant materials. These features help protect you and your equipment. Always follow the manufacturer’s instructions during cabinet installation.
How do I maintain my 3D printer cabinet?
- Wipe down surfaces often.
- Check and replace air filters.
- Keep the inside dry and clean.
- Inspect seals and doors for damage.
Regular care keeps your print farm running smoothly.


