


Achieving flawless results with PETG requires precise adjustments to your printer's settings. For example, setting the nozzle temperature between 230°C and 260°C ensures proper material flow, while maintaining a bed temperature of 70-90°C prevents warping. Additionally, studies show that using a 0.2 mm layer height and 40 mm/s print speed significantly improves strength and bonding. Mastering these PETG print settings unlocks the filament's full potential.
Key Takeaways
- Keep the nozzle temperature at 230°C to 250°C for smooth material flow and strong layer sticking.
- Set the bed temperature to 70°C to 80°C to stop warping and help layers stick well while printing.
- Begin with a print speed of 30-60 mm/s. Go slower for detailed prints to make them look better and avoid mistakes.
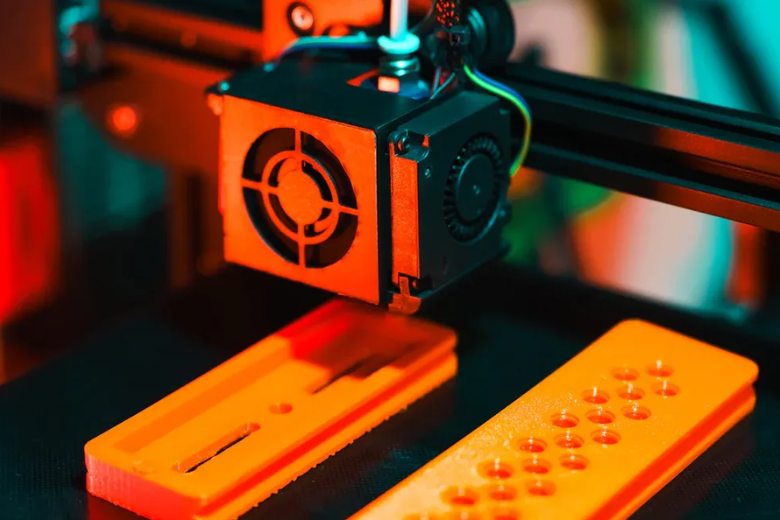
Understanding PETG Filament
What is PETG?
PETG, or Polyethylene Terephthalate Glycol, is a thermoplastic polymer widely used in 3D printing. It combines the strength of ABS with the ease of printing associated with PLA. I often describe it as a versatile material that balances durability, flexibility, and chemical resistance. PETG is glycol-modified, which enhances its clarity and reduces brittleness compared to standard PET. This modification makes it ideal for applications requiring transparency or impact resistance.
Key Properties of PETG
PETG stands out due to its impressive mechanical and thermal properties. Based on material studies, here are some key specifications:
|
Specification |
Value |
|---|---|
|
Ultimate Strength |
50.0 MPa |
|
Elongation at Break |
21.5 % |
|
Extruder Temperature |
235°C – 255°C |
|
Bed Temperature |
80°C – 120°C |
|
Density |
1.23 g/cm³ |
|
Heat Distortion Temperature (HDT) |
64°C |
These properties make PETG suitable for functional parts, prototypes, and even outdoor applications. However, I always emphasize the importance of keeping PETG dry. Moisture absorption can lead to hydrolysis, which degrades polymer chains and reduces strength. This often results in bubbling or stringing during extrusion, negatively impacting print quality.
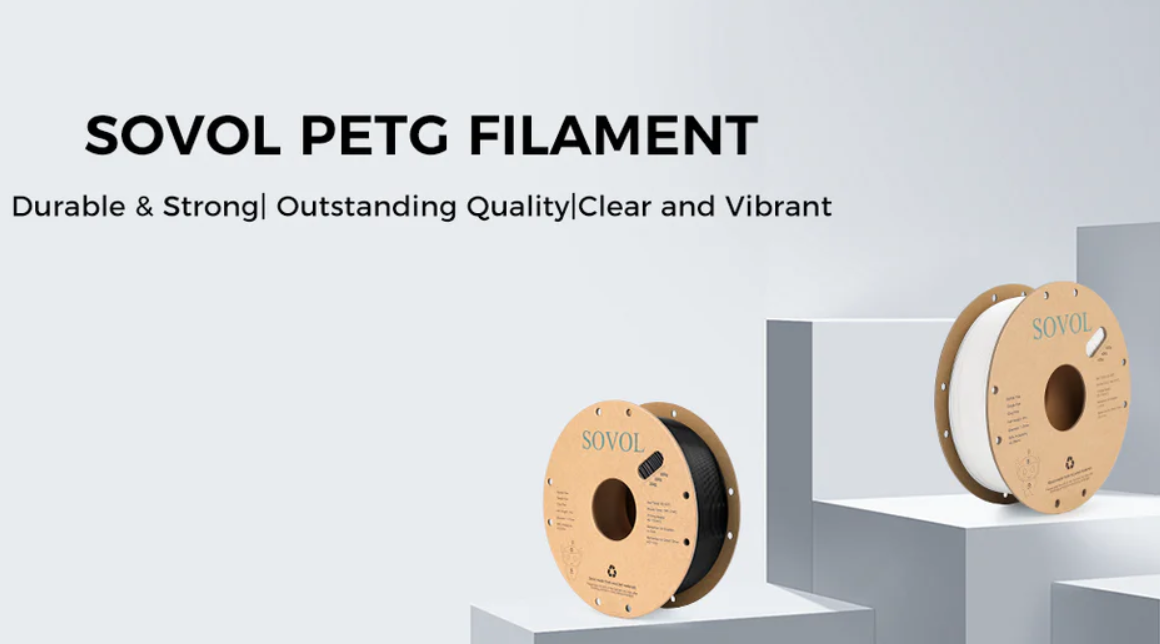
Why PETG is Popular for 3D Printing
PETG has gained popularity for several reasons. First, it offers excellent layer adhesion, which minimizes warping and ensures strong, durable prints. Second, its chemical resistance makes it ideal for containers or parts exposed to harsh environments. Lastly, PETG is easy to print with minimal odor, making it beginner-friendly. I recommend it for anyone seeking a balance between strength, flexibility, and ease of use.
Tip: Always store PETG in a sealed bag with desiccant to maintain its integrity and achieve consistent results.
PETG Print Settings for Optimal Results
Nozzle Temperature
The nozzle temperature plays a critical role in achieving high-quality prints when working with PETG. I recommend setting the nozzle temperature between 230°C and 250°C, as this range ensures proper material flow and strong layer adhesion. Based on my experience, starting at 235°C and gradually increasing the temperature can help you find the ideal printing temperature for your specific filament brand.
Tip: If you notice stringing or blobs on your print, slightly lowering the nozzle temperature can reduce these defects. However, avoid going too low, as it may lead to poor layer bonding.
Studies show that parts printed at 230°C achieve 55% of their reference strength, while those printed at 245°C reach 60%. This demonstrates how higher temperatures can enhance the mechanical properties of your prints. Always monitor your printer during the first few layers to ensure the filament extrudes smoothly without clogging.
|
Parameter |
Temperature Range |
|---|---|
|
Nozzle Temperature |
230°C - 250°C |
Bed Temperature
A heated bed is essential for preventing warping and ensuring proper adhesion when printing with PETG. I usually set the bed temperature between 70°C and 80°C, which works well for most PETG filaments. If you encounter adhesion issues, gradually increase the temperature in 5°C increments until the print sticks firmly to the bed.
For optimal adhesion, maintaining a bed temperature of around 65°C is a good starting point. Some PETG variations may require higher temperatures, but exceeding 90°C can lead to softening of the material, as PETG's glass transition temperature is approximately 85°C.
|
Temperature Range |
Description |
|---|---|
|
65–90 °C |
Recommended print bed temperature for PETG to improve adhesion. |
|
Up to 90 °C |
Maximum recommended temperature to avoid exceeding PETG's glass transition temperature. |
Note: Always ensure your print bed is clean and free of debris. A dirty surface can compromise adhesion, even with the correct temperature settings.
Print Speed
Print speed significantly impacts the quality of your PETG prints. Slower speeds generally yield better results, especially for intricate details. I recommend starting with a speed of 30-60 mm/s. For larger, less detailed prints, you can increase the speed slightly, but avoid exceeding 100 mm/s to maintain quality.
PETG performs best at moderate speeds. Slower speeds improve layer bonding and reduce the risk of defects like stringing or under-extrusion. For detailed prints, I often lower the speed to around 40 mm/s to ensure precision.
- Start printing PETG at a speed of 60 mm/s.
- Decrease speed for better quality, particularly for detailed prints.
- Adjust minimum layer time to optimize print speed without sacrificing quality.
Cooling Settings
Cooling settings can make or break your PETG prints. Unlike PLA, PETG does not require aggressive cooling. Excessive cooling can lead to delamination, while insufficient cooling may cause sagging on overhangs. I typically set the part cooling fan to 30-50% for most prints. For the first few layers, I turn off the fan entirely to enhance layer adhesion.
Tip: For prints with intricate geometries or overhangs, increasing the cooling rate to 70-100% can improve detail. However, monitor the print closely to avoid delamination.
|
Cooling Rate |
Recommended Setting |
|---|---|
|
First Few Layers |
0% |
|
General Printing |
30-50% |
|
Detailed Features |
70-100% |
Proper cooling is especially important for overhangs. Reducing the fan speed or turning it off for the initial layers can improve inter-layer bonding, resulting in stronger prints.
Retraction Settings
Retraction settings are crucial for minimizing stringing and oozing when printing with PETG. Due to its high printing temperature, PETG tends to string more than other filaments. I recommend starting with a retraction distance of 5-7 mm for Bowden extruders and 2-4 mm for direct drive systems. Retraction speed should be set between 35-40 mm/s for optimal results.
Calibrating retraction settings is essential. If you notice excessive stringing, increase the retraction distance slightly or adjust the retraction speed. I also suggest enabling "Z-hop" in your slicer settings to prevent the nozzle from dragging across the print surface, which can cause defects.
- Retraction Distance: 5-7 mm (Bowden), 2-4 mm (Direct Drive)
- Retraction Speed: 35-40 mm/s
- Z-hop: Enabled for smoother prints
Note: Always test your retraction settings with a small calibration print before starting a larger project. This saves time and filament while ensuring optimal PETG settings.
Preparing Your Printer for PETG
Bed Surface Preparation
Proper bed surface preparation is critical for achieving consistent results with PETG. A clean and well-prepared surface ensures strong first layer adhesion, which is essential for print success. I always start by cleaning the print bed thoroughly with isopropyl alcohol to remove grease and dust. For stubborn contaminants, acetone or Dawn dish soap works wonders. Dawn dish soap, in particular, bonds grease and water molecules, leaving the surface spotless.
PETG has a tendency to adhere too strongly to certain surfaces, such as PEI sheets. To fix adhesion problems, I recommend applying a release agent like a glue stick or painter's tape. These materials create a barrier that prevents excessive grip, making it easier to remove prints without damaging the bed. For best results, I also use a heated bed set to 85°C, as this temperature range optimizes adhesion without causing warping.
|
Parameter |
Optimal Range |
|---|---|
|
Bed Temperature |
70°C - 80°C |
|
Cooling Fan Speed |
~30% |
Tip: Always store PETG filament in an airtight container with desiccant packs to prevent moisture absorption, which can lead to bubbling and poor extrusion.
Bed Leveling and Nozzle Height
Accurate bed leveling and nozzle height calibration are vital for smooth prints. An uneven bed often causes warping, layer shifting, or even print failure. I use tools like feeler gauges to measure and adjust the bed's evenness. This ensures the nozzle maintains a consistent gap across the entire surface.
For PETG, the nozzle-to-bed distance should be slightly greater than for PLA, ideally around 0.1 mm. This adjustment accommodates PETG's lower viscosity, allowing it to flow freely onto the bed without excessive squishing. Proper calibration not only improves first layer adhesion but also enhances the overall aesthetic quality of the print.
Note: Always verify the nozzle height before each print. Even minor deviations can compromise adhesion and lead to defects.
Troubleshooting PETG Print Settings
Stringing and Oozing
Stringing and oozing are common challenges when printing with PETG. These issues occur when excess filament leaks from the nozzle during travel movements, leaving thin strands or blobs on the print. I’ve found that fine-tuning specific settings can significantly reduce these defects and improve results.
To tackle stringing and oozing, I recommend enabling advanced slicer features like coasting and wiping. Coasting stops extrusion just before the end of a movement, while wiping moves the nozzle over printed areas to clean excess filament. Lowering the printing temperature by 5-10°C also helps reduce filament viscosity, minimizing leaks. Drying the filament for 24 hours at 50-60°C eliminates moisture, which often contributes to stringing.
Here are additional adjustments that have worked well for me:
- Increase retraction distance and speed to prevent leaking material.
- Enable the "wipe" setting in your slicer software.
- Slightly under-extrude, starting with 0.1-0.2%, to reduce excess filament flow.
- Increase cooling fan speed to solidify the filament faster.
For optimal results, I also enable settings like "Retract on layer change" and "Coasting." Increasing travel speed minimizes nozzle movement time between print areas, while enabling combing mode keeps the nozzle within printed regions, reducing the chance of stringing.
Tip: Always test these adjustments with a small calibration print before starting a larger project. This saves time and ensures high-quality prints.
Warping and Lifting
Warping and lifting occur when the edges of a print curl upward, detaching from the bed. PETG’s strong layer adhesion usually prevents warping, but incorrect temperature settings or poor bed preparation can still cause issues. I’ve observed that maintaining the right bed temperature is crucial for avoiding these problems.
Based on empirical data, here’s how different temperature settings affect warping and lifting:
|
Temperature Setting |
Observations on Warping and Lifting |
|---|---|
|
60°C |
Minimal warping observed |
|
70°C |
No warping occurred |
|
80°C |
Satisfactory adhesion achieved |
I typically set the bed temperature to 70°C for most PETG prints. This provides excellent adhesion without overheating the material. For larger prints, increasing the temperature to 80°C can further enhance adhesion. However, exceeding 90°C risks softening the filament, leading to deformation.
Proper bed preparation also plays a key role. Cleaning the bed with isopropyl alcohol removes grease and dust, ensuring a smooth surface for the first layer. Applying a thin layer of glue stick or painter’s tape can prevent excessive adhesion, making it easier to remove the print.
Note: Always level the bed and calibrate the nozzle height before printing. Even minor deviations can compromise adhesion and lead to warping.
Nozzle Blockages
Nozzle blockages are frustrating but preventable with the right approach. PETG’s adhesive properties and high printing temperature make it prone to clogs, especially if the filament quality or settings are suboptimal. I’ve learned that regular maintenance and careful calibration are key to avoiding this issue.
Here are common factors that lead to nozzle blockages and how to address them:
- Lower Print Speed: Reduces filament buildup inside the nozzle.
- Increase Retraction Settings: Helps prevent stringing and filament residue.
- Regular Cleaning: Removes PETG residue, which can accumulate due to its adhesive nature.
- Filament Quality: Low-quality or contaminated filament often contains impurities or inconsistent diameters, causing clogs.
- Temperature Settings: Incorrect temperatures can lead to stringing or under-extrusion, affecting nozzle performance.
- Moisture Absorption: Moist filament creates bubbles during extrusion, which can block the nozzle.
To prevent blockages, I always store PETG in an airtight container with desiccant packs. Drying the filament before use ensures smooth extrusion. Additionally, I clean the nozzle regularly with a cold pull technique or specialized cleaning filament.
Tip: Avoid excessive retraction settings, as they can solidify filament inside the nozzle, leading to clogs. Start with moderate values and adjust as needed.
Post-Processing PETG Prints
Sanding and Polishing
Sanding and polishing PETG prints can significantly enhance their appearance by removing imperfections and achieving a smooth finish. I always start with 400-grit sandpaper to eliminate visible layer lines. Using circular motions prevents directional scratches and ensures an even surface. As I progress, I switch to finer grits, such as 1000-grit, and finish with either 2000-grit or 3000-grit for a polished look. Wet sanding at higher grits, especially above 1000-grit, makes the process easier and reduces heat buildup, which can deform the print.
For best results, I recommend sanding in a well-lit area to spot imperfections easily. Applying light, consistent pressure avoids over-sanding specific areas. After completing the sanding process, I often use a polishing compound to achieve a glossy finish. This step works particularly well for transparent PETG prints, enhancing their clarity and aesthetic appeal.
Tip: Always wear a mask while sanding to avoid inhaling fine particles, and clean the print thoroughly after each grit level to remove debris.
Using a Heat Gun for Finishing
A heat gun is an excellent tool for refining PETG prints. I use it to smooth out minor surface imperfections and restore the material's natural sheen. By carefully applying heat, the outer layer of the print softens slightly, allowing imperfections to blend seamlessly. I keep the heat gun moving to avoid overheating any single spot, which could cause warping or deformation.
When using a heat gun, I maintain a distance of 6-8 inches from the print and set the temperature to a low or medium setting. This approach ensures controlled heating without damaging the part. For intricate details, I use short bursts of heat to target specific areas. The process not only improves the print's appearance but also enhances its durability by sealing the outer layer.
Note: Practice on test prints before applying heat to your final project. This helps you master the technique and avoid accidental damage.
Fine-tuning PETG print settings unlocks the full potential of this versatile filament. I’ve observed that experimenting with nozzle temperatures between 230°C and 245°C significantly improves print quality. Adjusting bed temperatures to 70°C-80°C enhances adhesion, while print speeds of 40-60 mm/s optimize performance. Gradual cooling adjustments prevent oozing and warping, ensuring better detail and layer bonding. Exploring infill patterns and ratios also boosts structural integrity for specific applications. By testing these variables, you can achieve consistent, high-quality results tailored to your printer and project needs. Share your findings with the community to inspire innovation and collaboration.
FAQ
What is the best way to store PETG filament?
I always store PETG in an airtight container with desiccant packs. This prevents moisture absorption, which can cause bubbling and poor extrusion during printing.
How do I prevent PETG from sticking too much to the print bed?
Applying a thin layer of glue stick or painter’s tape works well. These create a barrier, making it easier to remove prints without damaging the bed.
Can I print PETG without a heated bed?
While possible, I don’t recommend it. A heated bed improves adhesion and reduces warping. If necessary, use a clean surface and apply a release agent like glue stick.


