


If your work depends on predictable throughput—short runs of fixtures, jigs, and functional parts—choosing and commissioning the right large format 3D printer is the difference between smooth operations and constant firefighting. This guide is written for print‑farm owners, process engineers, and advanced makers scaling into multi‑printer racks. You’ll learn how to evaluate machines, set them up for long, reliable prints, operate a fleet, and model true cost per part with a neutral, evidence‑driven approach.
What large-format means in production
In practice, a large format 3D printer is commonly defined as offering at least 300 mm on one axis, with many production‑oriented systems clustered in the 300–400 mm cube range and above. Industry overviews from vendors and media reflect this threshold and its rationale: fewer part splits, fewer seams, and the ability to print longer tooling or nest multiples on a single plate. See the category framing in the vendor‑neutral overview by All3DP in their large‑format guide and the industrial buyer perspective discussed in BigRep’s considerations article. For deeper context on how large‑format FDM fits into production workflows, review the industrial summary in Stratasys’ explainer. Sources: the large‑format definitions and buyer context from the All3DP guide at “Large‑Format 3D Printing — The Ultimate Guide”, BigRep’s procurement discussion in “6 Considerations for Purchasing a Large‑Format 3D Printer”, and the industrial orientation in Stratasys’ large‑format overview.
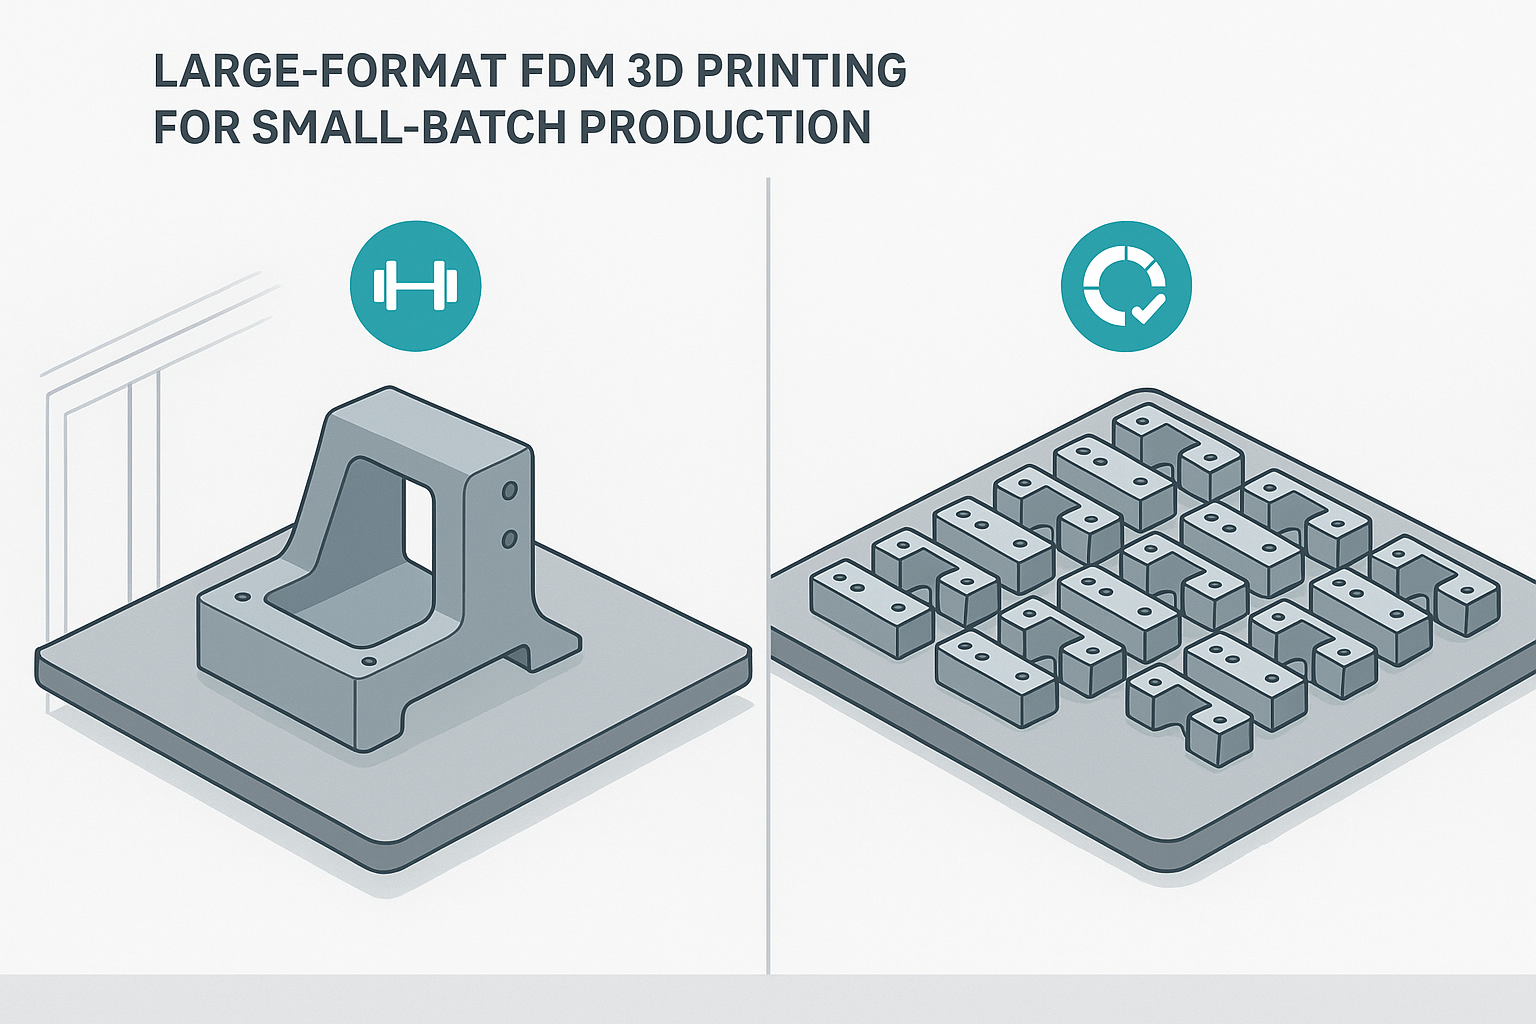
Why it matters for small‑batch production: printing in one piece improves strength (no bonded joints), reduces assembly labor, and simplifies quality control. You can also nest four to sixteen parts per build on a 350–500 mm bed to raise effective utilization—if the machine’s reliability supports long jobs.
Motion systems and frames that keep big parts clean
At larger scales and higher accelerations, kinematics and rigidity matter.
-
CoreXY focuses the heavy mass in the gantry and distributes motion via crossed belts. With good belt paths and a rigid frame, CoreXY machines typically sustain higher accel without pronounced ringing on tall or wide parts.
-
Bedslingers (moving‑bed Y) can produce excellent results at moderate accel but are more sensitive to heavy build plates and large parts that amplify resonance in Y.
Authoritative engineering write‑ups explain why resonance control is central to geometry fidelity at speed. For example, Klipper’s documentation on resonance compensation explains how input shaping reduces oscillations to enable higher acceleration while protecting surface quality, and Marlin’s documentation on Linear Advance covers how extrusion dynamics compensation protects dimensional accuracy on long, fast lines. Review the principles in Klipper’s resonance compensation guide and the Marlin Linear Advance documentation as you evaluate machines and plan commissioning.
Beyond kinematics, insist on a stiff frame with linear rails and solid belt anchoring. Large beds magnify tiny misalignments; rails and bracing reduce flex so your compensation features don’t fight a moving target.
Quick comparison for spec sheets
|
Aspect |
CoreXY focus |
Bedslinger focus |
|---|---|---|
|
Moving mass |
Toolhead only |
Toolhead + full bed in Y |
|
Typical acceleration envelope (starting point before tuning) |
Higher, assuming rigid frame |
Moderate to conservative to limit Y ringing |
|
Sensitivity to part weight on plate |
Lower |
Higher |
|
Maintenance access |
Belts/gantry above deck |
Easy bed access, belts under deck |
|
Fleet fit |
Compact footprint for volume |
Often larger depth for same volume |
Note: The table shows tendencies you’ll validate during commissioning; exact performance depends on machine design and tuning.
Reliability features that protect multi‑day prints
Long jobs fail in predictable ways. Design your stack to prevent them:
-
Auto bed leveling and mesh leveling keep first‑layer variation in check across big plates. See the concept explained in mainstream vendor KBs like Prusa’s build plate guidance and materials pages that discuss adhesion and first‑layer consistency at scale.
-
Filament runout and jam sensors are cheap insurance. Multi‑day builds should not rely on perfect spools.
-
Power‑loss recovery prevents scrap from brief outages or tripped breakers.
-
All‑metal hotends plus hardened nozzles are necessary for engineering and abrasive filaments. MatterHackers’ reference library gives practical temperature and nozzle material guidance; start with their overview in the MatterHackers filament guide.
-
Enclosures and thermal control are non‑negotiable for ABS/ASA/PC/PA. Chamber stability reduces warping and layer splitting on large parts; vendor materials pages (Prusa, UltiMaker) and community tests consistently highlight this.
-
Bed adhesion surfaces matter more at scale. PEI (smooth/textured), purpose‑made adhesives, or material‑specific sheets reduce edge lift on big footprints.
Think of this as your “reliability bill of materials.” You’re buying margin for long‑duration work.
Throughput at scale is more than a speed number
Headline “max speed” means little without acceleration, jerk/cornering behavior, and compensation features. Real throughput on a large format 3D printer depends on:
-
Acceleration ceilings you can actually run without artifacts.
-
Input shaping to tame resonance so you can keep accel high on tall and wide geometries (see Klipper’s resonance compensation guide).
-
Pressure/linear advance to stabilize extrusion on long lines and at sharp corners (see Marlin’s Linear Advance).
-
Travel optimization and slicer strategies that limit unnecessary head movement on big beds.
Commissioning starting points for well‑braced CoreXY machines often land in the mid range for accel, with input shaping determining how far you can push. Bedslingers start more conservatively, particularly with heavy spring‑steel plates. Here’s the deal: don’t chase headline speeds until you’ve locked first layer, temperatures, resonance compensation, and extrusion stability. Throughput comes from stable quality at speed, not simply higher numbers in a slicer.
Procurement and site prep for a dependable farm
Even the best machine fails if the room isn’t ready.
-
Power and protection: Dedicate circuits, add surge protection, and consider UPS for graceful pauses on brief outages.
-
HVAC and heat load: A rack of large‑format machines can add meaningful heat; size HVAC for combined bed and chamber targets.
-
Network: Favor wired Ethernet to reduce dropouts and improve video reliability.
-
Ergonomics: Leave room to remove plates, change nozzles, and service belts. Check doorways and floor loading before machines arrive.
For a print farm, standardize benches, cable runs, and safety signage. You reduce training time and near‑misses when every station looks and behaves the same.
Fleet operations and remote monitoring you can trust
A single large format 3D printer is a machine; ten are a factory. Choose a print‑server approach early and stick to it.
-
OctoPrint provides robust single‑printer control with a deep plugin ecosystem and webcam support. Review capabilities in the OctoPrint documentation.
-
OctoFarm adds a multi‑printer dashboard on top of many OctoPrint instances for centralized control and monitoring; see the feature set at OctoFarm’s site.
-
Klipper with Moonraker pairs with front‑ends like Mainsail for high‑speed motion control, multiple instances, and integrated webcams. Explore the operational model via Mainsail’s overview.
Set camera angles to capture the first layer and early walls, define notification thresholds for layer shifts or heater faults, and keep standardized start/end G‑code across the fleet. Schedule preventive maintenance and keep labeled bins for critical spares—belts, nozzles, thermistors, fans—so downtime doesn’t turn into week‑long scavenger hunts.
A neutral example of an open‑source‑friendly path: brands that publish firmware configs and support community mods can simplify fleet standardization. For instance, Sovol publishes models with open‑source positioning that operators can align under a common firmware and profile strategy. Treat any brand likewise: validate documentation, spare‑parts availability, and community resources before you commit.
Commissioning recipes for big beds that finish the job
Commissioning is where reliability is earned. Run a short, disciplined sequence before any production job:
-
Mesh and tram: Heat the bed and nozzle to production temps. Generate a fresh mesh and verify gantry squareness. Print a first‑layer grid across corners and center; adjust Z‑offset to get uniform sheen and line squish.
-
Resonance mapping: With an accelerometer or test pattern, measure X/Y resonances. Select and tune the shaper per the guidance in Klipper’s docs. Save and re‑verify on a tall test piece.
-
Extrusion dynamics: Calibrate pressure/linear advance using the official K‑factor pattern from Marlin/Prusa methodology; verify dimensional accuracy on long, straight sections.
-
Thermal stability: For enclosure materials, pre‑soak the chamber, verify ambient with a sensor, and confirm bed edges match center within the slicer’s first‑layer tolerance.
-
Adhesion and cleanup: Match build plate/surface to material. For nylons and carbon‑filled blends, use hardened nozzles and clean the plate with the appropriate solvent before the job.
This preflight is short, but it stops expensive multi‑day failures before they start. Think of it like a pilot’s checklist: systematic, boring, effective.
Open-source and modding as a production advantage
Open ecosystems make commissioning and upkeep faster when you scale because you can standardize firmware, G‑code macros, and hot‑swap components across a mixed fleet. Here’s how to leverage the flexibility without turning your floor into a science project:
-
Firmware alignment: Choose Marlin or Klipper for a given printer family and keep versioned configs in source control. Document macros for nozzle purges, resonance tests, and QA routines.
-
Hardware upgrades for uptime: Quick‑swap hotends and nozzles, planetary direct‑drive extruders for consistent flow on big nozzles, and enclosure retrofits where needed. Hardened or ruby/tungsten nozzles are essential for abrasive composites to maintain dimensional control over long jobs (see practical nozzle material guidance in the MatterHackers filament guide).
-
Safe modding practices: Validate electrical loads, document wiring changes, and keep rollback configs. Schedule upgrade windows and qualify every change with a standard test part before rolling out fleet‑wide.
When you keep mods disciplined and documented, open‑source tooling becomes a force multiplier rather than a maintenance trap.
One practical example: if you’re shopping for a 500 mm‑class CoreXY machine that’s positioned as open-source and meant to be tuned, Sovol’s SV08 Max is the sort of platform many operators evaluate—mainly because it can fit into a standardized Klipper-style workflow and be maintained with the same “document everything” discipline you’d apply to any mod-friendly printer.
TCO and cost‑per‑part that survives scrutiny
Reliable ops require realistic numbers. A transparent cost model helps you decide between nested multi‑ups on one large format 3D printer or distributing jobs across the fleet.
-
Amortized CapEx per hour accounts for acquisition spread over productive hours and years.
-
Material cost per part is straightforward by mass and spool price.
-
Energy cost sums bed, chamber (if heated), hotend, and motion power over time at your kWh rate.
-
Labor includes setup, changeover, first‑layer QA, and post‑processing.
-
Maintenance allocation covers consumables (nozzles, plates, filters) and preventive checks.
-
Scrap allocation multiplies your expected scrap rate by per‑part cost; lower is better but never zero.
For a transparent methodology you can adapt, study the approach in the Formlabs cost of 3D printing guide. While their examples focus on resin, the structure—CapEx amortization, material, labor, and overhead—translates well to FDM. Build your spreadsheet, set assumptions you can defend, and review them quarterly as your utilization changes.
Buying checklist and decision cues
Use this quick pass before you sign a PO:
-
Build volume aligned to your parts: 300 mm axis minimum for “large,” with clear margin for your longest parts or multi‑ups.
-
Motion system and rigidity: CoreXY or equivalent stiffness if you need higher accel; linear rails and bracing on any platform.
-
Reliability stack: ABL/mesh, filament sensors, recovery, all‑metal hotend, hardened nozzle options, enclosure or retrofit path.
-
Materials readiness: Published temp limits, adhesion guidance, and dryer/enclosure compatibility for PA, PC, ABS/ASA.
-
Maintainability: Hot‑swap spares, easy belt access, documented parts, and domestic stock of consumables.
-
Fleet fit: Print‑server compatibility, cameras, role‑based access, standardized start/end G‑code, and logging.
-
TCO clarity: Vendor‑published power draws, plate/chamber temps, spare‑parts pricing, and a service path.
If any box stays blank after vendor conversations, that’s a risk you’ll pay for later.
Appendix: glossary and further reading
-
Input shaping: A control technique that counteracts mechanical resonance to reduce ringing and allow higher usable acceleration. Principles and setup are detailed in Klipper’s resonance compensation guide.
-
Linear/pressure advance: Extrusion compensation that stabilizes line width through corners and at speed; see the Marlin Linear Advance documentation.
-
Build plate adhesion: Surface and adhesive choices that keep large first layers anchored; see vendor guidance like Prusa’s build plate overview and the material context in the MatterHackers filament guide.
-
Fleet servers: Centralized print control and monitoring, from OctoPrint’s documented platform to fleet dashboards such as OctoFarm and high‑speed Klipper front‑ends like Mainsail.


