


PETG printing problems can arise despite the material's outstanding durability and smooth finishes, even for experienced users. Common issues include poor adhesion, stringing, and weak interlayer bonding. While PETG’s low shrinkage reduces warping compared to ABS, troubleshooting these PETG printing problems requires precision. Proper filament handling is also crucial to achieve consistent 3D print quality.
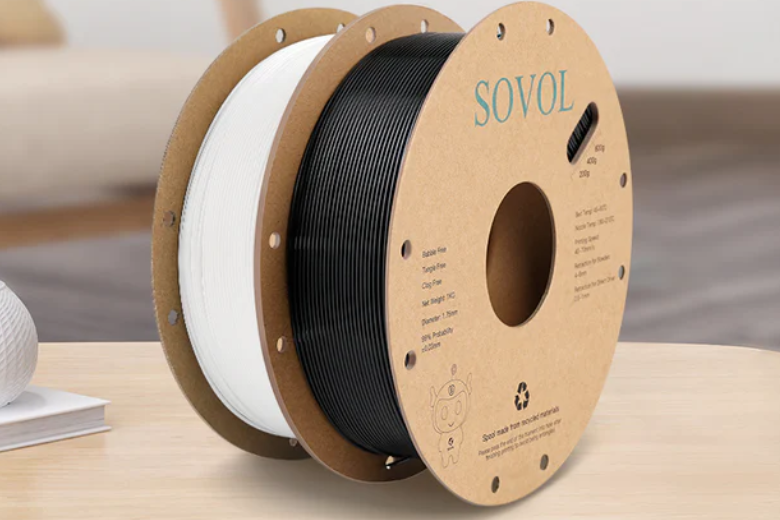
- PETG is beginner-friendly and works without a heated bed.
- It delivers excellent layer adhesion, minimizing visible lines.
- Low shrinkage reduces the risk of warping during prints.
With these advantages, PETG remains a favorite, but addressing its quirks is essential for success.
Key Takeaways
- Always clean the print bed well before printing. Use rubbing alcohol to clean it properly.
- Set the bed temperature between 140°F and 176°F for better sticking. Higher heat is better for big prints.
- Try glue sticks or hairspray to help things stick. Spread them evenly for good results.
Solving PETG Bed Adhesion Issues
Preparing and Cleaning the Print Bed
Proper preparation and cleaning of the print bed are critical for achieving strong PETG adhesion. Any residue, oil, or dust on the surface can lead to adhesion problems, causing prints to fail. You should clean the bed thoroughly before every print to ensure optimal results. Here are some effective cleaning techniques:
|
Cleaning Technique |
Description |
|---|---|
|
Spatula/Scraper |
Use to remove debris from adhesive tape beds before cleaning with IPA. |
|
Isopropyl Alcohol |
Recommended at 70% concentration for cleaning oils from surfaces. |
|
Sponge Scrubber |
Suitable for cleaning glass beds due to their tougher surface. |
|
Dish Soap |
An alternative for general cleaning of glass surfaces if IPA is unavailable. |
|
Extra Adhesives |
Use glue or hairspray to enhance adhesion if PETG still doesn't stick. |
For PETG, isopropyl alcohol (IPA) is particularly effective at removing oils and fingerprints. If you’re using a glass bed, a sponge scrubber or dish soap can also work well. After cleaning, ensure the surface is completely dry before starting your print. This step minimizes the risk of adhesion problems and sets the stage for successful 3D printing.
Tip: If PETG still struggles to stick, consider applying a thin layer of glue stick or hairspray to the bed. These adhesives can significantly improve bed adhesion.
Optimizing Bed Temperature for PETG
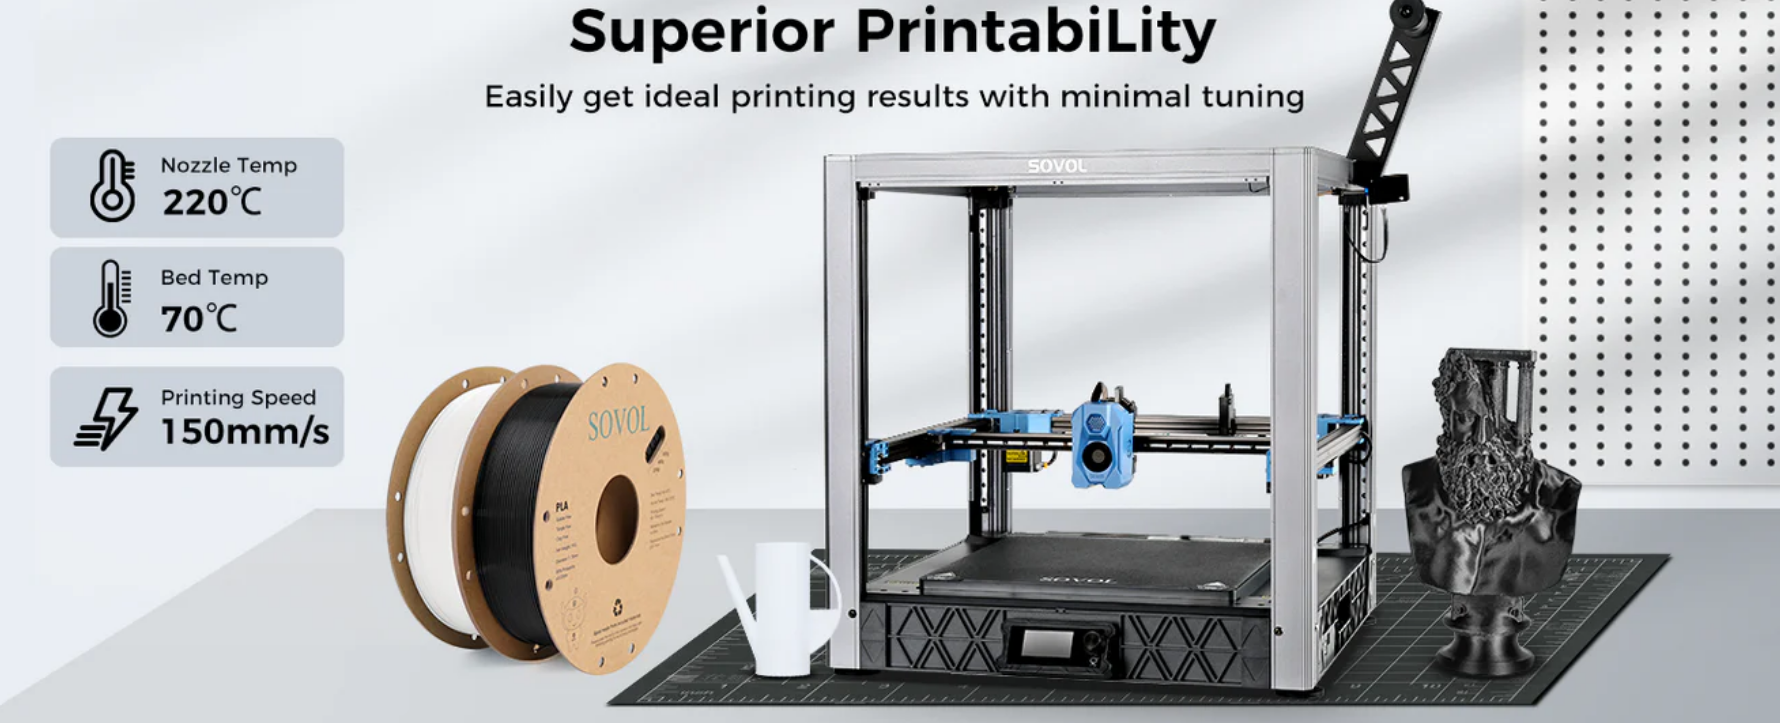
Bed temperature plays a vital role in PETG filament troubleshooting. Setting the correct temperature ensures the filament adheres well to the print bed without warping or detaching. For PETG, the ideal bed temperature typically falls between 60°C and 80°C.
- A temperature of 60°C works well for smaller prints or when using adhesion aids like glue sticks.
- For larger prints or when using a bare glass bed, increasing the temperature to 70°C or 80°C can provide better results.
- PETG adheres effectively to surfaces like blue painter's tape, glue stick, or clean glass within this temperature range.
Monitor the bed temperature closely during the print. If you notice warping or detachment, adjust the temperature incrementally to find the sweet spot for your setup.
Using Adhesion Aids for Better Results
Adhesion aids can be a game-changer when printing with PETG. If cleaning and temperature adjustments don’t resolve adhesion problems, you can use additional products to enhance the bond between the filament and the print bed. Common options include:
- Glue Stick: Apply a thin, even layer to the bed for improved first layer adhesion.
- Hairspray: A light mist of hairspray can create a sticky surface for PETG to adhere to.
- Painter’s Tape: Blue painter’s tape provides a textured surface that helps PETG stick better.
- PEI Sheets: These sheets offer excellent adhesion for PETG and are reusable.
When using these aids, ensure they are applied evenly and cleaned off after each print to maintain a consistent surface. Adhesion aids are particularly useful for troubleshooting stubborn prints that won’t stick.
Calibrating the First Layer for Success
Getting the first layer right is essential for successful PETG prints. Proper calibration ensures the filament adheres firmly to the bed, reducing the risk of warping or detachment. Follow these steps to optimize your first layer:
- Calibrate for More "Squish": Adjust the Z-axis height so the nozzle is close enough to create a slightly squished first layer. This increases surface contact and improves adhesion.
- Apply Glue Stick: A thin layer of glue stick can enhance first layer adhesion, especially on glass beds.
- Clean the Nozzle and Bed: Ensure both are spotless before starting the print to avoid sticking issues.
- Preheat the Printer: Preheat the bed and nozzle to PETG settings before calibration for accurate results.
- Adjust Z-Axis Height: Fine-tune the Z-axis to achieve the perfect first layer placement.
Note: A well-calibrated first layer not only improves adhesion but also sets the foundation for the rest of the print. Take your time with this step to avoid issues later in the process.
By focusing on these key areas—cleaning, temperature, adhesion aids, and first layer calibration—you can overcome PETG bed adhesion challenges and achieve consistent, high-quality 3D prints.
Preventing Stringing and Drawing with PETG Filament
Fine-Tuning Retraction Settings
Stringing occurs when melted filament leaks from the nozzle during travel moves, leaving thin strands across your print. Adjusting retraction settings can significantly reduce this issue. Start by lowering the retraction length to 2-2.5mm and setting the speed to 30mm/s. These adjustments help control the flow of PETG during 3D printing. For some PETG brands, reducing the standard retraction length from 3mm to as low as 0.4mm can yield better results. Additionally, enabling the "wipe" setting in your slicer software minimizes oozing by retracting and cleaning the nozzle before travel moves. If stringing persists, consider under-extruding slightly by 0.1-0.2% to further control filament flow.
|
Retraction Length |
Speed |
Z-Lift |
Improvement Reported |
|---|---|---|---|
|
6.2mm |
N/A |
0.05mm |
Significant improvement |
|
2-2.5mm |
30mm/s |
N/A |
Better results reported |
|
Default 3.2mm |
70mm/s |
N/A |
Needs adjustment for PETG |
Tip: Some PETG filaments may require z-hop settings to be turned off for optimal results.
Adjusting Printing Temperature to Minimize Stringing
The print temperature directly affects filament behavior during 3D printing. For PETG, start with a nozzle temperature of 220°C and adjust in 5°C increments to find the optimal PETG settings for your filament. Lowering the temperature can reduce filament oozing, but be cautious—too low a temperature may weaken layer adhesion or compromise surface finish. If stringing continues, combine temperature adjustments with fine-tuned retraction settings for the best results.
|
Adjustment Type |
Recommendation |
|---|---|
|
Nozzle Temperature |
Start at 220°C and adjust in 5°C increments to find the optimal temperature for your PETG. |
|
Retraction Settings |
Lower the temperature if stringing persists to reduce filament oozing. |
|
Caution with Temperature |
Avoid excessively low temperatures to maintain strength and surface quality. |
Controlling Print Speed for Cleaner Prints
Print speed plays a crucial role in achieving cleaner PETG prints. Slowing down the speed allows the filament to set properly, reducing stringing and other flow-related issues. For PETG, running your printer at 50% speed in "silent mode" can help identify flow problems. Slower speeds also mitigate moisture-related defects, ensuring consistent extrusion. While this increases print time, the improved quality often outweighs the delay. If you notice irregularities in layer changes, reducing speed can help maintain consistent filament flow.
Note: Slower speeds improve filament setting, especially when dealing with moisture-affected PETG.
Drying PETG Filament to Avoid Moisture Issues
PETG is hygroscopic, meaning it absorbs moisture from the air. Moisture-laden filament can cause stringing, under-extrusion, and poor print quality. Using a filament dryer ensures controlled heat and airflow, effectively removing moisture. Drying PETG before printing results in fewer failures and cleaner prints. Store your filament in an airtight container with desiccant to keep it moisture-free between uses. This simple step can dramatically improve the reliability of your 3D printing projects.
Tip: If you don’t have a filament dryer, you can dry PETG in an oven at 65°C for 4-6 hours. Always monitor the process to avoid overheating.
By fine-tuning retraction settings, adjusting print temperature, controlling speed, and drying your filament, you can minimize stringing and achieve cleaner, more professional PETG prints.
Enhancing Inter-Layer Adhesion for Stronger Prints
Inter-layer adhesion is critical for producing durable and reliable PETG prints. Poor bonding between layers can lead to 3d printing layer separation, also known as delamination, which compromises the structural integrity of your prints. By optimizing specific settings and handling your PETG filament correctly, you can achieve stronger adhesion and eliminate delamination issues.
Increasing Extrusion Temperature for Better Bonding
Raising the extrusion temperature is one of the most effective ways to improve inter-layer adhesion in PETG prints. Higher temperatures allow the filament to melt more thoroughly, ensuring better bonding between layers. For PETG, a nozzle temperature closer to 260°C often yields stronger adhesion. However, lower temperatures may still work well for prints where visual quality is more important than strength.
|
Temperature (°C) |
Effect on Bonding |
|---|---|
|
Nearer 260 |
Improves bonding significantly |
|
Lower temperatures |
Suitable for visual parts |
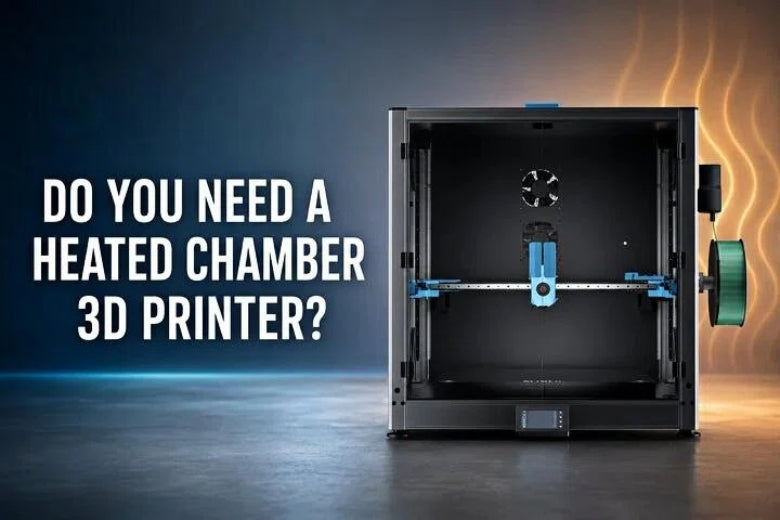
To further enhance bonding, consider using an enclosed build chamber. This setup maintains a consistent print environment and prevents rapid cooling, which can lead to delamination. Slowing down the cooling process gives the layers more time to fuse together, resulting in stronger prints.
Tip: Always test your PETG filament at different temperatures to find the optimal print temperature for your specific brand and application.
Slowing Down Print Speed to Improve Layer Fusion
Reducing print speed can significantly improve layer fusion in PETG prints. Slower speeds allow the filament to stay hot for longer, promoting better bonding between layers. For PETG, a print speed of 30-50 mm/s is often ideal for achieving strong adhesion. Slowing down the speed also reduces the risk of 3d printing layer separation, especially in taller or more complex prints.
When printing at slower speeds, monitor the extrusion rate to ensure consistent flow. Uneven extrusion can lead to weak spots in your print, increasing the likelihood of delamination. Adjust your slicer settings to balance speed and quality for optimal results.
Note: While slower speeds increase print time, the improved durability and reduced risk of delamination make it a worthwhile trade-off.
Reducing Cooling Fan Speed for Stronger Layers
Cooling fans play a vital role in 3d printing, but excessive cooling can cause delamination in PETG prints. Reducing the fan speed allows the layers to stay warm for longer, improving inter-layer adhesion. For PETG, setting the fan speed to 30-50% or turning it off entirely for the first few layers can enhance bonding.
If you notice signs of 3d printing layer separation, experiment with lower fan speeds or disable the fan altogether. This adjustment is particularly effective for prints with intricate geometries or overhangs, where strong adhesion is crucial.
Tip: Use a fan speed of 0-20% for the first few layers to ensure a solid foundation, then gradually increase it for better surface finish.
Proper Storage and Handling of PETG Filament
Proper storage and handling of PETG filament are essential for maintaining its quality and preventing delamination. PETG is hygroscopic, meaning it absorbs moisture from the air. Moisture-laden filament can lead to poor adhesion and weak bonding between layers. Store your filament in an airtight container with desiccant to keep it dry.
Before printing, check the filament for signs of moisture, such as popping sounds or steam during extrusion. If necessary, dry the filament in a filament dryer or an oven at 65°C for 4-6 hours. Properly dried filament ensures consistent extrusion and reduces the risk of 3d printing layer separation.
Note: Regularly inspect your filament for damage or contamination, as these factors can also affect adhesion and bonding.
By increasing extrusion temperature, slowing down print speed, reducing cooling fan speed, and properly storing your PETG filament, you can enhance inter-layer adhesion and produce stronger, more reliable 3d prints. These adjustments will help you overcome delamination issues and unlock the full potential of PETG filament.
PETG printing problems like adhesion, stringing, and weak inter-layer bonding can be resolved with targeted adjustments. You should prioritize bed preparation, optimize settings, and maintain filament quality to enhance print quality. By addressing these challenges, you can achieve high-quality prints and unlock the full potential of PETG for your 3d print projects.
FAQ
What is the best way to store PETG filament?
Store PETG in an airtight container with desiccant to prevent moisture absorption. Moisture can cause stringing, poor adhesion, and weak inter-layer bonding during printing.
Why does PETG string more than other filaments?
PETG’s viscosity and tendency to ooze at high temperatures cause stringing. Fine-tune retraction settings, lower print temperature, and dry the filament to minimize this issue.
How do I clean PETG off the nozzle?
Heat the nozzle to PETG’s printing temperature (220-260°C). Use a brass wire brush or a cleaning filament to remove residue without damaging the nozzle.


