When your 3D prints feel fragile or fail under pressure, the 3D print infill strength issue is often the culprit. It’s frustrating to see your hard work result in parts that break or can’t handle stress. Addressing this issue is crucial for creating durable and functional models.
Some common symptoms of the 3D print infill strength issue include parts cracking easily or collapsing under weight. These problems can ruin your prints and waste both time and materials. The good news? You can tackle weak infill with the right adjustments and techniques. Let’s explore how to strengthen your prints and avoid failure.
Key Takeaways
- Look for weak infill by spotting cracks, breaks, or uneven areas in your prints.
- Change the infill percentage to make prints stronger; try 20-30% first and raise it for tougher parts.
- Pick the best infill pattern for your project; triangle and hexagon shapes are the strongest.
- Make sure layers stick well by cleaning the print bed and setting the nozzle to the right temperature.
- Keep your printer in good shape and adjust it often to avoid weak infill and get better prints.
Identifying 3D Print Weak Infill
Symptoms of Weak Infill
Have your 3D prints ever cracked or broken too easily? This often means the infill inside is weak. If the inside structure isn’t strong, parts can break or fail. Here are some signs of weak infill:
- Fragility: Parts feel weak and break when bent or twisted.
- Structural failure: Models collapse under weight or stress they should handle.
- Uneven surfaces: Outer layers sag or bend because of poor internal support.
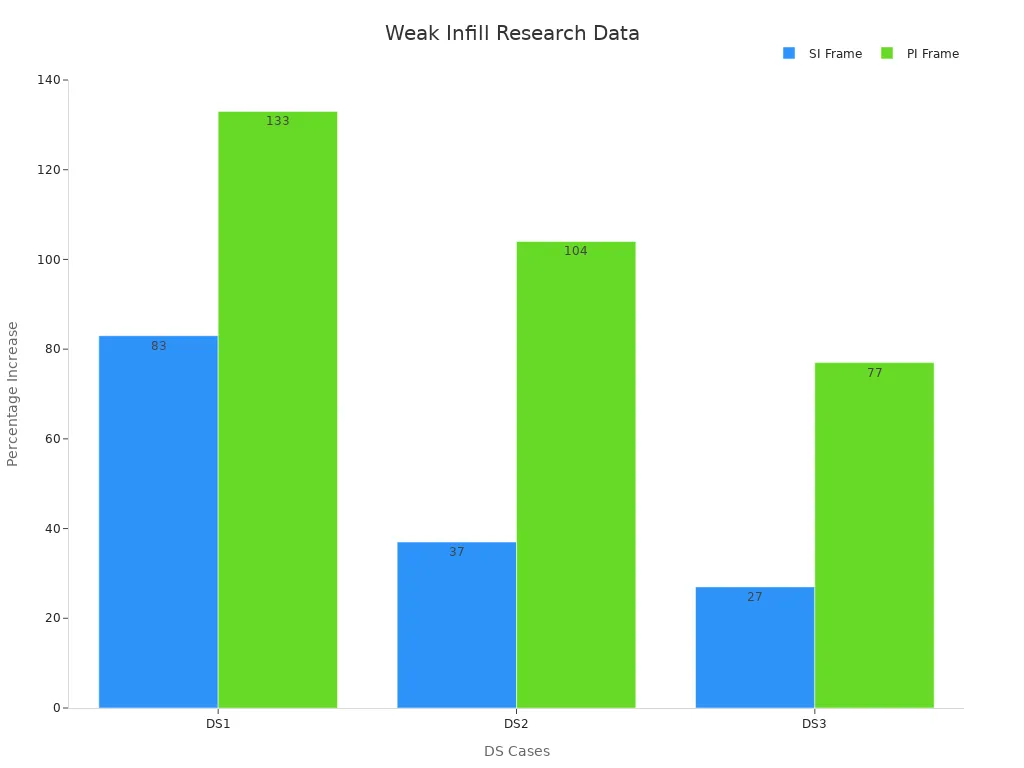
Studies show weak infill affects how strong 3D prints are. For example, research comparing frame types found SI frames had up to 83% better strength (μDS) than PI frames. This proves infill design matters for durability.
|
Frame Type |
μDS for DS1 |
μDS for DS2 |
μDS for DS3 |
|---|---|---|---|
|
SI Frame |
83% better |
37% better |
27% better |
|
PI Frame |
133% better |
104% better |
77% better |
If you notice these problems, check your infill settings and printing process.
How to Test Infill Strength
Testing infill strength is simple and helpful. These tests can show weak spots and help improve your prints. Try these methods:
- Tensile testing: Pull on a printed piece until it breaks. This shows how strong and stretchy the material is. Results appear as a stress-strain curve.
- Compression testing: Put weight on your print and see if it holds. If it bends or breaks, the infill needs fixing.
- Visual inspection: Look for gaps, uneven layers, or poor bonding in the infill. These weaken your print.
The infill pattern and density affect these tests. For instance, concentric patterns are stronger and more stable than rays patterns, as shown below:
|
Infill Pattern |
R_LPI Value |
Mechanical Stability |
Mechanical Properties |
|---|---|---|---|
|
Concentric |
Stronger |
Higher elasticity, yield strength, tensile strength |
|
|
Rays |
88.46% |
Weaker |
Lower strength compared to concentric patterns |
By testing and observing carefully, you can find and fix weak infill. Testing also helps you adjust your printer for better results.
How Infill Patterns Impact Strength
Common Infill Patterns and Their Strength Characteristics
The infill pattern you pick affects how strong your print is. Each pattern has its own benefits. Knowing these can help you choose wisely. Here’s a simple overview:
|
Infill Pattern |
|
|---|---|
|
Gyroid |
Equal strength everywhere; good balance of strength and weight |
|
Honeycomb |
Resists force with paths that don’t cross each other |
|
Triangular or Hexagonal |
Strongest patterns with excellent durability |
|
Adaptive cubic |
Prints faster, uses less material, and gives good support |
|
Support cubic |
Helps top layers but doesn’t add mechanical strength |
|
Rectilinear |
Doubles top layer support using the same material |
Gyroid patterns are great for even strength. Honeycomb patterns are lightweight but tough. For maximum strength, triangular or hexagonal patterns are best.
Choosing the Right Pattern for Your Print
Different prints need different infill types. The best choice depends on your project. Here are some tips:
- For strong parts: Use cubic or grid patterns. They make prints durable and strong vertically.
- For light models: Honeycomb or gyroid patterns are ideal. They save material but stay sturdy.
- For flexible parts: Concentric patterns work well. They allow bending without breaking.
Think about what your print will do. If it needs to hold weight, focus on strength. For decoration, simpler patterns like rectilinear save time and material.
Balancing Strength and Material Usage
Stronger prints often need more material, but you can find balance. Try these ideas:
- Change infill percentage: Higher percentages make prints stronger but use more filament. Start at 20-30%.
- Improve infill overlap: A 10-20% overlap helps connect infill to outer walls without wasting filament.
- Pick efficient patterns: Adaptive cubic patterns save time and material while giving good support.
Smaller layer heights and slower speeds also boost strength. These changes take longer but are worth it for important parts.
Causes of 3D Print Infill Strength Issues
Wrong Infill Percentage
Using the wrong infill percentage can make prints weak. If the percentage is too low, the inside won't support the print well. This makes it fragile and easy to break. Too high a percentage wastes material without adding much strength.
Research shows higher infill percentages improve strength and bonding. More infill reduces empty spaces and connects layers better, stopping cracks. Start with 20-30% infill for most prints. For stronger parts, try 50% or more.
To fix weak infill, test different percentages. Use lower percentages for decoration. For strong parts, increase the infill to make them last longer.
Weak Layer and Bed Adhesion
Bad layer adhesion makes prints weak and easy to break. Poor bed adhesion can cause the first layers to move or bend, ruining the print's structure.
To fix this, clean and level the print bed. Use glue sticks or tape to help the print stick better. Raise the nozzle temperature to improve material flow and layer bonding.
If problems continue, check slicer settings. Increase infill overlap (10-20%) to connect infill and walls better. This makes prints stronger.
Extruder Problems and Flow Issues
A poorly calibrated extruder can cause uneven infill. If filament flow is off, gaps or uneven layers appear inside the print. This happens when the extruder pushes too little material or the nozzle is too cold.
Fix this by calibrating the extruder. Run an extrusion test to check filament output. Adjust flow rate in slicer settings if needed. Higher nozzle temperatures improve flow and reduce gaps.
Choose strong infill patterns like gyroid or cubic for better stability. Combine good calibration with strong patterns to make durable prints.
Material-Specific Challenges (e.g., PLA, ABS, PETG)
Different materials have their own printing challenges. Knowing these can help fix weak infill and improve prints.
- PLA: PLA is simple to use but can break easily. Weak infill may happen if cooling is too high. Reduce fan speed a little to improve layer bonding.
- ABS: ABS is tough but often warps. Uneven cooling causes weak infill. Use a heated chamber or enclosed printer to keep temperatures steady. This helps reduce warping and strengthens the infill.
- PETG: PETG is strong and flexible but strings easily. Weak infill can come from poor layer bonding due to high nozzle heat. Lower the temperature slightly and adjust retraction settings to fix this.
Each material reacts differently to changes. Test speed, heat, and cooling to find the best settings for your filament.
Tip: Always follow the filament maker’s recommended settings. This saves time and avoids common problems.
Environmental Factors Affecting Print Quality
Your workspace affects how strong your infill is. Temperature, moisture, and airflow all matter.
- Temperature: A cold room cools prints unevenly, causing warping and weak layers. Too much heat can soften filament in the extruder. Keep the room between 68°F and 77°F for better results.
- Humidity: Filament absorbs water from the air, especially PLA and PETG. Wet filament creates bubbles and weak infill. Store filament in sealed containers with drying packs to keep it dry.
- Airflow: Strong drafts or fans cool layers too fast, causing cracks or warping. Place your printer away from vents or windows to avoid airflow problems.
Here’s how room conditions affect strength:
|
Condition |
Ultimate Tensile Strength (MPa) |
Offset Yield Strength (MPa) |
|---|---|---|
|
1 |
733.51 ± 5.86 |
498.51 ± 35.91 |
|
2 |
726.80 ± 6.00 |
417.53 ± 17.72 |
|
3 |
641.08 ± 19.43 |
394.98 ± 15.43 |
|
4 |
Slightly higher than condition 3 |
Lower than conditions 1 and 2 |
The chart shows how room conditions change print strength. For stronger prints, keep your workspace stable and avoid these issues.
How to Fix Weak Infill in 3D Prints
Adjusting Infill Percentage for Optimal Strength
Changing the infill percentage is an easy way to fix weak prints. This setting controls how much material fills the inside of your model. Using a low percentage saves filament but makes parts fragile and easy to break. A very high percentage uses more material but doesn’t always make prints much stronger.
For most prints, start with 20-30% infill for a good balance. If your model needs to hold weight or handle stress, increase the percentage to 50% or more. For decorative items, you can lower it to around 10%.
Tip: Raise the infill percentage slowly, by 5-10%, and test results. This helps you find the best setting for your print.
Studies by V. Arikan and Md. Qamar Tanveer show higher infill percentages improve strength. They reduce cracks and make prints more durable. Adjusting this setting can solve many infill strength problems.
Selecting the Best Infill Pattern for Your Needs
The infill pattern you choose affects how strong your print is. Each pattern has different benefits, so pick one based on your project.
Here’s a simple guide to common patterns:
- Gyroid: Strong and flexible, great for functional parts.
- Honeycomb: Lightweight but tough, resists force well.
- Triangular or Hexagonal: The strongest patterns, ideal for heavy-duty prints.
- Rectilinear: Easy and fast to print, good for decorations.
- Concentric: Works well for flexible parts that need bending.
If you’re unsure, try gyroid or honeycomb for strength and efficiency. For maximum durability, use triangular or hexagonal patterns. Research by Md. Qamar Tanveer shows how patterns affect print strength. Picking the right one improves your model’s performance.
Pro Tip: Combine a strong infill pattern with the right percentage for better results.
Improving Bed Adhesion and Layer Bonding
Weak layers often happen because of poor adhesion. If layers don’t stick well, the print’s inside becomes fragile. Bad bed adhesion can also cause the first layers to move or warp, ruining the print.
- Clean the print bed to remove dust or dirt.
- Use glue sticks or special surfaces to help the first layer stick.
- Level the bed carefully for even nozzle contact.
For stronger layer bonding, match nozzle and bed temperatures to the filament type. Raising the nozzle temperature slightly can improve material flow and help layers stick better.
Note: Keep your workspace stable. Avoid drafts or sudden temperature changes that weaken adhesion.
Tests show these fixes reduce warping and improve layer bonding. By solving adhesion problems, you can make prints stronger and more reliable.
Calibrating the Extruder for Smooth Filament Flow
Getting smooth filament flow helps fix weak infill. If the extruder isn’t set up right, prints may have gaps or uneven layers. These problems make models weak and easy to break.
Start by testing extrusion. This checks if the printer uses the right amount of filament. If it’s wrong, adjust the extrusion multiplier in slicer settings. You can also raise the nozzle temperature. Warmer nozzles improve flow, especially for ABS or PETG materials.
Studies show nozzle temperature, room heat, and fan speed affect flow. Cooling plays a big role in bonding layers. Adjust these settings for better infill strength.
Tip: Clean the nozzle often. Dirt can block filament and cause bad flow. Cleaning keeps the extruder working well.
Adjusting Speed, Heat, and Cooling for Stronger Prints
Print speed, heat, and cooling change how strong infill is. Printing too fast can cause weak layers. Slower speeds let filament stick better, making prints stronger.
Nozzle heat also matters. Higher heat improves layer bonding but can cause stringing. For PLA, use 190-210°C. ABS works at 220-250°C, and PETG needs 230-250°C.
Cooling is important too. Fans set too high cool layers too fast, causing weak bonds. Lower the fan speed for better adhesion. For ABS, turn off the fan to stop warping.
Pro Tip: Make small changes to speed, heat, and cooling. Test prints help find the best settings for your material.
Tips for Stronger Prints with Different Materials
Each material needs special care for strong prints. Here’s a quick guide:
|
How to Improve |
|
|---|---|
|
Impact Strength |
Use ABS or PETG for tough parts. Adjust nozzle heat for better bonding. |
|
Flexural Strength |
Use PLA for looks or PETG for bending. Lower fan speed for better flexibility. |
|
Compressive Strength |
Raise infill percentage for heavy parts. Use strong patterns like triangles. |
|
Shear Strength |
Use gyroid infill for twisting parts. Calibrate extrusion for smooth flow. |
|
Tear Strength |
Lower layer height for stressed parts. This improves bonding. |
|
Fatigue Strength |
Use PETG for parts under repeated stress. Adjust cooling to avoid cracks. |
PLA needs good cooling and layer bonding. ABS needs heat control to stop warping. PETG needs retraction tweaks to reduce stringing.
Note: Follow the filament maker’s settings. This saves time and improves results.
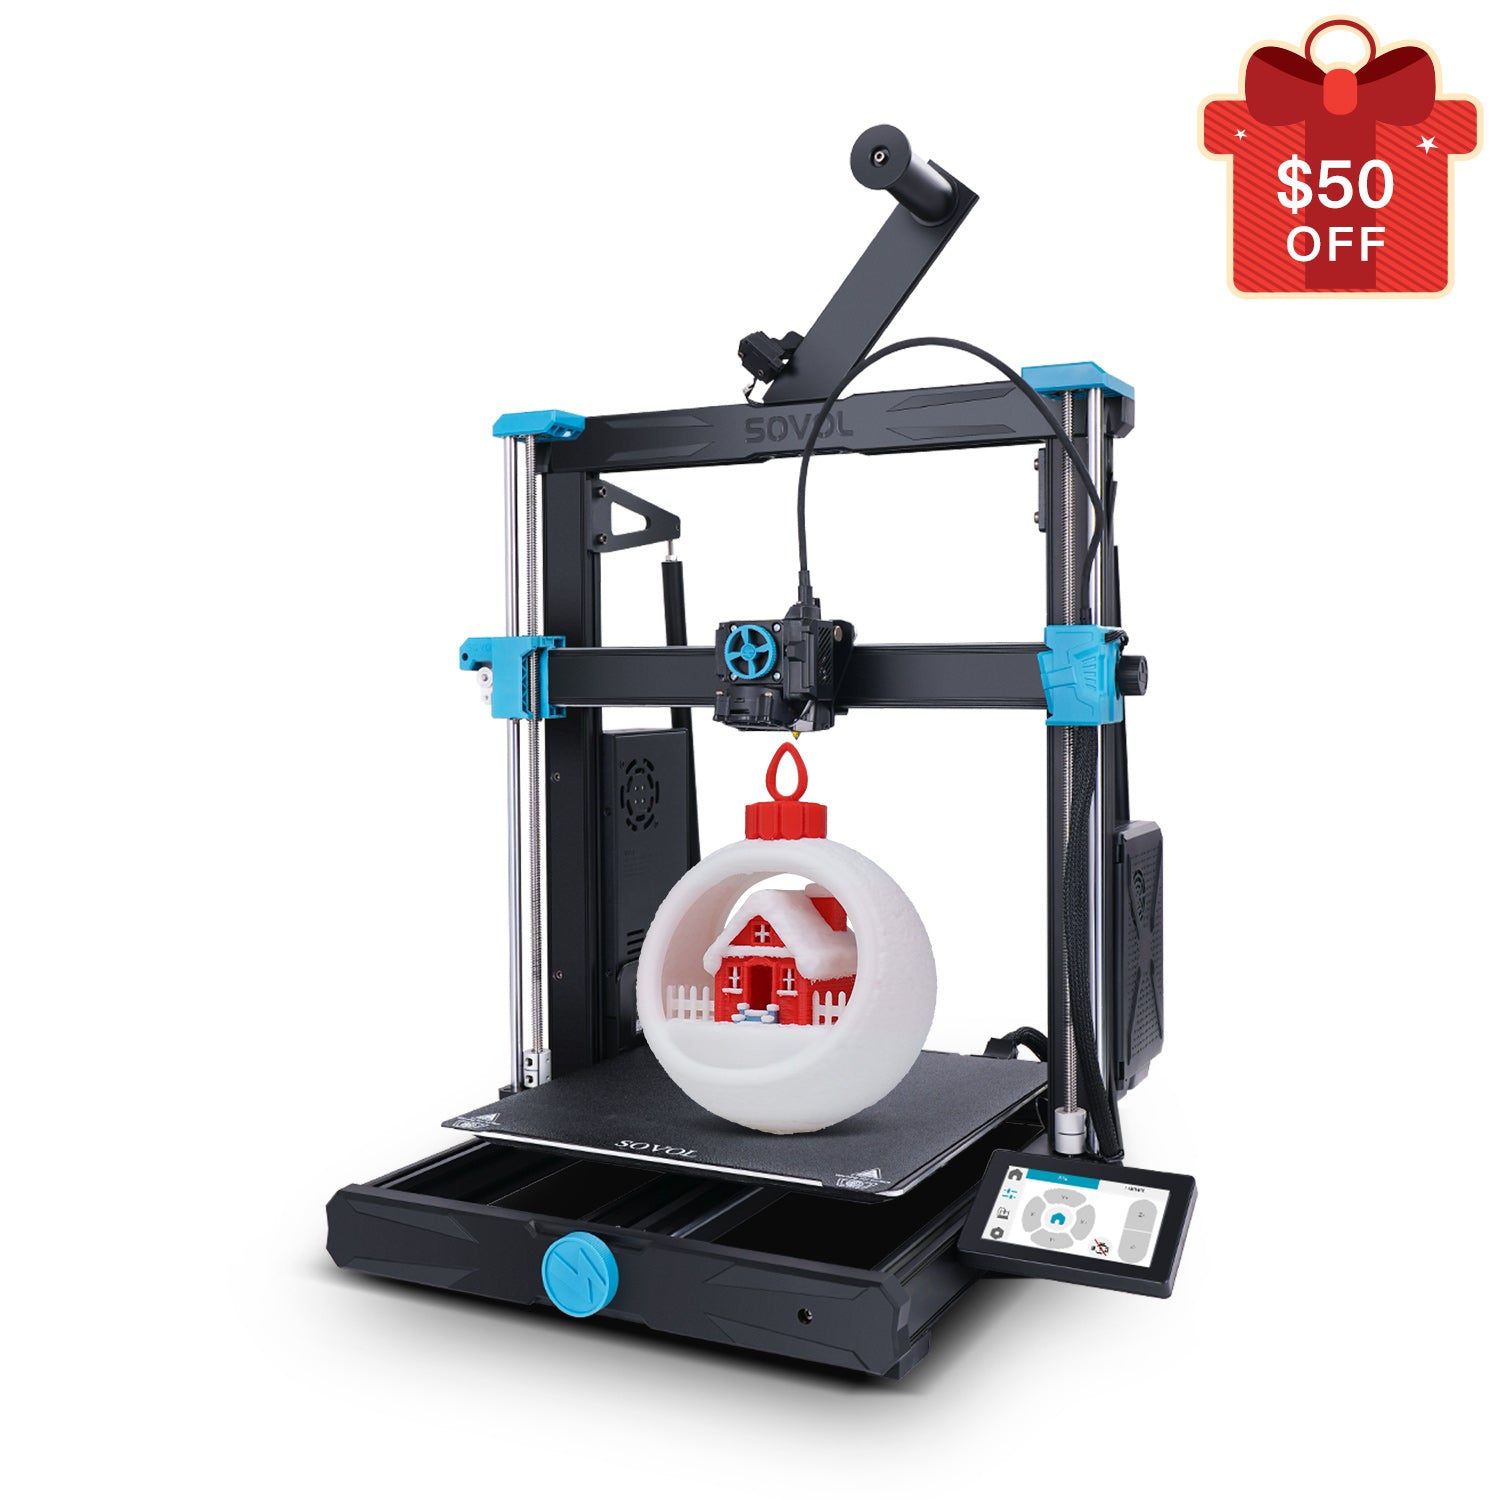
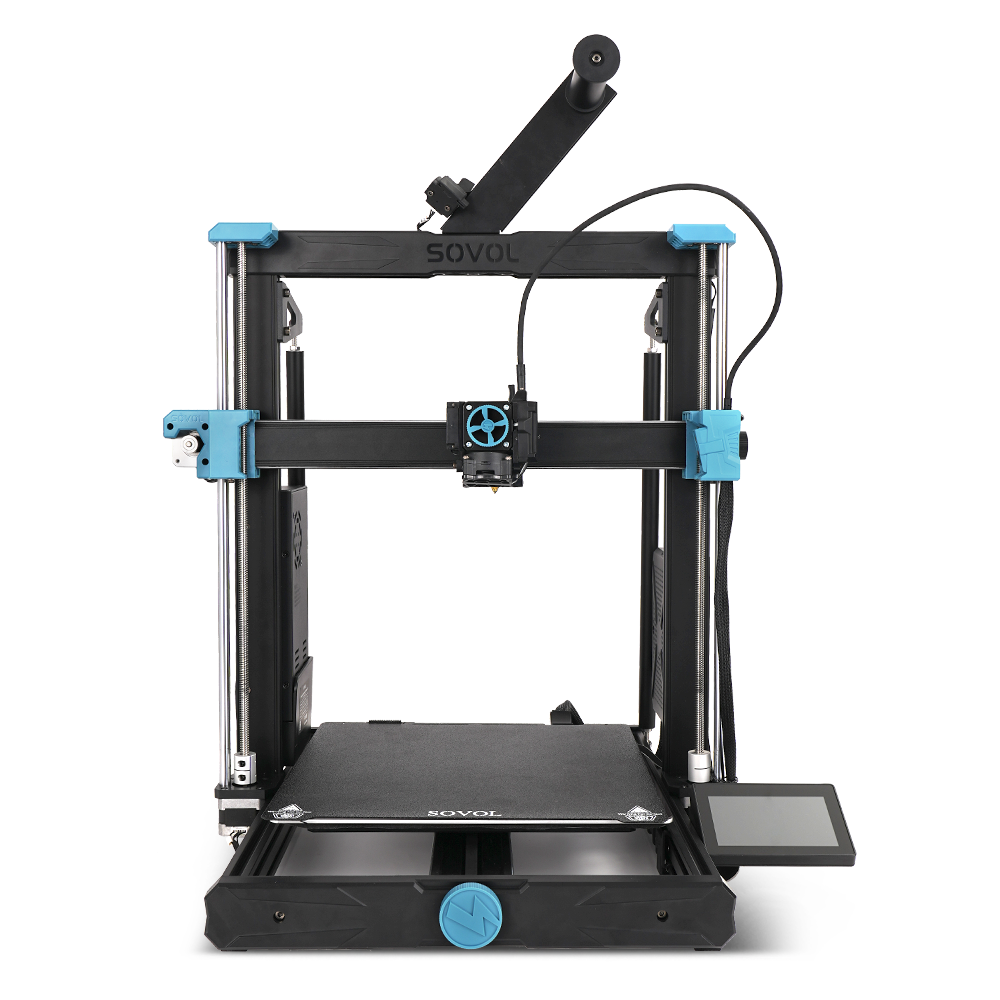
Example: Fixing Weak Infill on Sovol Printers
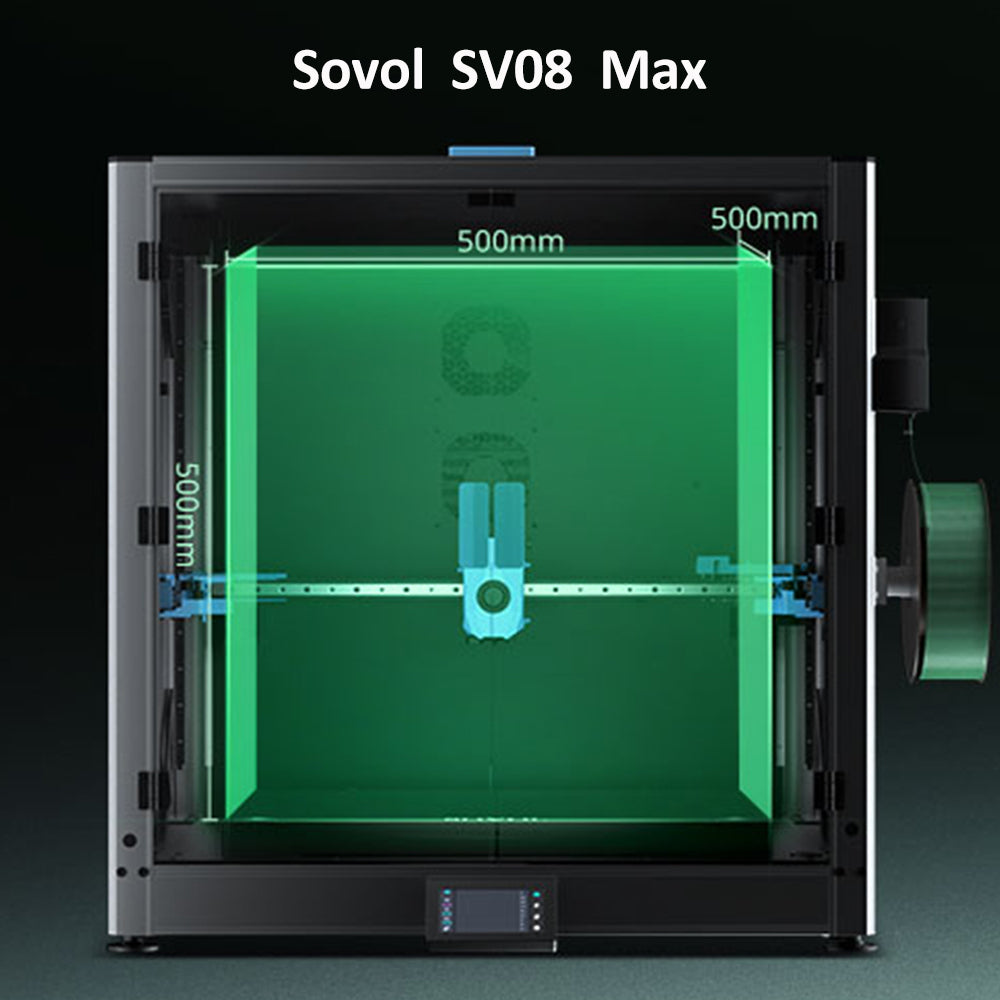
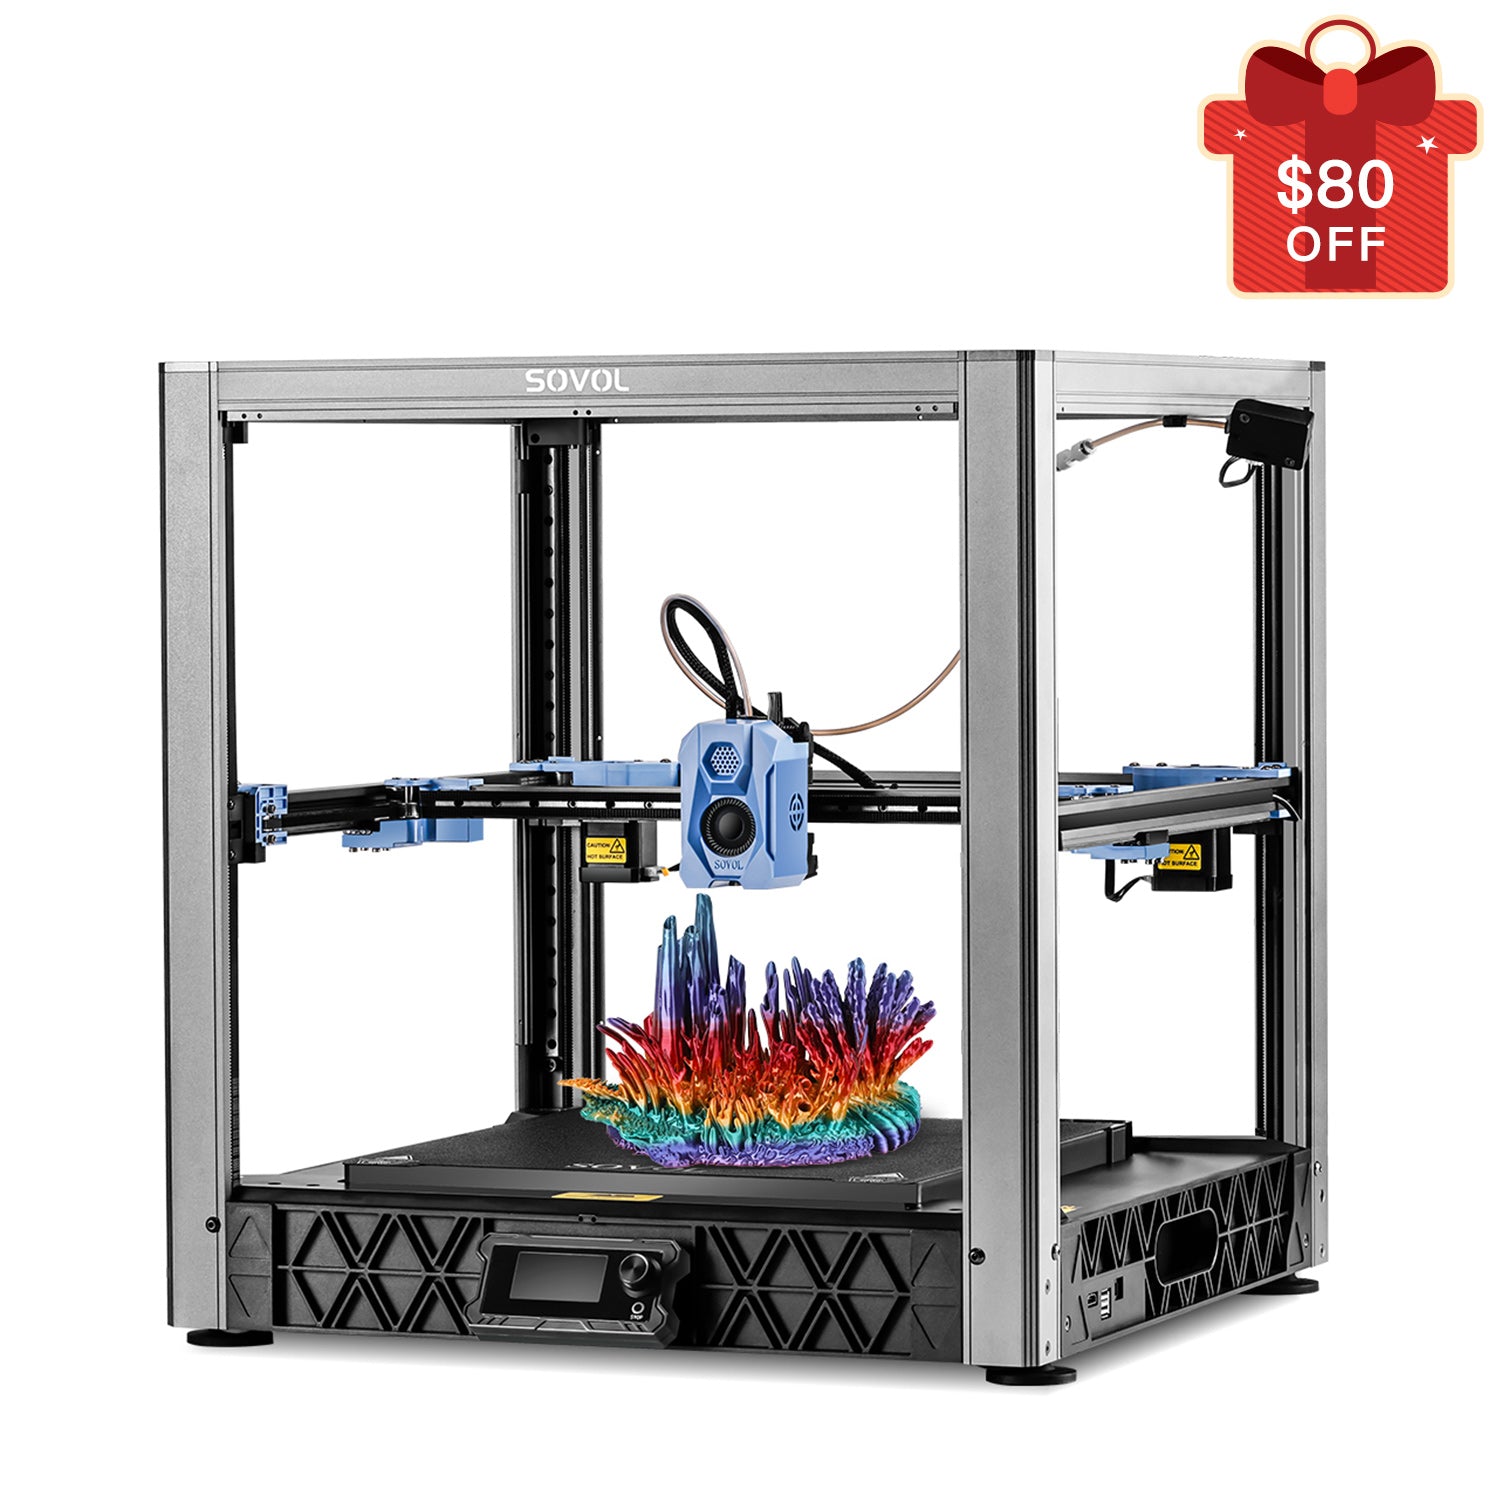
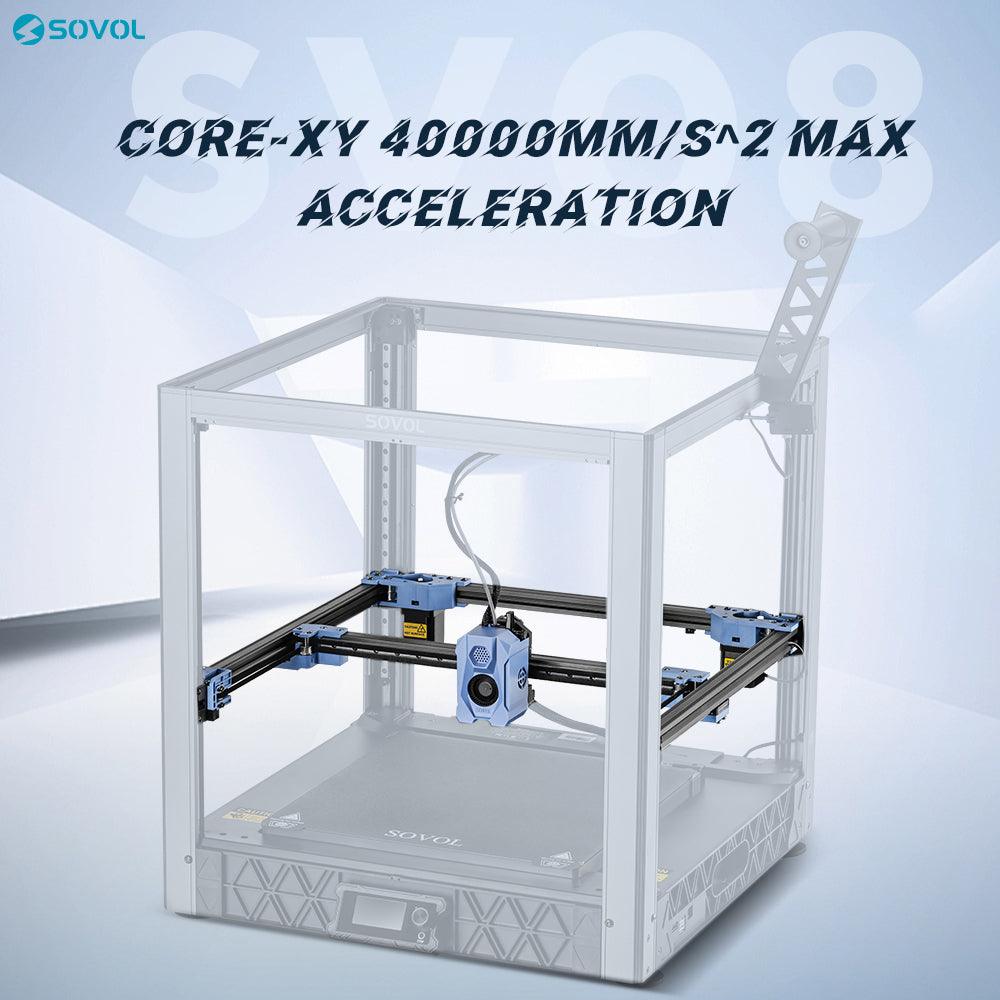
If your Sovol printer has weak infill, don’t worry. These printers are reliable but need proper settings for strong prints. Here’s how to fix weak infill and improve your Sovol printer’s performance.
1. Check Calibration First
Good calibration is key for strong prints. If your printer isn’t calibrated, the infill won’t bond well. Follow these steps:
- Level the Bed: Use the knobs or auto-leveling (if available) to make the bed flat. A flat bed helps the first layer stick, which is important for strong infill.
- Calibrate the Extruder: Test extrusion to ensure the printer pushes the right filament amount. Under-extrusion causes gaps in the infill. Adjust the extrusion multiplier in slicer settings if needed.
Tip: Use the leveling card that comes with Sovol printers to set the nozzle height correctly.
2. Adjust Slicer Settings for Better Infill
Slicer settings greatly affect infill strength. Try these changes for Sovol printers:
- Infill Percentage: Use 20-30% for most prints. For stronger parts, increase to 50% or more.
- Infill Pattern: Patterns like gyroid or honeycomb work well. They provide strength without wasting material.
- Infill Overlap: Set overlap between infill and walls to 10-20%. This improves bonding and makes the print stronger.
3. Balance Speed and Temperature
Printing too fast or at the wrong temperature weakens infill. Adjust these settings:
- Print Speed: Slow down to 40-50 mm/s for better bonding.
- Nozzle Temperature: Match the temperature to your filament. Use 190-210°C for PLA and 230-250°C for PETG. Sovol printers usually maintain steady temperatures, but double-check to be sure.
Pro Tip: Print a small test cube to find the best temperature for strong layers.
4. Use Quality Filament and Keep It Dry
Filament quality affects infill strength. Wet or low-quality filament weakens prints. Sovol printers work well with most filaments, but high-quality brands give better results.
- Storage: Store filament in a dry box or sealed bag with desiccants to keep it moisture-free.
- Material Choice: For durable parts, use PETG or ABS. PLA is easier to print but less strong for functional parts.
5. Test and Adjust Settings
Every Sovol printer is different, so experiment with settings. Print small test models to see how changes affect infill strength. Adjust one setting at a time, like speed or infill percentage, to find what works best.
Reminder: Sovol printers often have direct drive extruders, which are great for flexible filaments. For TPU, slow down the speed and increase infill percentage for better results.
By following these tips, you can fix weak infill on your Sovol printer. With patience and testing, you’ll create strong, reliable prints.
Preventing 3D Print Infill Strength Issues
Regular Printer Maintenance and Calibration
Taking care of your 3D printer helps avoid weak infill. Regular upkeep keeps it working well and makes prints stronger. Focus on these tasks:
- Clean your printer: Dust can block the nozzle or mess up the bed. Wipe surfaces and clean the nozzle often.
- Check important parts: Look for damage on belts, gears, or the print bed. Replace worn-out parts quickly.
- Calibrate regularly: Proper calibration avoids mistakes. Level the bed and set the nozzle height right.
Tip: Make a schedule for maintenance. For example, clean the nozzle weekly and check belts monthly.
|
What to Do |
|
|---|---|
|
Material Selection |
Pick strong materials for better prints. |
|
Inspection Routine |
Check parts for damage often. |
|
Temperature Control |
Avoid extreme heat to protect materials. |
|
Cleaning Schedule |
Remove dust to keep the printer working. |
|
Part Replacement |
Change damaged parts without delay. |
Following these steps reduces weak infill problems and helps your printer last longer.
Fine-Tuning Infill Settings for Future Prints
Changing infill settings can improve print strength. Test different percentages and patterns to find what works best.
- Infill percentage: Use 20-30% for most prints. For stronger parts, go up to 50% or more. For light items, lower it to 10%.
- Infill patterns: Patterns like gyroid or honeycomb are strong and save material. For the strongest prints, try triangular or tri-hexagon patterns.
Adjusting these settings makes your prints stronger and more reliable for tough projects.
Using High-Quality Filament and Materials
Good filament is key to avoiding weak infill. Bad or wet filament weakens layers and makes prints fragile.
- Pick the right material: For strong parts, use ABS, PETG, or PLA+. These are tougher than regular PLA.
- Store filament properly: Keep it dry in sealed containers with desiccants. Wet filament causes bubbles and weak prints.
Here’s how different filaments perform:
|
XY Impact Resistance (kJ/m²) |
Z Impact Resistance (kJ/m²) |
|
|---|---|---|
|
PLA |
< 7.875 |
< 1.8 |
|
ABS |
< 15.75 |
< 5.4 |
|
PLA+ |
> 31.5 |
> 8.7 |
|
PC |
> 31.5 |
5.4 |
|
Nylon (PA) |
No break |
5.4 |
|
TPU |
Higher than PLA |
Higher than PLA |
|
PP |
Higher than PLA |
Higher than PLA |
Note: Follow the filament maker’s settings for the best results. This avoids weak infill and improves print quality.
Using good materials and storing them well ensures stronger, longer-lasting prints.
Monitoring Environmental Conditions (e.g., temperature, humidity)
Your workspace affects how strong your 3D prints are. Room temperature and humidity can change the quality of your infill. If it’s too cold, layers cool unevenly, making weak bonds. Too much heat softens filament before it reaches the nozzle, causing bad extrusion. Keep the room between 68°F and 77°F for better printing.
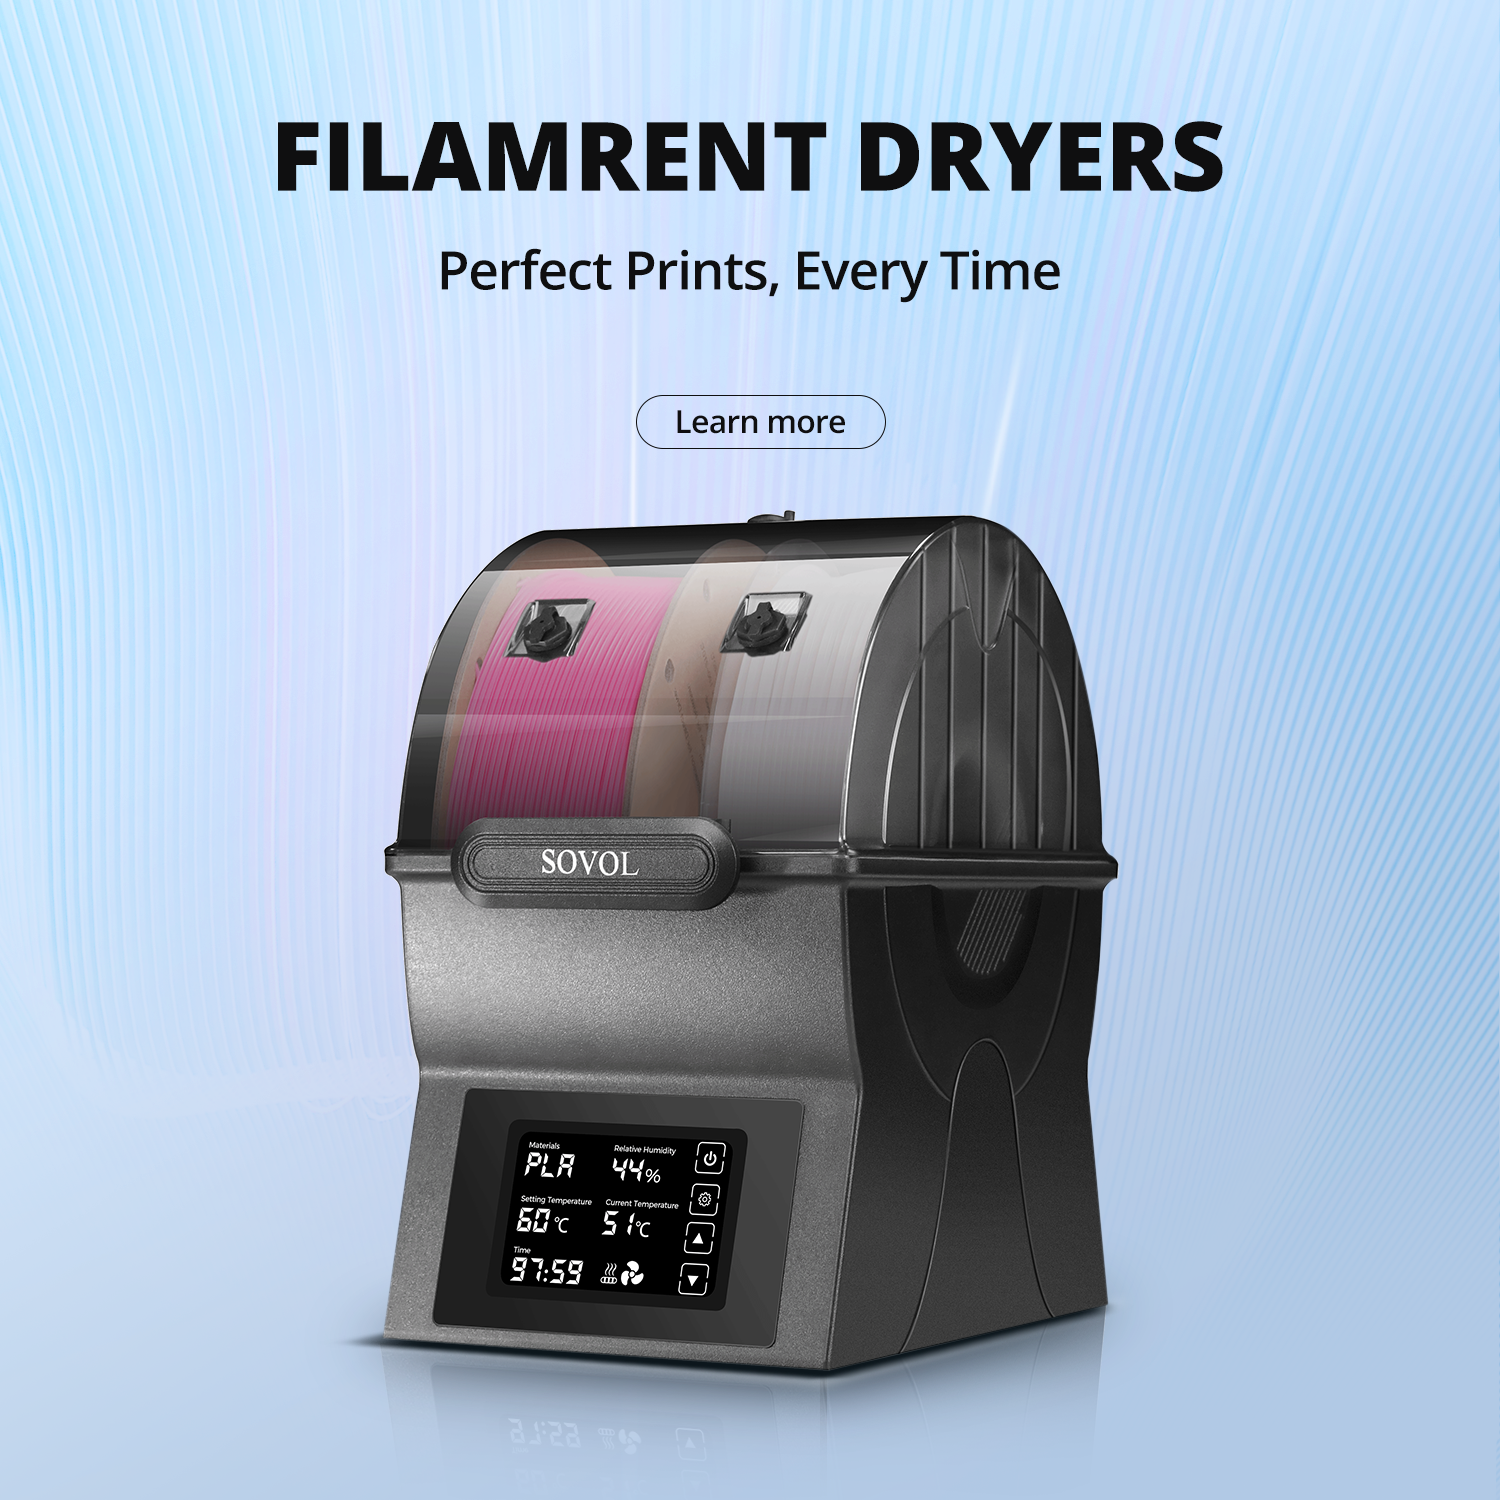
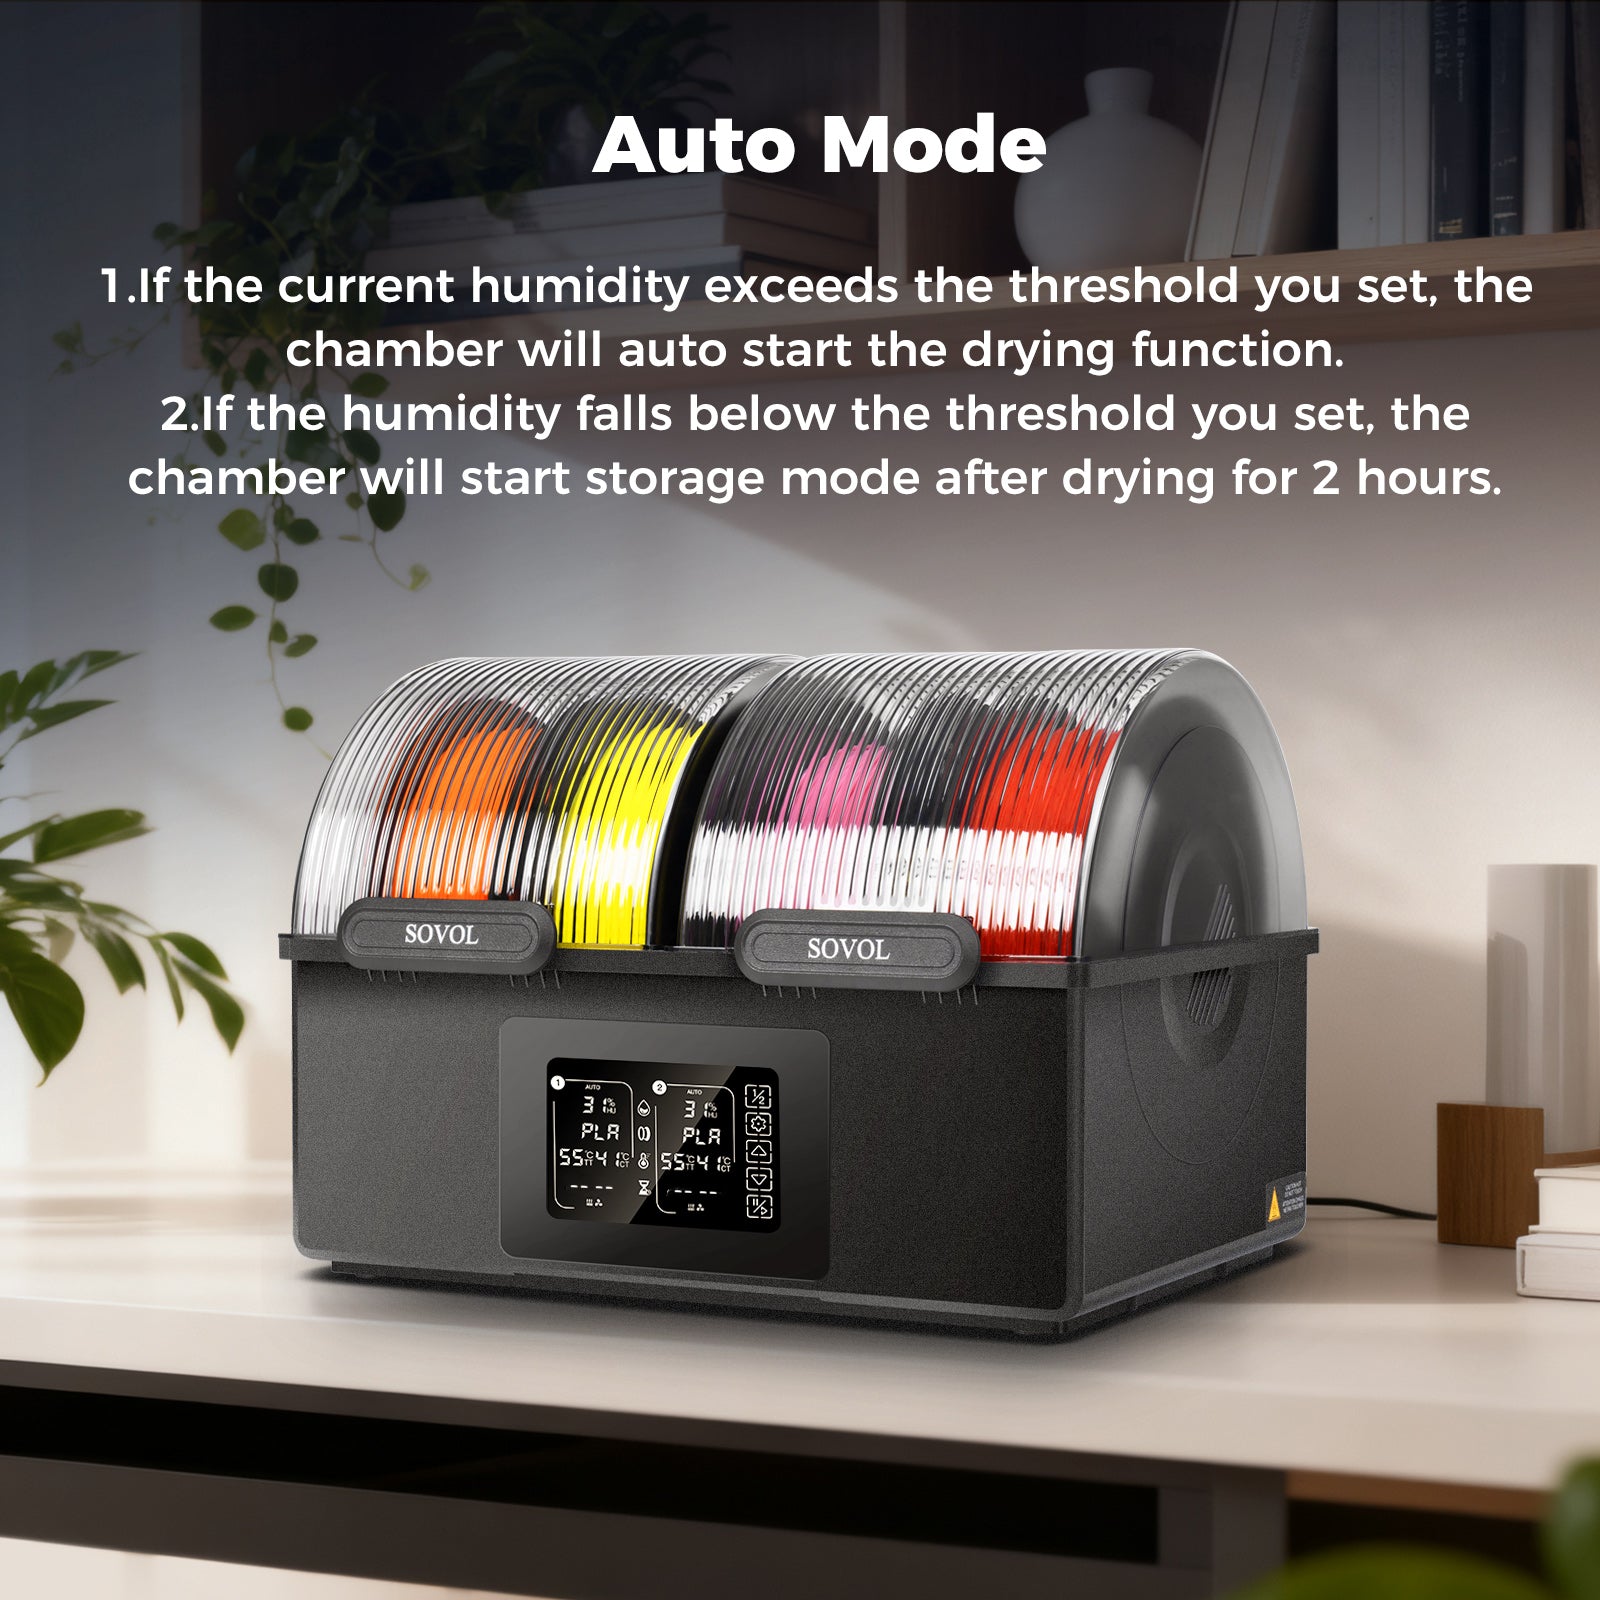
Humidity is also important. Filament absorbs water from the air, especially PLA and PETG. Wet filament creates bubbles, which weakens the infill and ruins prints. To fix this, store filament in airtight boxes with desiccant packs. A filament dryer is helpful in humid places.
Even your printer’s cooling fan can affect infill strength. High fan speeds during printing can weaken PLA. This happens because the material cools too fast, making layers stick poorly. Lowering the fan speed slightly can improve bonding and make prints stronger.
Tip: Keep your printer away from windows, vents, or drafts. Sudden airflow can cool layers unevenly, causing cracks or warping.
By controlling these conditions, you can create a stable setup for stronger and more reliable prints.
Testing and Iterating for Consistent Results
Testing is key to improving your 3D prints. Small test models, like cubes, help you try different settings without wasting filament. Experiment with infill percentages, patterns, and temperatures to find what works best.
Making small changes can improve your prints a lot. For example, drying filament properly can make it stronger and more consistent. Adjusting print speed or nozzle heat can also improve layer bonding and strength.
Testing helps you find problems early. If you see gaps or weak layers, change one setting at a time. Try increasing infill overlap, lowering speed, or raising nozzle heat slightly. Small tweaks can make a big difference.
Pro Tip: Write down your settings and results. This helps you repeat good prints and avoid mistakes.
By testing and adjusting, you’ll get better prints over time. Be patient and learn what works best for your printer and materials.
Fixing weak infill in 3D prints starts with knowing the problems. Low infill percentage, bad patterns, or weak layer bonding can cause fragile prints. Increase infill percentage, pick strong patterns like honeycomb, and adjust your printer settings to make prints stronger. For example, more infill improves strength, and extra layers spread weight better. Test and adjust settings to get steady results. These tips will help you fix weak infill and make tough, dependable models. Even small changes can improve your prints a lot!
Tip: Use small test prints to try different infill settings. This saves time and filament.
FAQ
What is the best infill percentage for strong 3D prints?
For most prints, use 20-30% infill. If you need stronger parts, increase it to 50% or higher. For decorative items, 10% is enough. Always print small test models to find the best setting for your project.
Which infill pattern should I use for maximum strength?
Triangular and hexagonal patterns are the strongest. Gyroid is also a good choice for strength and flexibility. For lighter prints, honeycomb works well. Pick a pattern based on what your print needs to do.
How can I fix weak infill caused by poor layer bonding?
Raise the nozzle temperature slightly to improve layer bonding. Slow down the print speed so layers stick better. Check your cooling fan settings too. Lowering the fan speed helps layers bond, especially with ABS material.
Why does my infill look uneven or have gaps?
Uneven infill happens when the extruder isn’t working right. Run an extrusion test to check filament flow. Clean the nozzle to remove any clogs. Adjust the flow rate in your slicer to fix gaps and make the infill smooth.
How do environmental factors affect infill strength?
Room conditions like temperature and humidity can weaken prints. Cold rooms cause uneven cooling, and humid air makes filament absorb water. Keep your workspace between 68°F and 77°F. Store filament in sealed containers with drying packs to keep it dry.
Tip: Use a filament dryer in humid areas. It keeps filament dry and ready for stronger prints.


