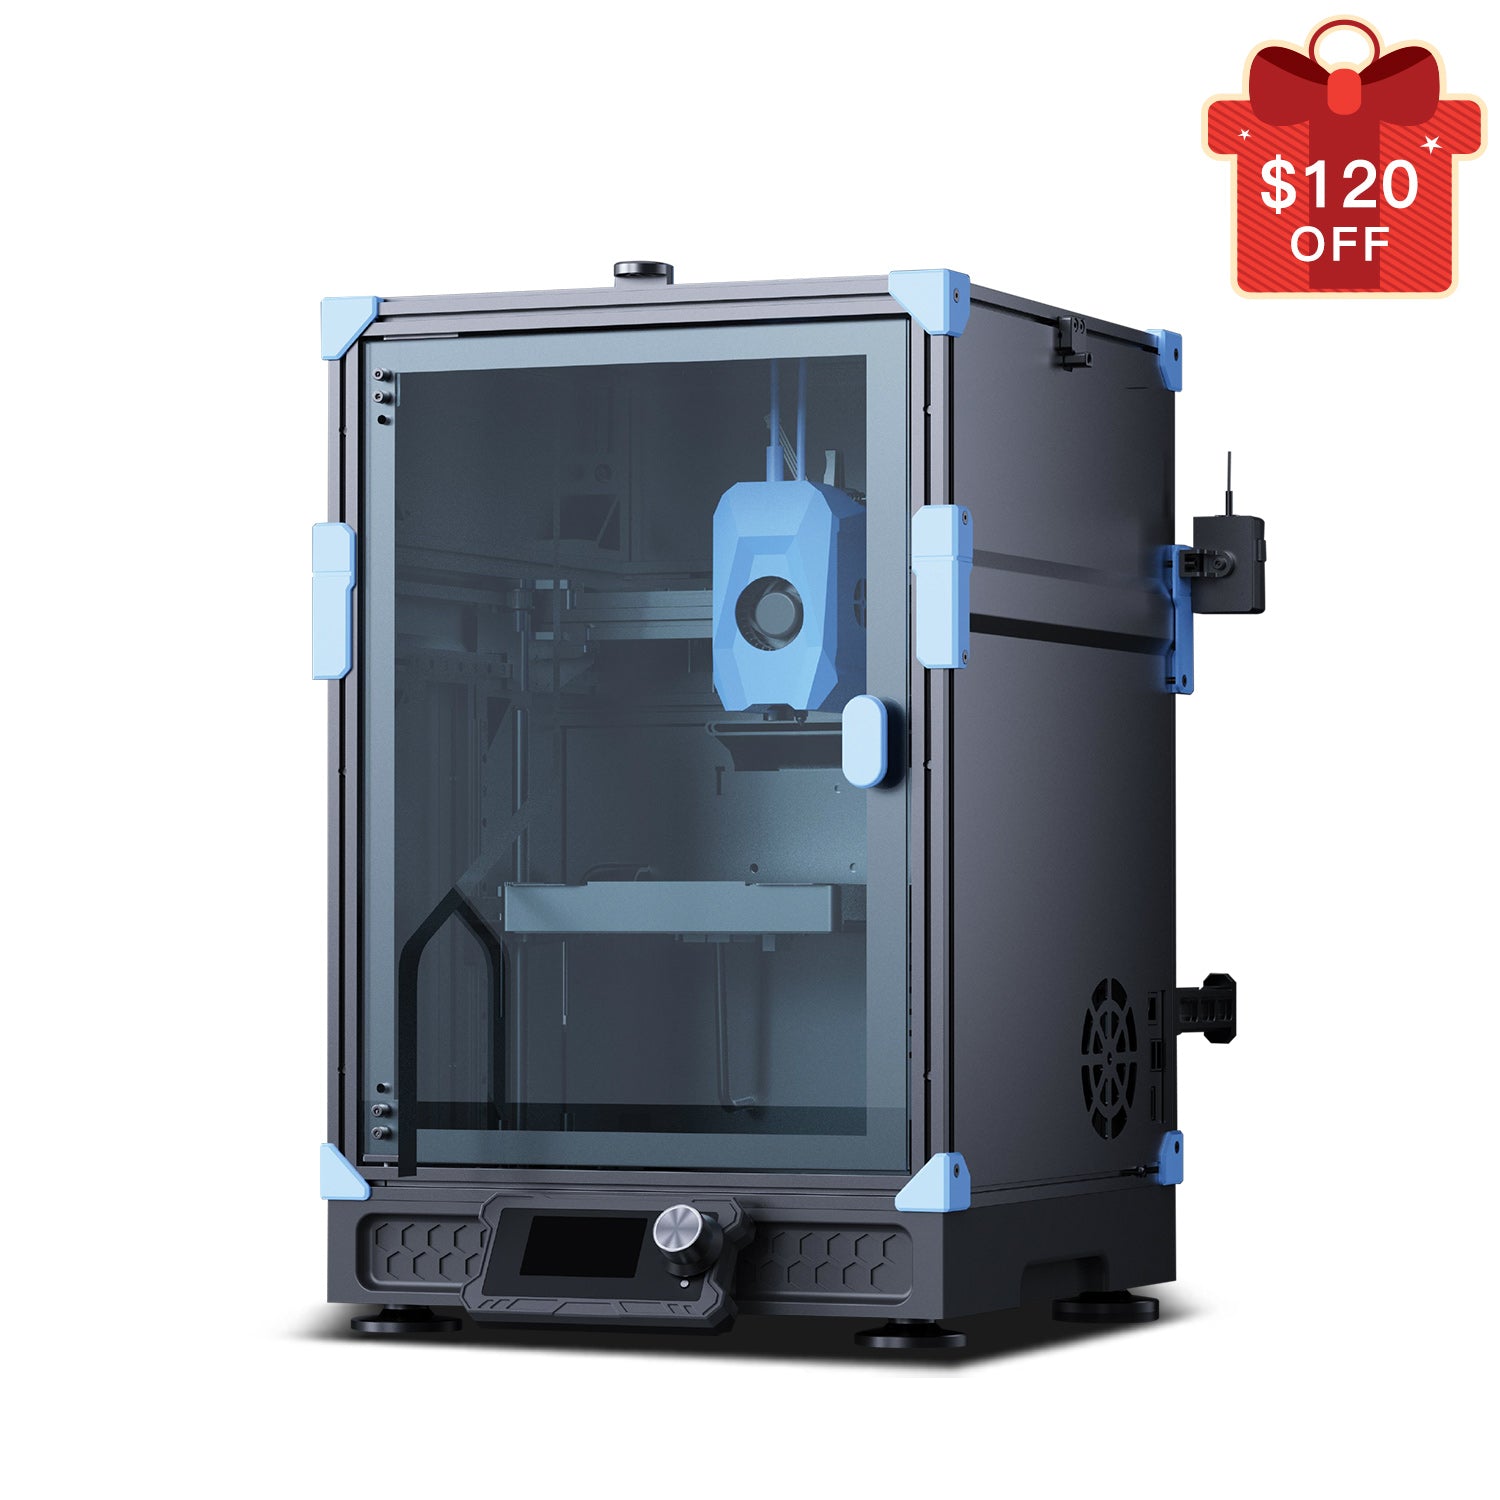
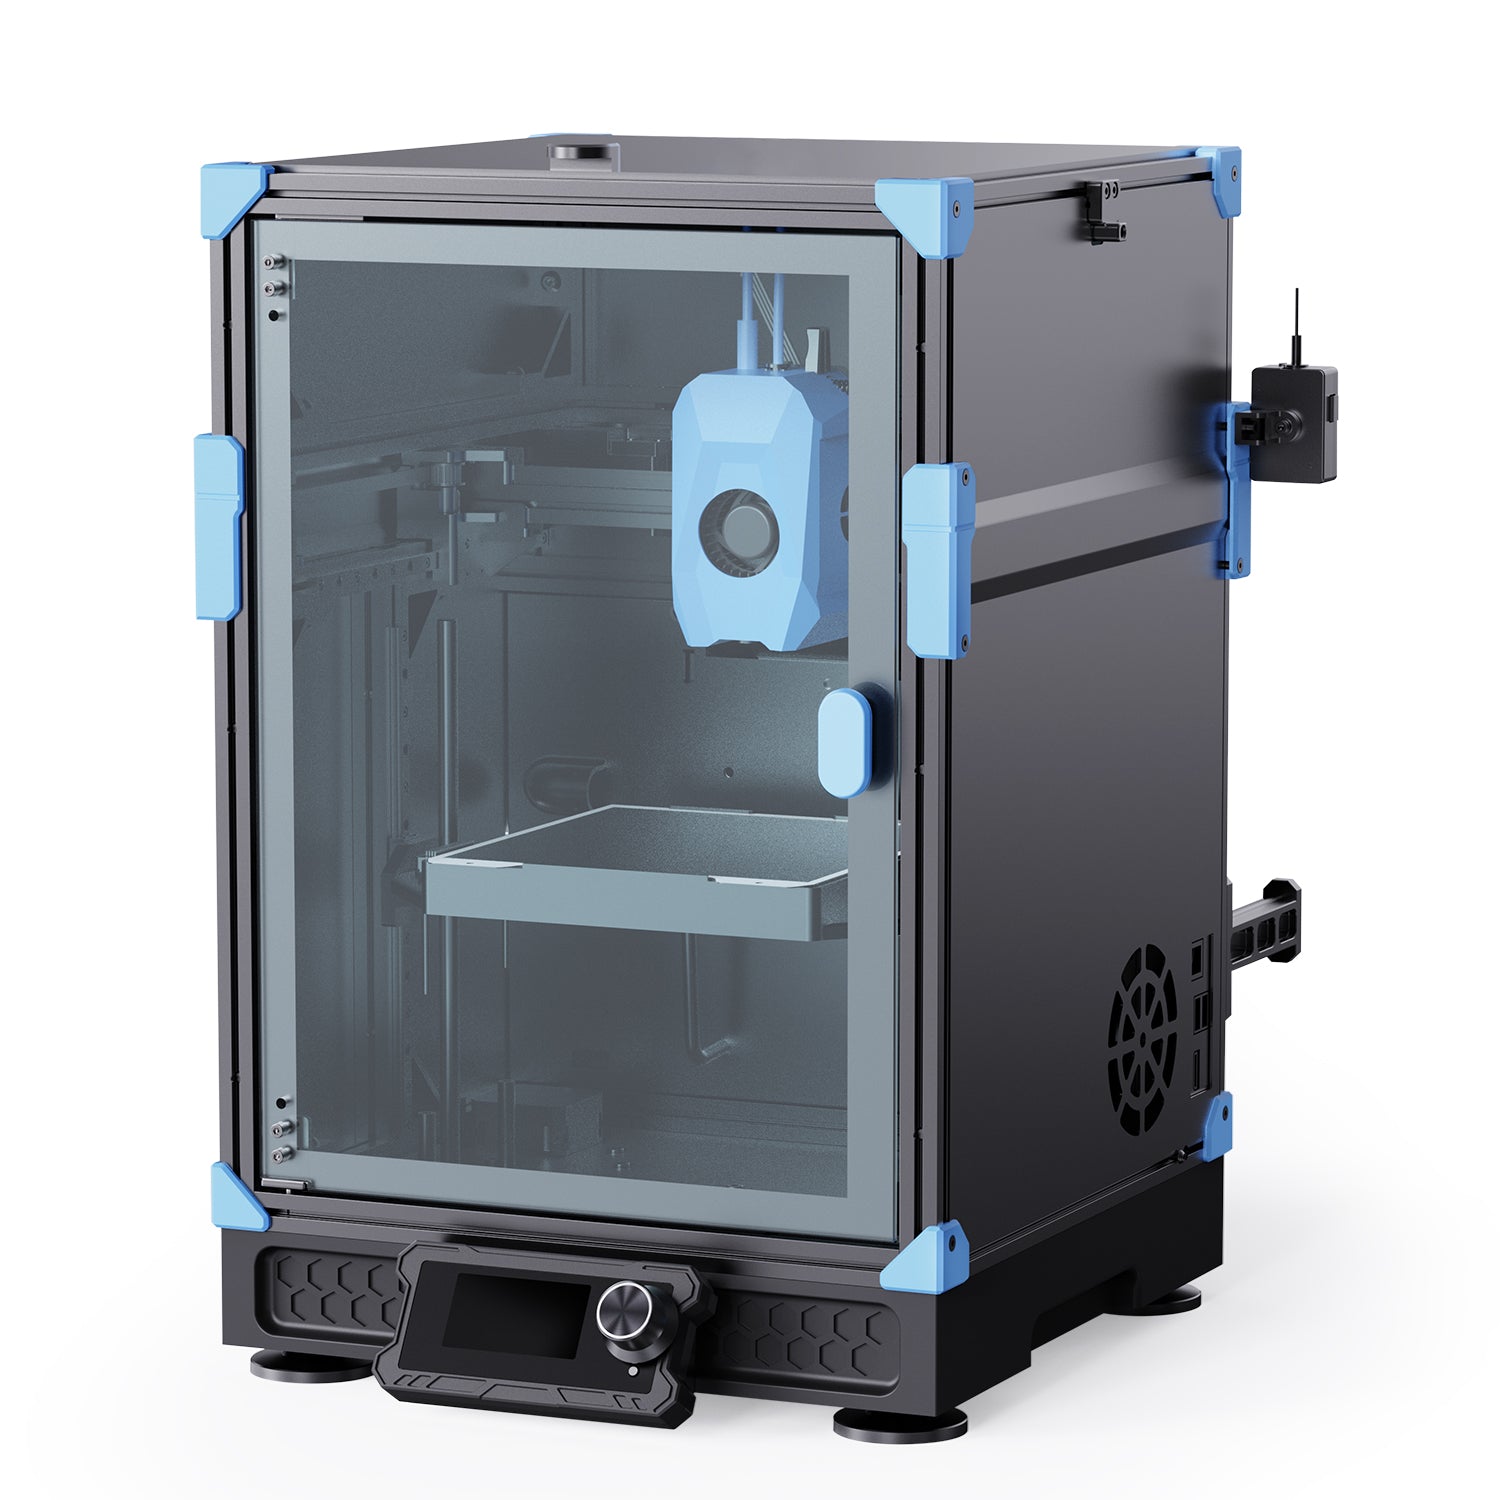
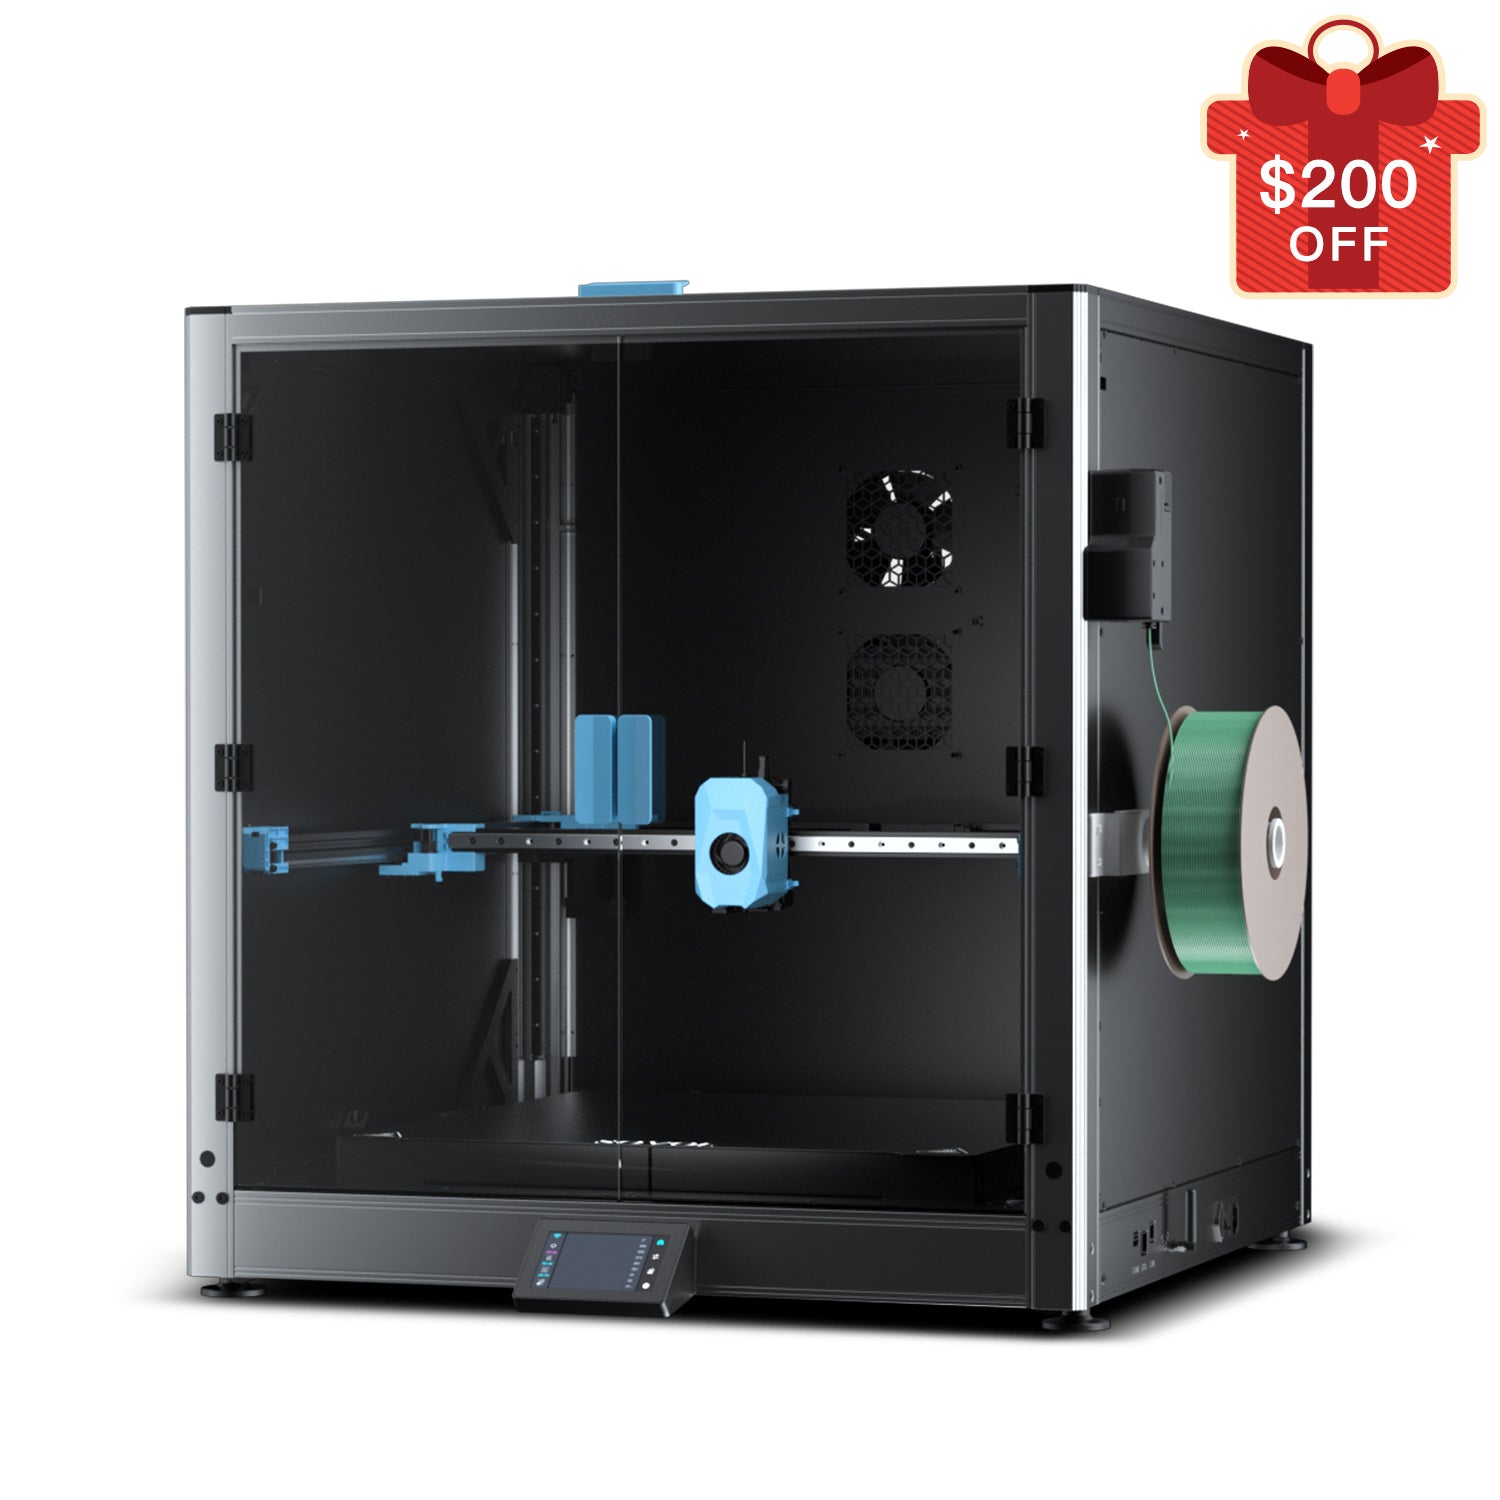
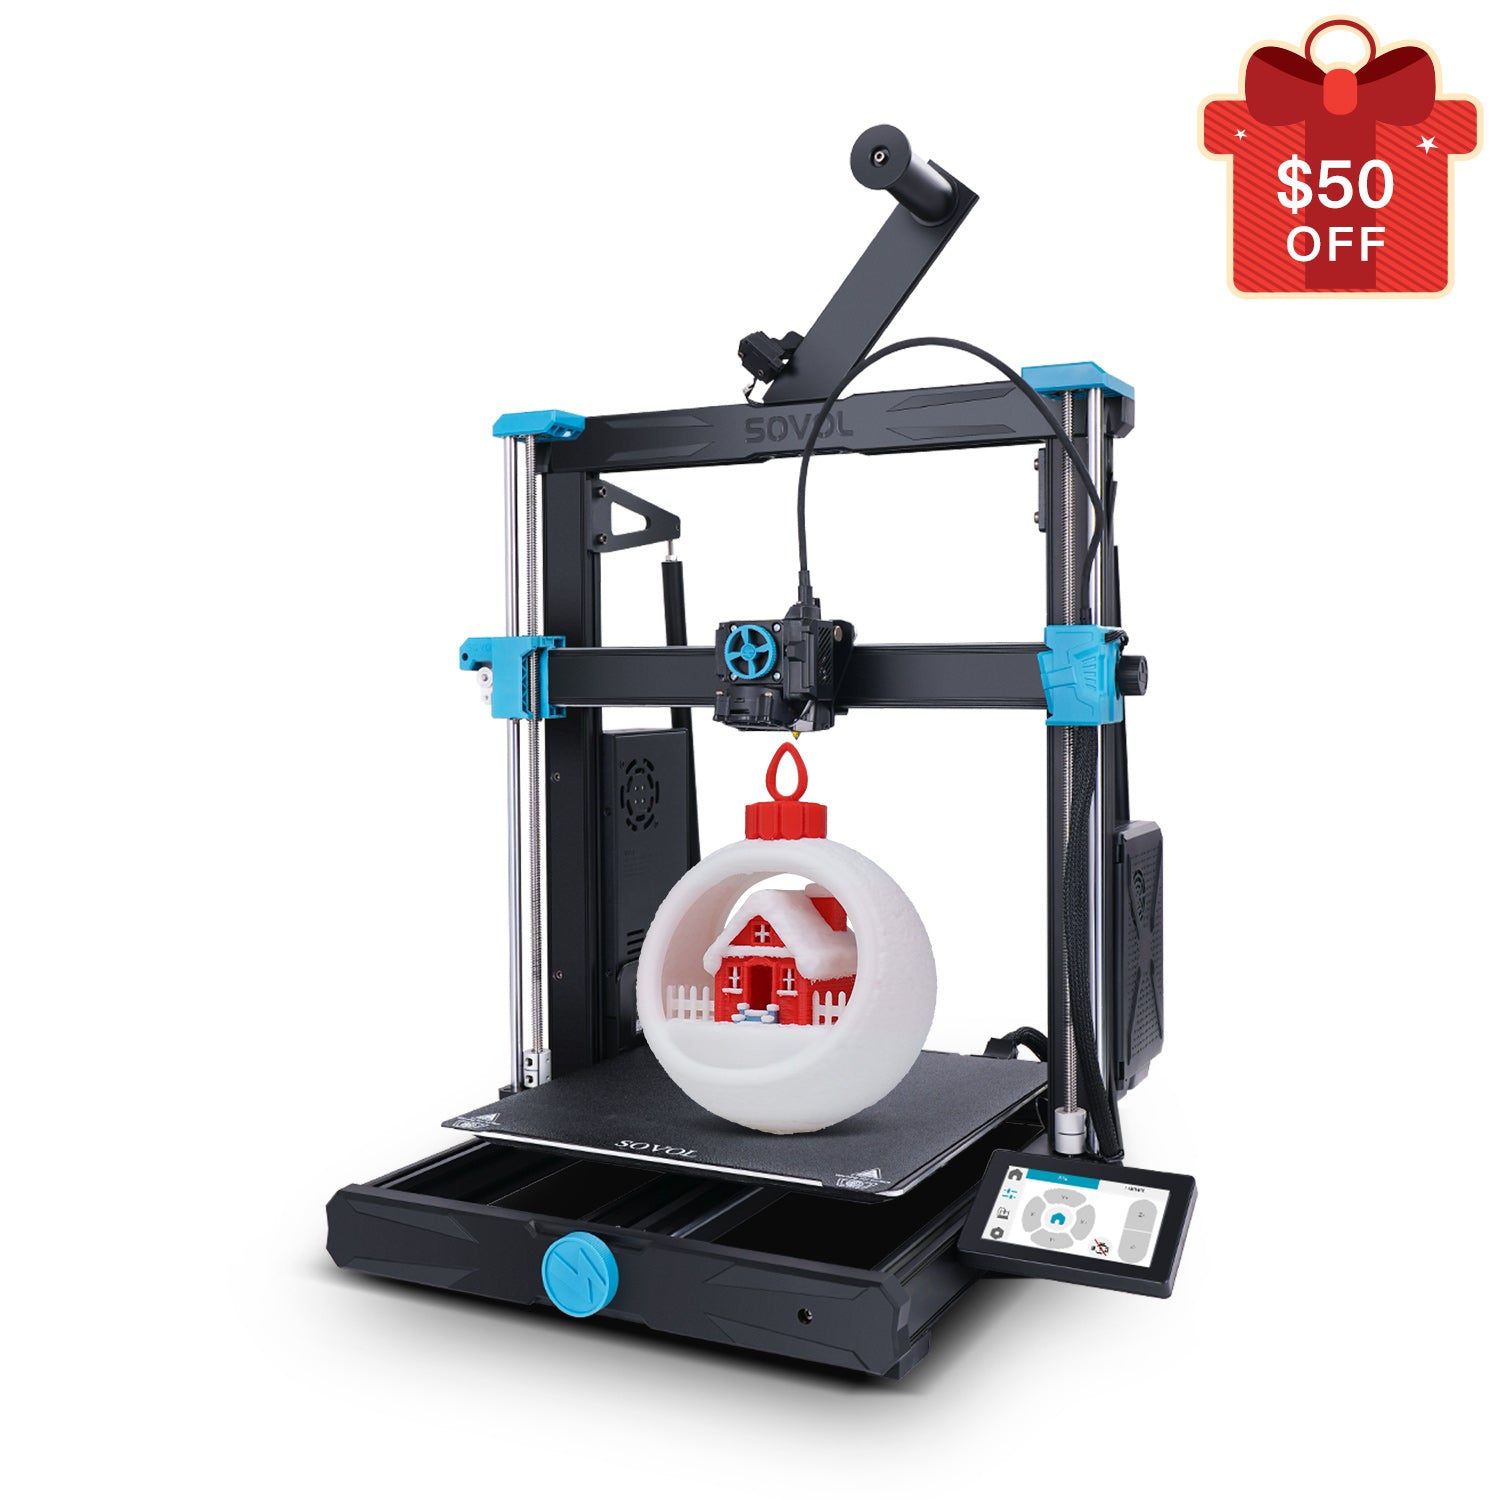
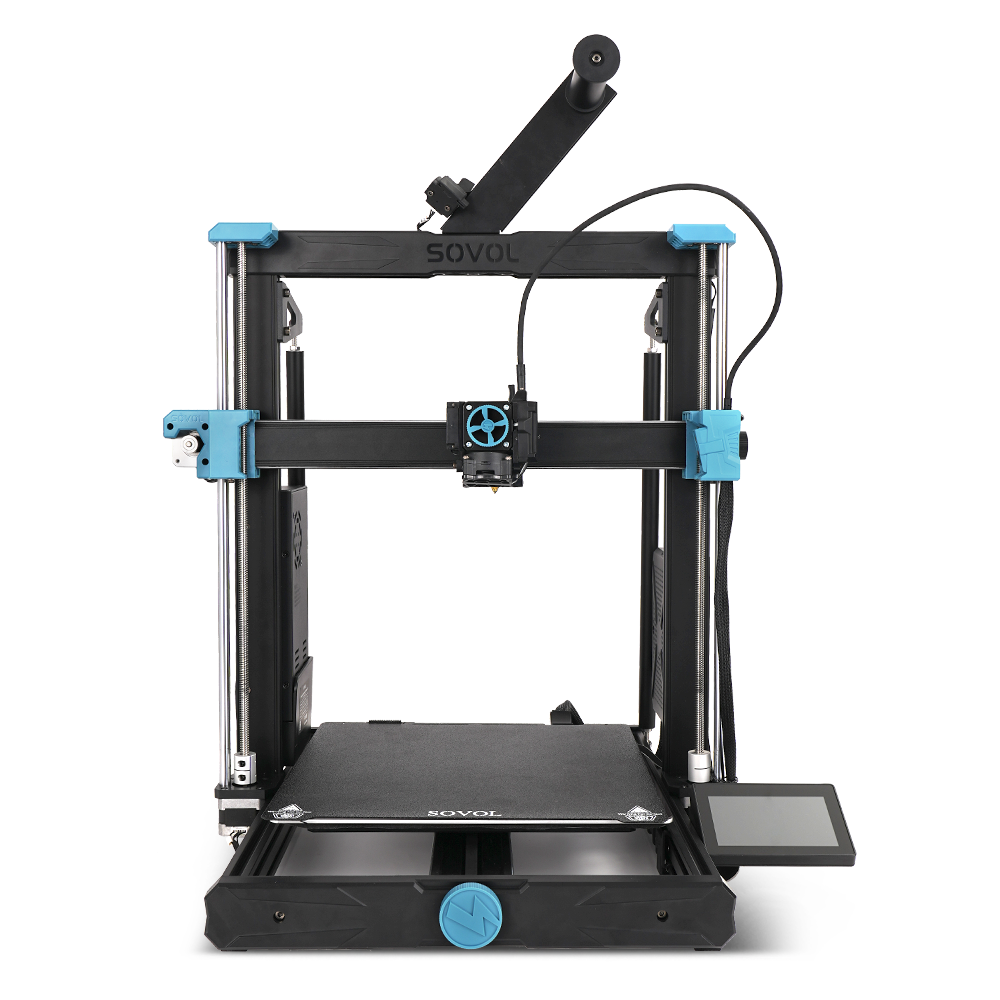
You might feel a bit nervous about 3d printer assembly, but you’re not alone. With patience and clear instructions, you can do this. Most beginners succeed on their first try, especially with quick-assembly kits:
|
Type of Kit |
Success Rate |
Notes |
|---|---|---|
|
Quick-Assembly Printer |
Easier to use, no special tools needed |
If you go step by step, you’ll avoid common mistakes like wet filament, printing too fast, or forgetting maintenance.
Tip: Stay curious and confident. You’ll learn a lot and have fun along the way!

Key Takeaways
- Begin with a tidy workspace and sort all parts first. This stops confusion and makes things easier.
- Read the assembly manual carefully before you begin. Knowing each step helps you avoid errors and feel sure.
- Look at all parts for damage or missing pieces. Tell support if you find problems to get a full kit.
- Level the print bed slowly for better print results. A flat bed stops warping and helps prints stick well.
- Do not hurry your first print. Watch for problems and fix them if needed. Making mistakes helps you learn.
Unboxing and Parts Check

Identifying Kit Components
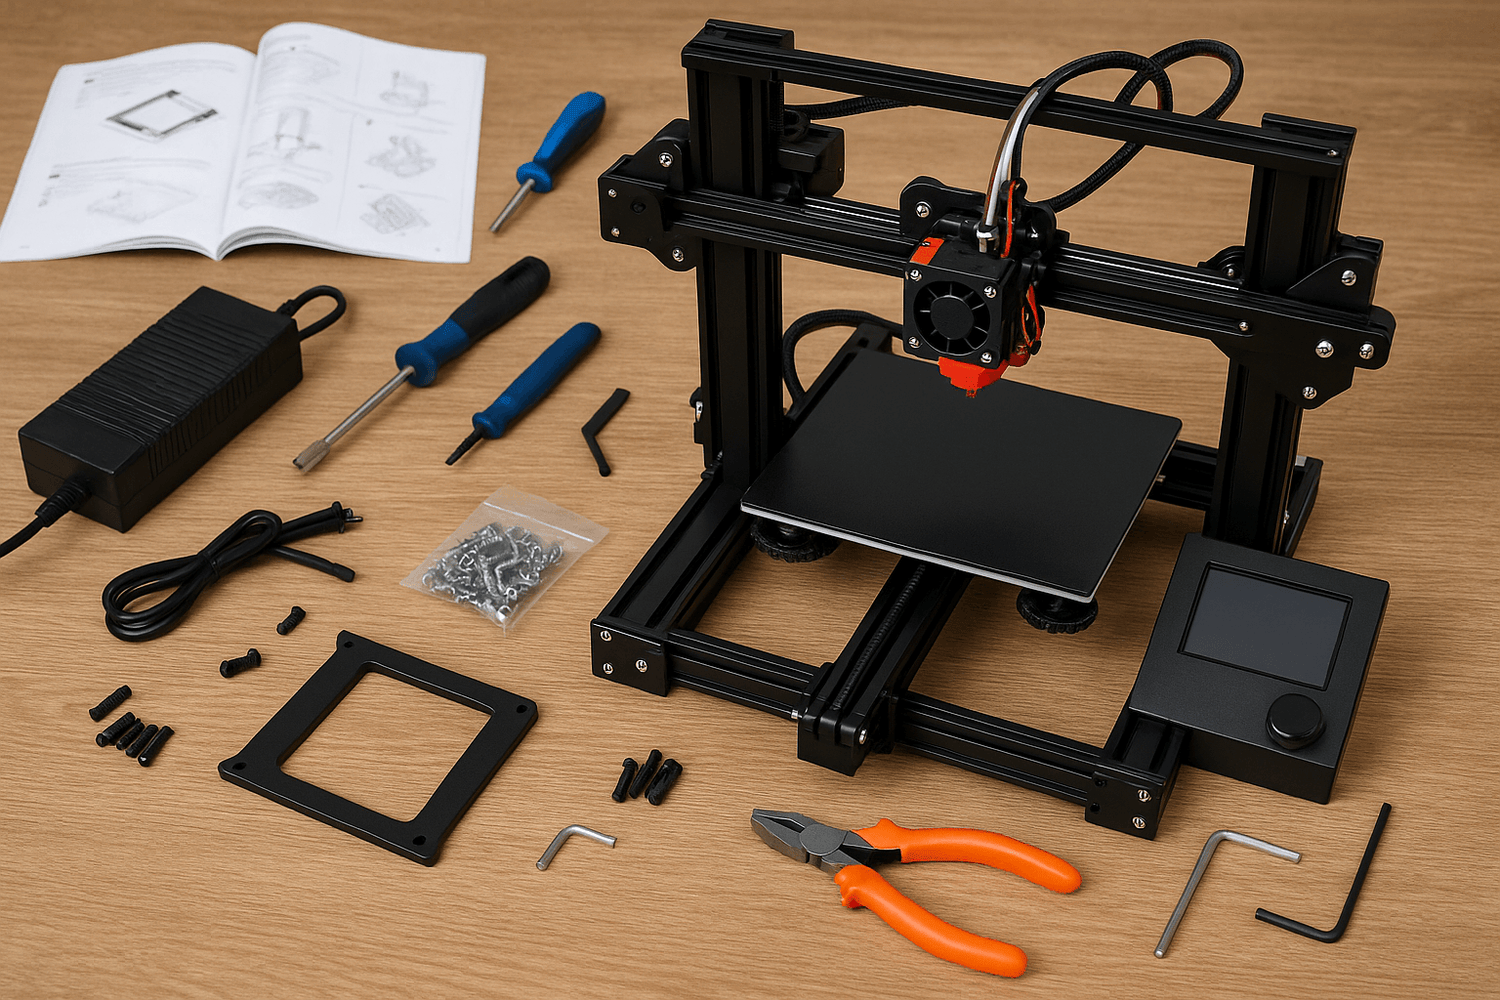
You just got your 3d printer kit, and you’re probably excited to see what’s inside. Start by opening the box carefully. Lay out all the parts on a clean table. You want to see everything at a glance. Most kits include a checklist or a parts list. Use this list to match each item you find.
Here’s a quick way to organize your parts:
|
Component |
Found? |
Notes |
|---|---|---|
|
Frame pieces |
✅ |
Check for scratches |
|
Motors |
✅ |
Count them |
|
Screws & bolts |
✅ |
Sort by size |
|
Print bed |
✅ |
Look for cracks |
|
Extruder |
✅ |
Inspect nozzle |
|
Display screen |
✅ |
No damage |
|
Power supply |
✅ |
Check cables |
You might see extra tools or spare screws. Keep those handy. If you find something you don’t recognize, check the manual or search online. Many kits have small bags with labels. Read each label and match it to the list. This step helps you avoid confusion later.
Tip: Take a photo of all the parts laid out. If you need help, you can share the photo with others online.
Inspecting for Missing or Damaged Parts
Now, look closely at each part. Hold the frame pieces and check for bends or dents. Spin the motors with your fingers. They should move smoothly. Examine the print bed for chips or cracks. Inspect wires and connectors for fraying or loose ends.
If you notice anything missing or broken, don’t panic. Most companies have support teams ready to help. Write down what’s wrong and take clear photos. Contact the seller or manufacturer. They usually send replacements quickly.
Here’s a simple checklist for this step:
- Count every part and compare with the list.
- Look for scratches, dents, or cracks.
- Test moving parts for smooth action.
- Check wires for damage.
- Set aside any broken or missing items.
You want to start assembly with confidence. A complete and undamaged kit makes the whole process smoother.
Preparing Workspace and Tools
Setting Up a Safe Area
Before you dive into assembly, you need a good setup. Choose a spot with plenty of space around your printer. This makes it easier to reach every part and keeps your setup organized. Place your printer on a solid table. A sturdy surface helps absorb vibrations and keeps your prints steady.
Keep the room temperature between 15ºC and 30ºC. This range helps your printer work well and avoids print quality problems. Try to keep humidity below 50%. High humidity can damage electronics and ruin your filament. Open a window or use a fan for good ventilation. Fresh air keeps the setup safe and prevents any build-up of fumes.
Tip: Good lighting helps you see small parts and read instructions. A flashlight can help if your setup area is dim.
Gathering Required Tools
A smooth setup starts with the right tools. Most kits include basic tools, but you might want a few extras for a better experience. Here’s a handy list to get your setup ready:
- Glue stick for better print bed adhesion
- Spatula or palette knife to remove prints
- Calipers for measuring parts
- Tweezers for picking up small pieces
- Sandpaper for smoothing rough edges
- Flashlight for checking details
- Paper towels for cleaning up
- Pencils and paper for notes or sketches
- Wire cutter for trimming supports
- Dremel for sanding or cutting
- Extra filament to keep your setup running
- Extra glass plate for quick swaps
- Dissolving kit for removing supports
Lay out your tools before you start. This setup step saves time and keeps you focused. If you miss a tool, you can grab it before you get stuck. With your setup complete, you’re ready to move on to the next stage of assembly.
Reviewing Assembly Instructions
Understanding the Manual
You have your parts and tools ready. Now, grab the manual that came with your 3D printer. The assembly instructions are your best friend during this process. Many people skip reading the instructions and jump right in. That’s a big mistake. You want to avoid confusion and problems later.
Errors are caused 99% by arrogance and assumption, implying that many do not take the time to read the manual properly.
Take a few minutes to read through the instructions from start to finish. You don’t need to memorize every step, but you should know what’s coming up. Look for diagrams, tips, and warnings. These details help you understand how each part fits together. If you see words or pictures you don’t understand, search online or ask for help. The instructions often include safety notes, so pay attention to those.
Ask yourself questions as you read. What does each part do? Where does it go? How do the steps connect? This helps you build a mental map of the process. You’ll feel more confident when you start putting things together.
Organizing Steps Before Starting
Before you touch any parts, organize your steps. The instructions might look long, but breaking them down makes things easier. You can use sticky notes or a notebook to list each step. Some people like to check off steps as they go.
Here are some best practices to keep your assembly smooth:
- Dry fit parts before you break out the super glue. Make sure everything lines up before you attach anything.
- Keep organized. Set up a spot for each part so you don’t lose anything.
- Lay out all the parts after they are printed or unpacked. This helps you see what you have and what you need next.
- When using glue, make sure to be controlled with it. Use just enough to hold things together.
- Hand tighten nuts and bolts before final tightening. This keeps everything lined up and prevents cross-threading.
Follow the instructions in order. Don’t skip ahead, even if you think you know what’s next. Each step builds on the last. If you get stuck, reread the instructions or look for videos online. You’ll save time and avoid mistakes by staying organized.
Frame and Axis Assembly
Building the Frame
You’re ready to start building the frame. This step sets the foundation for your entire 3d printer assembly. Choose a flat and sturdy surface, like a kitchen table or a wooden workbench. A stable base helps you avoid shaking and keeps everything lined up. Lay out the frame pieces and check that each one matches the instructions.
Take your time fitting the pieces together. Hand-tighten bolts first, then check that everything sits flush. If you see gaps or wobbles, adjust the parts before tightening. Many people use a glass top for final leveling and squaring. This trick helps you get precise alignment.
Tip: A square and level frame means your prints will look sharp and clean. If the frame tilts or twists, you’ll see problems in every print.
Here’s a quick checklist for building the frame:
- Use a flat surface for assembly.
- Make sure the support is stable.
- Check that all corners are square.
- Tighten bolts only after you confirm alignment.
- Perform final leveling on a glass top if possible.
Assembling Z, Y, X Axes
Now you’ll move on to the axes. The Z, Y, and X axes control movement in your printer. Follow the instructions step by step. Don’t rush or skip ahead. Each axis needs careful attention.
Start with the Z axis. Attach the vertical rails and make sure they stand straight. Next, work on the Y axis. This part moves the print bed back and forth. Line up the rails and check that the bed slides smoothly. Finish with the X axis, which moves the toolhead side to side. Watch for any misalignment of the nozzle. If the nozzle sits off-center, your prints will suffer.
Common mistakes can pop up during this stage. You might see horizontal banding in your prints. Layer shifting can happen if the belts are too loose or too tight. Always check belt tension and make sure everything feels solid. Mechanical soundness matters. If you hear strange noises or see jerky movement, stop and fix the problem.
Here’s what to watch for:
- Horizontal banding in prints
- Layer shifting issues
- Nozzle misalignment
- Belt tension problems
- Mechanical soundness
Note: Following the instructions in the correct order is crucial. Each step builds on the last, so don’t skip ahead.
Checking Level and Alignment
You’ve built the frame and assembled the axes. Now it’s time to check level and alignment. This step makes a big difference in print quality. Use a small bubble level or a ruler to check that everything sits flat. If you see a tilt, loosen the bolts and adjust the frame.
Improper axis alignment can cause layer misalignment. You might notice prints with crooked lines or uneven surfaces. Sometimes, loose belts or overtightened belts stop the toolhead from reaching the right spot. Electrical issues, like low current to the motors or overheating, can also mess up alignment.
Here’s a table to help you spot alignment problems:
|
Problem |
What You See |
What to Check |
|---|---|---|
|
Layer misalignment |
Crooked layers |
Axis alignment, belts |
|
Horizontal banding |
Lines across prints |
Belt tension, rails |
|
Nozzle misalignment |
Off-center prints |
Nozzle position |
|
Jerky movement |
Rough edges |
Mechanical soundness |
Tip: Always perform final leveling and squaring on a flat surface. This step helps you avoid print problems later.
You’ve finished the core of your 3d printer assembly. A square frame and aligned axes set you up for success. Take a moment to double-check everything before moving on. You’ll thank yourself when your first print comes out perfect.
Installing Main Components
Print Bed and Extruder
You’re almost ready to bring your printer to life. The print bed and extruder are the heart of your machine. Start by making sure the print bed is clean. Wipe away dust or fingerprints. A clean bed helps your prints stick better.
Follow these steps to set up your print bed and extruder:
- Move the nozzle to one corner of the bed. Slide a piece of paper between the nozzle and the bed.
- Turn the bed-leveling knobs until you feel a little friction. The paper should move but not too easily.
- Repeat this for each corner. Take your time. Small adjustments make a big difference.
- Move the nozzle to the center and check again.
- Save your settings in the printer’s software.
- Preheat the hot end. Feed filament through the extruder and measure how much comes out. This helps you calibrate the extrusion.
Tip: Run a quick test print after leveling. You’ll spot problems early and fix them before a big project.
Endstops and Sensors
Endstops and sensors keep your printer safe and accurate. You’ll find endstops at the edges of each axis. They tell the printer where to stop moving. This keeps the nozzle from crashing into the frame.
Here’s what endstops and sensors do for you:
- Set the limits for each axis, so your printer knows where to start and stop.
- Trigger emergency stops if something goes wrong.
- Help your printer find its “home” position every time you start a print.
- Give your software a reference point for calibration.
Reliable endstops mean your prints come out the same every time. You avoid mistakes and keep your machine safe.
Power Supply and Display
Now, connect the power supply and display. The power supply changes your wall voltage to what the printer needs. Plug it in and check the cables. Make sure everything fits snugly.
The display lets you control your printer. You pick files, change settings, and start prints from here. The mainboard connects everything. It acts like the brain, sending signals to the extruder, bed, and motors.
Here’s a quick checklist:
|
Component |
What It Does |
|---|---|
|
Power Supply |
Powers the whole printer |
|
Mainboard |
Controls all functions |
|
Display |
Lets you interact easily |
Note: Double-check all connections before turning on the printer. A loose wire can cause problems.
Wiring & Cable Management
Routing and Securing Cables
You want your 3D printer to look neat and work safely. Messy cables can get in the way or even cause problems. Start by planning where each wire will go. You can use cable chains to keep wires organized and protected. These chains guide the cables along the frame and stop them from getting tangled. If your kit does not include cable chains, you can 3D print the parts yourself. Many beginners find this step fun and useful.
Mark the spots where you need to install brackets. Secure each bracket tightly so the cable chain stays in place. When you route the wires, make sure they do not cross moving parts. This helps prevent snags and keeps everything running smoothly.
Here are some tips for cable management:
- Use cable chains to organize and protect wires.
- 3D print cable chain parts if needed.
- Mark and secure brackets for installation.
- Keep wires away from moving parts.
- Bundle cables with zip ties or Velcro straps.
- Label each wire for easy troubleshooting.
Tip: Take a photo of your cable layout before you close up the printer. This makes repairs easier later.
Electrical Safety Tips
Safety comes first when you work with electronics. You do not want to risk a shock or damage your printer. Always power off and unplug your printer before you touch any wires. Check that the voltage setting matches your local power supply. This step helps you avoid overloads.
Handle the inside parts with care. Capacitors can hold high voltage even after you unplug the printer. Use a grounded power cable to prevent static build-up and lower the risk of electric shock. Inspect all cables and connectors for damage. Replace anything that looks worn or frayed.
Follow these steps for electrical safety:
- Power off and unplug the printer before maintenance.
- Check voltage settings to match your local supply.
- Handle internal parts carefully—capacitors can hold charge.
- Use a grounded power cable.
- Inspect cables and connectors for damage.
- Secure all wiring to prevent strain.
- Watch for signs of overheating, like strange smells or hot spots.
- Ask a qualified technician to inspect your printer’s electrical system regularly.
⚡ Note: If you ever smell burning or see smoke, unplug the printer right away and get help.
A tidy setup and safe wiring help your printer last longer and keep you safe. Take your time with this step. You will thank yourself later!
Initial Setup and Calibration
Software and Firmware Installation
You need software to design your models and firmware to run your printer. Most beginners start with easy-to-use programs. Tinkercad and Ultimaker Cura work well for first-time users. You can try more advanced tools as you get comfortable. Here’s a quick look at popular options in 2025:
|
Software |
Description |
Pricing |
|---|---|---|
|
Onshape |
Cloud-based CAD, real-time teamwork |
$1,500/user/year |
|
Autodesk Fusion |
Design, manufacturing, simulation in one |
$680/user/year |
|
Siemens NX |
Advanced engineering and design |
$614.25/month |
|
Solid Edge |
Flexible workflows, synchronous tech |
$261/month |
|
SOLIDWORKS |
User-friendly 3D design and simulation |
$2,820/year |
|
Tinkercad |
Great for beginners and schools |
Free |
|
Ultimaker Cura |
Reliable print preparation |
Free |
You can download firmware from your printer’s manufacturer. Follow the instructions to install it. Make sure you use the latest version. This helps your printer run smoothly and keeps it safe.
Tip: Always check for updates before your first print. New versions fix bugs and add features.
Bed Leveling and Axis Calibration
You want your prints to stick to the bed and look sharp. Bed leveling is the key. Follow these steps for a good start:
- Move the nozzle to each corner of the bed.
- Slide a piece of office paper between the nozzle and the bed.
- Turn the leveling knobs until you feel slight friction.
- Repeat for all corners and the center.
- Level the bed while it’s heated to printing temperature.
Proper bed leveling stops warping and poor adhesion. The nozzle should keep the same distance from the bed as it moves. If you use an auto bed leveling sensor, follow your printer’s guide. You can also calibrate the axes by checking movement and entering new values with G-code commands.
- Calculate new M92 values if needed.
- Input them using your printer’s control panel.
- Save and test the settings.
Note: A well-leveled bed means fewer failed prints and better results.
Testing Endstops
Endstops keep your printer from moving too far. You need to check that they work before you start printing. Here’s how you can test them:
- Open Pronterface and connect to your printer.
- Make sure no endstops are triggered. Move the axes if needed.
- Type
M119to check endstop status. - Look for ‘OPEN’ on each endstop. This means they work.
- Press each endstop by hand and run
M119again. - If the status does not change, check the wiring or firmware.
- Write down any endstops that show ‘TRIGGERED’ when they should not.
⚡ Tip: Always test endstops before your first print. This keeps your printer safe and prevents crashes.
Loading Filament and Test Print
Loading Filament
You’re almost ready to see your 3D printer in action! First, you need to load the filament. For your first setup and print, choose PLA filament. PLA works best for beginners because it prints at lower temperatures, sticks well to the bed, and comes from renewable resources. You won’t need a heated bed, and you’ll get reliable results.
To load the filament, heat up the extruder to the recommended temperature for PLA (usually around 200°C). Cut the end of the filament at an angle. This helps it slide into the extruder. Gently push the filament until you see melted plastic come out of the nozzle. If your printer has an automatic loading feature, follow the on-screen steps.
Tip: Always check that the filament moves smoothly. If you feel resistance, stop and check for jams.
Running a Test Print
Now it’s time for your first print! Start with a simple model, like a calibration cube or a small figurine. Watch the first layer closely. The print should stick to the bed and look even. If you see the filament curling up or not sticking, pause and adjust the bed level.
Keep an eye on the printer during the first few layers. Listen for odd noises and look for smooth movement. If you spot problems, don’t worry. Most issues are easy to fix.
Here’s a table of common first print problems and how to solve them:
|
Issue |
Description |
Resolution |
|---|---|---|
|
Not Sticking to the Bed |
First layer peels up or slides |
Clean bed, level bed, adjust temperature |
|
Layer Shifting |
Layers don’t line up |
Check belt tension, tighten loose parts |
|
Under-Extrusion |
Gaps in print, not enough plastic |
Raise temperature, check filament path |
|
Stringing or Oozing |
Thin strings between parts |
Lower temperature, adjust retraction |
|
Clogged Extruder |
No filament comes out |
Clean nozzle, reload filament |
Troubleshooting First Prints
If your first print doesn’t look right, don’t get discouraged. Many beginners face small problems at the start. Here are some quick fixes you can try:
- Make sure the nozzle isn’t clogged.
- Check that the print sticks to the bed.
- Watch for jams or grinding noises.
- Look for gaps or holes in the top layer.
- Fix bulging or smashed first layers.
- Adjust settings if you see stringy or hairy prints.
- Remove support material carefully.
- Check for weak infill or missing small features.
- If the printer stops extruding, reload the filament.
Remember: Every 3D printer user learns by fixing small issues. Take your time, and soon you’ll get great results!
You made it through every step of 3d printer assembly. That’s a big achievement! You learned how to check parts, set up your workspace, and troubleshoot your first print. If you want to keep growing, join online communities. You’ll find support, new ideas, and friends who love 3d printer assembly too.
Sharing your story helps others and builds your confidence. You can learn from experienced members and get advice when you need it.
Helpful resources for troubleshooting:
You can solve problems, upgrade your printer, and help others. Keep exploring and enjoy every print!
FAQ
How long does it take to assemble a 3D printer?
Most beginners finish assembly in 2 to 4 hours. You might go faster if you follow each step closely. Take breaks if you feel tired. Patience helps you avoid mistakes.
What filament should I use for my first print?
PLA filament works best for your first print. It melts at low temperatures and sticks well to the bed. You can find PLA in many colors. It is safe and easy to use.
Why does my print not stick to the bed?
Your bed might be dirty or not level. Clean the surface with alcohol. Adjust the bed level using the knobs. Try a glue stick for extra grip. Watch the first layer closely.
Can I upgrade my 3D printer later?
Yes, you can add new parts like better nozzles, auto bed leveling, or stronger motors. Many upgrades are easy to install. Check your printer’s manual for tips before you start.


