


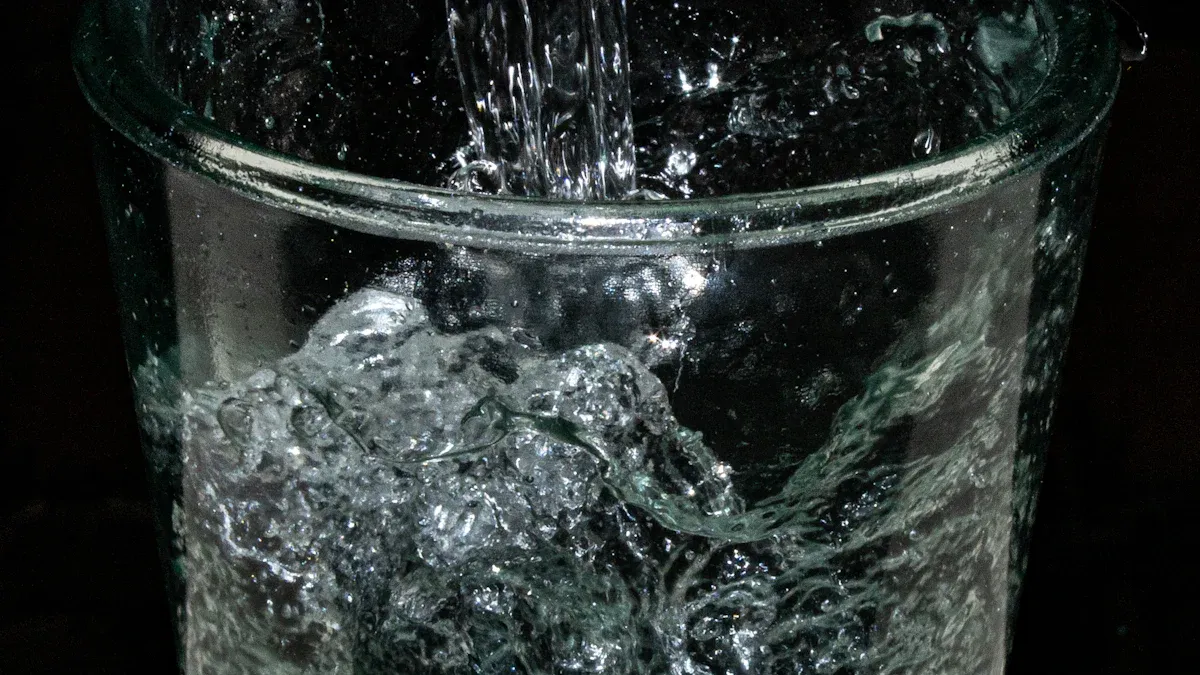
Have you seen Waterproof 3D Prints break when they touch water? This happens because small spaces between layers let water leak in. Waterproofing is not only for outdoor items; it is also important for useful things like jars or tubes. Picking the right materials and methods keeps your Waterproof 3D Prints strong and effective.
Key Takeaways
- Pick the best filament for waterproofing. Materials like PP, ABS, and PETG work well for different needs.
- Change slicer settings to make prints waterproof. Thicker walls and more infill stop leaks.
- Try post-processing methods like epoxy coatings or acetone smoothing. These seal gaps and make prints stronger.
Picking Materials for Waterproof 3D Prints

To make waterproof 3D prints, start with the right materials. Not all filaments work the same, and some handle water much better. Let’s explore the best options and why they are effective.
Top Filaments for Waterproof Projects
For water-resistant 3D prints, choose the right filament. Here are some great choices:
- PP (Polypropylene): This filament naturally pushes water away. It’s strong, resists chemicals, and handles impacts well.
- ABS (Acrylonitrile Butadiene Styrene): ABS is great for waterproofing but can crack in freezing temperatures. It’s best for indoor or mild outdoor use.
- PETG (Polyethylene Terephthalate Glycol): PETG is heat-resistant and works well for waterproof parts. It’s a modified version of PET, used in water bottles.
- PLA (Polylactic Acid): PLA isn’t the best for waterproofing but works for cold water projects.
Each filament has unique strengths. Think about your project’s needs before deciding. For example, PETG is good for outdoor use, while PP resists chemicals.
Important Features for Waterproofing
What makes a material good for waterproofing? Focus on these features:
- Hydrophobicity: Materials like PP repel water, making them ideal for waterproofing.
- Layer Adhesion: Strong bonding between layers prevents water from leaking through.
- Durability: Tough materials that don’t crack or break last longer.
- Heat Resistance: For high-temperature settings, use heat-resistant filaments like PETG.
By choosing materials with these features, you can improve your waterproofing success.
Tip: Always check the filament’s specifications. This helps you understand how it performs for waterproofing.
Resin vs. FDM Printing for Waterproofing
For waterproof 3D prints, you can use resin or FDM printing. Each has its advantages and disadvantages.
|
Feature |
Resin Printing |
FDM Printing |
|---|---|---|
|
Waterproofing |
Resin prints are naturally waterproof due to their solid build. |
FDM prints may need extra sealing to close gaps. |
|
Detail |
Resin printers create very detailed prints. |
FDM printers are better for bigger, simpler parts. |
|
Durability |
Resin can break easily under stress. |
FDM prints are usually stronger. |
|
Cost |
Resin printing costs more because of materials and tools. |
FDM printing is more affordable. |
For small, detailed waterproof parts, resin printing is a good choice. For larger, stronger prints, FDM printing works better.
Note: No matter the method, adding epoxy or silicone sealants can improve waterproofing.
Adjusting Slicer Settings for 3D Printing Waterproof Parts
Changing slicer settings can help make waterproof 3D prints. Adjusting key settings improves layer bonding and reduces gaps. This makes prints stronger and better at keeping water out. Let’s look at some simple tips.
Making Walls Thicker and Adding More Perimeters
Thicker walls help stop water from leaking through. Adding more perimeters also reduces the chance of leaks. Use at least three perimeters and walls 1.2 mm thick or more.
Thicker walls not only block water but also make prints tougher. They keep air and water vapor out, helping prints last longer. This is great for outdoor or functional parts that face water often.
Tip: Look for "Wall Line Count" or "Perimeters" in slicer settings. Increase these numbers for better waterproofing.
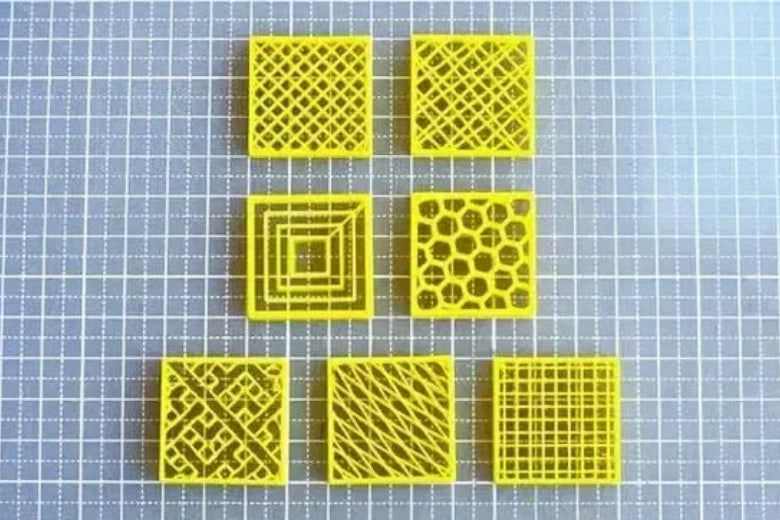
Choosing Higher Infill Density and Patterns
Infill is important for waterproofing. Higher infill density fills gaps where water might leak. Use at least 50% infill for waterproof prints. Solid patterns like grid or concentric work best.
If weight isn’t a problem, use 100% infill for no gaps. This stops water from collecting inside the print.
Raising Print Temperatures for Stronger Layer Bonding
Good layer bonding is needed for waterproof parts. Weak bonds let water pass through. Slightly raising the print temperature can improve bonding. This works well for filaments like ABS or PETG.
For example, if the filament’s range is 220–240°C, try 235°C. Don’t go too high, or it may cause print issues. Stronger bonds mean fewer weak spots for water to enter.
Note: Test a small print first when changing temperatures. This avoids wasting materials.
By adjusting slicer settings, you can make your prints more waterproof. Use these tips with good materials and post-processing for the best results.
Post-Processing Techniques to Make 3D Prints Waterproof
Post-processing is where you improve your 3D prints. Even if a print looks good, tiny gaps might let water in. Using the right methods can make your prints last longer and work better. Let’s explore some easy techniques.
Acetone Smoothing for ABS Prints
If you use ABS filament, acetone smoothing is very helpful. This method melts the surface, making it smooth and water-resistant.
- Acetone smoothing seals ABS prints, stopping water leaks.
- It’s great for outdoor items or models that hold liquids.
- It also makes prints stronger by fixing weak spots.
To do this, place your ABS print in a sealed container with acetone vapor. The vapor smooths the surface without harming the print. Be careful—acetone is flammable. Work in a safe, ventilated area.
Tip: Only use acetone on ABS prints. It won’t work on PLA or PETG.
Applying Epoxy or Resin Coatings
Epoxy coating is a strong way to waterproof 3D prints. It adds a protective layer that seals gaps and keeps water out.
Why epoxy or resin works well:
- It fills small gaps, making prints watertight.
- It gives a shiny finish, perfect for functional parts.
- It protects prints from damage and wear.
To use epoxy, mix it as directed, then brush or pour it on your print. Let it dry fully before testing for waterproofing.
Note: Use food-safe epoxy for items that touch food or drinks.
Wax Dipping for Temporary Waterproofing
Need a quick solution? Wax dipping is an easy way to make prints water-resistant for a short time. It’s great for prototypes or temporary models.
Steps for wax dipping:
- Melt wax in a container.
- Dip your print into the wax to coat it.
- Let the wax cool and harden.
Wax protects against water but isn’t very strong. It can wear off with heat or frequent use.
Tip: Wax dipping is good for testing designs before using permanent methods.
Using Silicone Sealants for Targeted Waterproofing
Silicone sealants are great for sealing specific areas like seams or joints. They’re flexible, strong, and water-resistant, making them ideal for waterproofing.
Tests show silicone sealants work well in tough conditions:
- They resist sunlight, moisture, and high heat.
- They bond strongly, stretching without breaking.
- They stay in place when applied vertically.
To use, apply the sealant to the needed areas. Smooth it with a tool or your finger (wear gloves!) and let it dry. This creates a strong, watertight seal.
Note: Silicone sealants are best for functional parts like containers or outdoor items.
By using these post-processing methods, you can make your 3D prints waterproof and durable. Whether you smooth with acetone, coat with epoxy, or seal with silicone, these techniques will help you get the best results.
Testing the Waterproofing of 3D Prints
After waterproofing your 3D prints, you need to test them. Testing shows if they can handle water without breaking. Here are three easy ways to check.
Submersion Testing for Leaks
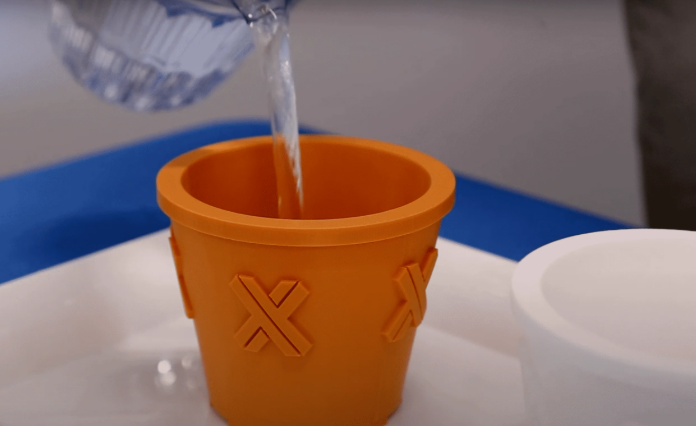
Submersion testing is a simple way to find leaks. Fill a container with water and put your print inside. Watch for bubbles coming out—this means there are leaks.
For example, PLA prints leak under 5 bars of pressure. They fill with water fast and sink in less than a minute. PETG prints leak slower and float for hours. Here's a comparison:
|
Material |
Pressure (bars) |
Outcome |
Notes |
|---|---|---|---|
|
PLA |
5 |
Leaked |
Sank quickly, 90% full of water in 1 minute |
|
PETG |
5 |
Leaked slowly |
Floated, 75% full of water after 2 hours |
This test shows weak spots in your prints. If leaks happen, add more coatings or change slicer settings.
Pressure Testing for Durability
Waterproof prints must also handle pressure. Fill your print with water and seal it. Squeeze it gently or put a small weight on it. Look for cracks or leaks.
This test works well for items like pipes or containers. If your print stays strong, it’s ready to use.
Visual Inspection for Surface Imperfections
Small flaws can ruin waterproofing. Check your print closely for cracks, gaps, or uneven layers. Use a magnifying glass if needed.
Focus on spots where layers meet or coatings were added. Fix any flaws with more sealants or coatings. A smooth surface keeps water out.
By testing your waterproof prints, you make sure they work well. Whether for outdoor tools or containers, these tests help create strong, reliable parts.
Making your 3D prints waterproof is easier than you think. Pick good materials, adjust slicer settings, and try post-processing methods. These steps help you make strong, water-resistant parts. Testing your prints makes sure they work well for outdoor or useful projects.
Here’s a simple breakdown of how these methods compare:
|
Metric |
Value |
|---|---|
|
Customer Happiness Score |
|
|
Finished Project Rate |
90% |
|
Profit Margin Range |
35-45% |
|
Material Cost Range |
20-30% |
|
Labor Cost Range |
30-40% |
Try different techniques to see what fits your project best. Testing and practice will help you improve your waterproof prints!
FAQ
What is the easiest way to waterproof a 3D print?
The simplest method is applying an epoxy coating. It seals gaps, strengthens the print, and creates a watertight barrier. Plus, it’s beginner-friendly and works on most materials.
Can PLA prints be made completely waterproof?
Yes, but it’s tricky. PLA absorbs water over time. Use high infill, thick walls, and a strong sealant like epoxy or silicone for better results.
How do I know if my print is waterproof?
Submerge it in water and check for bubbles. If you see any, there are leaks. Apply additional coatings or adjust your slicer settings to fix them.
Tip: Always test your print before using it in real-world conditions.


Leave a comment
All comments are moderated before being published.
This site is protected by hCaptcha and the hCaptcha Privacy Policy and Terms of Service apply.