


You want faster 3d printing, but you don’t want your prints to look rough or weak. Good news—you can absolutely speed up your printing and still get great results. The trick is to find the right balance between speed and quality. When you understand 3D print speed vs quality, you can make smart choices for every print. Many users trust machines like the Sovol SV08 for reliable, fast printing that doesn’t cut corners on detail.
Key Takeaways
- Balance print speed and quality by testing small changes and watching for defects.
- Adjust layer height and nozzle size to speed up prints without losing too much detail.
- Use proper slicer settings like acceleration, jerk, and adaptive layers for smoother, faster printing.
- Choose the right filament and print settings based on your project’s needs and material type.
- Run test prints and check results carefully to find the best speed and quality for your printer.
3D Print Speed vs Quality
Why Speed Affects Quality
You might wonder why 3d print speed vs quality matters so much in 3d printing. When you increase print speed, your printer moves faster, but this can cause more vibration and less precise movement. That means your prints might show rough surfaces, small defects, or even weak spots. Many users notice that when they slow down print speed, the print quality improves. Slower speeds let the printer lay down each layer with better detail and stronger adhesion. For example, if you print a detailed model at 1000 mm/min instead of 4800 mm/min, you’ll see smoother surfaces and fewer mistakes. This trade-off between speed and quality is a big part of 3d print speed vs quality.
Finding the Right Balance
You don’t have to pick only speed or only quality. You can find a balance that fits your project. Start with a simple test print, like a calibration cube. Print it at a low speed, then slowly increase the print speed in small steps. Watch for changes in detail, layer adhesion, and surface finish. If you see defects, dial the speed back a bit. For high detail or small features, keep the speed lower. For bigger, less detailed prints, you can go faster. Try using adaptive layers in your slicer. This lets you print faster in simple areas and slow down for high detail. Adjusting layer height also helps—higher layers print faster but lose some resolution, while lower layers give better detail.
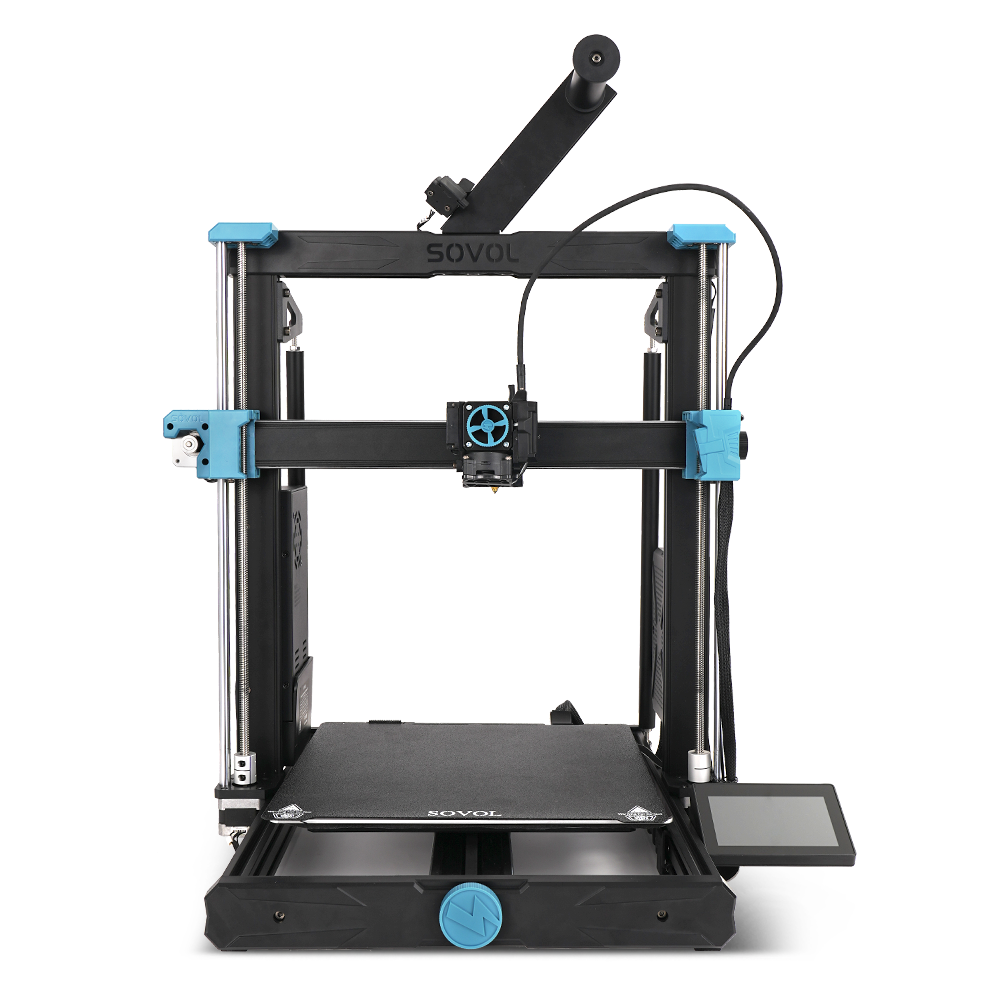
Tip: Always check your printer’s calibration before pushing for higher speeds. A well-tuned machine, like the Sovol SV08, can handle faster printing without losing quality.
Common Mistakes
Many people rush to increase print speed and end up with failed prints. One common mistake is raising the lift speed too much. This can cause the print to warp or break, especially with detailed prints. Another mistake is ignoring the need for proper cooling and temperature settings. If you go too fast, the filament might not cool or stick properly, leading to poor resolution and weak spots. Remember, patience pays off. Focus on quality priorities for each print, and you’ll get better results.
Printer Settings
Getting the perfect print speed settings can feel tricky, but you can master it with a few smart tweaks. Let’s break down the most important 3d print speed settings and see how you can boost performance without losing quality.
Print Speed & Travel Speed
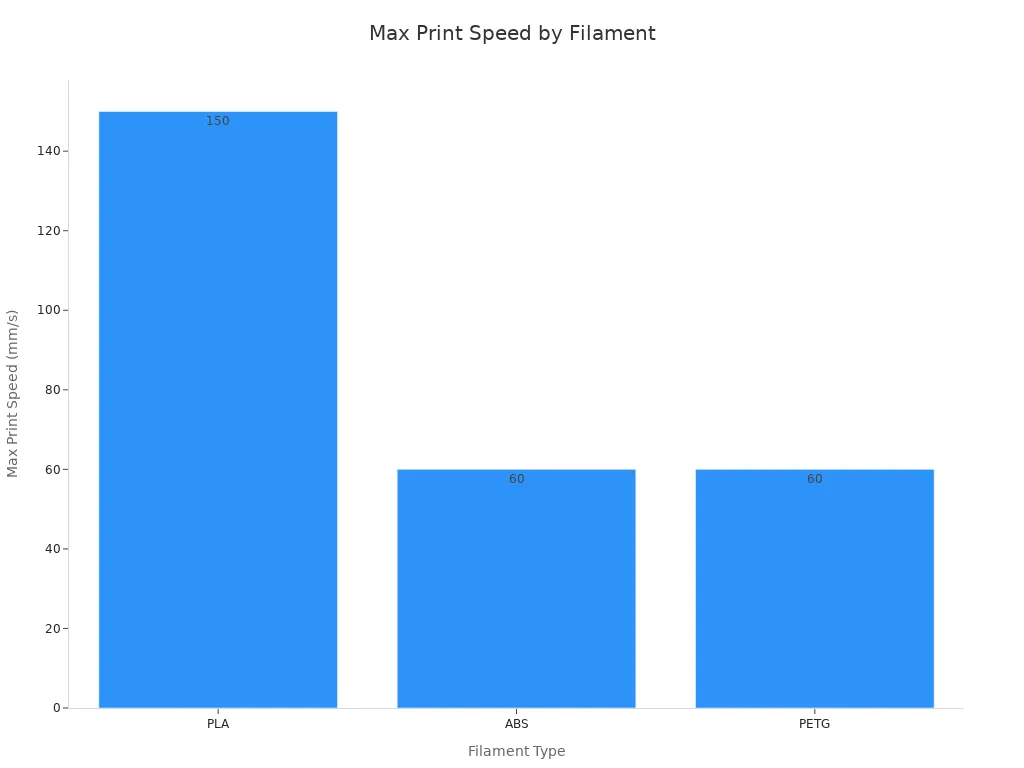
You want to increase print speed, but you also want your prints to look sharp and strong. The right print speed depends on your filament and your printer’s capabilities. For example, PLA can handle higher speeds, while ABS and PETG need a bit more care. Here’s a quick guide to recommended print speeds for common filaments:
|
Filament Type |
Print Speed (mm/s) |
Travel Speed (mm/s) |
|---|---|---|
|
PLA |
40–150 |
120–200 |
|
PETG |
30–80 |
100–150 |
|
ABS |
30–60 |
120–150 |
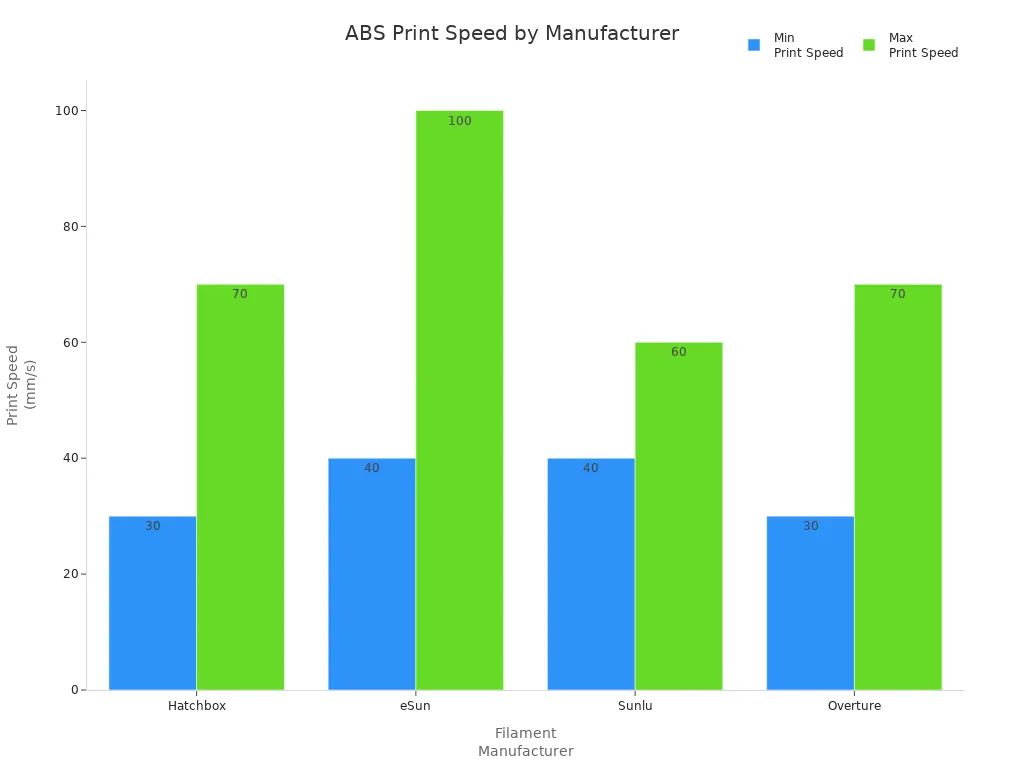
For ABS, you’ll often see manufacturers like Hatchbox and Sunlu suggest print speeds between 30 and 70 mm/s. Travel speeds can go higher, up to 150 mm/s, to move the print head quickly between sections without laying down filament. Take a look at this chart for a quick comparison of ABS print speeds from popular brands:
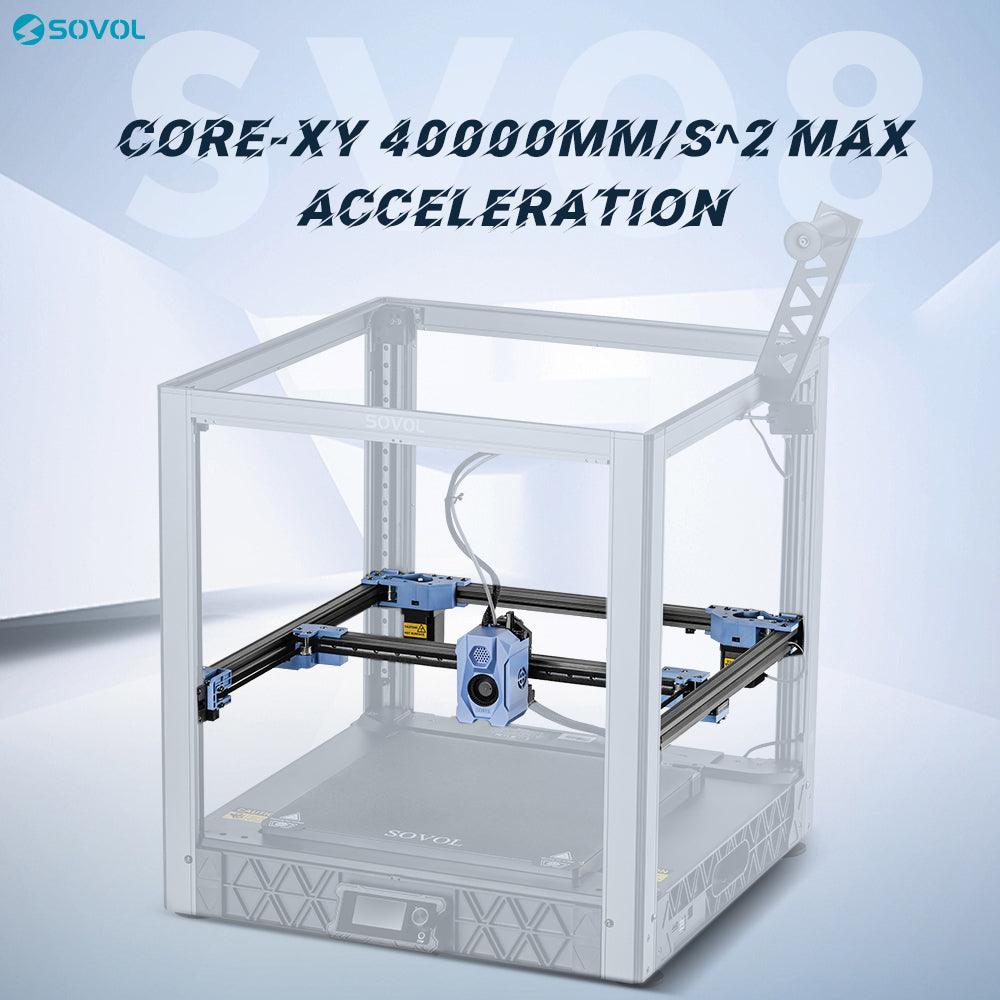
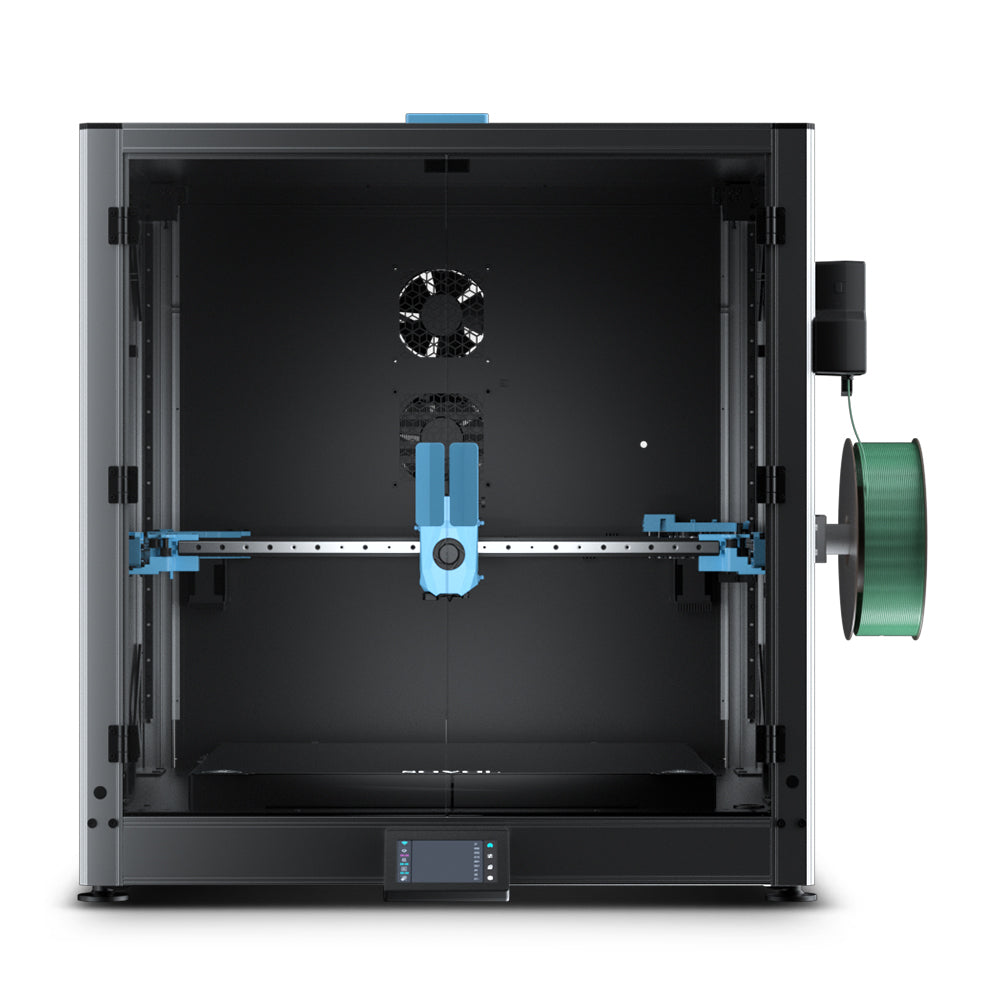
If you use a Sovol SV08, you can push print speed even further. The CoreXY system keeps vibrations low, so you get clean details even at high speeds. Input Shaping and Pressure Advance work together to reduce ringing and blobs, letting you print fast without losing quality. You can try speeds up to 150 mm/s for PLA and still get crisp results. For rapid prototyping, the SV08 can reach up to 700 mm/s, but for most projects, staying in the 40–150 mm/s range gives you the best balance.
Tip: Start with a lower speed for the first layer (10–20 mm/s) to help your print stick to the bed. Then, increase print speed for the rest of the print.
Layer Height & Nozzle Size
Layer height and nozzle size play a huge role in both print speed and print quality. If you want to finish prints faster, try increasing the layer height. For example, printing a 100 mm tall object at 0.4 mm layer height takes only 250 layers, while 0.1 mm layer height needs 1,000 layers. That means you finish four times faster with the thicker layers.
But there’s a trade-off. Lower layer heights give you smoother surfaces and better detail, especially on curves. Higher layer heights can make prints look more “stepped” or rough. For most projects, a layer height between 0.2 mm and 0.3 mm works well for speed and quality.
Nozzle size also matters. A bigger nozzle (like 0.6 mm or 0.8 mm) pushes out more plastic, so you print faster. This is great for large, simple parts. A smaller nozzle (like 0.25 mm) gives you fine details but slows down the print. The best layer height is usually 25% to 80% of your nozzle diameter. So, with a 0.4 mm nozzle, try layer heights from 0.1 mm to 0.32 mm.
Note: If you want to print fast and keep good quality, use a 0.4 mm or 0.6 mm nozzle with a 0.2–0.3 mm layer height. The Sovol SV08’s high-temp hotend and strong extruder handle these settings with ease.
Retraction & Infill
Retraction and infill settings can make or break your print quality, especially when you increase print speed. Retraction pulls the filament back when the print head moves, stopping oozing and stringing. If your retraction distance or speed is off, you’ll see strings or blobs on your print. Adjust these settings until you get clean moves between sections.
- Set retraction distance and speed just high enough to stop stringing, but not so high that it causes jams.
- If you see blobs or gaps, tweak the retraction speed in small steps.
Infill settings also affect print speed and strength. Printing infill too fast can cause weak spots or gaps between the infill and the outer walls. Lower the infill speed a bit and increase the overlap with the outline to get strong, well-bonded prints. Thicker infill walls and different patterns (like grid or gyroid) can boost strength, but they may add to print time.
Pro Tip: The Sovol SV08’s Adaptive Area Detection helps you get the most out of your infill and retraction settings. It analyzes your model and adjusts for the best performance and quality, even at higher speeds.
With the right 3d print speed settings, you can get fast, reliable prints without sacrificing quality. Machines like the Sovol SV08 Max and Sovol Zero make high-speed 3d printing easy, thanks to their advanced motion systems and smart features. Try these tips, experiment with your slicer, and you’ll find the perfect balance for every project.
Slicer & Hardware Tips
Acceleration & Jerk
When you want to boost print speed, you need to look at more than just the basic speed setting in your slicer. Acceleration and jerk control how quickly your printer changes direction and how fast it starts or stops moving. If you set acceleration too high, your printer might shake or create ringing on your prints. Most users start with acceleration around 3000 mm/s² for the X and Y axes. For jerk, a value near 10 mm/s works well. These slicer settings help you find a sweet spot between fast movement and smooth results. You can print a test object, then adjust these numbers in your slicing software until you see fewer defects. The Sovol SV08 uses Input Shaping and Pressure Advance to help you push speed higher without losing quality.
Tip: If you see wavy lines or ghosting, lower your acceleration or jerk in your slicer settings.
Adaptive Layers
Adaptive layers are a game-changer in slicing. This feature lets your slicer use thinner layers for detailed or curved parts and thicker layers for flat or simple areas. You get smoother surfaces where it matters and save time everywhere else. Many users see print time drop by almost 28% with adaptive layers, while the print still looks great. You can adjust how much detail you want in your slicing software. Smoothing options help blend the layer transitions, so your prints look even better. Try enabling adaptive layers in your slicer to get the best mix of speed and quality.
Hardware Upgrades
Sometimes, you want to go even faster. Hardware upgrades can help you reach higher print speed without losing reliability. Here are some upgrades that make a big difference:
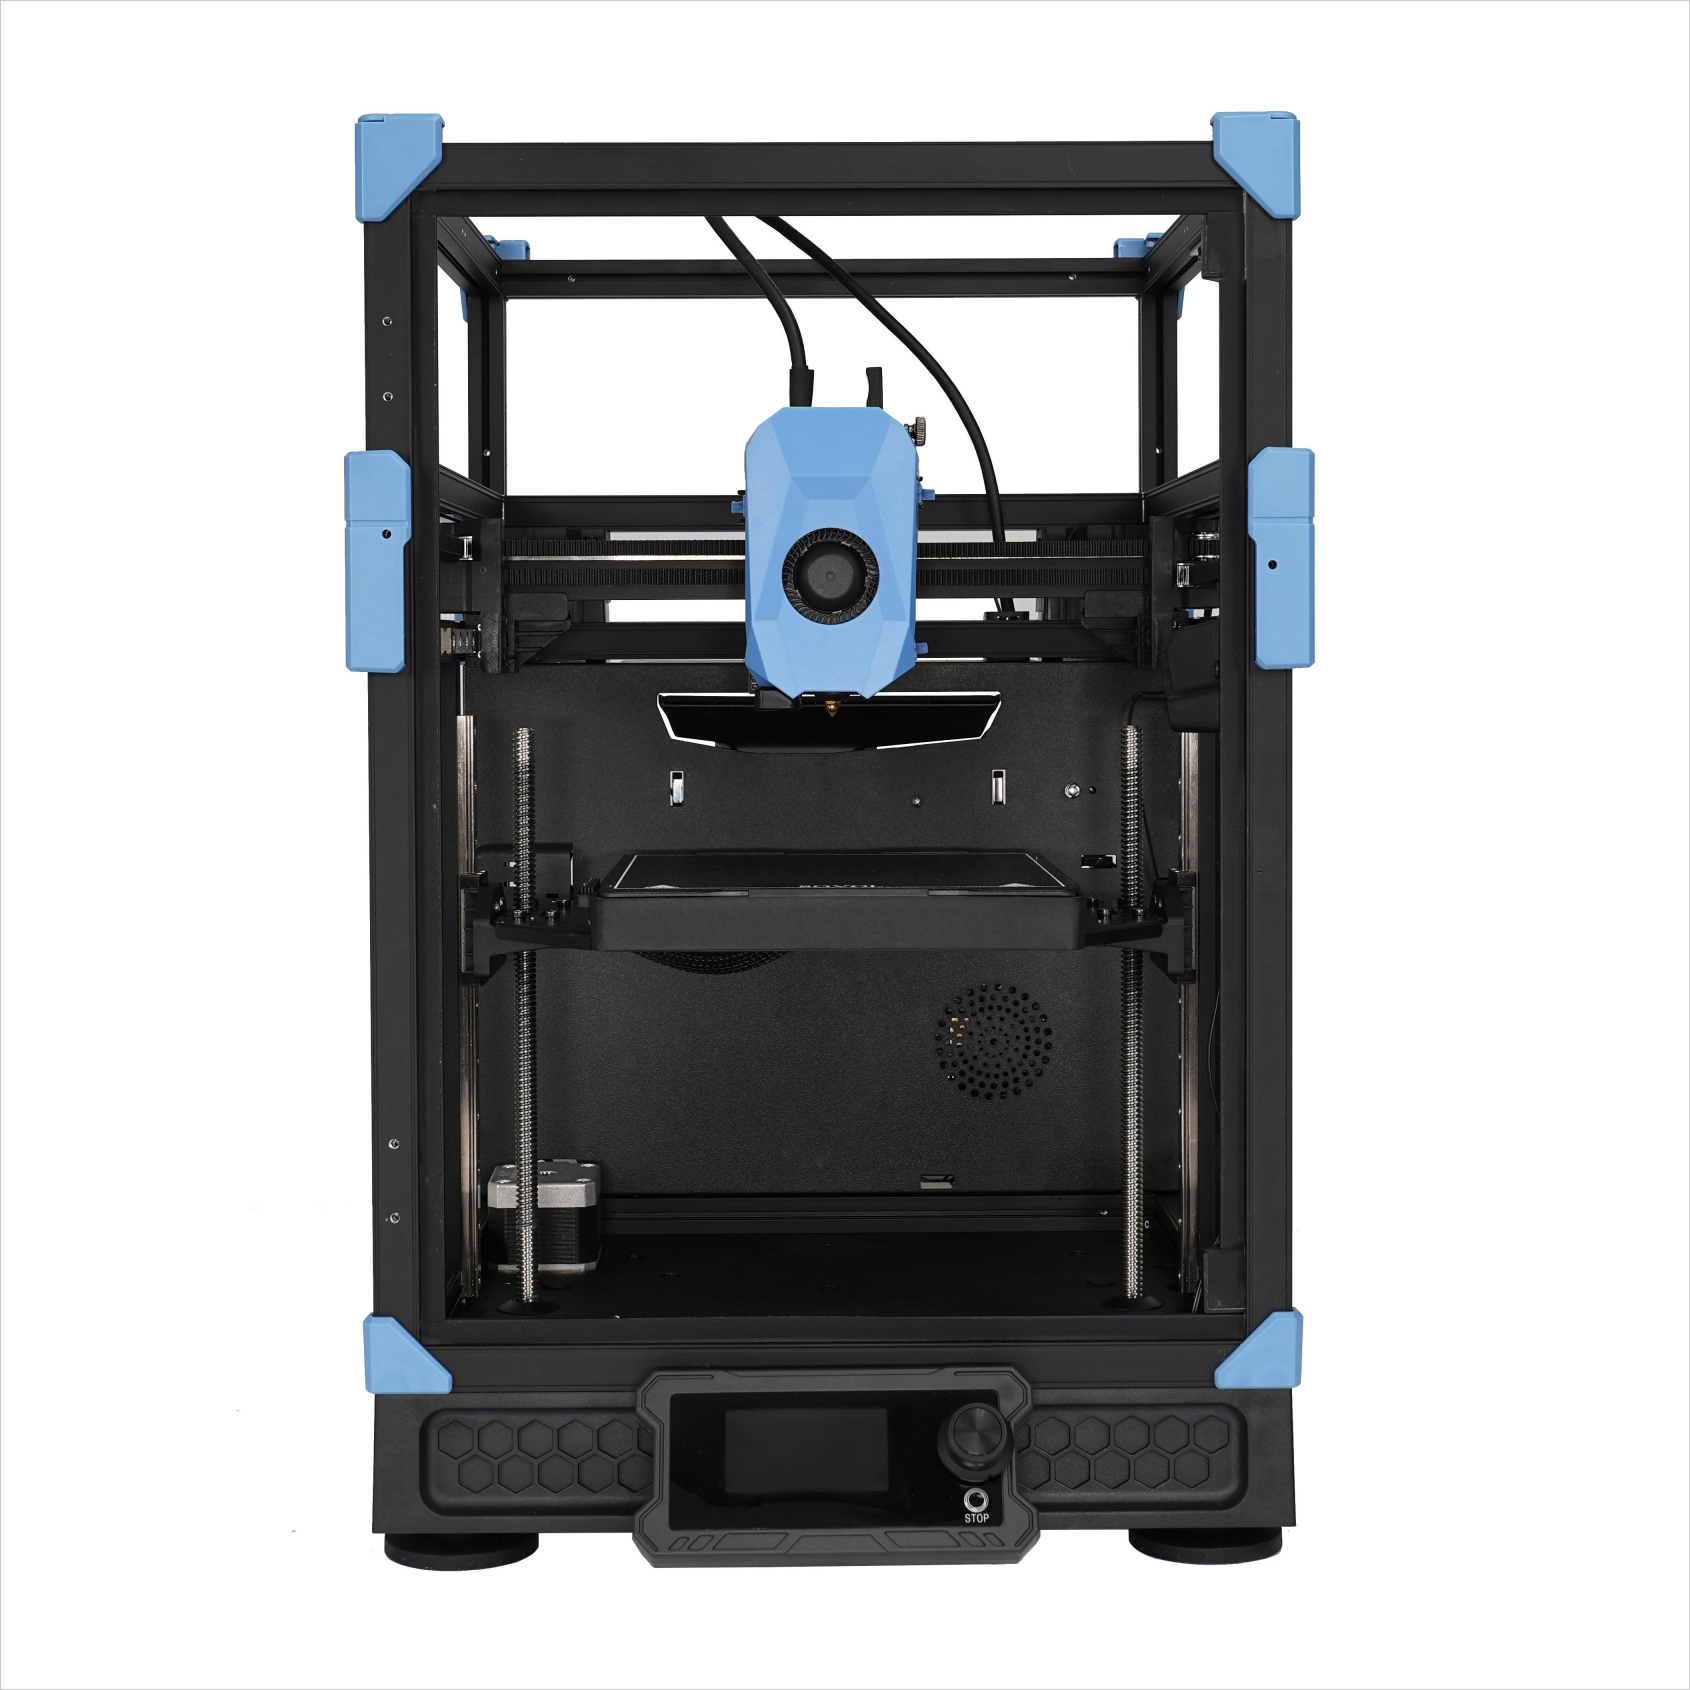
- Linear rails give your printer smoother, more stable motion. The Sovol SV08 comes with linear rails on all axes, so you get precise movement even at high speed.
- All-metal hotends, like the one on the SV08, handle higher temperatures and keep filament flowing smoothly. This means you can print faster with fewer clogs.
- Dual-drive extruders improve grip and feeding, letting you push filament at higher speed without slipping.
With these upgrades, your printer can handle advanced slicing features and higher speeds. The SV08’s design supports all these improvements, so you can focus on dialing in your slicer settings and slicing workflow for the best results.
3D Print Faster with Model & Workflow Optimization
Want to 3d print faster without losing quality? You can make a big difference by tweaking your model and workflow before you even start printing. Let’s look at some smart ways to reduce 3d printing time and get the most out of your printer.
Model Orientation
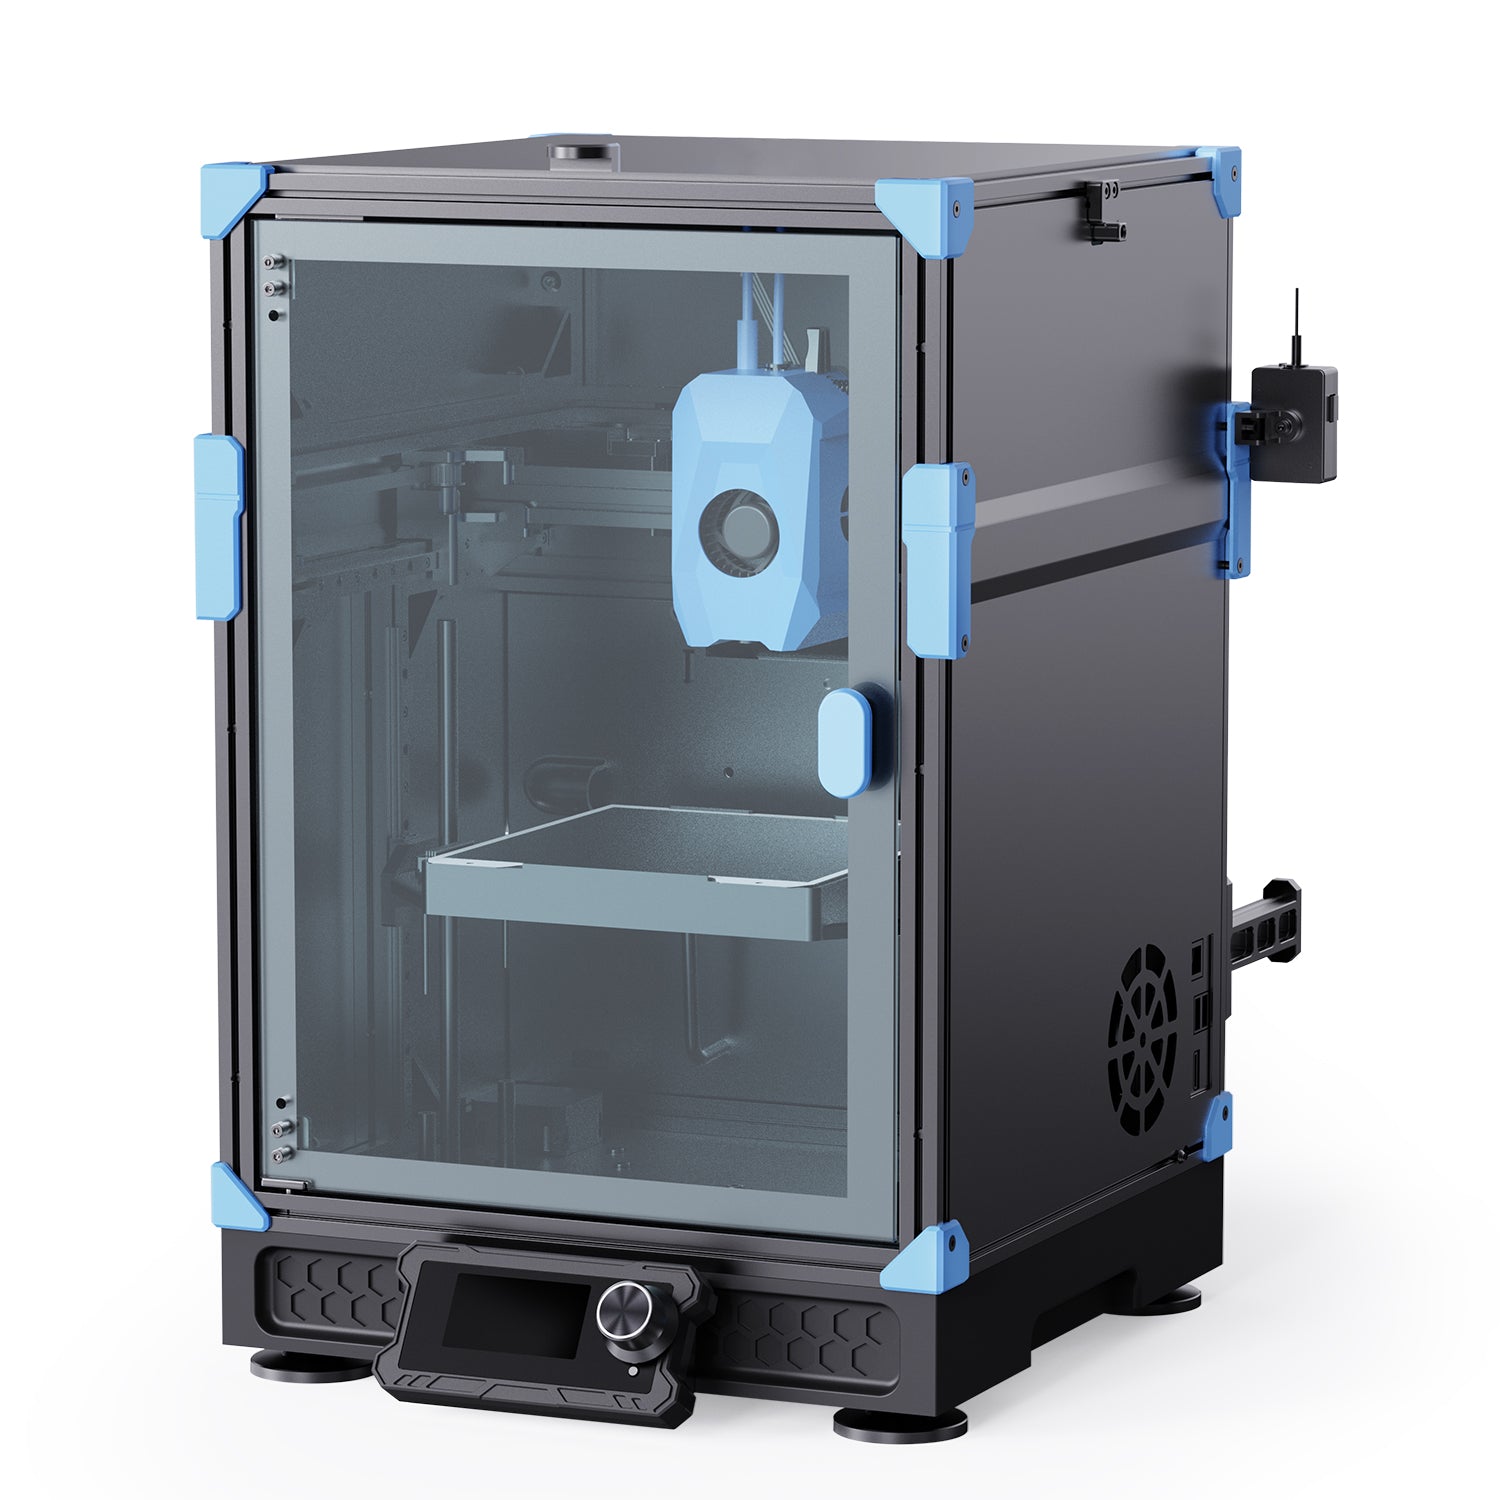
How you place your model on the print bed can change your results. While orientation does not always affect speed directly, it can help you avoid print failures and improve quality. If you keep the heaviest parts close to the bed, your printer moves smoother and prints more reliably. Try to align flat surfaces with the bed and avoid tall, skinny prints that wobble. For the Sovol SV08, the CoreXY system keeps motion stable, so you can print large or tall models with less risk of shaking. If you want to 3d print faster, always check that your belts are tight and your bearings are aligned.
Infill Patterns
Choosing the right infill pattern can help you print faster and still get strong parts. Some patterns print quickly but are not very strong, while others take longer but add more strength. Here’s a quick guide:
|
Infill Pattern |
Print Speed |
Strength |
Best Use |
|---|---|---|---|
|
Lines |
Very Fast |
Low |
Prototypes |
|
Grid |
Moderate |
Medium |
General parts |
|
Gyroid |
Fast |
High |
Strong, fast prints |
|
Honeycomb |
Slow |
High |
Load-bearing parts |
Gyroid infill stands out for faster 3d printing. It gives you strong parts and keeps the print head moving smoothly, which cuts down total print time.
Support Reduction & Batch Printing
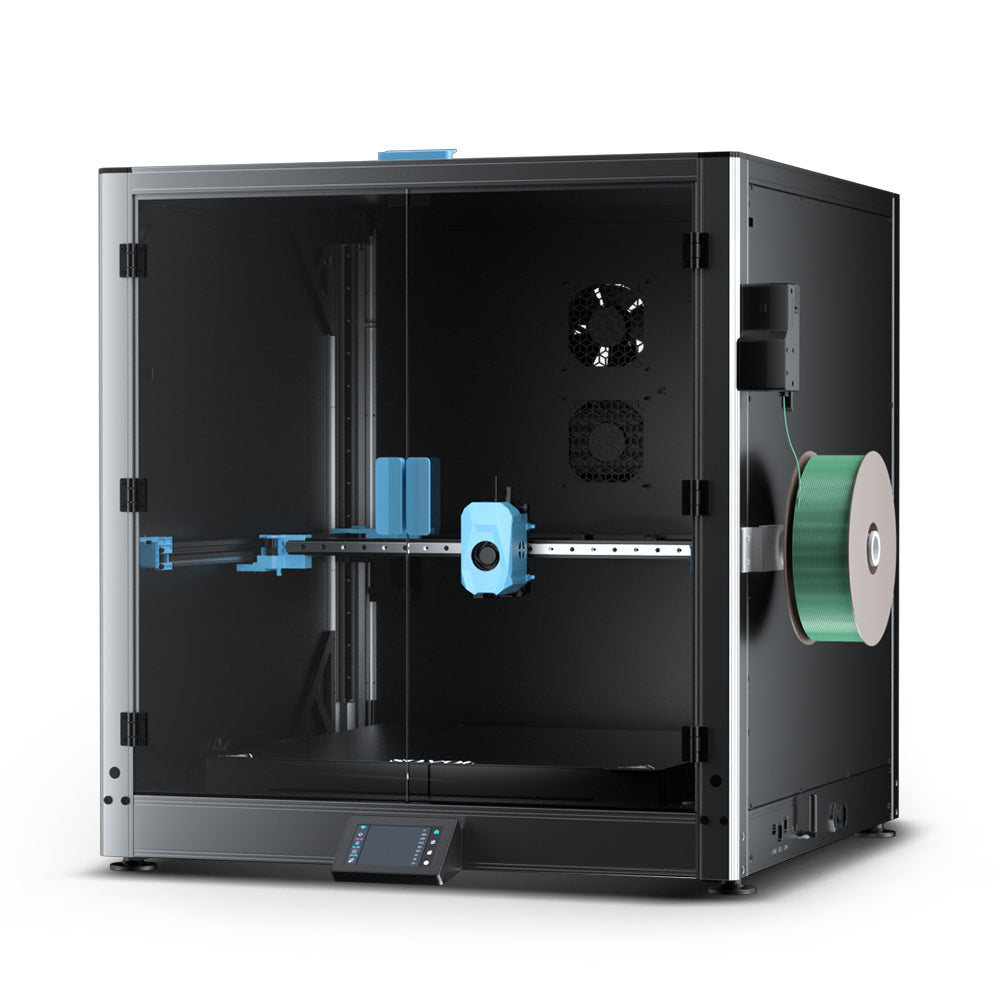
Supports can slow down printing and waste material. You can reduce supports by orienting your model so the detailed side faces up and splitting complex models into smaller, support-free parts. Use gradual infill steps to save time and prevent breakage. If you want to 3d print faster, batch printing is a great trick. The Sovol SV08’s large build volume lets you print many parts at once, so you finish more jobs in less time. With remote monitoring, you can check your prints from anywhere and keep your workflow moving.
Tip: Use AI tools or mesh reduction to simplify your models. This helps you print faster and keeps your parts strong.
Material & Technology Choices
FDM vs Resin
When you look at 3d printing technology, you’ll notice two main types: FDM and resin. Each has its own strengths for speed and quality. FDM printers, like the Sovol SV08, use melted filament to build objects layer by layer. Resin printers cure liquid resin with light, creating entire layers at once. This difference changes how fast and detailed your prints can be.
Here’s a quick comparison:
|
Technology |
Average Print Speed |
Detail & Resolution |
Best For |
Post-Processing |
|---|---|---|---|---|
|
FDM |
Good, but less than resin |
Large, simple parts, prototypes |
Minimal (remove supports) |
|
|
Resin |
2–5 hours (medium object) |
Very high resolution, smooth surfaces |
Small, high detail parts, miniatures |
More (wash, cure, supports) |
Resin 3d printing technology gives you high resolution and smooth finishes, even at faster speeds. You can batch print many small parts at once without adding time. FDM works better for bigger prints and offers a faster total workflow for large projects. If you want high detail and sharp resolution, resin is the way to go. For everyday printing, FDM gives you speed, strength, and flexibility.
Filament Types & Quality
Your choice of filament affects both speed and quality. PLA, PETG, and ABS are the most popular options in 3d printing technology. Each one has its own sweet spot for print speed, resolution, and ease of use. The Sovol SV08 supports all these materials, plus advanced composites for special projects.
|
Filament |
Recommended Speed (mm/s) |
Print Quality |
Notes |
|---|---|---|---|
|
PLA |
High detail, easy to use |
Great for high resolution prints |
|
|
ABS |
40–60 |
Strong, durable |
Needs slow speed for best resolution |
|
PETG |
40–60 |
Good balance |
Strong, flexible, needs fine-tuning |
When you print fast, think about these tips:
- Match the filament’s strength and temperature needs to your project.
- Make sure your printer can handle the right nozzle and bed temperatures.
- Store filament dry to keep print quality high.
- Try test prints to dial in the best speed and detail.
- For tough jobs, try carbon fiber or polycarbonate blends. The SV08’s hotend and heated bed make these easy.
Tip: If you want high resolution and sharp detail, use PLA with a 0.2 mm layer height. For strong, functional parts, PETG or ABS work well at moderate speeds.
With the right material and 3d printing technology, you can get the perfect mix of speed, strength, and high resolution every time.
Testing & Fine-Tuning

Test Prints
You want your detailed prints to look sharp, even when you push for speed. The best way to dial in your settings is to run a few smart test prints. Here’s a step-by-step approach that helps you find the sweet spot between speed and quality:
- Print a vertical, curved wall tower. Divide it into sections, each with a different speed.
- Start slow at the base and increase speed as you move up the tower.
- After printing, check each section for changes in detail and surface finish.
- Look for common issues like stringing, under-extrusion, or layer shifts. These can show up fast when you print at higher speeds.
- Use digital calipers to measure dimensions and check for accuracy.
- Decide which section gives you the best balance of speed and print quality.
- Adjust your printer settings or create custom profiles for each filament based on what you see.
This method lets you see exactly how speed affects detail and helps you avoid surprises on your next high detail project.
Quality Checks
Once you finish your test prints, it’s time to check the results. You want every part to meet your standards for quality and detail, especially if you’re aiming for detailed prints or high detail models. Here’s how you can make sure your prints are on point:
- Use digital calipers or a 3D scanner to compare your print to the original model.
- Try non-destructive tests, like ultrasonic inspection, to spot hidden defects.
- Watch your print in real time with the Sovol SV08’s built-in camera. Remote monitoring lets you catch problems early, even if you’re not in the room.
- Pause or adjust your print remotely if you see any issues with detail or surface finish.
- Keep notes on your print settings and results. This helps you improve quality with every new project.
Tip: Stable room temperature and low humidity help prevent warping and keep your detailed prints looking their best.
With a little testing and the right tools, you can achieve high detail and reliable quality—even at faster speeds.
You can boost your 3D print speed and still get great results by following a few smart steps. Here’s a quick guide:
|
Step |
What to Do |
|---|---|
|
Tune Settings |
Adjust speed, layer height, and infill |
|
Pick Good Materials |
Use filaments that work well at higher speeds |
|
Maintain Your Printer |
Calibrate and clean regularly |
|
Use Advanced Features |
Try input shaping and auto-leveling |
Don’t be afraid to experiment and test. With a printer like the Sovol SV08, you get both speed and quality—so you can print smarter and faster every time.
FAQ
How can I print faster without losing detail?
You can boost speed by raising print speed and layer height, but keep an eye on quality. Use features like Input Shaping and Pressure Advance on Sovol SV08 Max or Sovol Zero. Always test with a calibration cube before printing your final model.
What slicer settings help with high-speed printing?
Try increasing acceleration and jerk values in your slicer. Enable adaptive layers for faster prints on simple shapes. Sovol printers handle these settings well, so you get smooth results even at higher speeds.
Which filament works best for fast, quality prints?
PLA prints fast and looks great. PETG and ABS need slower speeds for best results. Sovol SV08 Max supports a wide range of filaments, so you can experiment and find what works best for your project.
How do I avoid common mistakes when increasing print speed?
Watch for stringing, poor adhesion, or rough surfaces. Start with small speed increases. Check your printer’s calibration and use Sovol’s remote monitoring to catch issues early. Always review your first layer before leaving the print unattended.


