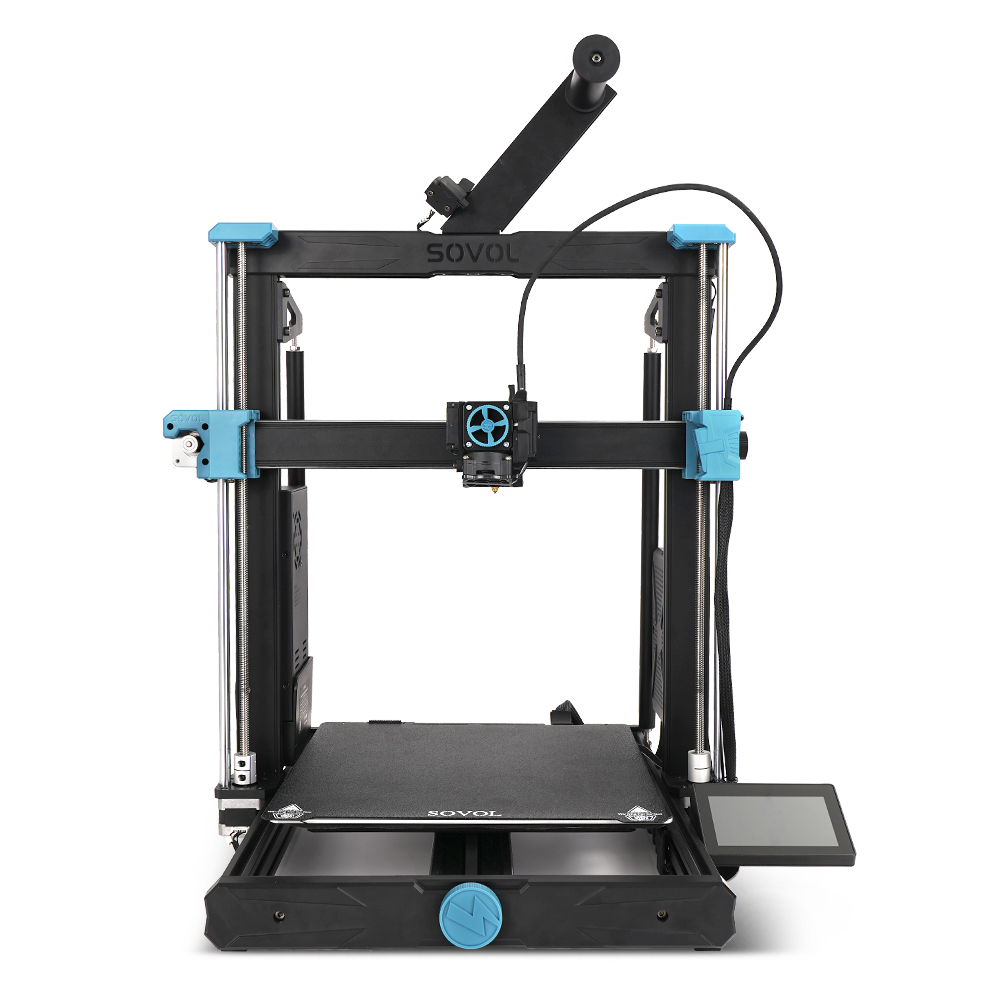
Starting a print and noticing your 3D printer not extruding filament can be incredibly frustrating. You expect the filament to flow smoothly, but nothing happens. This issue often stems from clogs, incorrect filament loading, or improper settings. A clogged nozzle or tangled filament can disrupt the flow, and a misaligned extruder can prevent extrusion entirely.
To address this, you need to troubleshoot step by step. Careful inspections can help identify why your 3D printer is not extruding and get it back to working properly. Understanding the root cause of the problem will save you time and help prevent similar issues in the future.
Key Takeaways
- Check the nozzle often for clogs. Clean it with tools like cold pulls or small brushes to keep the filament flowing well.
- Load the filament correctly. Make sure it is tight and not tangled to avoid problems with printing.
- Set the right temperature for your filament. Follow the maker's instructions to stop clogs and melt the filament properly.
- Look at the extruder motor and gears. Check for loose wires or worn-out parts that might stop the filament from moving and cause clicking noises.
- Adjust the Z-axis and level the bed. This helps the first layer stick better and flow smoothly, stopping extrusion issues.
Common Reasons for Filament Not Coming Out
If your 3D printer doesn’t extrude filament at the start, it’s likely due to a common issue. Knowing these problems can help you fix them and get printing again.
Nozzle Clogs and Blockages
A clogged nozzle is a frequent reason for extrusion problems. Leftover filament or dirt inside the nozzle can block the material flow. This often happens when switching filament types or using poor-quality filament that leaves residue.
Tip: Check your nozzle often to stop clogs before they start.
Studies show clogs happen more when filament moves too slowly. For instance, very low speeds increase the chance of blockages. The table below shows how this works:
|
Fibre Length (mm) |
Fibre Volume Fraction (%) |
Average Particle Velocity (mm/s) |
Clogging Occurrence |
|---|---|---|---|
|
0.12 |
13.34 |
> 0.5 |
No |
|
0.24 |
20.01 |
Low (threshold reached) |
Yes |
|
0.35 |
13.34 |
Very low |
Yes |
If you think the nozzle is clogged, try a cold pull or cleaning filament. These methods can clear debris and restore proper flow.
Filament Not Properly Loaded or Tangled
Filament loading or tangling issues can also stop extrusion. If the filament isn’t fed correctly, it won’t reach the nozzle. Tangled filament on the spool can also block smooth feeding.
To prevent this, make sure the filament is loaded securely. Check that the spool spins freely. Flexible materials like TPU tangle more easily, so use a filament guide or spool holder for steady feeding.
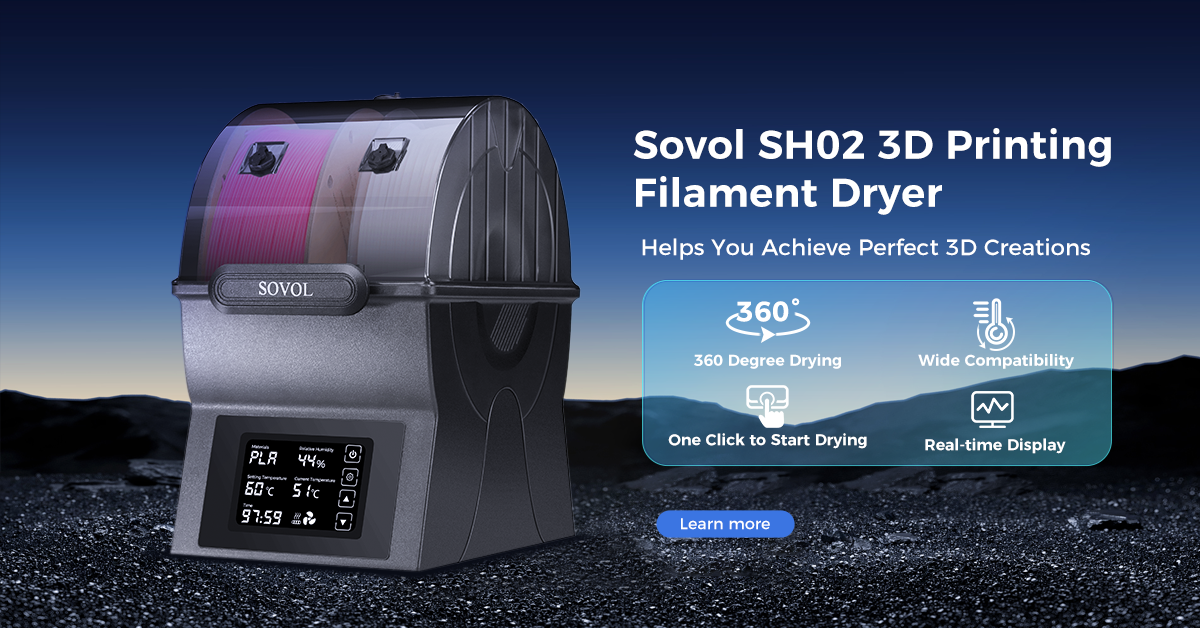
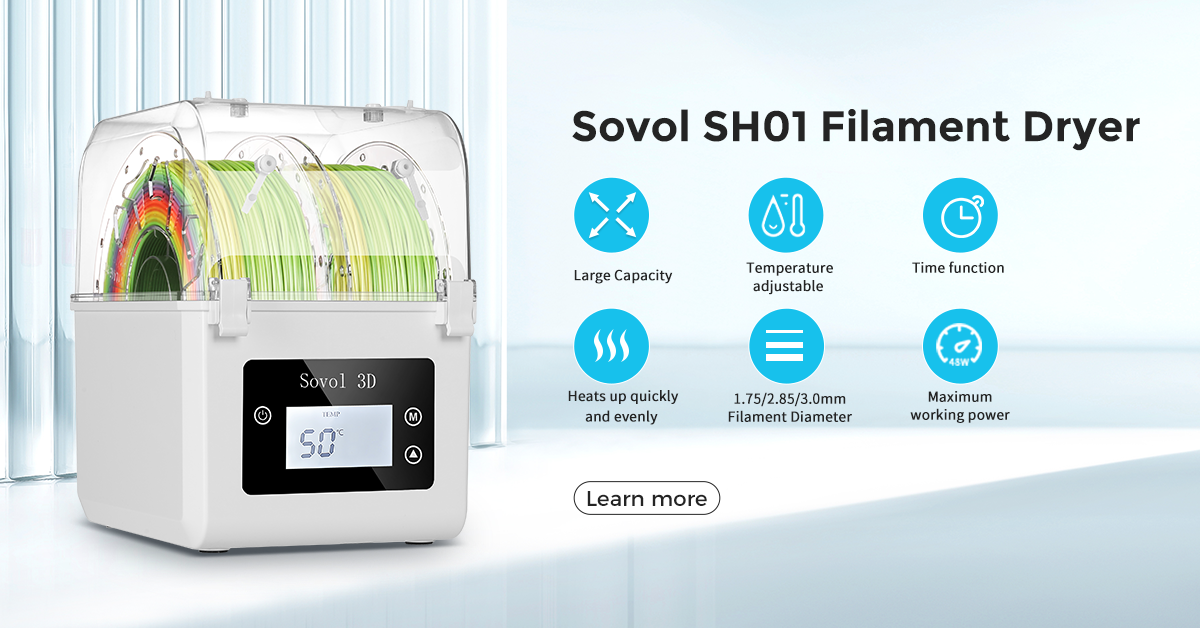
Note: Moisture can harm filament, making it brittle or swollen. Keep filament in a dry, sealed container to protect it.
Incorrect Printing Temperature
Temperature settings are key for filament extrusion. If the nozzle is too cool, the filament won’t melt and flow properly. Too much heat can degrade the filament, causing clogs.
Each filament type needs a specific temperature range. For example, PLA works best between 190°C and 220°C, while ABS needs 230°C to 250°C. Always check the manufacturer’s temperature guide.
Pro Tip: Preheat the nozzle to the right temperature before printing. Manually extrude a little filament to check for smooth flow.
Wrong temperatures can also come from slicer software errors. Check your G-code to ensure the temperature matches your filament.
Extruder Motor or Gear Problems
The extruder motor pushes filament into the nozzle. If it breaks, your printer might not work at the start. Common issues include loose wires, overheating, or worn gears. These problems can stop the filament from moving smoothly.
A clicking sound often means the motor is struggling. This happens when the nozzle is blocked or the gear is out of place. To fix it, check the motor and make sure wires are tight. Look for overheating, which can damage the jaw coupler connecting the motor to the screw.
|
Problem Type |
Details |
|---|---|
|
Motor Connection |
Overheating can bend the jaw coupler, causing poor performance. |
|
Material Bridging |
Filament clumps can block smooth flow, leading to underextrusion. |
|
Uneven Filament Shape |
Irregular filament can worsen clumping and cause feeding issues. |
|
Crammer Testing |
Over 40 crammer designs have been tested to improve feeding and reduce problems. |
If the motor is fine, check the gears. Misaligned or worn gears can stop the filament from feeding properly. Tighten or replace them if needed. Regularly cleaning and checking the extruder can prevent these problems.
Z-Axis or Bed Leveling Issues
The Z-axis and bed leveling affect the first print layer. If the bed is too high or low, the filament won’t come out right. A poorly leveled bed can also make the filament bunch up or not stick.
To fix this, check the bed level with a piece of paper. Slide the paper between the nozzle and bed. It should move with slight resistance. If the gap is too big, the filament won’t stick. If it’s too small, the nozzle might block the flow.
- Many users say bad bed leveling causes underextrusion on the first layer.
- Sometimes, misaligned parts like the Y-axis need fixing for proper leveling.
- Z-axis problems can create wavy layers, which get worse over time.
Calibrating the Z-axis is also important. Uneven Z-axis movement can ruin print layers. Check the screws and rods for wear or misalignment. Proper calibration helps the filament flow smoothly and improves the first layer.
Mistakes in G-code or Start Commands
Errors in G-code or start commands can stop filament from coming out. G-code tells the printer what to do, like setting temperatures and extrusion. If these settings are wrong, the filament won’t flow correctly.
For example, if the nozzle temperature is too low, the filament won’t melt. Missing priming commands can also leave the nozzle unready to extrude. Always check your slicer settings and match the G-code to your filament type.
Here’s an example G-code to ensure proper priming:
G28 ; Home all axes
G92 E0 ; Reset extruder position
G1 Z0.2 F1200 ; Move nozzle close to the bed
G1 E10 F200 ; Extrude 10mm of filament
This code helps prepare the nozzle for extrusion. If problems persist, try using a skirt or brim. These can help prime the nozzle and improve filament flow during the first layer.
Troubleshooting '3D Printer Not Extruding' Issues
How to Spot and Fix Nozzle Clogs
Nozzle clogs are a common reason for extrusion problems. You might notice uneven filament flow or hear clicking sounds from the extruder. To fix this, try these methods:
- Cold Pull Method: Heat the nozzle until the filament melts slightly. Cool it down, then pull the filament out with pliers to clear the clog.
- Needle or Guitar String Method: Use a thin metal tool to poke inside the nozzle. Move it gently to break the blockage.
- Solvent Bath Method: Take off the nozzle and soak it in a solvent. After soaking, use a needle to clean out the clog.
- Wire Brush Cleaning: Scrub the outside of the nozzle with a wire brush to remove dirt.
|
Method |
Description |
|---|---|
|
Cold Pull Method |
Heat and cool the nozzle, then pull out the filament to remove the clog. |
|
Needle or Guitar String Method |
Insert a thin metal object into the nozzle to break through the blockage. |
|
Solvent Bath Method |
Soak the nozzle in a solvent to dissolve the clog, then clear it with a needle. |
|
Wire Brush Cleaning |
Use a wire brush to clean debris from the nozzle’s exterior. |
Cleaning the nozzle often keeps filament flowing smoothly. Always check the nozzle before starting a print.
Loading Filament the Right Way
Incorrect filament loading can stop extrusion at the start. Follow these steps to load filament properly:
- Clean the nozzle tip and bed surface before loading filament.
- Choose good-quality filament, like PLA from trusted brands.
- Use WiFi or SD cards instead of USB cords for better communication.
- Follow detailed guides like SeeMeCNC’s Quick Start Guide.
|
Step |
Instruction |
|---|---|
|
1 |
Clean the nozzle tip and bed surface before loading filament. |
|
2 |
Use high-quality filament, such as Atomic PLA. |
|
3 |
Avoid USB cords; use WiFi or SD cards for reliable communication. |
|
4 |
Refer to SeeMeCNC’s Quick Start Guide for detailed loading instructions. |
Make sure the filament spool spins freely and the feed path is clear. Tangled filament can block the extruder, so use a spool holder or guide to keep it smooth.
Checking and Adjusting Temperature Settings
Wrong temperature settings can cause extrusion problems. If the nozzle is too cold, the filament won’t melt. If it’s too hot, the filament might burn and clog the nozzle. Check the right temperature range for your filament. For example, PLA works best between 190°C and 220°C.
Use slicer software to check your temperature settings. Adjust the nozzle temperature and print speed to improve filament flow. Studies show printing at speeds between 15-30 mm/s helps reduce under-extrusion.
|
Temperature Setting |
Mechanical Strength |
Crystallinity |
|---|---|---|
|
Chamber Temp: 50 °C |
Superior |
23% |
|
Chamber Temp: 90 °C |
Moderate |
21% |
|
Chamber Temp: 70 °C |
Lower |
19% |
|
Nozzle Temp: 450 °C |
Peak Force: 2034 N |
23% |
|
Nozzle Temp: 410 °C |
Lower Peak Force |
19.5% |
Preheat the nozzle before printing and extrude a small amount of filament to test flow. Adjust retraction settings to reduce stringing, with a recommended distance of 1-2 mm.
Inspecting and Testing the Extruder Motor
Problems with the extruder often come from motor or gear issues. A clicking sound means the motor is having trouble pushing filament. To fix this, check and test the extruder step by step.
First, look at the motor’s wires. Loose wires can stop power from reaching the motor. Tighten any loose connections to keep the motor working well. Overheating can also harm the motor. Watch its temperature while printing. If it gets too hot, slow down the extrusion speed or pause printing to let it cool.
Testing the motor involves checking how filament flows and how fast it extrudes. Use these methods to test performance:
|
Method/Process |
Description |
|---|---|
|
Check how filament moves through the extruder system. |
|
|
Moisture Analysis |
Dry filament as recommended and test for moisture levels. |
|
Extrusion Speed Testing |
Try different nozzle sizes to measure how fast material comes out. |
|
Material Testing & Assessment (MT&A) |
Make sure your printer can handle the material you’re using. |
If the motor works fine but extrusion still fails, check the gears. Worn or misaligned gears can block filament movement. Replace broken gears and clean them often to avoid buildup.
Checking Z-Axis Calibration and Bed Leveling
The Z-axis and bed leveling are important for good filament flow. If the bed isn’t flat or the nozzle is too close, filament won’t come out right. Fix this by calibrating the Z-axis and leveling the bed.
Use a dial indicator to find uneven spots on the bed. This tool helps you adjust the bed for a smooth surface. A ruler can also show if the bed is warped or uneven.
|
Tool |
Purpose |
Recommended Calibration Checks |
|---|---|---|
|
Dial Indicator |
Finds small uneven spots on the bed. |
Great for leveling and Z-axis calibration. |
|
Precision Ruler |
Checks if the bed is flat and prints are even. |
Useful for spotting warping or irregular surfaces. |
To calibrate the Z-axis, inspect screws and rods for wear or misalignment. Adjust them to make sure the nozzle moves smoothly up and down. For bed leveling, slide a piece of paper between the nozzle and bed. The paper should move with slight resistance. If the gap is too small, filament won’t flow. If it’s too big, filament won’t stick to the bed.
Reviewing and Correcting G-code Errors
Mistakes in G-code can stop filament from extruding. Wrong commands might set the nozzle temperature too low or skip steps that prepare the nozzle. Fixing G-code errors helps your printer start printing correctly.
Start by checking the temperature settings in your slicer software. Match the nozzle temperature to the filament type. For example, PLA needs 190°C to 220°C, while ABS requires higher heat. Adjust retraction settings to reduce stringing and improve filament flow.
Priming commands are key to getting the nozzle ready. Add a sequence like this to your G-code:
G28 ; Home all axes
G92 E0 ; Reset extruder position
G1 Z0.2 F1200 ; Move nozzle close to the bed
G1 E10 F200 ; Extrude 10mm of filament
This sequence prepares the nozzle to extrude filament at the start. If problems continue, use a skirt or brim to help stabilize filament flow during the first layer.
Ways to Fix Filament Not Coming Out
Use a Cold Pull to Clear Clogs
A cold pull is a simple way to fix nozzle clogs. Heat the nozzle until the filament softens slightly. Then, lower the temperature a bit and pull the filament out with pliers. This removes dirt or blockages inside the nozzle.
If the clog is tough, use a thin needle or guitar string. Gently poke through the nozzle to clear it. Be careful not to push too hard, as this can damage the nozzle. Doing cold pulls often keeps your printer working well and helps the filament flow smoothly.
Tip: Try cleaning filament sometimes to stop clogs and protect your extruder.
Reload Filament the Right Way
Loading filament wrong can cause extrusion problems. First, heat the nozzle to the right temperature. Pull out the old filament gently. Check for jams or dirt in the extruder and clean the drive gear. Adjust the extruder tension to stop slipping or grinding.
When adding new filament, cut the tip at an angle. This makes it easier to feed into the extruder. Push the filament until it reaches the nozzle. Manually extrude a little to check if it flows smoothly. Use a spool holder or guide to avoid tangles and ensure steady feeding.
Pro Tip: Store filament in a dry, sealed box to keep it safe from moisture.
Set the Right Temperature and Material Settings
Temperature is very important for good filament flow. If the nozzle is too cool, the filament won’t melt. If it’s too hot, the filament might burn and clog the nozzle. Always check the temperature range for your filament. For example, PLA needs 190°C to 220°C.
Use slicer software to adjust the temperature and extrusion settings. Printing at medium speeds, like 15-30 mm/s, can help the filament flow better. Watch your printer’s settings, like flow rate and Z-offset, while printing. Advanced tools, like cameras, can spot and fix extrusion problems during prints.
Note: Preheat the nozzle and test filament flow before starting a print to make sure it works properly.
Fix or Replace the Extruder Motor
The extruder motor pushes filament into the printer’s nozzle. If it breaks, filament may stop moving. Clicking sounds or uneven flow mean the motor or gears need fixing.
First, check the motor’s wires. Loose or broken wires can stop power. Tighten loose connections and replace damaged cables to fix this. Overheating is another problem. Watch the motor’s temperature while printing. If it gets too hot, slow down or pause printing to cool it.
Next, look at the gears inside the extruder. Worn or misaligned gears can block filament. Open the extruder cover and check for damage. Clean the gears to remove dirt and add lubricant for smoother movement. Replace broken gears with new ones if needed.
Test the motor by manually extruding filament. If it struggles, repair or replace the motor. Keeping the motor clean and working well helps avoid future problems.
Adjust the Z-Axis and Level the Bed
The Z-axis and bed leveling affect how filament flows during the first layer. If the nozzle is too close, filament won’t come out. If the bed is uneven, filament won’t stick properly.
Start by fixing the Z-axis. Check screws and rods for wear or misalignment. Adjust them to make sure the nozzle moves up and down smoothly. Use a ruler or dial indicator to find uneven spots on the bed. These tools help you fix warped or bumpy areas.
Leveling the bed is also important. Slide a piece of paper between the nozzle and bed. The paper should move with slight resistance. Adjust the bed height until the resistance feels even everywhere. A level bed helps filament stick and flow better.
Regularly calibrating the Z-axis and bed improves print quality. It also keeps your printer working well by ensuring smooth filament flow.
Add a Skirt or Brim to Prime the Nozzle
Priming the nozzle before printing helps prevent filament problems. A skirt or brim gets the nozzle ready by extruding filament before the main print starts.
To use a skirt, set your slicer software to make loops around the print area. This helps the nozzle start flowing smoothly. A brim works similarly but spreads out from the base of the print. It also helps the first layer stick better while priming the nozzle.
Both methods improve filament flow and catch problems early. They can show clogs or uneven extrusion before the print begins. Adding a skirt or brim is an easy way to make filament flow better and avoid starting issues.
Preventing Clogs and Extrusion Problems
Regular Maintenance and Cleaning
To keep your 3D printer working well, clean it often. Remove dust, leftover filament, or dirt from the extruder and nozzle. These can block the filament’s path and cause clogs. Use a soft brush or compressed air to clean the extruder. For the nozzle, try a wire brush or cleaning filament to clear buildup.
Check moving parts like gears and rods for wear. Lubricate them regularly to keep them running smoothly. Adjust the extruder tension to stop filament slipping or grinding. Regular maintenance helps prevent extrusion problems and improves print quality.
Tip: Make a monthly schedule to clean and check your printer.
Use High-Quality Filament to Avoid Issues
Good filament makes your printer work better. Cheap filament can have impurities or uneven sizes that clog the extruder. Always pick filament from trusted brands for reliable results.
High-quality filament melts evenly and flows smoothly. It lowers the chance of clogs and makes prints more consistent. Check the filament’s size and temperature range to match your printer’s needs.
Pro Tip: Test a small piece of new filament before printing something big.
Store Filament Properly to Prevent Moisture Damage
Filament needs to stay dry to work well. Moisture can make it brittle or create bubbles during printing. Keep filament in airtight containers or vacuum-sealed bags to block humidity. Add desiccant packs to absorb extra moisture.
Follow storage tips from the manufacturer. Keep filament away from heat and sunlight to avoid damage. A clean storage area stops dust from clogging the extruder.
Checklist for Storing Filament:
- Use airtight containers or vacuum-sealed bags.
- Add desiccant packs to keep filament dry.
- Store away from heat and sunlight.
- Keep the area clean and free of dust.
Storing filament correctly helps it last longer and ensures smooth printing.
Adjust G-code for a Smooth Start
Fixing your G-code settings helps your printer start well. G-code tells the printer what to do, like heating the nozzle or moving parts. Mistakes in these commands can cause bad filament flow or failed prints. Adjusting these settings can stop such problems.
First, check the start commands in your slicer software. Make sure the G-code heats the nozzle and bed to the right temperatures. For example, PLA needs the nozzle at 190°C to 220°C. If the temperature commands are wrong or missing, the filament won’t flow properly.
Priming the extruder is also important. Add a command to push out a little filament before printing starts. This clears leftover filament and ensures smooth flow. Using a skirt or brim can help with this step. Here’s an example of a good G-code start:
G28 ; Home all axes
G92 E0 ; Reset extruder position
G1 Z0.2 F1200 ; Move nozzle close to the bed
G1 E10 F200 ; Extrude 10mm of filament
Change retraction settings to stop stringing and improve flow. The best retraction distance and speed depend on your filament and printer. Test different settings to find what works best.
Keep your slicer software updated. Updates often fix bugs and improve G-code creation. This makes your printer more reliable and easier to use.
Watch the First Layers for Problems
The first layers of a print are very important. Watching your printer during this time helps you catch problems early. Issues like bad filament sticking or uneven flow often show up in these layers.
Check if the filament sticks to the bed. If it doesn’t, look at the bed leveling and Z-axis height. A leveled bed keeps the nozzle at the right height for smooth printing. Use a piece of paper to check the gap between the nozzle and bed.
Watch the extruder for steady filament flow. Clicking sounds or uneven flow mean there might be clogs or motor trouble. If you notice this, stop the print and check the extruder. Clear any blockages and make sure the filament feeds correctly.
Temperature changes can also cause problems. Use a thermometer or your printer’s tools to check if the nozzle and bed stay at the right heat. Sudden changes in temperature might need you to adjust the settings.
Lastly, look for edges lifting or warping. These problems happen when the filament doesn’t stick well or settings are wrong. Adding a brim or raft can help the filament stick better and keep the print stable.
By paying attention to the first layers, you can fix problems before they ruin your print.
If your 3D printer won’t extrude at the start, common causes include clogged nozzles, filament problems, or calibration mistakes. Fixing these step by step helps your printer work better and avoids delays. Regular cleaning and checks prevent big issues, improve prints, and save money on repairs.
Taking care of your printer, like cleaning the nozzle and storing filament dry, keeps it running well. Watching the first print layers closely can spot problems early. Don’t let filament issues ruin your prints—good care and quick fixes make a big difference.
FAQ
What can you do if filament won’t stick to the bed?
Make sure the bed is flat and clean. Adjust the nozzle height so it’s close to the bed. Use glue sticks or painter’s tape to help the filament stick. Heat the bed to the right temperature for your filament type.
How do you stop nozzle clogs?
Use good-quality filament and keep it in a dry box. Clean the nozzle often with a wire brush or cleaning filament. Don’t mix filament types without cleaning the nozzle first. Heat the nozzle to the right temperature before loading filament.
Why does the extruder motor click?
Clicking sounds mean the motor has trouble pushing filament. Check for clogs in the nozzle or tangled filament. Make sure the extruder tension is set correctly. If the motor gets too hot, slow down printing or pause to let it cool.
How often should you clean your 3D printer?
Clean your printer every few prints. Once a month, clean the nozzle, bed, and extruder. Lubricate moving parts and check for wear. Regular cleaning stops clogs, improves prints, and helps your printer last longer.
What’s the best way to store filament?
Keep filament in a sealed container with desiccant packs to stay dry. Don’t leave it in sunlight or near heat. Use vacuum-sealed bags for long-term storage. Storing filament properly stops moisture damage and keeps it working well.


