3d printing warping happens when the edges of your print lift or curl away from the print bed. You may notice warping as corners peel up, which ruins the look and strength of your project. Many people struggle with warping, but you can spot the signs early and fix them before your print fails. > Remember, most warping issues have simple fixes you can try right away. You do not need to feel stuck when warping appears.
Key Takeaways
- Warping happens when the edges of a 3D print lift or curl due to uneven cooling and shrinking of the plastic.
- Warping ruins print strength, shape, and accuracy, causing failed prints and wasted material.
- You can spot warping early by watching for lifted corners, curled edges, or gaps under the print during the first layers.
- Fix warping by leveling the print bed, using adhesion aids, controlling temperature, and adjusting slicer settings like brims or rafts.
- Prevent warping by keeping a stable printing environment, choosing the right material and settings, and maintaining a clean, heated bed.
3D Printing Warping
What Is Warping
You may notice 3d printing warping when the corners or edges of your print start to curl up or lift away from the print bed. In technical terms, warping happens because of temperature differences between the layers of your print or between the first layer and the bed. As the hot plastic cools, it shrinks. This shrinkage creates stress, especially at the bottom corners, and causes the material to pull up from the bed. You see this most often in FDM 3D printing, where the cooling process can lead to visible deformations. If you print with materials like ABS, you might see more warping because these plastics shrink more as they cool. PLA also warps, but usually less than ABS, especially if you keep the bed temperature steady.
The most common types of 3d print warping show up as lifted corners, curled edges, or even cracks between layers. Larger prints or prints with wide, flat bases are more likely to warp. If your print bed is not level or the first layer does not stick well, warping becomes even more likely.
Why Warping Matters
Warping can ruin your print in several ways. When you ignore 3d print warping, you risk losing both the shape and strength of your part. Warped prints often detach from the bed, tip over, or develop cracks. This leads to failed prints and wasted material. Warping also affects the dimensional accuracy of your parts. Even a small amount of warping can cause a part to be off by 1 to 2 millimeters, which makes it unusable for projects that need precise measurements.
Warping does not just make your prints look bad—it can make them unusable.
Here is a quick look at how warping impacts your prints:
|
Problem |
What Happens |
Why It Matters |
|---|---|---|
|
Lifting corners/edges |
Print peels off the bed |
Weakens the part, ruins appearance |
|
Cracks between layers |
Gaps form as layers cool unevenly |
Reduces strength, causes breakage |
|
Dimensional inaccuracy |
Parts do not match design measurements |
Parts may not fit or function |
|
Print detachment |
Print tips over or moves during printing |
Print fails, material is wasted |
You want to catch warping early so you can fix it before your print fails. Understanding what causes 3d printing warping helps you take steps to prevent it and get better results every time.
Spotting Warping
Visual Signs
You can often spot warping just by looking at your print as it builds. The most obvious sign is when the corners or edges of your print start lifting off the bed. You might see the base of your model no longer sitting flat. Sometimes, the edges show curling, where the plastic bends upward instead of staying level. This change in shape can happen slowly, but it becomes clear as the print grows taller.
Here are some common visual signs of 3d print warping:
- Lifted Corners: The corners of your print peel up from the bed.
- Curled Edges: The sides of your print show curling, making the base uneven.
- Gaps Under the Print: You notice small spaces between the print and the bed.
- Shadow Lines: Light passes under the edges, showing the print is not flat.
Tip: Check your print from different angles and use a flashlight to spot any early lifting or curling.
Early Symptoms
You can detect warping very early in the printing process. Most symptoms appear during or right after the first few layers. Watch closely as the printer lays down the base. If you see the edges start to bend or lift, this is the first sign of 3d printing warping. The print may not stay level with the bed, and you might notice a slight upward curve at the corners. Early detection matters because it gives you a chance to stop the print and fix the problem before it gets worse.
If you catch these early symptoms, you can prevent bigger issues like cracks or full detachment. Pay attention to the first layers, as this is when 3d print warping usually begins. By acting quickly, you save time and material, and you improve your chances of a successful print.
Causes of 3D Print Warping
Temperature and Cooling
Temperature plays a huge role in 3d print warping. When you print, the hot plastic cools and shrinks. If the cooling happens unevenly, the bottom layers contract while the top layers stay warm. This difference creates internal stresses that pull at the corners and edges, leading to curling or lifting. Fast cooling, especially from drafts and ambient temperature fluctuations, increases the risk of warping. Inconsistent bed temperature can also cause the print to detach or deform. Controlling temperature by using a heated bed and keeping your printer in a stable environment helps reduce these problems. You can also slow down the cooling fan for the first few layers to prevent sudden temperature drops.
Tip: Try to keep your printer away from open windows or vents to avoid sudden changes in temperature.
Bed Adhesion
Bed adhesion is another major factor in the causes of warping. If the first layer does not stick well, the print can lift and warp as it cools. Improper bed adhesion often comes from a dirty bed, incorrect leveling, or the wrong nozzle height. You can improve adhesion by cleaning the bed, using adhesives like glue sticks or painter’s tape, and making sure the bed is level. Heated beds set to the right temperature for your filament also help. Printing aids like brims or rafts increase the contact area and make it harder for the print to curl up. If you notice bed adhesion issues, fix them before starting a new print.
Common causes of 3d print warping related to bed adhesion:
- Dirty or oily print bed
- Incorrect bed leveling
- Wrong bed or nozzle temperature
- Not using adhesion aids
Material Factors
Different materials react to temperature changes in unique ways. PLA has minimal warping because it shrinks less as it cools. ABS, on the other hand, shrinks more and needs higher temperatures and an enclosed printer to prevent curling. PETG sits between PLA and ABS, with low warping and good adhesion. The geometry of your part also matters. Large, flat prints or sharp corners are more likely to warp. Choosing the right material and adjusting your settings for each type helps you avoid common causes of warping.
|
Filament |
Warping Susceptibility |
Shrinkage Rate |
Printing Temp (°C) |
Heated Bed Temp (°C) |
Environment Needs |
|---|---|---|---|---|---|
|
PLA |
Minimal |
Low |
200-220 |
40-60 |
No enclosure |
|
ABS |
High |
High |
220-250 |
95-110 |
Enclosure needed |
|
PETG |
Low |
Low |
220-260 |
65-90 |
Moderate |
Note: Always check your filament’s recommended temperature settings to get the best results and reduce warping.
Fixing Warping
When you see warping in your 3D prints, you can take several steps to fix it and prevent it from happening again. This section covers the most effective solutions, from leveling your print bed to adjusting slicer settings. By following these tips, you can improve bed adhesion, maintain a consistent bed temperature, and get better results with every print.
Bed Leveling
A level print bed is the foundation for successful 3D printing. If your bed is uneven, the first layer will not stick well, and warping will likely occur. You can use different methods to level the print bed, each with its own pros and cons.
|
Advantages |
Disadvantages |
|
|---|---|---|
|
Manual |
Low cost, simple to implement |
Time-consuming, requires manual adjustment |
|
Semi-automatic |
Faster than manual, more accurate |
Requires sensor or probe, may require calibration |
|
Automatic |
Fastest and most accurate, convenient |
Most expensive, requires advanced 3D printer |
To level the print bed manually, follow these steps:
- Loosen and adjust the screws at each corner of the bed.
- Place a piece of paper between the nozzle and the bed.
- Move the nozzle to each corner and the center, adjusting until you feel slight resistance on the paper at every point.
- Fine-tune during the first layer of printing if needed.
Many modern printers offer software or firmware leveling. These systems use sensors to map the bed and automatically adjust the nozzle height during printing. This approach helps you fix warping by ensuring the first layer stays consistent, even if the bed surface is not perfectly flat.
Tip: Clean your print bed before every print. Dust or oil can prevent proper adhesion and lead to warping.
Temperature Settings
Temperature control is key to reducing warping. Each material has an optimal nozzle and bed temperature range. If you print too cold, the layers will not bond well. If you print too hot, the print may deform or string. For most materials, a heated print bed helps keep the first layer warm and stuck to the surface.
|
Material |
Nozzle Temperature (°C) |
Bed Temperature (°C) |
Notes |
|---|---|---|---|
|
PLA |
190-220 |
60-70 |
Heated bed recommended; low warping tendency; cooling fan settings important |
|
ABS |
240-270 |
95-110 |
Enclosure recommended; cooling fan off first layers; use brims/rafts for adhesion |
|
PETG |
240-265 |
70-75 |
Slightly higher bed temp for first layers; good adhesion reduces warping |
|
TPU |
~230 |
N/A |
No cooling system or enclosure needed; low warping tendency |
|
Nylon |
High (not specified) |
High (not specified) |
Enclosure and bed adhesives recommended due to high shrinkage and warping risk |
|
PC |
~300 |
High (not specified) |
Enclosure required; high print temp; prone to warping without temperature control |
You can run temperature tests, like printing calibration cubes at different settings, to find the best values for your filament. For ABS, keeping the nozzle between 220–250 °C and the bed at 95–110 °C improves layer bonding and reduces warping. An enclosure helps maintain a stable environment, which is especially important for materials that shrink a lot as they cool.
Note: Adjust the cooling fan speed. Turn it off for the first few layers to avoid rapid cooling, which can cause warping.
Adhesion Aids
If you want to improve bed adhesion and fix warping, try using adhesion aids. These products create a sticky surface that helps the print stay in place during the first layers. Here are some popular options:
|
Effectiveness and Use Case |
|
|---|---|
|
Elmer’s Disappearing Purple Glue Stick |
Cheap, easy to apply, works well for most filaments |
|
UHU stic |
Similar to Elmer’s, good for PVA supports |
|
Makerbot Build Plate Tape |
Durable, textured, improves adhesion for multiple prints |
|
Blue Painter’s Tape |
Great for PLA and ABS, easy removal, leaves no residue |
|
Essentium’s 3D Printing Bed Adhesive |
Designed for nylon and high-temp materials, reduces warping |
You can also use household items like hairspray or Kapton tape. Apply these evenly and in moderation. For best results, combine adhesion aids with a heated print bed, especially when printing with ABS or other high-shrinkage materials. Cleaning the bed before each print and using the right adhesive can make a big difference in fixing PLA warping and other common issues.
Tip: If you notice a lack of brim or raft in your slicer settings, add one to further improve bed adhesion.
Slicer Adjustments
Slicer software gives you powerful tools to fix warping and optimize your prints. Adjusting certain settings can help anchor your print to the bed and reduce internal stresses.
|
How It Helps Prevent Warping |
Pros |
Cons |
|
|---|---|---|---|
|
Brim |
Adds extra lines around the base, increasing surface area and holding down corners |
Improves adhesion, easy to remove |
Uses more material, may need cleanup |
|
Raft |
Prints a thick grid under your model, creating a stable base |
Great for uneven beds, strong adhesion |
More material, longer print time, rougher bottom |
|
Skirt |
Outlines the print area, helps prime the nozzle |
Good for calibration |
Does not improve adhesion |
Other slicer settings to consider:
- Increase the initial layer thickness (e.g., from 0.2mm to 0.3mm) for a sturdier base.
- Slow down the first layer print speed to give the filament more time to stick.
- Use features like "mouse ears" or "anti warping" tabs on corners for extra stability.
- Adjust fill density to reduce internal stress.
- Turn off the cooling fan for the first few layers to control cooling rates.
Try different slicer adjustments and adhesion aids together for the best results. Optimizing bed adhesion and maintaining a consistent bed temperature are the most reliable ways to fix warping and get high-quality prints.
Prevent 3D Printing Warping
Environment Control
You can prevent 3D printing warping by managing your printing environment. Room temperature and humidity play a big role in print quality. The ideal room temperature for 3D printing sits between 20°C and 25°C. Printing in a cold room causes the filament to cool too quickly, which leads to warping and poor layer bonding. Hot rooms can also cause problems, such as heat creep and excessive softening. Sudden temperature changes or drafts may cause your print to crack or delaminate.
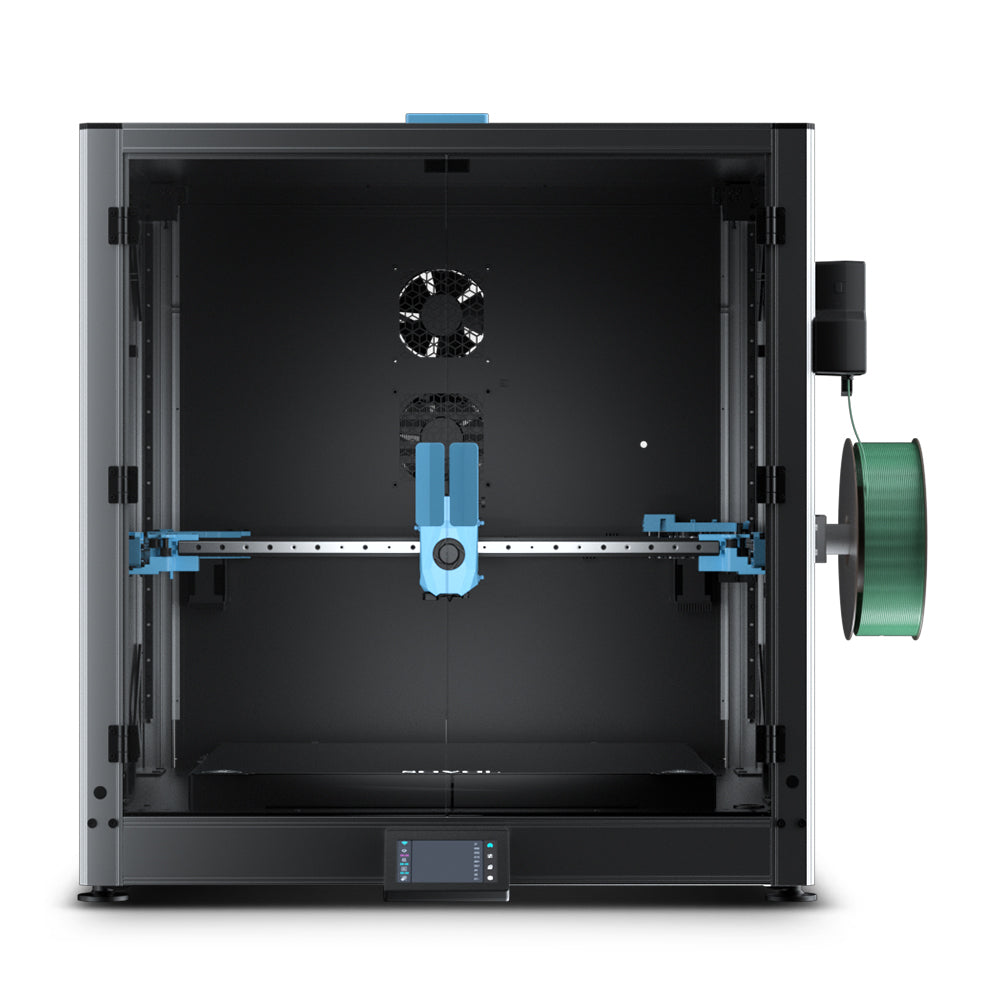
To avoid 3D print warping, keep your printer away from windows, doors, and vents. Use an enclosure to maintain a stable temperature around your print. Enclosures help prevent warping, especially with materials like ABS that shrink as they cool. They block drafts and keep the ambient temperature steady. For large prints or filaments prone to shrinkage, a DIY or commercial enclosure can make a big difference. However, make sure your enclosure has proper ventilation and even heating. Uneven heat or poor airflow inside the enclosure can still cause warping.
Key environmental tips to prevent warping 3D printing:
- Maintain room temperature between 20°C and 25°C.
- Avoid sudden temperature changes and drafts.
- Use an enclosure for large or high-shrinkage prints.
- Monitor humidity and keep filament dry.
Tip: Let your print cool slowly inside the enclosure before removing it to reduce the risk of cracks.
Material Tips
Choosing the right material and settings helps you prevent 3D printing warping. PLA resists warping, but you still get better results with a heated bed set to 50-60°C. PETG also benefits from a heated bed, usually around 70-80°C, to keep the first layers stable. For ABS, you need more steps to prevent warping. Preheat your chamber and bed for at least 30 minutes. Keep the bed temperature around 100-120°C. Use a clean, high-temperature PEI plate for strong adhesion. Add brims or mouse ears to long parts, and avoid very low layer heights. Print large ABS parts one at a time to keep them warm and reduce abs warping.
|
Material |
Heated Bed Temp (°C) |
Special Tips |
|---|---|---|
|
PLA |
50-60 |
Use brims for large bases; keep cooling fan on after first layers |
|
PETG |
70-80 |
Slow cooling fan; use adhesion aids for big prints |
|
ABS |
100-120 |
Use enclosure; preheat bed/chamber; print one part at a time |
You can prevent warping by matching your print settings to your filament. Always keep your print bed clean and level. Adjust slicer settings like brims, rafts, and initial layer speed to improve adhesion. These steps help you prevent 3D printing warping and get strong, accurate prints every time. If you want to know how to keep large abs prints from warping, focus on chamber temperature, bed adhesion, and slow cooling.
You can tackle 3d printing warping by following a few essential steps:
- Recognize that uneven cooling and shrinkage cause edges to lift.
- Fix minor issues by gently reheating warped spots.
- Prevent problems by cleaning the bed, using adhesives, and maintaining a heated bed or enclosure.
- Adjust fan speed and print design to reduce stress.
Keep this quick checklist handy for every print:
- Level the bed and set nozzle height.
- Use the right adhesion aids.
- Check temperatures and print settings.
- Save your files for future tweaks.
Experiment with these methods and share your results. Community feedback helps everyone improve their prints and find new solutions.
FAQ
What should you do if your print starts warping during printing?
Pause the print if possible. Check bed adhesion and temperature settings. Clean the bed and apply an adhesion aid. Restart the print after making these adjustments. Early action can save time and material.
Which 3D printing materials warp the most?
ABS warps the most due to high shrinkage. Nylon and polycarbonate also show strong warping. PLA and PETG have lower warping risks.
Tip: Use an enclosure for ABS and nylon to reduce warping.
Can you fix a warped print after it finishes?
You can sometimes fix minor warping by gently heating the part with a hair dryer or hot water and pressing it flat. Severe warping usually cannot be fixed.
Prevention works better than repair.
How do brims and rafts help prevent warping?
Brims add extra lines around your print’s base, increasing surface area and grip. Rafts create a thick, flat layer under your model. Both methods improve bed adhesion and help keep corners from lifting.


