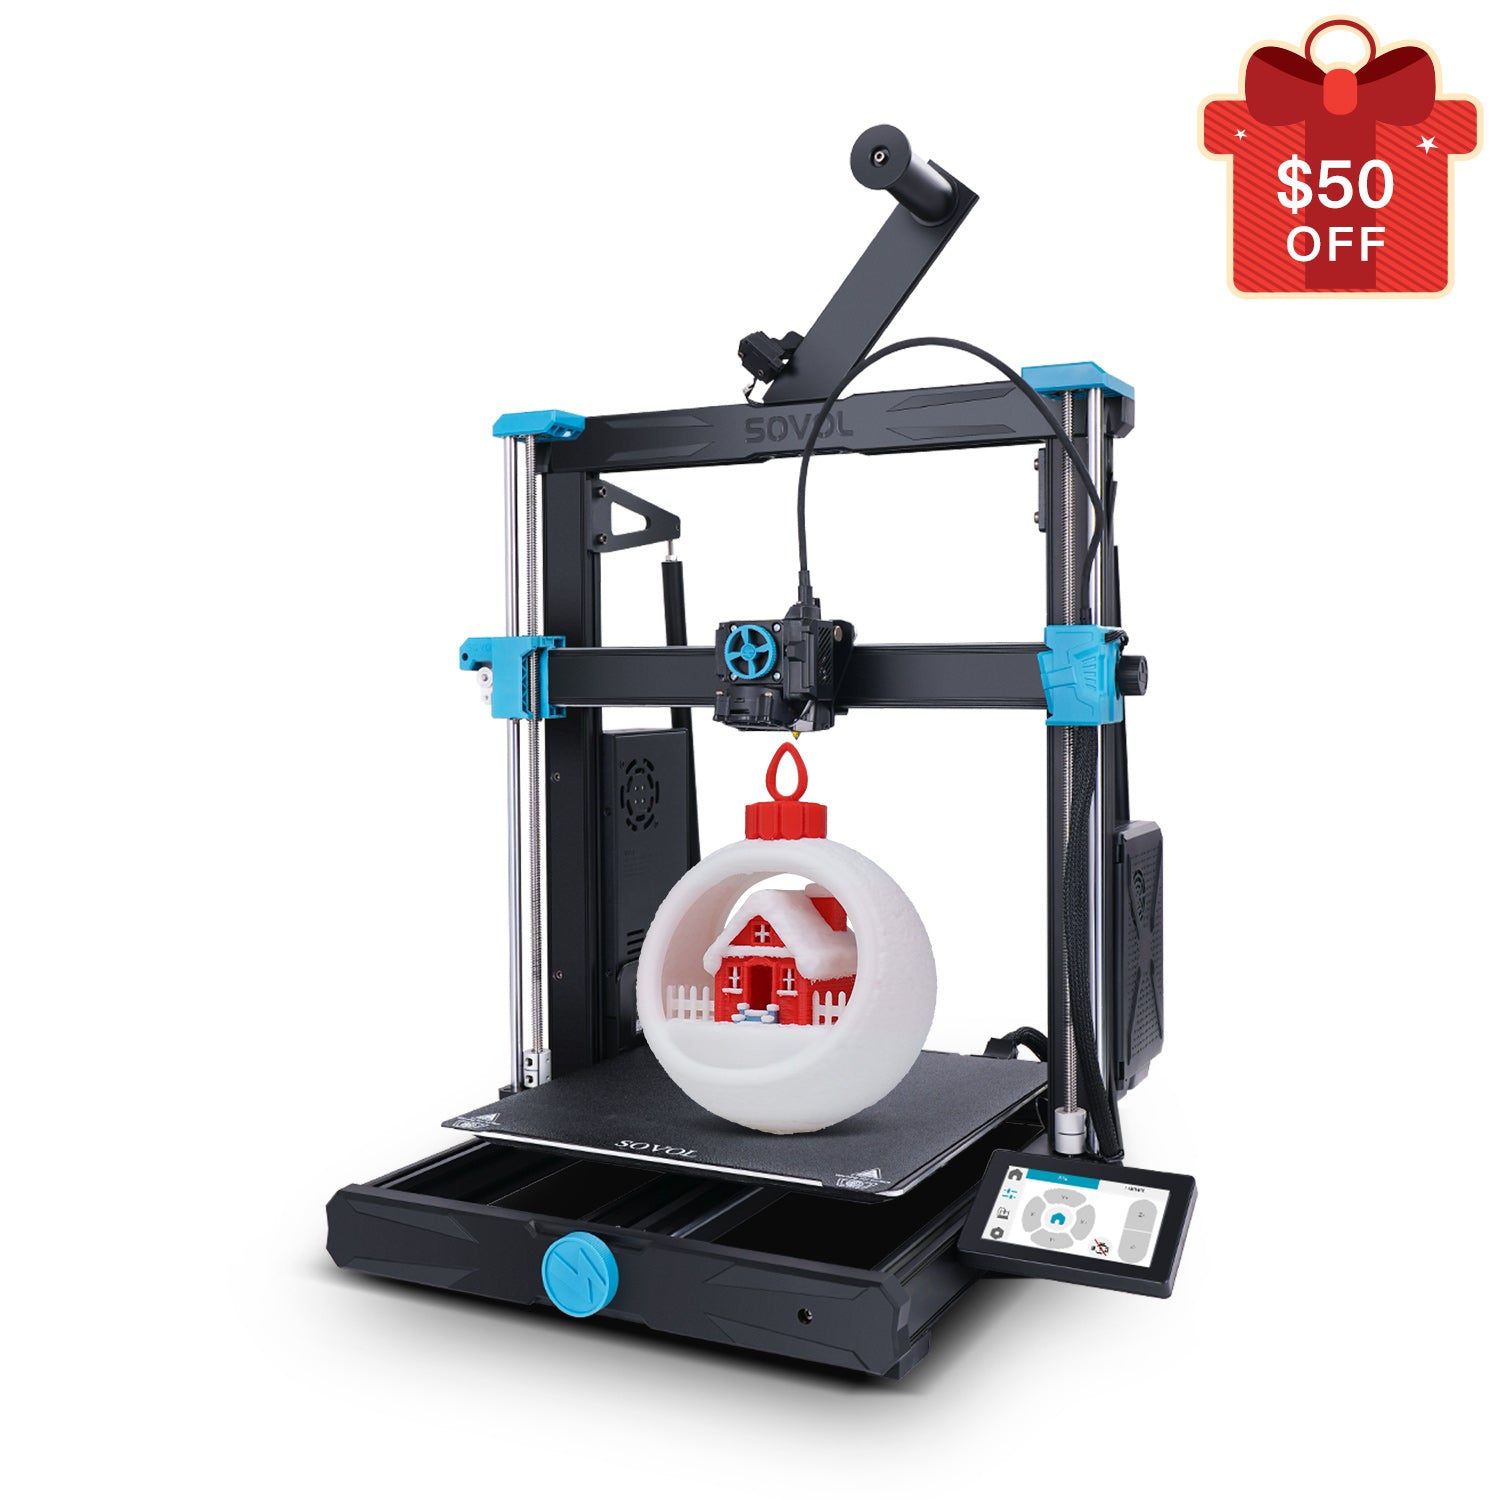
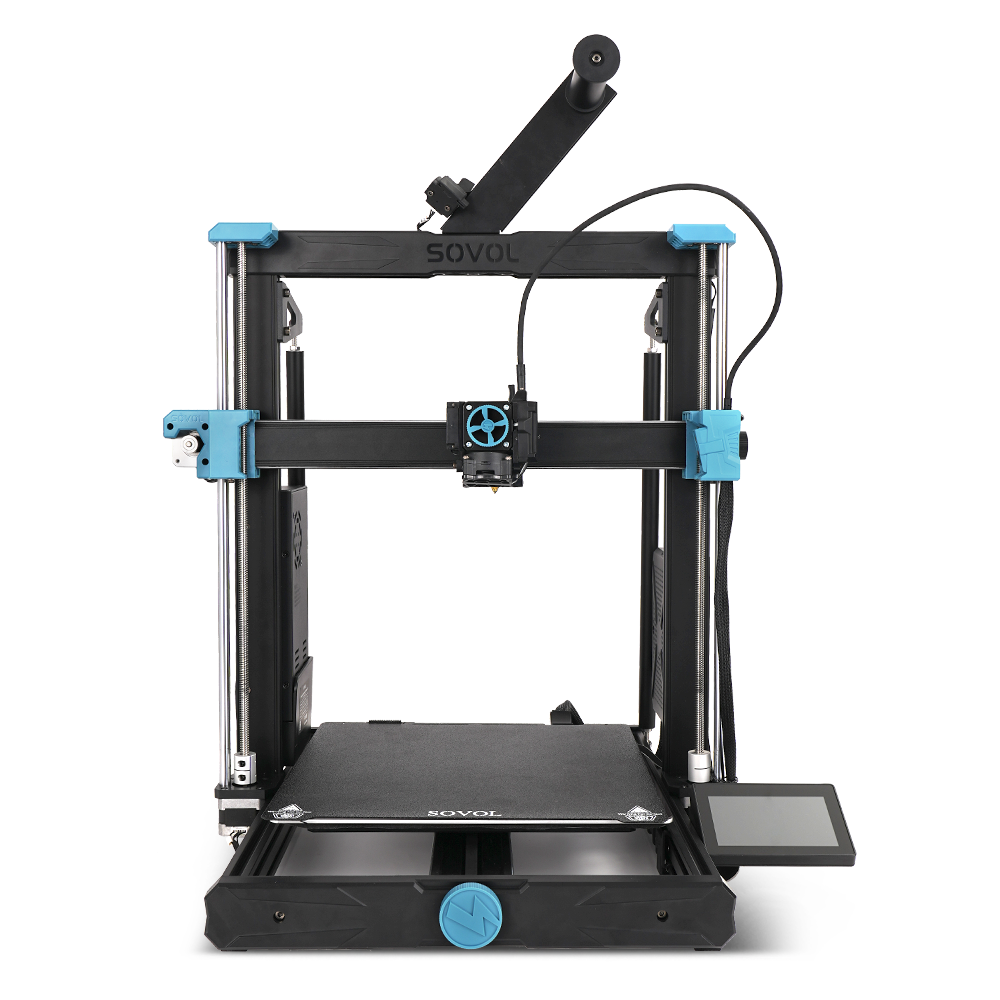
When you explore open-source 3d printer technology, you will find that basic boards serve as the control center, managing every aspect of the 3d printing process. These boards drive reliability and performance, offering you flexibility and customization for both hobbyist projects and advanced applications. The industry’s rapid growth reflects their importance.
|
Metric |
Value |
Notes/Context |
|---|---|---|
|
Arduino Uno boards sold |
Popular open-source microcontroller board used as the 'brain' in many open-source 3D printers |
|
|
Raspberry Pi units sold |
Over 37 million by 2020 |
Low-cost single-board computer widely used to run control software and user interfaces |
|
Publications mentioning Arduino |
10,196 total (58% since 2018) |
Reflects rapid growth in scientific and DIY instrumentation literature |
|
Publications mentioning Raspberry Pi |
6,010 total (70% since 2018) |
Indicates increasing adoption in open hardware and instrumentation |
|
Total 3D printing publications |
58,889 (77% since 2018) |
Shows overall growth in 3D printing research and development |
|
Total open hardware publications |
19,308 (47% since 2018) |
Demonstrates rising interest in open-source hardware solutions |

You gain more than just hardware; you join a community-driven approach that values community support, documentation, and shared knowledge. Studies show that as you engage with the community, your skills and contributions to open-source 3d printer innovation grow. Open-source 3d printers empower you to upgrade, repair, and adapt your setup, leading to greater reliability, user-friendly experiences, and improved performance.
- Open-source 3d printer boards let you tailor your hardware for speed, print quality, and specialized 3d projects.
- You benefit from affordability, repairability, and a user-friendly interface.
- The open-source community provides extensive documentation and support, enhancing flexibility and reliability.
Key Takeaways
- Open-source 3D printer boards act as the brain of your printer, controlling motion, temperature, and safety for better print quality.
- You can customize and upgrade your printer easily with open-source boards, benefiting from community support and shared knowledge.
- Careful wiring, firmware installation, and testing are key steps to set up your 3D printer for reliable and safe operation.
- Optimizing firmware, power, cooling, and noise reduction improves printer performance, print quality, and user experience.
- Regular maintenance and upgrades keep your printer running smoothly and help you learn new skills through the open-source community.
Basic Boards Overview
Main Functions
When you use open-source 3d printer systems, basic boards act as the brain of your machine. These boards control every step of the 3d printing process. You can manage motion, temperature, and even safety features. Many open-source boards, like those running Klipper firmware, let you customize your printer for better quality and reliability. You can use automatic bed leveling to make sure your print bed stays flat, which improves print quality and reduces failed prints.
You also get precise motion control. This means your 3d printer moves smoothly and accurately, which is important for high-quality prints. Many open-source 3d printer boards support advanced features, such as WiFi modules for remote control and web interfaces for easy setup. You can monitor your print jobs from anywhere, making 3d printing more flexible and user-friendly.
Tip: Open-source firmware lets you inspect and change both hardware and software. This helps you improve your printer and share solutions with the community.
Key Components
Each open source 3d printer board includes several important parts that work together for quality assurance and reliable 3d printing. Here is a table showing some technical specifications and performance metrics found in popular open-source boards:
|
Parameter/Metric |
Description/Value |
|---|---|
|
X-axis travel |
|
|
Y-axis travel |
150 mm |
|
Z-axis travel |
50 mm |
|
Build volume |
787.5 cm³ |
|
Steps per mm (X, Y axes) |
376.5 steps/mm (nominal) |
|
Steps per mm (Z axis) |
400 steps/mm (nominal) |
|
Motor steps per rotation |
200 steps |
|
Microstepping |
64 microsteps |
|
Controller features |
32-bit control, Trinamic TMC2260 drivers, up to 256× microstepping, 2.8 A motor current |
|
Interface |
WiFi-based web interface |
You will find that these components help your open-source 3d printer achieve high repeatability and low positional error. The board’s microcontroller, stepper drivers, and WiFi interface all play a role in quality assurance. When you calibrate your printer, you can reduce errors and improve print quality. Open-source 3d printer boards also allow you to upgrade or swap out parts, so you can keep your 3d printing systems up to date and reliable.
Open-Source 3D Printer Board Features
Microcontroller and Drivers
You will find that open-source 3d printer boards use advanced microcontrollers and stepper drivers to give you full control over your 3d printer. Boards like the BTT SKR, Duet, and SmartPrintCoreH7x use powerful chips that handle complex 3d printing tasks. These microcontrollers process commands quickly, which helps your 3d printer move smoothly and print with high accuracy. For example, the SiFive Freedom E310 microcontroller offers a 32-bit RV32IMAC CPU, a clock speed up to 320 MHz, and strong performance compared to other boards. You can see some technical details in the table below:
|
Feature/Metric |
Details/Values |
|---|---|
|
Microcontroller |
SiFive Freedom E310 (FE310) |
|
CPU Architecture |
32-bit RV32IMAC |
|
Clock Speed |
Up to 320+ MHz |
|
Performance |
1.61 DMIPS/MHz |
|
Memory |
16 KB Instruction Cache, 16 KB Data Scratchpad |
|
Flash Memory |
128 Mbit Off-Chip ISSI SPI Flash |
|
IO Capabilities |
19 Digital I/O, 9 PWM, 1 SPI, 19 Interrupts |
|
Operating Voltage |
3.3 V and 1.8 V |
You get flexibility with microstepping and current control, which lets you fine-tune your 3d printer for different motors and print speeds. Many open-source boards support both 3.3V and 5V I/O, so you can connect a wide range of hardware. This level of customization helps you match your 3d printing systems to your needs.
Connectivity Options
Open-source 3d printer boards give you many ways to connect and control your printer. Boards like the Duet and Octopus offer Wi-Fi, Ethernet, and USB connections. You can use web interfaces to monitor your 3d printing jobs from any device. Some boards, such as the MKS series, support Bluetooth modules for wireless control. This flexibility means you can set up your 3d printer in the way that works best for you.
You can also add touchscreen displays or connect to cloud services for remote printing. These connectivity options make it easy to update firmware, share files, and get community support. You will find that open-source boards often come with detailed documentation and active community forums, which help you solve problems and learn new skills.
Expansion and Sensors
You can expand your open-source 3d printer board with extra sensors and modules. For example, the Aconno ACD52840 board supports Bluetooth 5 and can reach up to 1.3 kilometers outdoors, giving you more customization options for wireless control. The Sony Spresense board lets you add Bluetooth, Wi-Fi, and image sensors, which increases the flexibility of your 3d printing systems.
Some boards, like the RevPi modular system, allow you to add new features as your needs change. You can connect extra temperature sensors, filament runout detectors, or even cameras for advanced monitoring. The Arduino Opta PLC works well for small automation projects and supports many industrial protocols. These expansion options give you more customization and help you build a 3d printer that fits your exact needs.
Tip: Open-source boards grow with you. As the community creates new add-ons, you can upgrade your 3d printer without replacing the whole board. This keeps your 3d printing setup flexible and future-proof.
Setup for Open Source 3D Printer Boards
Unboxing and Identification
When you receive your open-source 3d printer kit, the first step is unboxing. You will find that most kits include well-labeled parts and a wiring diagram. This helps you identify each component quickly. Many guides and videos walk you through the process, showing you how to match each part to the diagram. For example, the Anet A8 DIY 3d printer kit comes with a Micro SD USB stick. This stick contains PDF instructions, software, and test print files. These resources help you recognize the open-source board and other key parts.
You can follow these steps for a smooth start:
- Lay out all the parts on a clean surface.
- Check the labels and compare them to the wiring diagram.
- Watch assembly videos to see how each part fits together.
- Use the included instructions to confirm you have all the necessary components.
- Join online groups or forums if you need help identifying a part.
Tip: If you get stuck, you can ask for help in active user communities. Many people share their own photos and videos to guide you.
Wiring and Connections
Wiring your open-source 3d printer board is a careful process. You need to make secure and safe connections to avoid problems later. Manuals and wiring schematics show you the best way to connect each wire. You should use connectors like JST-XH or MicroFit 3.0 for a tight fit. These connectors help prevent loose wires and keep your open-source board safe.
- Route wires neatly to avoid tangles and damage.
- Use silicone or PTFE wires for flexibility and durability.
- Always match wire colors and check motor windings with a multimeter.
- Power inductive probes with 12-24V, not 5V, to avoid crashes.
- Add protective parts like BAT85 diodes to stop overvoltage damage.
- Ground your power supply and use the correct wire gauge for safety.
- Never plug or unplug devices while the board is powered.
You should also plan for harsh conditions. Good connectors have locking mechanisms and seals to keep out dirt and moisture. Some boards use rugged materials and special packaging to handle heat and vibration. Following industry standards, like IEC 60309 or USCAR, helps keep your open-source 3d printer safe and reliable.
Note: Practicing crimping and soldering helps you make strong connections. Organize cables with holders and covers to keep your setup tidy.
Firmware Installation
After wiring, you need to install firmware on your open-source 3d printer board. Firmware is the software that tells your board how to control the printer. Many open-source boards use firmware like Marlin or Repetier. You can find guides that show you how to download the Arduino IDE, get the firmware from GitHub, and set up your board.
You will:
- Download the Arduino IDE or another tool for your board.
- Get the firmware files from trusted sources.
- Edit the configuration files to match your printer’s hardware.
- Install any needed libraries, such as U8glib for LCD screens.
- Select the correct board and port in the software.
- Compile and upload the firmware to your open-source board.
You can check if the firmware installed correctly by looking at the LCD screen or using the printer’s interface. Many guides also show you how to use the printer’s manual controls to test movement, homing, and heating. Community forums and manufacturer websites offer sample configuration files and troubleshooting tips. These resources help you finish the setup and solve any problems.
Initial Testing
Testing your open-source 3d printer board is important before you start printing. You want to make sure everything works as expected. There are several ways to test your board:
- Automated Optical Inspection (AOI) checks for physical defects like solder gaps or misplaced parts.
- Burn-In Testing runs the board under stress for many hours to find early failures.
- X-Ray Inspection looks for hidden problems in solder joints.
- Functional Testing checks if the board can control motors, sensors, and heaters.
- In-Circuit Testing (ICT) and Flying Probe Testing verify connections and signals.
You can use tools like digital calipers and multimeters to check your setup. Terminal software such as Pronterface or OctoPrint lets you send commands to the printer and watch how it responds. You should test each function one at a time. For example, move the X, Y, and Z axes, check the endstops, and heat the bed and nozzle. If you find a problem, change only one thing at a time to see what fixes it.
Tip: Keep notes on your tests and results. If you need help, share your notes and photos with the community. This makes it easier for others to help you.
You can find many guides and troubleshooting examples online. These resources show you how to use tools, share files, and ask for help. The open-source community values sharing solutions, so your experience can help others too.
Optimization for Open-Source Boards
Firmware Tweaks
You can boost the quality and performance of your open-source 3d printer by making smart firmware tweaks. Firmware like Marlin and Klipper gives you deep customization options. You can adjust motor currents, stepper speeds, and temperature controls. Regular updates keep your printer secure and user-friendly. The community often releases new features and bug fixes, so staying up to date helps you get the best results.
When you tune your firmware, you should follow a careful process. Start by recording your printer’s baseline performance. Change one setting at a time and test for at least 24 hours. This method helps you spot problems early and avoid mistakes. Many users use autotuning features to find stable settings. These tools can improve efficiency by up to 20% and reduce power use by 25%. You can also try undervolting or overclocking, but always check your cooling first.
|
Optimization Aspect |
Description |
Benefits / Results |
|---|---|---|
|
Undervolting |
Lower voltage to chips without changing speed |
Less heat, longer hardware life, lower costs |
|
Overclocking |
Raise chip speed for better performance |
Faster prints, higher quality, but needs good cooling |
|
Autotuning |
Automatic setting detection based on hardware |
Easier for beginners, better stability, improved quality |
|
Dynamic Scaling |
Adjusts speed and power based on real-time conditions |
Adapts to temperature and workload, keeps quality high |
Tip: Always back up your firmware before making changes. If you run into trouble, the community can help you restore your settings.
Power and Cooling
Good power and cooling systems keep your open-source 3d printer running smoothly. You want to avoid overheating, which can lower quality and damage parts. Start by choosing a power supply that matches your printer’s needs. Use wires with the right thickness and make sure all connections are tight. This step improves reliability and quality assurance.
Thermal management is key for high performance. You can use fans, heat sinks, or even liquid cooling for advanced setups. Place temperature sensors near hot parts to monitor heat in real time. Many users run thermal simulations to find hot spots and improve airflow. You should pick materials that help move heat away from chips and motors.
Here are some steps for better cooling and power management:
- Analyze your printer’s thermal profile to find hot spots.
- Pick thermal materials with high conductivity.
- Design heat sinks for maximum heat transfer.
- Add active cooling like fans or blowers.
- Monitor temperature with sensors and adjust fan speed as needed.
- Plan for cooling early in your design for better reliability.
A study on data centers showed that smart cooling can cut fan power by up to 98% and cooling load by 65%. You can use similar ideas in your 3d printer to save energy and keep quality high.
Note: Clean your fans and vents often. Dust can block airflow and lower performance.
Noise Reduction
You can make your open-source 3d printer more user-friendly by reducing noise. Quiet printers are better for homes and classrooms. Start by using stepper drivers that support silent operation. Boards with Trinamic drivers, for example, help lower motor noise and improve print quality.
Mount your printer on a stable surface to cut down on vibrations. Add rubber feet or pads under the frame. You can also use dampers on motors and fans. These small changes make a big difference in noise levels and quality assurance.
Try these tips for a quieter printer:
- Use silent stepper drivers for smooth motion.
- Tighten all screws and bolts to stop rattling.
- Add vibration dampers to motors and fans.
- Place your printer in a soundproof box if possible.
Callout: The community often shares guides and videos on noise reduction. You can find many solutions that fit your setup.
Upgrades and Maintenance
Regular upgrades and maintenance keep your open-source 3d printer reliable and high in quality. You should check your board and connections every month. Look for loose wires, dust, or signs of wear. Clean your board with a soft brush and make sure all parts are secure.
You can track your printer’s performance with process control boards. These tools show you if your printer meets quality goals. They help you spot problems early and take action. Many users review their printer’s performance weekly or monthly. This habit leads to better reliability and long-term quality assurance.
When you plan an upgrade, look for new features from the community. You can add better stepper drivers, new sensors, or improved cooling systems. The open-source community often reviews upgrades and shares results. This feedback helps you pick the best options for your printer.
- Maintenance schedules help you keep your printer in top shape.
- Performance boards show trends and help you fix issues quickly.
- Community support gives you tips and tutorials for every upgrade.
Tip: Always test your printer after any upgrade. Run a calibration print to check quality and make sure everything works.
You can improve print quality by leveling your bed, calibrating your extruder, and using high-quality filaments. The community shares many guides on these topics. You can join forums or watch videos to learn new skills and keep your printer at its best.
You now see why learning about basic boards and open-source 3D printer setup matters. Open-source solutions give you the power to customize your printer for better results. As a hobbyist, you can try new upgrades and improve your hobbyist projects. Community support helps you solve problems and learn faster. Keep exploring new tips and tools to make your 3D printing experience even better.
FAQ
What is the main job of a 3D printer board?
You use the board to control your printer’s motors, sensors, and heaters. The board acts as the brain. It follows commands from your computer or SD card and makes sure your printer works correctly.
Can you upgrade your open-source 3D printer board?
Yes, you can upgrade your board. You can add new drivers, sensors, or displays. Many boards let you swap parts easily. This helps you keep your printer up to date and working well.
How do you fix common wiring mistakes?
Check each wire against the diagram. Use a multimeter to test connections. Make sure all wires fit tightly. If you see an error, unplug the printer before fixing it. Ask the community for help if you get stuck.
Which firmware should you choose: Marlin or Klipper?
You pick Marlin for easy setup and wide support. You choose Klipper for faster prints and advanced features. Both have strong communities. Try both and see which one fits your needs best.
How often should you update your firmware?
Update your firmware every few months. Updates fix bugs and add features. Always back up your settings first. Check the board’s website or forums for the latest version.


