


If you’ve ever needed two identical brackets, knobs, spacers, or enclosures, you’ve probably had the same thought: “Why am I waiting twice as long?”
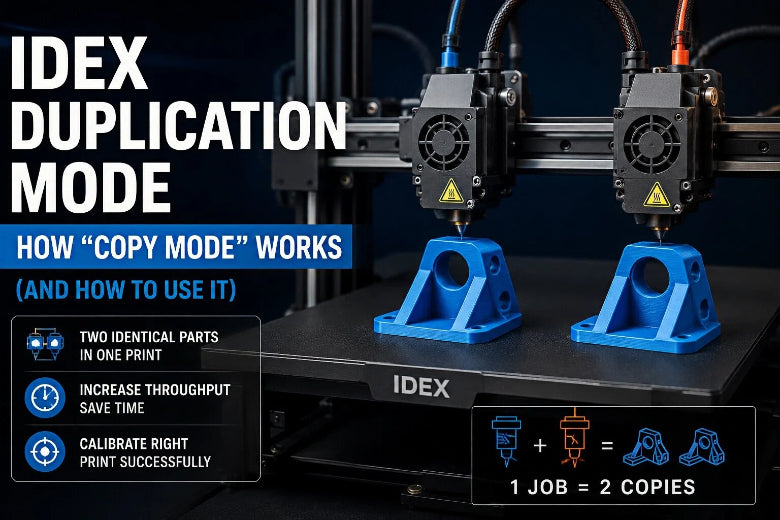
That’s exactly what IDEX duplication mode (often called copy mode) is for. When it’s dialed in, you can print two identical parts in one job, with both toolheads running in sync.
This guide explains what duplication mode is, how it works, and how to set it up in a slicer-agnostic way—plus the calibration checks that keep you from turning “double output” into “double failure.”
Key Takeaway: Duplication mode is basically “one print job, two synchronized toolheads.” Your setup quality (bed, Z height match, offsets) matters more than your slicer brand.
What is IDEX duplication mode (and what isn’t it)
IDEX stands for Independent Dual EXtruder. In practice, it’s a dual carriage 3D printer setup: instead of a single printhead (or two nozzles bolted together), an IDEX machine has two separate toolheads that can move independently in X, while sharing Y movement.
Duplication mode (also called IDEX copy mode) means both toolheads print the same geometry at the same time, producing two identical copies in one run.
Here’s what duplication mode is not:
- Not mirror mode. For a clear mirror mode vs duplication mode explanation, Raise3D’s overview of Duplication Mode and Mirror Mode summarizes the difference clearly.
- Not dual-material printing. Dual-material (or dual-color) printing uses two tools to build one part. Duplication mode uses two tools to build two parts.
- Not “print two parts anywhere.” In duplication mode, the printer needs to keep a safe offset and stay inside its motion limits. That reduces what you can fit on the bed.
How duplication mode works on an IDEX printer
At a high level, duplication mode is simple:
- Toolhead A prints the part on one side of the bed.
- Toolhead B prints the same path on the other side.
- Both toolheads move in sync, separated by a fixed offset.
What makes it feel tricky is the geometry:
- The two toolheads must have enough space to travel without hitting each other.
- Your usable X width is effectively reduced, because you’re reserving room for the second toolhead.
- If one nozzle is slightly higher/lower, the first layer won’t match—and duplication mode doesn’t “forgive” that.
In many workflows, duplicate/mirror behavior is treated as a printer function rather than a slicer feature, and enabling it can effectively cut your available bed area down (often roughly in half). That expectation shows up in community discussions like this SuperSlicer issue about IDEX copy/mirror modes being handled by the printer rather than the slicer: “IDEX Capabilities is Horrible. Ideas to make it better?”.
When duplication mode is worth using
Duplication mode is best when you’re printing small-to-medium parts you need multiple copies of.
Great candidates
- Small functional parts: clips, brackets, spacers, cable guides
- Hardware-adjacent prints: knobs, caps, covers
- Small-batch runs where you care about throughput
- Two copies for fit-testing (one to keep, one to modify)
- A/B sanity checks: two copies in one run can help you spot whether a defect is coming from your model/settings or from inconsistent first-layer conditions
Bad candidates
- Very wide parts (you run out of X space fast)
- Tall, skinny parts that already struggle with stability
- Prints that are on the edge of bed adhesion
- Anything with a “failure domino effect” (one blob ruins the job)
Pro Tip: If you wouldn’t trust the part to run unattended in single mode, don’t make it your first duplication-mode job.
Before you hit print: the calibration checks that matter
Duplication mode doesn’t usually fail because the idea is flawed—it fails because the machine is acting like two synchronized printers, and both need a clean first layer.
Here’s the calibration order that saves time:
1) Get the bed level and the first layer consistent
Duplication mode magnifies first-layer problems because you’re running two copies at once.
If you want an IDEX-specific example of how thorough bed leveling workflows can look, SOVOL’s SV04 guide is a useful reference: How to level the bed on Sovol SV04.
Even if your machine is different, the principles carry over:
- Level in a repeatable pattern (diagonals help)
- Re-check after adjustments (one corner affects others)
- Save the result (don’t assume it sticks)
2) Make sure both nozzles are the same effective Z height
This is the “hidden killer” of duplication mode.
If one nozzle is a hair lower than the other, it can:
- scrape the bed or the part
- over-squish the first layer on one copy
- under-extrude on the other copy
MatterHackers calls out this exact requirement—bed leveling and identical nozzle Z height—as part of the baseline calibration for duplication/mirror modes in their IDEX FAQ: 5 Frequently Asked Questions About IDEX 3D Printers.
3) Calibrate nozzle-to-nozzle X/Y offsets (nozzle offset calibration)
Offsets tell the machine where Toolhead B is relative to Toolhead A. In other words: nozzle offset calibration is what makes both copies land where you expect.
When offsets are wrong, you’ll see symptoms like:
- one copy shifted left/right (X offset)
- one copy shifted forward/back (Y offset)
- skirts/brims not matching where you placed the model
You don’t need to chase perfect offsets for every material. You do need them consistent enough that both copies print on the bed and stay inside the motion envelope.
Setup workflow: duplication mode in a slicer-agnostic way
There are two common ways duplication mode is enabled:
Workflow A: You enable duplication mode on the printer (or firmware)
This is common when duplication/copy mode is implemented as a printer feature.
- Slice a single model as normal.
- Confirm the part is positioned where your printer expects it for copy mode.
- Enable duplication/copy mode on the printer.
- Start the job and watch the first layer closely.
What to watch for on the first layer:
- Both nozzles are laying down lines with the same “squish.”
- Neither nozzle is dragging a ridge or plowing into the surface.
- Both copies are printing fully on the plate (not partially off-bed).
Workflow B: You enable duplication mode in your slicer (printer profile supports it)
Some slicers or printer profiles expose duplication/mirror as a mode.
The practical steps are still similar:
- Choose the correct printer profile and print mode.
- Import the model.
- The slicer duplicates placement automatically (or previews two copies).
- Check the preview for travel limits and clearances.
Either way, treat duplication mode like a constrained build area. If your preview looks tight, it’s tight.
First-layer and ooze-control tips that increase success
Duplication mode adds a second nozzle, which means you have more ways to accidentally drag a blob through a print.
Keep the first layer conservative
- Use a slightly slower first layer than your “show-off speed.”
- If you normally print with minimal brim, consider a brim for your first few duplication runs.
- Don’t change three variables at once. Get a reliable baseline, then speed up.
Control stringing and nozzle mess
Even if both toolheads are printing continuously, you can still get:
- small boogers on the nozzle
- strings that catch and get dragged into the next pass
Mitigations:
- Start with clean nozzles.
- Use a wipe/clean routine if your printer supports it.
- If your material is stringy, dry it first—duplication mode punishes borderline filament.
⚠️ Warning: If one nozzle carries a blob, it can crash into the print and take out both copies. Stop early if you see a buildup.
Troubleshooting duplication mode: symptom → cause → fix
Below is a practical “fast triage” list.
Symptom: One copy has a perfect first layer, the other looks too squished or too high
Likely cause: Nozzle Z heights aren’t matched.
Fix: Re-check nozzle-to-nozzle Z matching before touching flow settings.
Symptom: One copy is shifted sideways compared to where it should be
Likely cause: X offset is wrong (or the model is placed outside the duplication envelope).
Fix: Recalibrate X offset using an alignment pattern. Then re-check model placement.
Symptom: You get travel-limit errors, or the second copy tries to print off the bed
Likely cause: The part is too wide for duplication mode, or the printer’s copy-mode bed area is smaller than your normal profile.
Fix:
- Rotate the part so its long dimension runs along Y.
- Scale down if needed.
- Re-center according to your printer’s duplication-mode behavior.
Symptom: Nozzles scrape the bed or the print during early layers
Likely cause: Z mismatch, bed not level/flat, or first layer too tight.
Fix: Stop the job, verify bed leveling and Z matching, then re-test with a first-layer pattern before committing to a full print.
Symptom: Random blobs / scars appear on both copies
Likely cause: Ooze buildup, stringing, or contaminated nozzle.
Fix: Clean nozzles, dry filament if needed, and use wipe/purge features where available.
FAQ
Is duplication mode the same as printing two models on the bed?
Not exactly. You can print two models normally on most printers, but duplication mode makes both toolheads follow the same path at the same time—so you get synchronized output without doubling print time.
Is mirror mode “harder” than duplication mode?
It can be, mainly because the build boundary can be more restrictive. Raise3D notes the print boundary for mirror mode can be smaller than for duplication mode in their duplication vs mirror overview.
Do I need a special slicer for IDEX duplication mode?
Often no. In many setups, the printer handles copy/mirror behavior, and the slicer just needs the correct build area and a sane placement. But some printer profiles do expose it as a slicer mode.
Does duplication mode double speed?
It can nearly double throughput for the right parts, but it doesn’t make a single part print faster. It’s “two parts for (close to) the time of one,” assuming the printer and setup are stable.
Key takeaways
- IDEX duplication mode prints two identical copies at the same time using two independent toolheads.
- It’s best for small-batch functional parts, not wide, risky, or adhesion-sensitive prints.
- Success comes from fundamentals: bed leveling, matching nozzle Z heights, and correct offsets.
- Treat duplication mode as a reduced build area with tighter clearances.
Next steps
If you’re exploring open-source, maker-friendly printers more broadly, you can browse SOVOL’s lineup here: SOVOL.


