TPU is the material you reach for when you need a part to flex, grip, or absorb impacts. It’s also the filament that exposes weak spots in your setup: a sloppy filament path, a wet spool, or slicer settings that were “fine for PLA.”
This guide gives you a reliable starting profile for common 95A TPU, explains why TPU fails in predictable ways, and walks you through a workflow that avoids stringing and jams.
Key Takeaway: With TPU, you’ll usually get cleaner prints by drying the spool, slowing down, and using minimal effective retraction rather than increasing retraction aggressively.
What Is TPU and When Should You Use It?
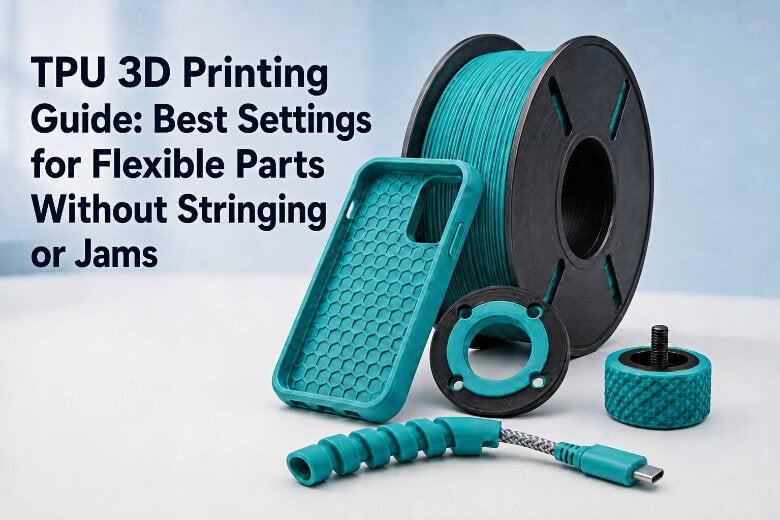
TPU (thermoplastic polyurethane) is a flexible filament that behaves more like rubber than rigid plastics. It’s a great choice when a part needs to bend, grip, or absorb impact—without cracking.
Common TPU use cases include:
- phone cases and protective covers
- anti-slip feet and pads
- gaskets and seals
- vibration dampers
- grips and handles
- cable protectors and strain relief
Compared with other popular filaments:
- PLA is easier for crisp, rigid parts, but it’s brittle and doesn’t like repeated flexing.
- PETG is tougher and less brittle than PLA, but it’s still not truly flexible like TPU.
If your part needs controlled flex or a “grippy” surface, TPU is usually the right move.
TPU filament settings: a safe starting profile for 95A TPU
Use these values as starting points, not universal rules.
- Your filament manufacturer’s recommended range takes priority. TPU blends vary a lot (even at “95A”).
- Your best settings depend on direct drive vs Bowden, nozzle condition, and how dry the spool is.
|
Setting |
Recommended starting value (95A TPU) |
Why it works |
What to change first if it fails |
|---|---|---|---|
|
Nozzle temperature |
220–235°C |
Consistent flow without excessive ooze |
Stringing/blobs: -5°C. Under-extrusion/weak bonding: +5°C |
|
Bed temperature |
40–60°C |
Helps first layer grip without over-softening |
Lifting corners: +5–10°C or better bed prep |
|
Print speed |
20–35 mm/s |
Lower pressure = fewer jams and cleaner seams |
Jams/under-extrusion: slow down first |
|
Retraction distance |
Direct: 0.6–1.2 mm / Bowden: 2–4 mm |
Too much retraction can buckle TPU |
Jams: reduce distance. Strings: tune temp/travel before adding more |
|
Retraction speed |
15–25 mm/s |
Reduces grinding/stretching |
Grinding: slower. Strings: don’t jump to faster—check moisture/temp |
|
Cooling fan |
20–50% (start ~30%) |
Balances detail vs adhesion |
Weak layers: reduce fan. Increase only for bridges and fine details—don’t use cooling as the primary fix for stringing |
|
Layer height (0.4 mm nozzle) |
0.20–0.24 mm |
Stable extrusion and less back-pressure |
Under-extrusion: raise temp or go slightly thicker |
|
Infill |
10–25% (Gyroid or Lines) |
Keeps flexibility without collapse |
Too soft: add walls before raising infill |
Why TPU prints fail (and why PLA habits don’t always translate)

TPU problems usually come from three physical behaviors: it oozes, it compresses, and it absorbs moisture.
Why TPU stringing happens
Stringing is molten polymer escaping the nozzle during travel moves. TPU is more prone to it because:
- Elasticity makes pressure harder to “shut off” cleanly.
- Higher printing temperatures reduce viscosity and increase ooze.
- Moisture can turn into steam in the hotend, causing bubbling and unstable flow.
Stringing usually improves when you address the big levers in this order: dry the spool, lower temperature a bit, and keep travel moves fast. Retraction is usually the last step—and only in small amounts for TPU.
Why TPU under-extrusion happens
Under-extrusion in TPU is often a feeding problem, not a melting problem:
- TPU compresses like a spring in the filament path.
- Higher speeds increase back-pressure in the melt zone.
- Any restriction (dirty nozzle, tight path) makes the extruder’s job harder.
Why TPU jams (the classic “bunching” failure)
Most TPU jams happen before the filament reaches the nozzle.
- A gap between the drive gears and the guide path lets TPU buckle sideways.
- Too much extruder tension deforms the filament.
- Over-retraction repeatedly pulls soft filament into higher-friction zones.
Why TPU makes blobs and zits
Blobs usually come from pressure instability:
- Printing too hot (ooze at seams)
- Too much retraction (inconsistent restart pressure)
- Wet filament (tiny pops and extra ooze)
Moisture can flash to steam in the hotend, creating bubbles, extra ooze, and inconsistent flow—so drying and sealed storage matter more for TPU than for PLA.
Why TPU can have poor layer adhesion
If a TPU part tears along layer lines, suspect:
- too-cold nozzle temperature
- too much cooling
- printing too fast
Treat layer adhesion as a temperature/cooling/speed problem before you redesign the part.
How to print TPU without jams or stringing (tuning order)
If you’re new to TPU, this is the simplest way to get to a working profile:
- Dry the spool.
- Print slow.
- Tune temperature for clean extrusion.
- Calibrate flow.
- Add only as much retraction as you need.
This workflow is conservative on purpose. Once your prints are clean, you can push speed and cosmetic quality.
1) Dry and store the filament

TPU absorbs moisture quickly, so drying isn’t optional if you want consistent extrusion.
Use these ranges as practical starting points—TPU blends vary, and the manufacturer’s label always takes priority.
|
TPU type (typical) |
Drying temperature |
Drying time (typical) |
Notes |
|---|---|---|---|
|
95A TPU (common) |
45–55°C |
4–6 hours |
Start at the low end if you’re unsure; repeat cycles are safer than overheating |
|
Softer TPU (e.g., 85A–90A) |
40–50°C |
4–8 hours |
Softer TPU can deform on the spool more easily—avoid high heat |
|
Stiffer TPU (e.g., 98A+) |
50–60°C |
3–6 hours |
Often tolerates slightly higher temps, but don’t exceed the spool’s rating |
After drying:
- Seal the spool with fresh desiccant.
- If your room is humid, print from a dry box to keep TPU stable during long jobs.
TPU filament drying is often the difference between “messy but usable” and “clean and repeatable.”
Signs your TPU is wet:
- extra fine hairs (stringing)
- rough surfaces or tiny bubbles
- inconsistent extrusion (the same file prints differently week to week)
Practical storage habits:
- Store TPU sealed with fresh desiccant.
- If your environment is humid, consider printing from a dry box.
2) Check the filament path
TPU wants a straight, constrained path from spool to extruder to hotend.
- Make sure the spool unwinds smoothly (no snags, no sharp drag).
- Reduce sharp bends into the extruder.
- If you have PTFE tubing, ensure it’s seated firmly with minimal gaps.
3) Load TPU carefully
TPU is easy to kink. A kinked section feeds poorly and can trigger a jam.
- Cut the end cleanly.
- Feed slowly until the gears grab it.
- Extrude a small amount at TPU temperature to confirm smooth flow.
If you hear clicking or see the filament flattening, reduce extruder tension slightly.
4) Calibrate temperature and flow
Temperature and flow are the foundation. Retraction is fine-tuning.
A simple order:
- Pick a nozzle temperature inside the manufacturer’s range.
- Print a small calibration part (single-wall cube or simple strip).
- Adjust flow/extrusion multiplier until walls look consistent and measure correctly.
If you can’t get stable extrusion at any reasonable temperature, stop and inspect the nozzle and the filament path. Don’t brute-force with extra heat.
5) Start with a slow test print
Start with something small and fast to iterate on:
- gasket ring
- 20–30 mm calibration tower
- simple bumper corner
Begin around 20–25 mm/s. Increase in small steps only after you have clean results.
6) Adjust retraction and cooling
Tuning order that usually works:
- If you see heavy stringing/ooze, lower temperature 5°C.
- Increase travel speed (as your machine allows).
- Add a small amount of retraction only if needed.
- Adjust fan in small steps to balance detail vs bonding.
In practice, the best first move for TPU is usually dry filament + minimal effective retraction. Treat retraction as fine-tuning after you’ve stabilized temperature, speed, and filament dryness.
Troubleshooting TPU prints (symptom → cause → fix)
Change one variable, retest, then continue.
|
Symptom |
Likely causes |
Practical fixes (in order) |
|---|---|---|
|
Fine hairs across gaps (stringing) |
Wet TPU; too hot; long/slower travel; retraction too low |
Dry the spool; drop temp 5°C; raise travel speed; only then increase retraction slightly |
|
Thick strings + blobs at seams |
Too hot; pressure instability from high retraction; wet filament |
Reduce temp; reduce retraction distance; dry TPU; clean nozzle |
|
Under-extrusion (thin lines, gaps) |
Partial clog; printing too fast; temp too low; high friction path |
Clean nozzle; slow down; increase temp 5°C; reduce friction/spool drag |
|
Filament bunches at extruder / jam |
Gaps in feed path; too much tension; too much retraction; speed too high |
Constrain path; loosen tension; reduce retraction; slow down |
|
Poor layer adhesion / layer-line tearing |
Too cold; too much fan; speed too high |
Increase temp; reduce fan; slow down; add walls |
|
First layer won’t stick |
Bed too cool; dirty plate; wrong Z offset |
Check the build plate, nozzle height, and bed temperature. Adjust the Z-offset and temperature in small steps |
|
Rough or bubbly surface |
Moisture; overheated TPU |
Dry the filament; reduce temp; print slower |
Design tips for flexible 3D printing with TPU
Use walls to control stiffness before infill
For many TPU parts, perimeters do more than infill.
- Want it stiffer? Add walls first.
- Want it softer? Reduce walls before you drop infill to near zero.
Pick infill for the kind of flex you need
- Gyroid tends to flex evenly.
- Lines can flex more in one direction.
Orient the part so layers don’t peel
TPU can still split along layer lines. If the part will be pulled in one direction (strap, tab, hinge), orient it so the layers aren’t being peeled apart.
Avoid long bridges and unsupported overhangs
TPU doesn’t bridge like PLA. If the underside matters, use supports and tune for clean removal.
Design holes and fits with extra clearance
TPU holes often print a bit tight. Add clearance, chamfer entries, and plan to drill/ream if you need precision.
Make flexible joints thicker and smoother than you think
Sharp corners concentrate stress. Use fillets and gradual thickness transitions around hinge-like features.
When TPU is a better choice than PLA or PETG
Choose TPU when you need:
- flexibility without cracking
- impact resistance for protective covers
- vibration damping for mounts
- grip for handles, feet, and tool contact surfaces
- compressible seals and gaskets
- cable protectors and strain relief
PLA is still the easiest for crisp cosmetic parts. PETG is often a good middle ground when you want durability without TPU’s tuning overhead.
TPU on Sovol printers: compatible models and practical setup notes
Flexible filament is generally easier with a short, well-constrained filament path, which is why many users prefer direct drive for TPU.
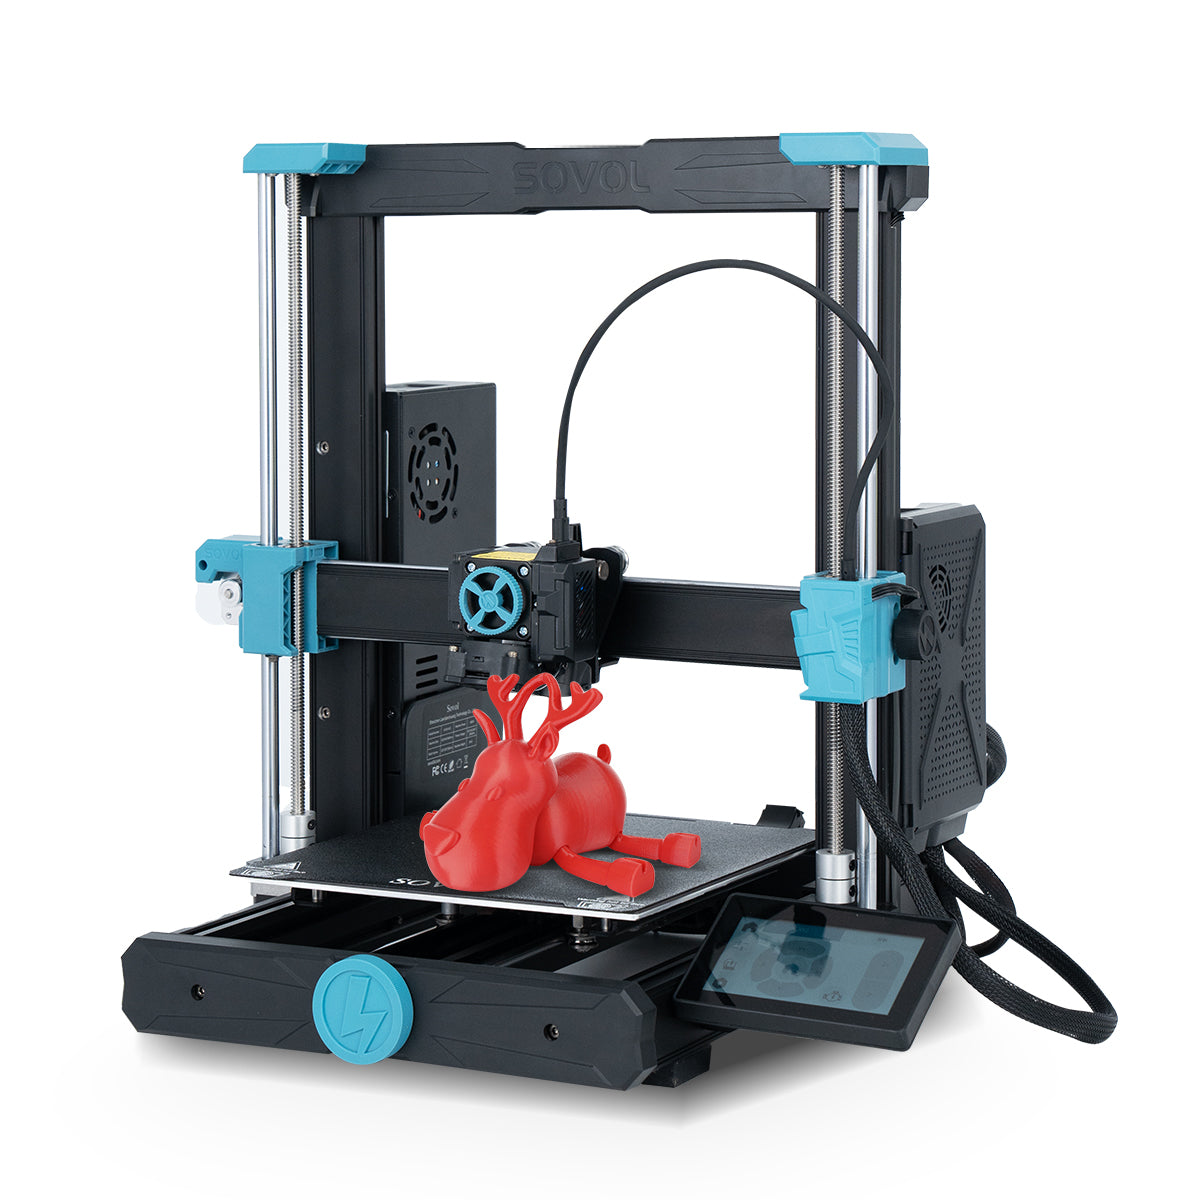
If you’re printing TPU on a Sovol machine, start with these official product pages:
- Sovol SV08 3D printer
- Sovol SV08 Max 3D printer
- Sovol SV06 ACE 3D printer
- Sovol SV06 Plus ACE 3D printer
For moisture control, a filament dryer can help keep TPU consistent between prints. The Sovol SH02 filament dryer box is one option if you want a dedicated drying setup.
FAQ
What’s the best TPU printing temperature?
Start inside the manufacturer’s temperature range, then adjust in 5°C steps. If you see stringing and blobs, go down. If you see under-extrusion or weak layer adhesion, go up.
How do I stop TPU stringing without causing jams?
Dry the spool first, then lower nozzle temperature slightly and keep travel moves fast. Only add retraction after that, and keep it minimal.
Should I use retraction for TPU?
Usually yes, but less than you’d use for PLA. Too much retraction is a common cause of TPU jams and inconsistent seams.
Do I need a direct drive extruder to print TPU?
It helps, especially for softer TPU, because the filament has less room to compress and buckle. With other setups you’ll typically print slower and keep retraction conservative.
Why does my TPU print look bubbly or rough?
Moisture is a common cause. TPU absorbs water, which can flash to steam in the hotend and create bubbles and unstable extrusion.
What infill should I use for TPU?
Start around 10–25% and tune for the feel you want. If the part is too soft, add walls before you crank infill.
Next steps
Make TPU printing boring: keep the filament dry, keep speed conservative, and tune one variable at a time.