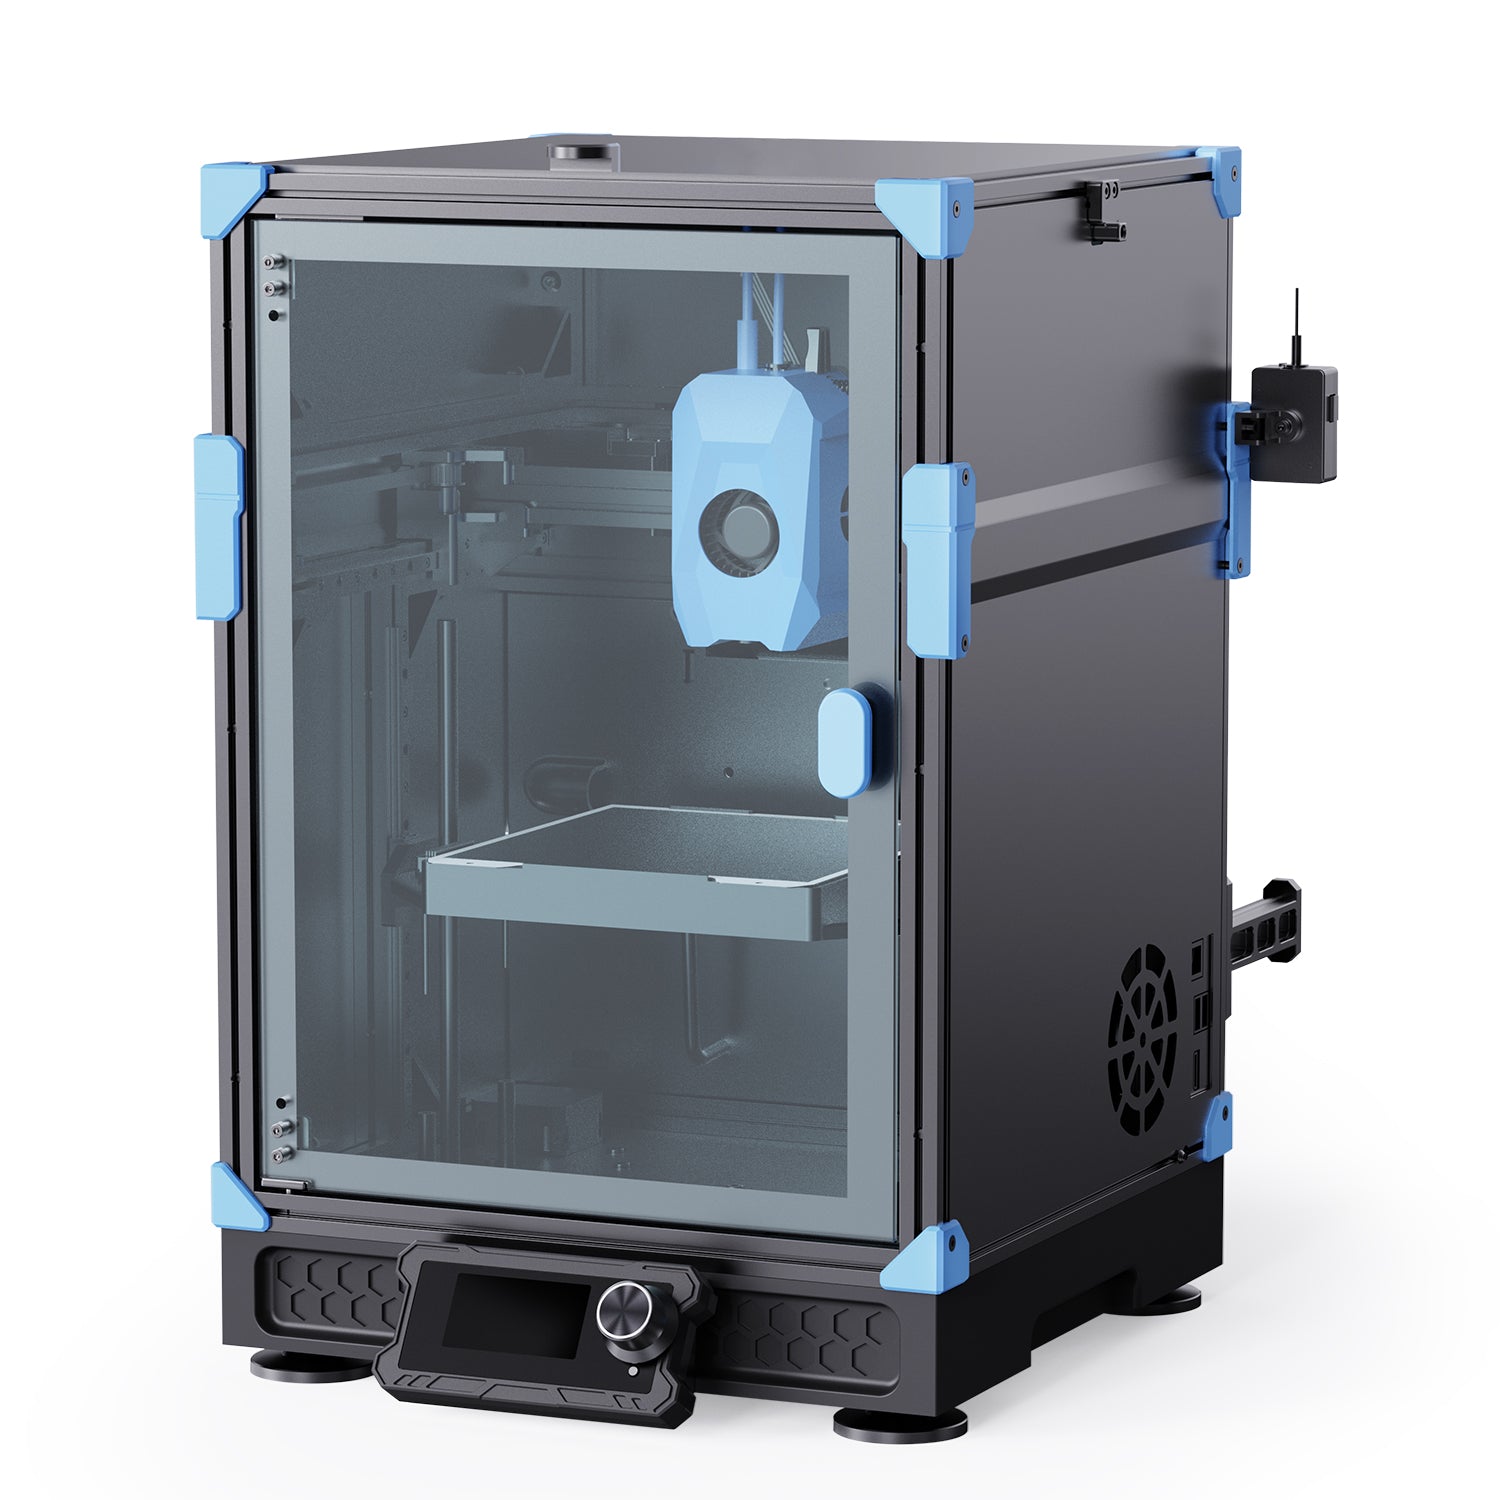
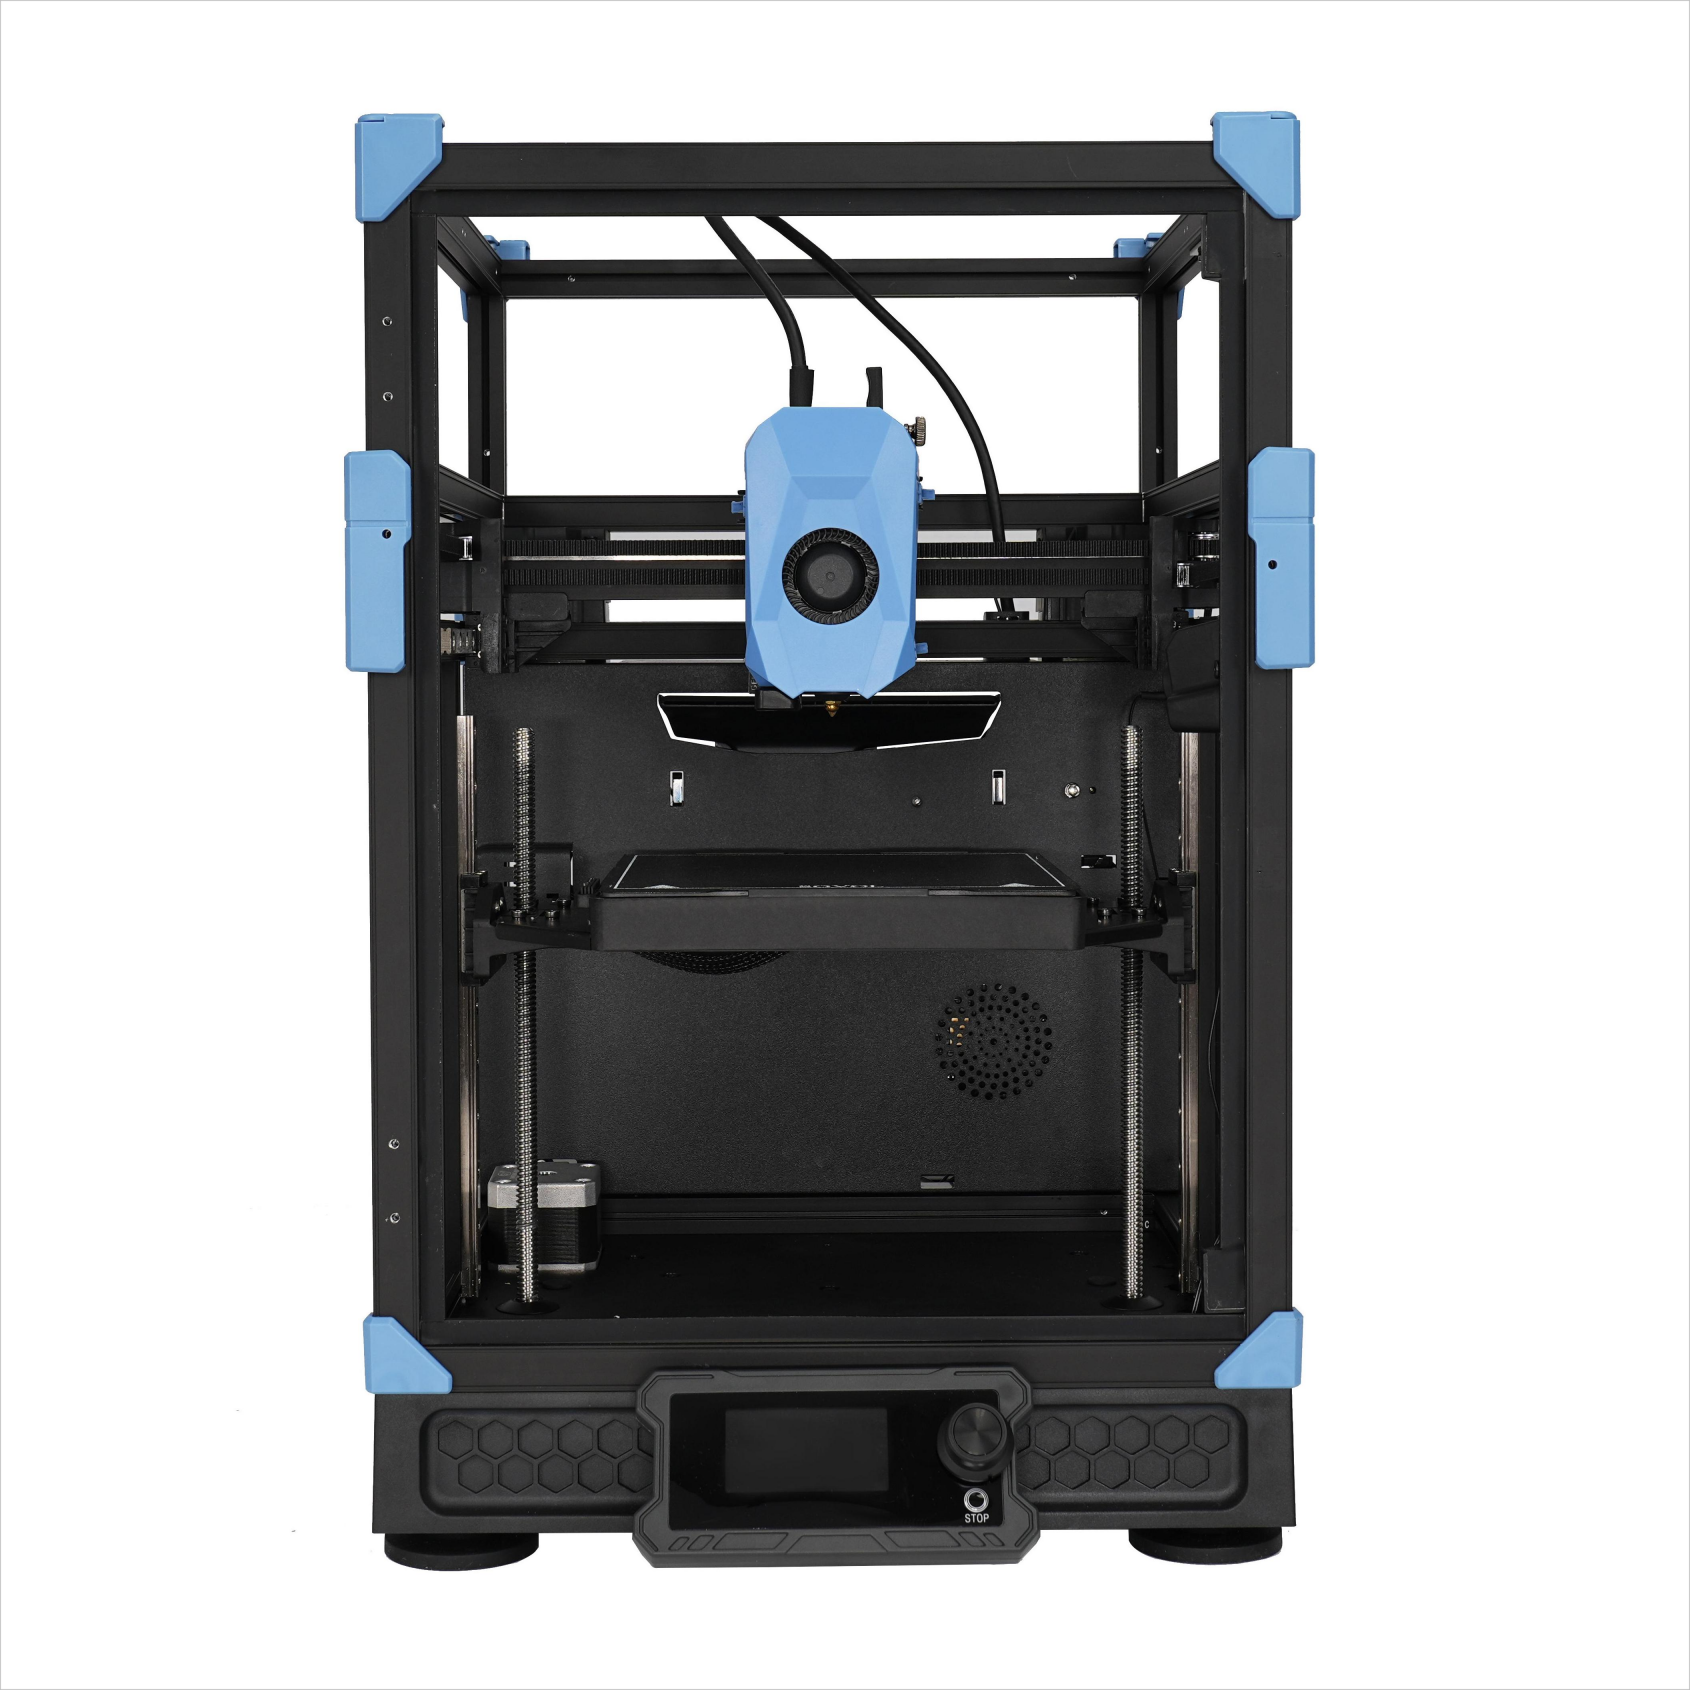
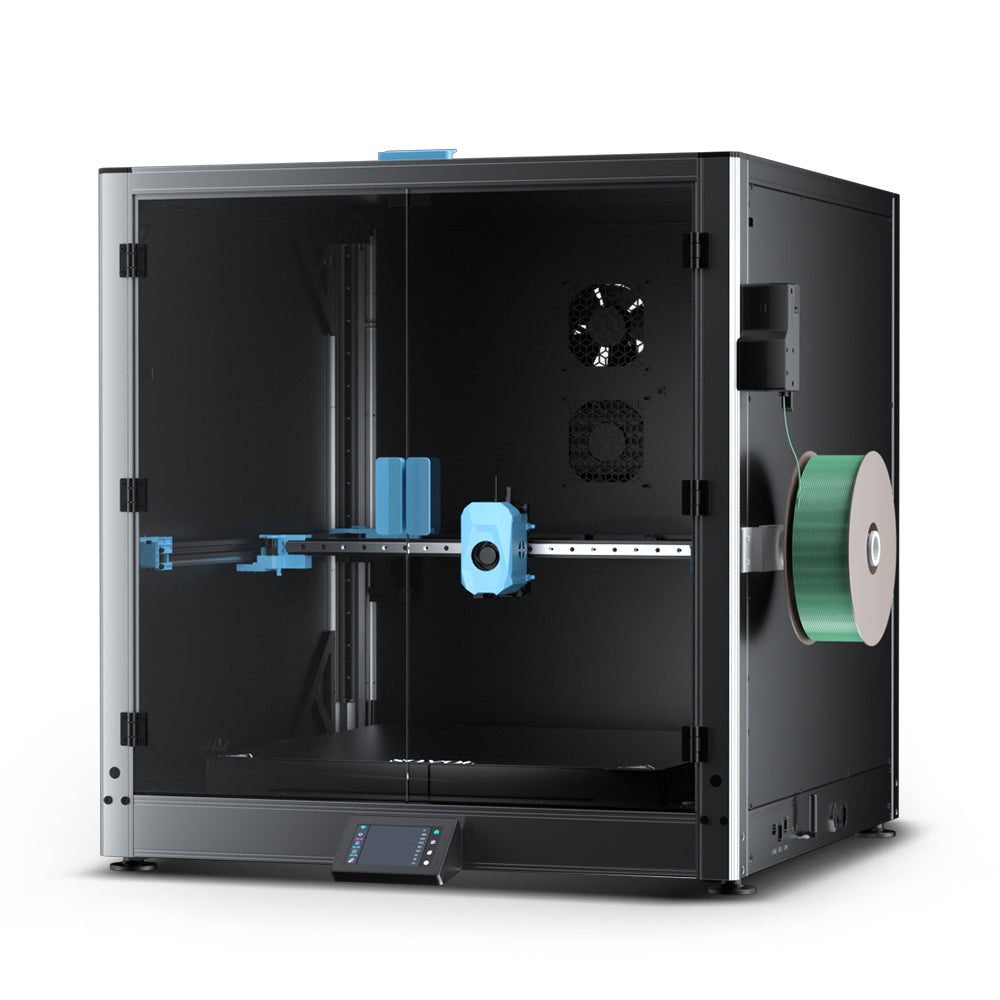
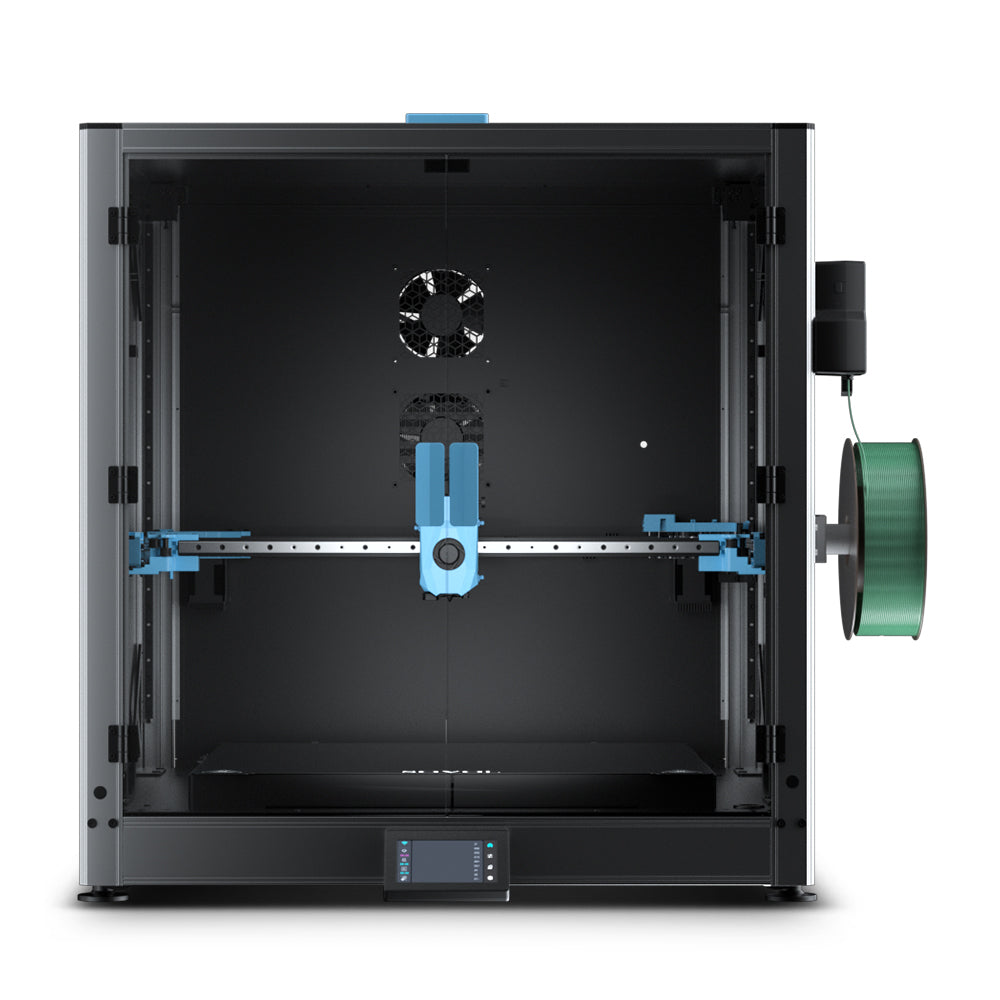
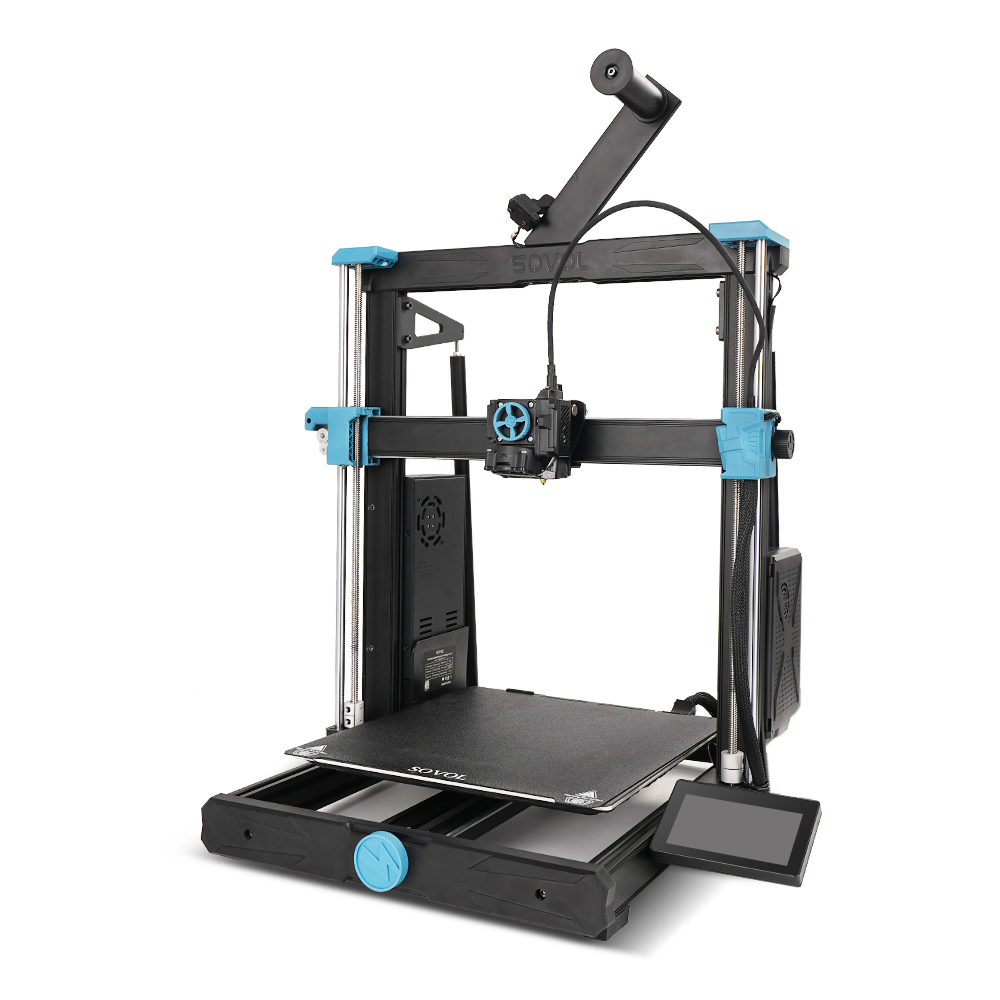
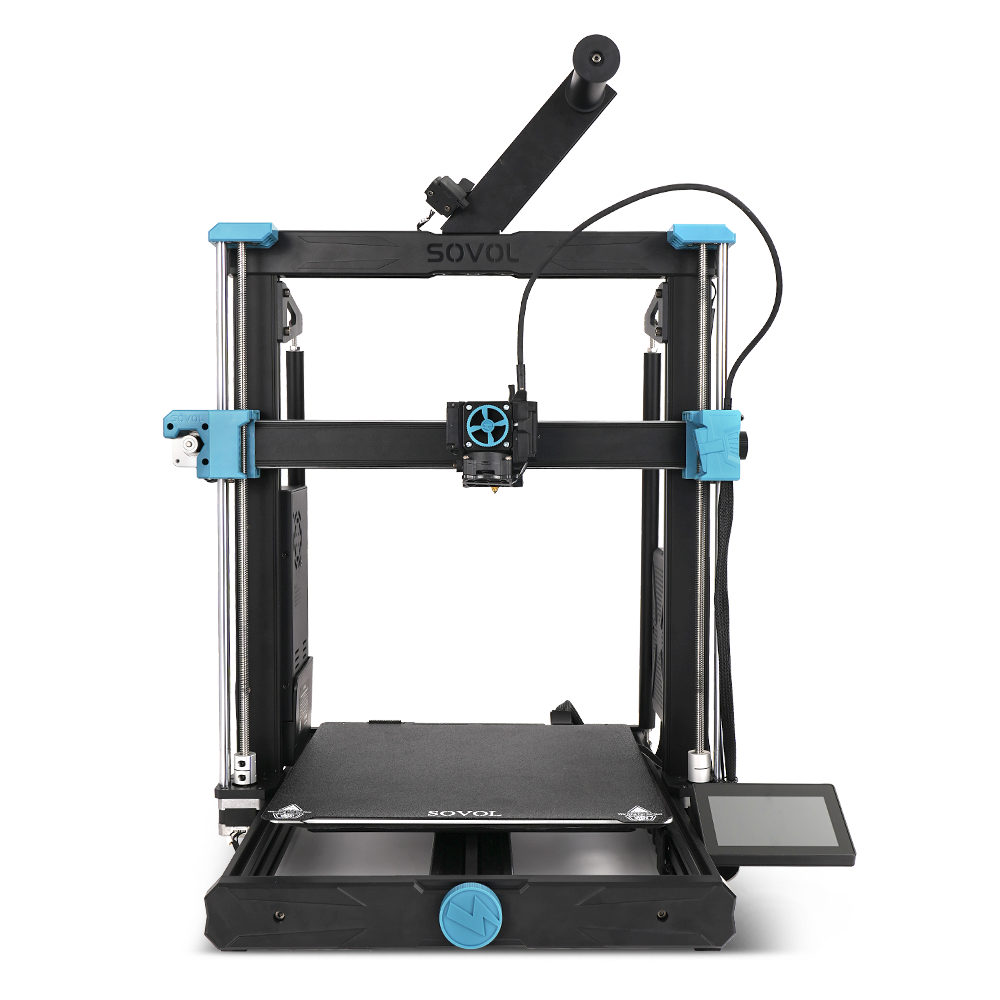
You can master large 3d printer setup by paying close attention to each step in the process. Large format additive manufacturing brings unique challenges, but you will find the rewards worth your effort. Always follow manufacturer instructions for additive manufacturing, especially when working with the Sovol SV08 Max. Careful calibration ensures your first 3d print succeeds, even if you are new to large scale 3d printing. Approach large format additive manufacturing with patience, and you will see reliable 3d results throughout the process.
Key Takeaways
- Prepare a clean, well-ventilated workspace with a sturdy table and stable power before starting your 3D printer setup.
- Follow the assembly manual carefully, check all parts, and test electronics to avoid errors during installation.
- Calibrate your printer step-by-step: home the axes, level the bed, tune temperature controls, calibrate the extruder, and set the first layer height for best print quality.
- Use the right software and slicer settings, connect your printer properly, and choose quality filament to ensure smooth printing.
- Monitor your print closely, perform regular maintenance, and keep learning to improve your 3D printing success and machine longevity.
Preparation for Large 3D Printer Setup
Workspace and Environment
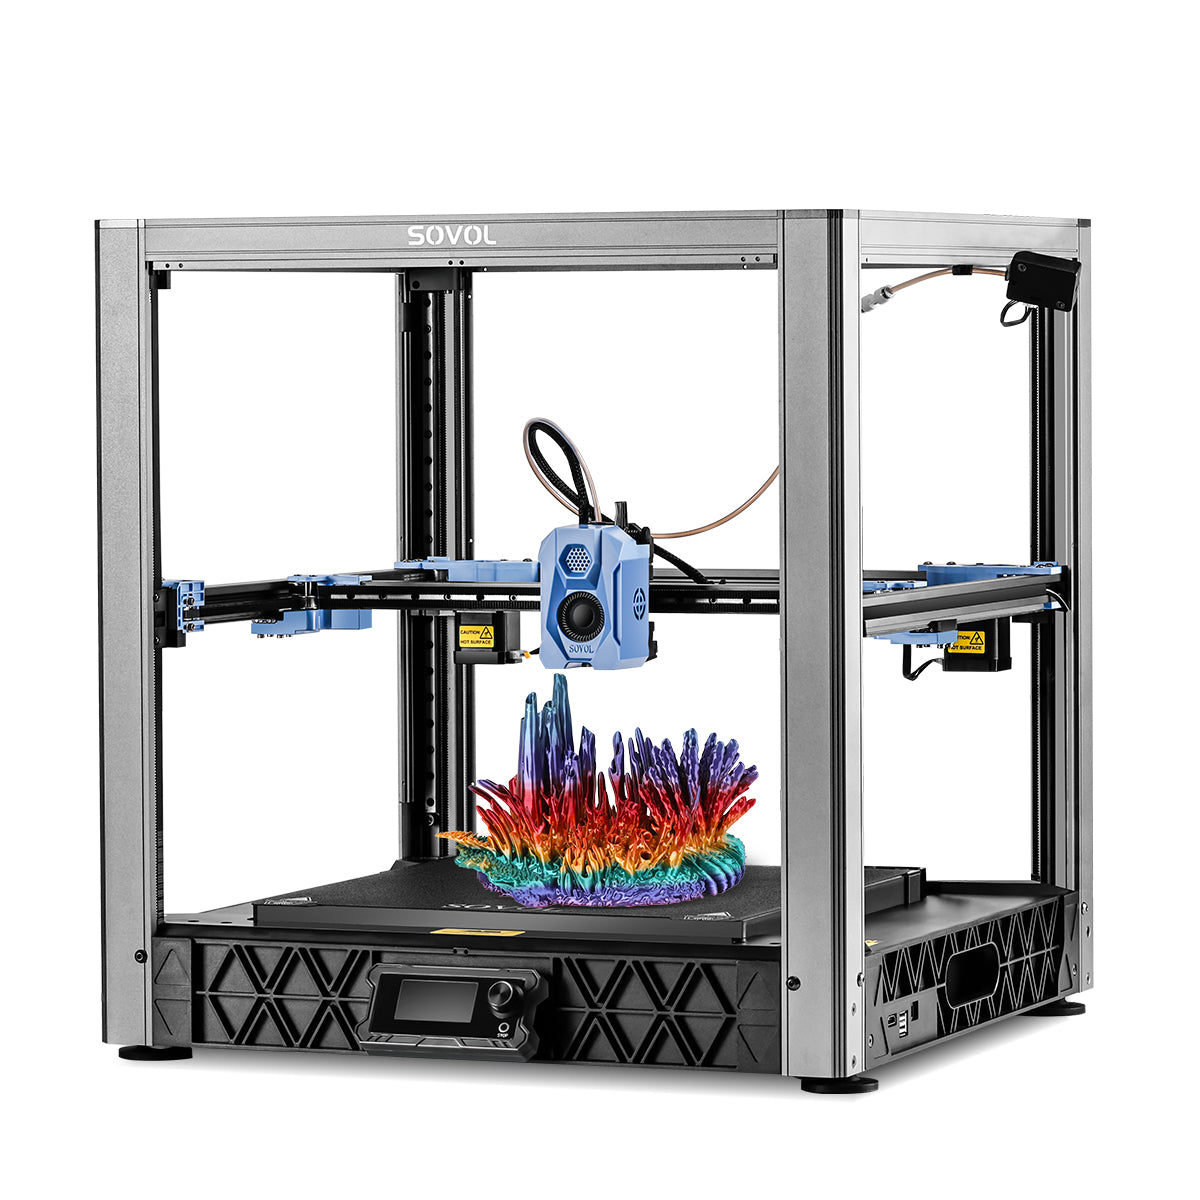
You need a proper workspace before you start large 3d printer setup. Choose a flat, sturdy table that can support the Sovol SV08 Max. Make sure the area has enough space for the printer and for you to move around it. Good ventilation is important for large scale 3d printing because some materials release fumes. Keep the room dry and at a stable temperature to help with print quality. Use a stable power supply to avoid interruptions during long prints. Place your printer away from direct sunlight and dust to protect sensitive parts.
Tip: A clean, organized workspace helps prevent mistakes during installation and makes maintenance easier.
Unboxing and Inventory
Open the Sovol SV08 Max box carefully. Lay out all the parts on a clean surface. Check the part list on the SD card to make sure you have every component before you begin assembly. Review the assembly manual and watch any recommended videos to understand the build process. This helps you spot any version differences. Test the electronic parts before installation. Connect the XYZ stepper motors and check their movement and endstop function. Test the heatbed and extruder by connecting them to the power supply and LCD screen. This step confirms that all parts work and reduces errors during setup.
Recommended Inventory Checklist: 1. Verify all parts using the SD card list. 2. Review the assembly manual and videos. 3. Test stepper motors and endstops. 4. Test heatbed and extruder.
Safety Checks
Safety is key in large format additive manufacturing. Check that all cables and wires have no damage. Make sure the power supply matches your local voltage. Keep liquids away from the printer to avoid electrical hazards. Wear safety glasses when working with tools or cutting zip ties. Never touch the hotend or heatbed during or after printing because they get very hot. For large scale 3d printing, always follow the manufacturer's safety instructions to protect yourself and your equipment.
Note: Careful safety checks help prevent accidents and keep your additive manufacturing process smooth.
Assembly and Installation
Frame Assembly
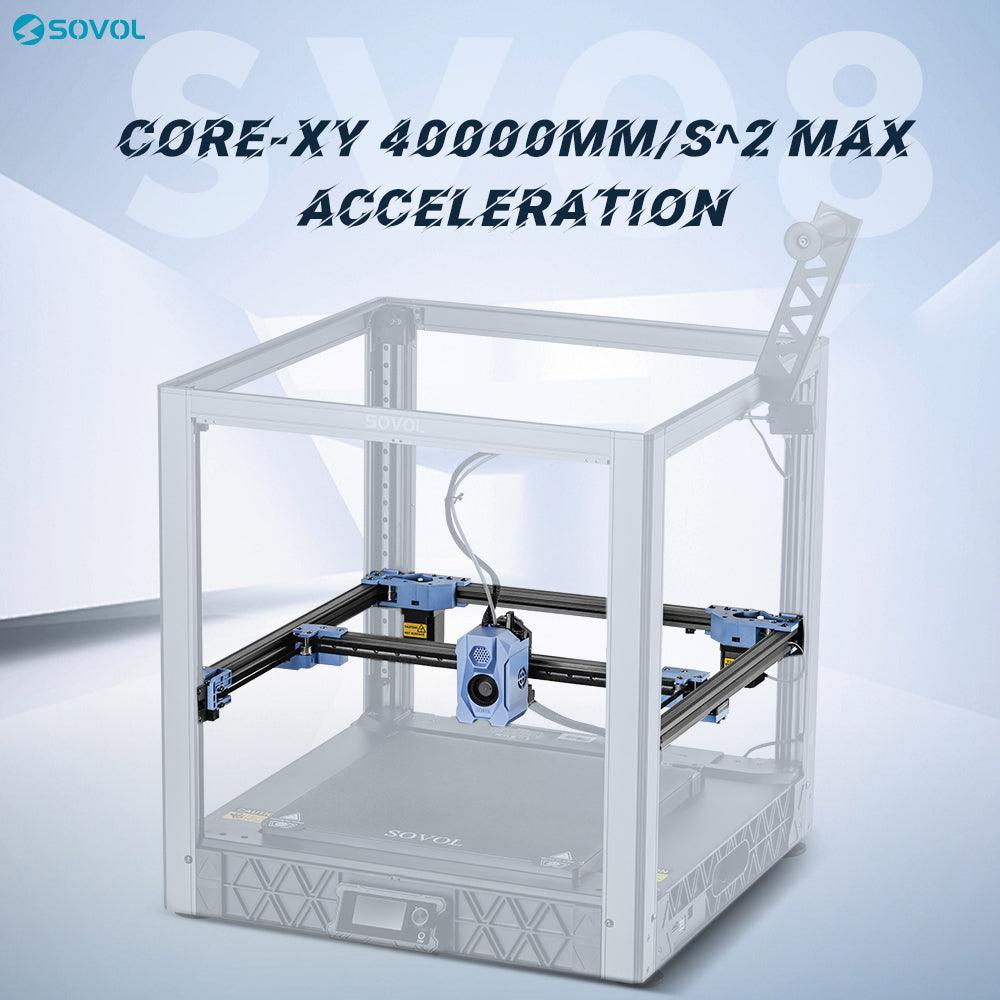
Start your large 3d printer setup by building the frame. Place each part on a flat surface. Use the assembly manual for the Sovol SV08 Max to match each piece. Tighten all screws, but do not over-tighten. Make sure the frame is square and level. This step is very important for large format additive manufacturing. A strong and stable frame helps prevent print failures like warping or layer shifts. You also get better print quality because the motion system works smoothly.
- Proper calibration and frame stability prevent common print problems.
- A square frame reduces vibration and improves print results.
- Heated beds and good leveling systems work best with precise assembly.
- Regular checks keep your frame stable and your prints accurate.
Tip: Use a carpenter’s square or ruler to check each corner. Take your time to get the frame perfect before moving on.
Wiring
After you finish the frame, start the wiring process. Connect each cable to the correct port as shown in the manual. Keep wires neat and away from moving parts. Good cable management helps with safety and makes future maintenance easier. Secure the wires with zip ties or clips. This step also helps you spot any loose connections during 3d printer setup.
Note: Double-check each connection before you power on the printer. A loose wire can cause errors or damage.
Hardware Check
Before you start printing, check all hardware. Make sure the printer sits on a stable surface. Tighten all bolts and nuts. Check that the bed moves smoothly and the gantry does not wobble. For large format additive manufacturing, a stable printer location is key. This step supports the quality of your 3d prints and keeps your additive manufacturing process reliable.
Tip: Place your Sovol SV08 Max in a spot where it will not shake or move during printing. This helps you get the best results from your installation.
Power and Firmware Setup
Initial Power On
You have finished the main installation steps. Now, you can power on your Sovol SV08 Max for the first time. Plug the printer into a stable power outlet. Make sure the switch on the power supply matches your local voltage. Press the power button and watch the display screen light up. If you see any error messages or the screen stays dark, turn off the printer right away and check all cable connections. A smooth first power-on means your 3d printer is ready for the next steps.
Tip: Always keep your hands dry when working with electrical parts. This helps you stay safe during 3d printer setup.
Firmware Update
Firmware is the software that controls your 3d printer’s hardware. Keeping your firmware up to date is important for the best performance. Manufacturers often release updates to fix bugs, add new features, and improve reliability. Regular firmware updates help your Sovol SV08 Max run smoothly and print with better accuracy. Many experts group firmware updates with other key maintenance tasks like nozzle cleaning and bed leveling. If you update your firmware often, you can prevent malfunctions and keep your 3d printer working well for a long time.
- Firmware updates improve functionality and reliability.
- Regular updates help maintain print quality.
- Consistent updating prevents common 3d printer problems.
Check the Sovol website or the SD card for the latest firmware. Follow the instructions to install it. Never turn off the printer during a firmware update.
Display and Controls
The Sovol SV08 Max comes with a touchscreen display. You use this screen to control every part of your 3d printer. The menu lets you move the print head, heat the bed, and start prints. Take time to learn each menu option. Practice moving the axes and setting temperatures. A clear display makes the installation and printing process much easier. If you ever get stuck, check the manual or look for help online.
Note: Learning the display controls helps you avoid mistakes and makes your 3d printing experience smoother.
3D Printer Setup Calibration
Calibrating a 3d printer is the most important step before you start your first large format additive manufacturing print. You need to follow a specific order for the best results: axis homing, bed leveling, PID calibration, extruder calibration, and first layer Z calibration. Each step builds on the last, making sure your Sovol SV08 Max delivers accurate and reliable prints. Careful installation and calibration help you avoid common problems like poor adhesion, uneven layers, or wasted material. Let’s walk through each step so you can master the process.
Axis Homing
You begin by homing the printer axes. This step tells your Sovol SV08 Max where the starting point is for each movement. Use the touchscreen controls to home the X, Y, and Z axes. The printer moves each axis until it touches the endstop switches. This sets the reference position for all future movements.
Tip: Always check that the printhead and bed move smoothly to their home positions. If you hear grinding or see the axis stop early, turn off the printer and check for obstructions.
Homing the axes is the foundation for all other calibration steps. Without a correct home position, your 3d printer setup will not work as expected.
Bed Leveling
Bed leveling is the next step in the process. This step ensures the print bed is flat and at the right distance from the nozzle across the entire surface. For large format additive manufacturing, even small errors in bed leveling can cause failed prints.
Follow these steps for manual bed leveling:
- Preheat the bed to 60°C and the nozzle to 200°C (for PLA). This accounts for thermal expansion.
- Place a standard printer paper (about 0.1 mm thick) between the nozzle and the bed.
- Move the printhead to the top-left, bottom-right, top-right, bottom-left, and center of the bed.
- At each point, adjust the leveling knob until you feel slight resistance when moving the paper.
- Repeat this process at least twice for all points.
- Keep the Z-axis offset between 0.1 and 0.2 mm for the best adhesion.
- Make sure the printhead moves smoothly across the bed without scraping.
Automatic bed leveling sensors, like BLTouch, can make this easier. The sensor probes multiple points and creates a mesh map, which the printer uses to adjust the nozzle height during printing. This is especially helpful for large beds, where manual leveling can be difficult.
Note: Proper bed leveling supports accurate first layer Z calibration and improves print quality.
PID Calibration
PID calibration tunes the temperature control for your hot end and heated bed. PID stands for Proportional, Integral, and Derivative. These settings help your printer keep a stable temperature, which is critical for large 3d prints.
- Run the PID autotune command from your printer’s menu or through a connected computer.
- Tune the hot end at your usual printing temperature (for PLA, use 200°C).
- Tune the heated bed at your typical bed temperature (for PLA, use 60°C).
- Save the new PID values to your printer’s firmware.
For example, an E3D v6 hotend often uses PID values around P=30, I=5, D=5. Larger heater blocks or beds need higher P values and longer settling times. Heated beds may use values like P=130, I=1, D=15. If you use a solid-state relay, you may need even higher values, such as P=170, I=0.5, D=2250, to keep the temperature stable within ±0.1°C.
Tip: Always run PID calibration with the part cooling fan on, since airflow affects temperature stability during real prints.
Stable temperatures prevent warping, stringing, and other print defects. This step is essential for reliable additive manufacturing.
Extruder Calibration
Extruder calibration, also called E-step calibration, ensures your printer pushes the correct amount of filament. This step reduces material waste and improves print quality, especially in large format additive manufacturing.
Here’s how you calibrate the extruder:
- Mark a 100 mm segment on your filament.
- Use the printer controls to extrude 100 mm of filament.
- Measure the actual length extruded.
- If the length is off, adjust the E-step value in your printer’s settings.
- Repeat the test until the extruded length matches your command.
Accurate extruder calibration prevents over-extrusion and under-extrusion. This means you get strong, consistent layers and avoid clogs or gaps. Real-time monitoring systems and sensors can help keep extrusion rates steady, which is important for large 3d prints.
Note: Proper extruder calibration saves material and ensures reliable print results.
First Layer Z Calibration
The first layer is the most important part of any print. First layer Z calibration sets the perfect distance between the nozzle and the bed. If the nozzle is too high, the filament will not stick. If it is too low, the nozzle will scrape the bed or over-compress the filament.
To calibrate the first layer Z:
- Use a piece of paper as a spacer. Lower the nozzle until you feel slight resistance when moving the paper.
- Print a first layer test pattern. Look for even lines with no gaps or over-compression.
- Adjust the Z offset in small steps (0.05 mm) until the first layer looks perfect.
A well-calibrated first layer improves adhesion, reduces failed prints, and saves material. For large beds, mesh bed leveling and sensors like BLTouch help keep the nozzle at the right height across the whole surface.
|
Layer Height (mm) |
Failure Load (kg) |
Observations |
|---|---|---|
|
0.05 |
80 |
Best adhesion strength |
|
0.15 |
80 |
Strongest overall performance |
|
0.2 |
80 |
Adequate adhesion |
|
0.3 |
< 40 |
Reduced strength |
|
0.4 |
< 20 |
Very poor adhesion |
Tip: Slower first layer speeds and regular maintenance help you get the best results from your 3d printer setup.
By following this order—axis homing, bed leveling, PID calibration, extruder calibration, and first layer Z calibration—you set up your Sovol SV08 Max for success. Each step supports the next, giving you strong adhesion, accurate dimensions, and reliable additive manufacturing performance.
Software and Slicer Setup
Setting up the right software is just as important as the hardware steps in your Sovol SV08 Max journey. The right tools help you control your 3d printer, prepare models, and monitor progress. This section will guide you through installing drivers, configuring your slicer, and connecting your printer for smooth operation.
Driver Installation
You need to install the correct drivers before your computer can talk to your 3d printer. Most large 3d printers, like the Sovol SV08 Max, use USB or SD card connections. Visit the manufacturer’s website or use the SD card that came with your printer to find the latest drivers. Follow the instructions to install them on your computer. If you skip this step, your computer may not recognize the printer, and you will not be able to send print jobs.
Tip: Restart your computer after installing drivers to make sure everything works properly.
Slicer Configuration
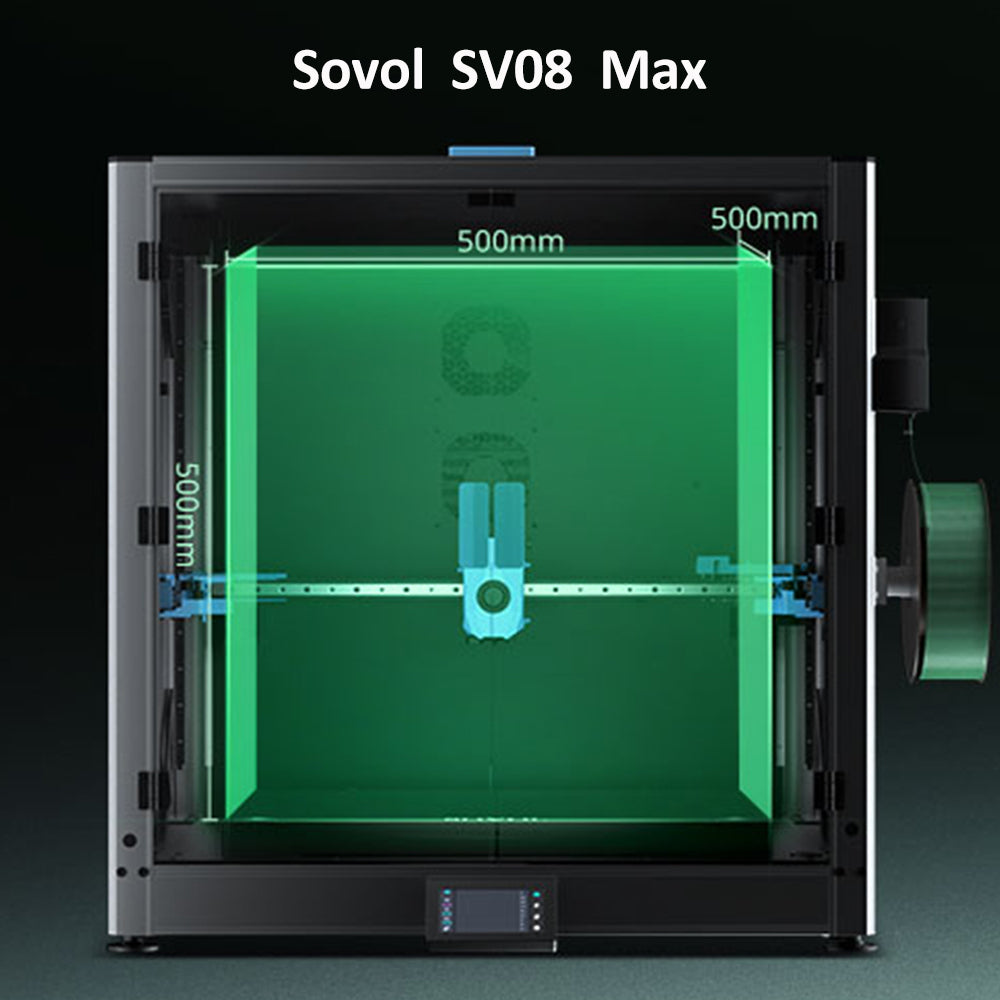
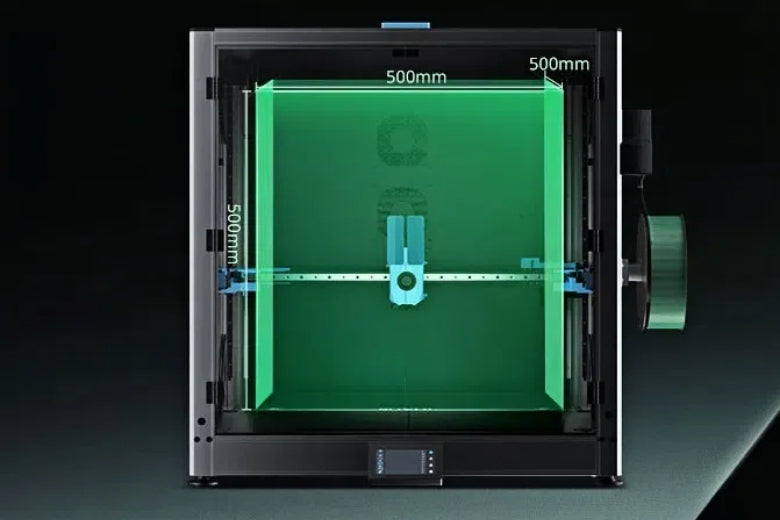
A slicer turns your 3d model into instructions your printer understands. Popular slicers include Cura, PrusaSlicer, and Sovol’s recommended software. Open your slicer and add the Sovol SV08 Max as a new printer profile. Enter the correct bed size (500x500x500mm), nozzle diameter, and filament type. Adjust print settings like layer height, speed, and temperature for your material.
- Use slower speeds and thicker layers for large prints.
- Enable features like auto-bed leveling if your printer supports them.
A well-configured slicer helps you avoid failed prints and wasted material.
Connecting to Printer
Once you finish your slicer setup, connect your computer to the Sovol SV08 Max. You can use a USB cable or transfer files with an SD card. Many modern 3d printers also support Wi-Fi or cloud connections. Connecting your printer to compatible software lets you monitor jobs, control settings, and even manage multiple printers at once.
|
Metric Name |
Description |
Impact on Print Efficiency |
|---|---|---|
|
Throughput |
Number of prints finished per day/week |
Shows how fast you complete jobs |
|
Capacity Utilization |
Percentage of printer’s output used |
Helps you spot and fix bottlenecks |
|
Lead Time |
Time from start to finish of a print job |
Shorter times mean faster results |
|
Cycle Time |
Time to complete one print |
Lets you process more jobs in less time |
Modern 3d printer software gives you live data, remote control, and predictive maintenance. These features help you finish jobs faster, reduce downtime, and keep your workflow smooth. Batch printing and cloud management can boost your processing speed by up to 30% and keep your uptime above 95%.
Note: Connecting your Sovol SV08 Max to smart software makes large-scale 3d printing easier and more efficient.
Material and Filament Loading
Filament Selection
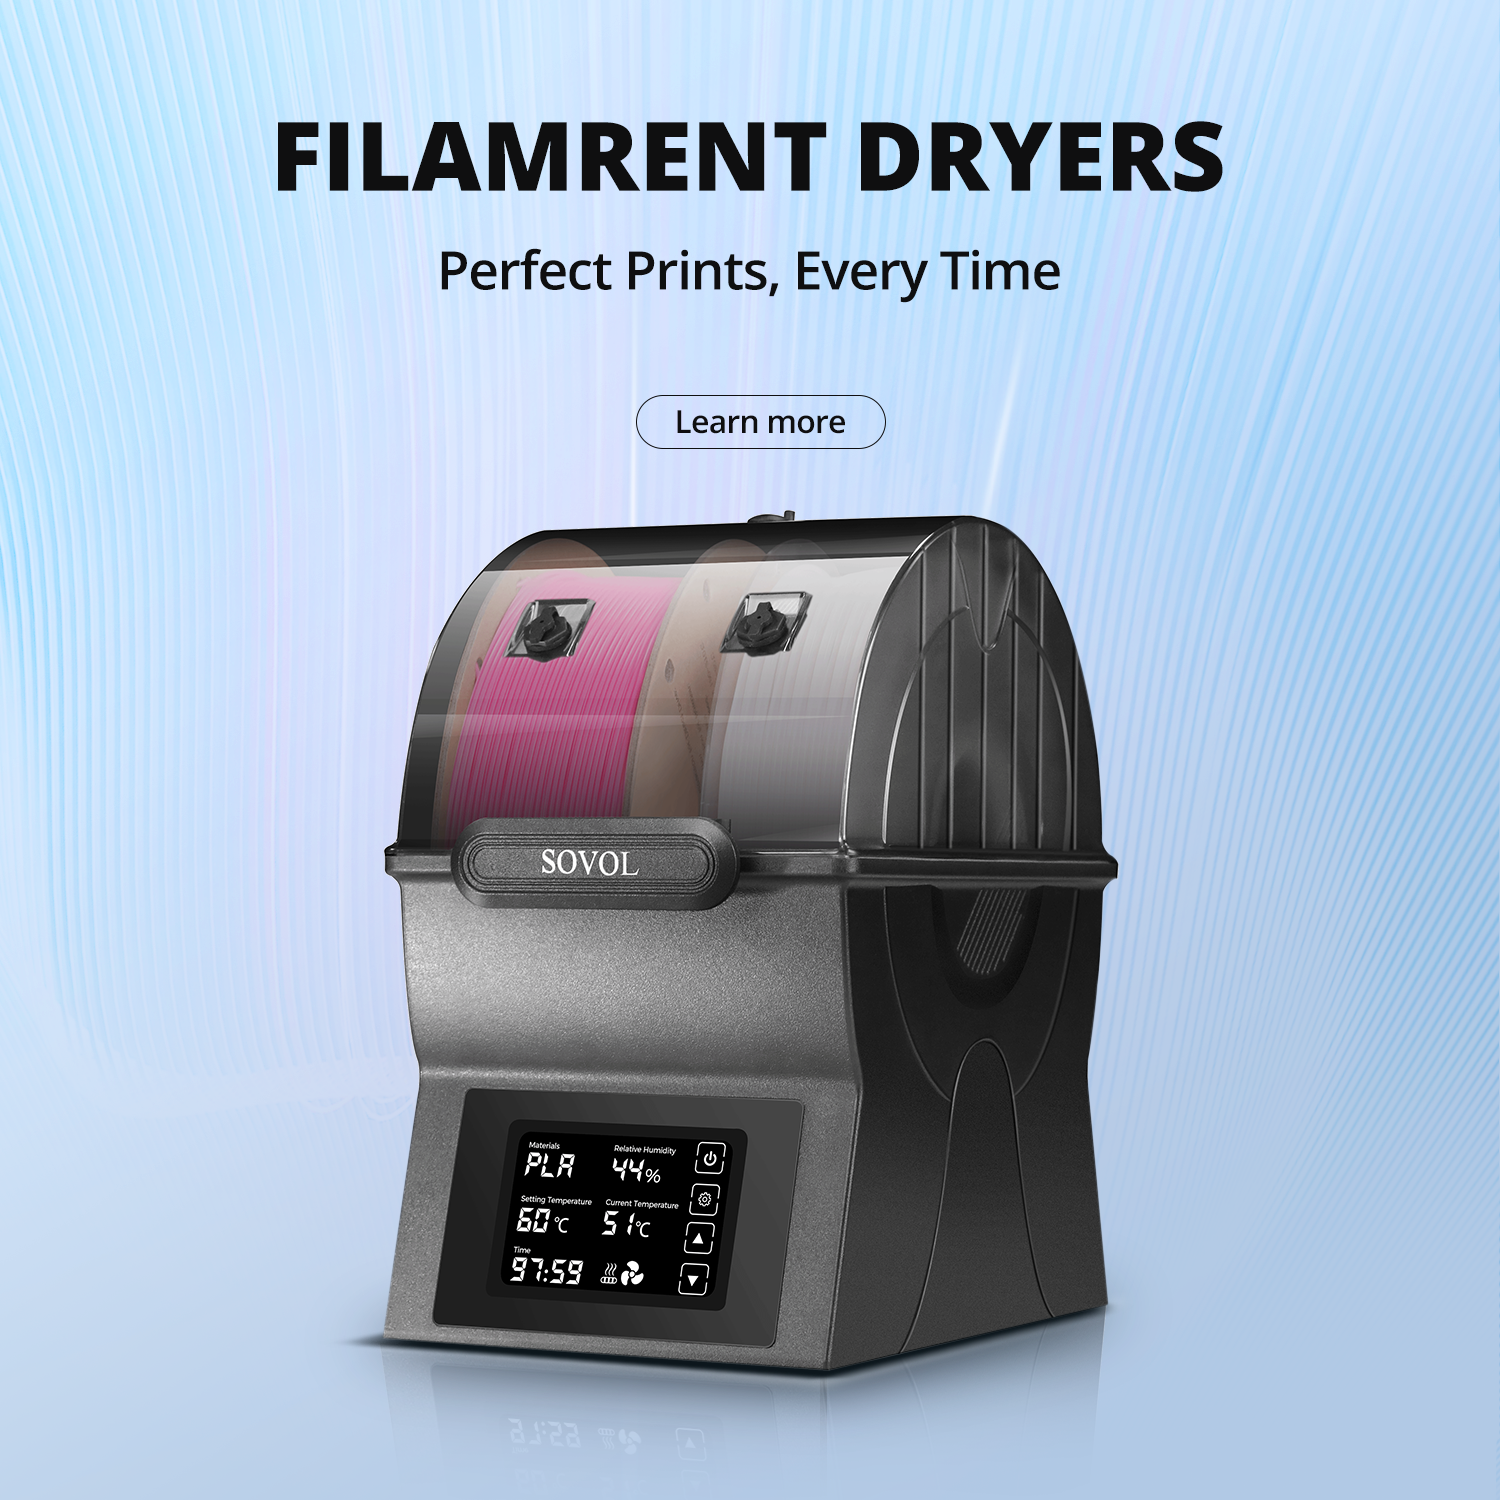
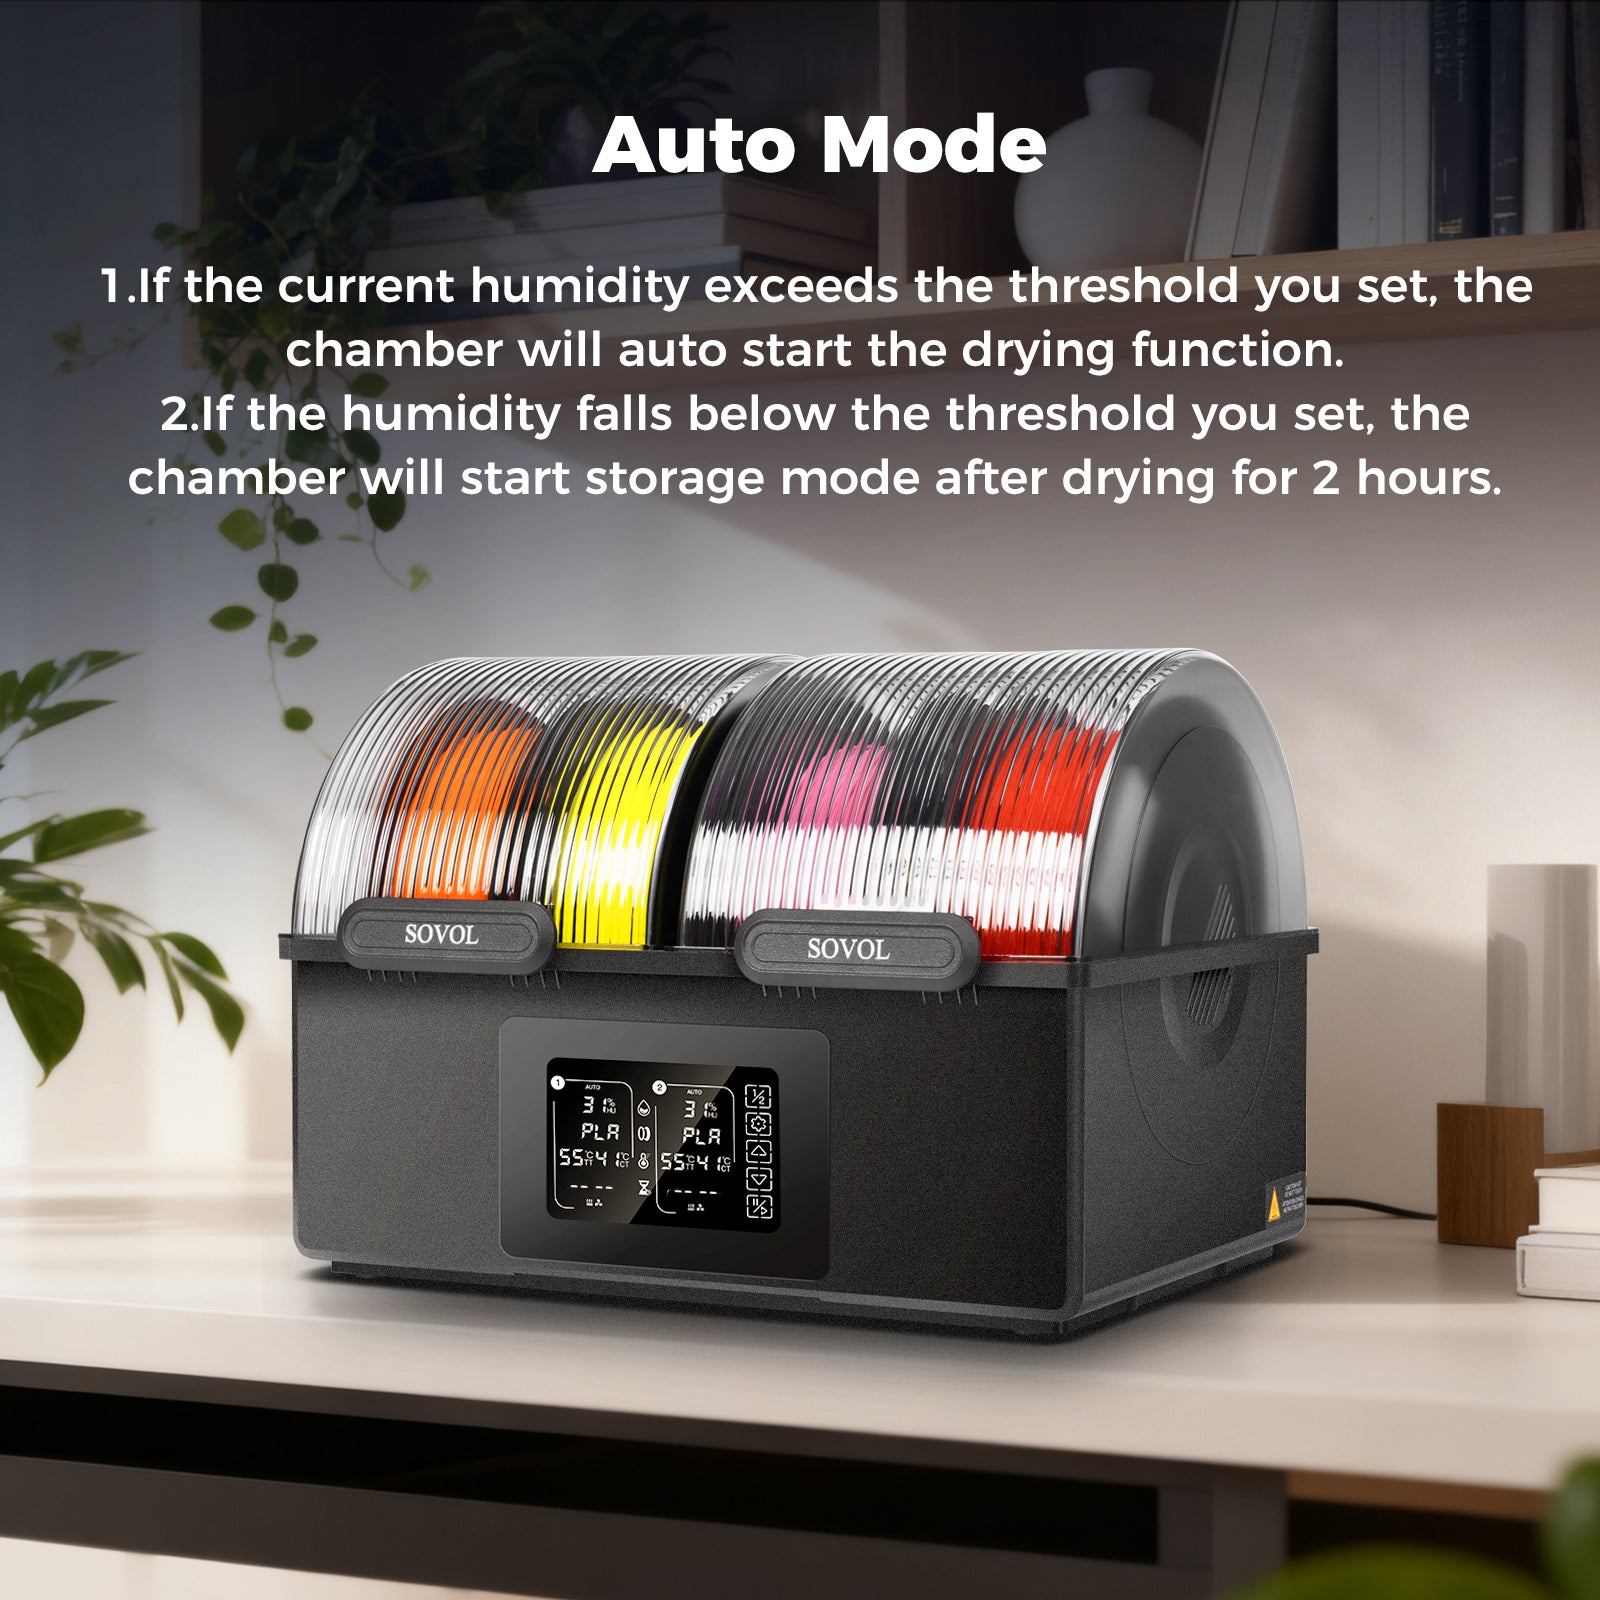
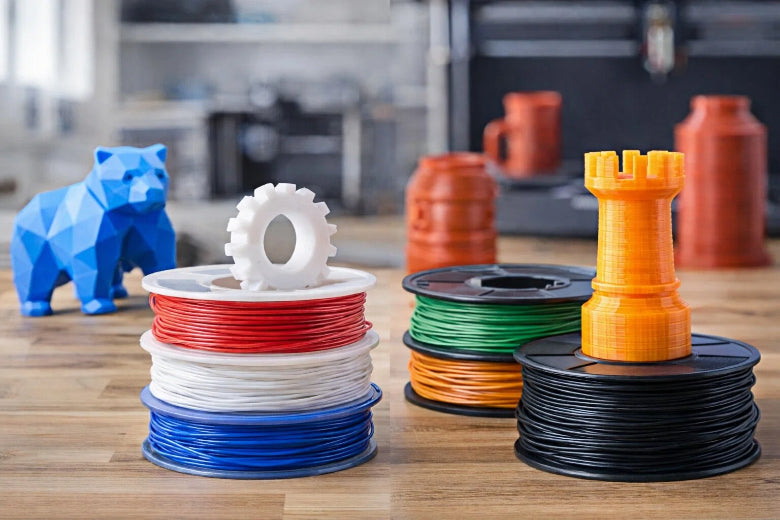
You need to choose the right filament for your Sovol SV08 Max. Large 3d printers work best with high-quality filament. Look for filament with a consistent diameter and smooth surface. PLA is a good choice for your first 3d print because it is easy to use and does not need a heated chamber. PETG and ABS are also popular, but they may require higher temperatures and better ventilation. Always store your filament in a dry place to prevent moisture, which can cause poor extrusion and weak prints.
Tip: Use a filament spool holder or dry box to keep your material tangle-free and dry.
Loading Filament
Start by preheating the nozzle to the recommended temperature for your filament. Cut the end of the filament at an angle to help it feed smoothly. Insert the filament into the extruder until you feel resistance. Use the printer’s control panel to load the filament. Watch as the filament moves through the Bowden tube and out of the nozzle. If you see old material or debris, run a small amount of filament through until the color is clear.
- Make sure the filament feeds without tangles.
- Use smart feeder systems if available to prevent jams, especially on large 3d printers.
- Clean the nozzle regularly to avoid clogs.
Extrusion Flow Check
You should always check the extrusion flow before starting a big 3d print. Use the control panel to extrude 10-20 mm of filament. Watch for smooth, even flow from the nozzle. If you see gaps or the filament stops, you may have a partial clog or feed problem. Clean the nozzle with a cold pull or cleaning filament if needed. Calibrate the extruder E-steps to make sure the printer pushes the right amount of filament. Adjust the nozzle temperature up by 5-10°C if the flow is slow. Check the cooling fan settings so the filament does not solidify too soon.
|
Problem |
Possible Cause |
Solution |
|---|---|---|
|
Under-extrusion |
Nozzle clog, low temp |
Clean nozzle, raise temperature |
|
Inconsistent flow |
Bad filament, feed issue |
Use quality filament, check gears |
|
Tangles/jams |
Poor spool setup |
Use smart feeder, untangle spool |
Note: Regular maintenance, such as lubricating moving parts and checking the print bed, helps keep your 3d printer running smoothly.
First Printing Preparation
Test Model Selection
You should start your first printing with a test model that checks more than just basic shapes. Choose calibration prints that measure bed adhesion, dimensional accuracy, and extrusion consistency. Many users pick a 3D Benchy, temperature tower, or a bed leveling test pattern. These models help you spot issues early and adjust your settings before you move to larger or more complex prints. For large scale 3d printing, a wide-area adhesion test or a multi-point calibration print can show if your bed is level across the whole surface. This step gives you confidence in your setup and helps you avoid wasted material.
Tip: Avoid only printing cubes. Use test models that challenge your printer’s accuracy and adhesion.
Slicer Settings
Set your slicer with optimal parameters for the first print. For large format additive manufacturing, use a layer height between 0.2 mm and 0.3 mm. Lower speeds, such as 40-60 mm/s, help prevent missed steps and improve print quality. Set the extrusion multiplier to 1.0 to start, then adjust if you see over- or under-extrusion. Use a brim or raft for better first layer adhesion, especially on big beds. Enable mesh bed leveling if your Sovol SV08 Max supports it. These settings help you get a strong first layer and reduce the risk of print failure.
|
Setting |
Recommended Value |
Purpose |
|---|---|---|
|
Layer Height |
0.2 - 0.3 mm |
Balances speed and detail |
|
Print Speed |
40 - 60 mm/s |
Reduces vibration, improves quality |
|
Extrusion Multiplier |
1.0 |
Ensures correct flow |
|
Bed Adhesion |
Brim or Raft |
Improves first layer stick |
Bed Surface Prep
Prepare your print bed carefully for large scale 3d printing. Clean the surface with isopropyl alcohol to remove dust and oils. Keep the initial nozzle height between 0.1 mm and 0.2 mm for proper filament spreading. Choose a bed surface that matches your filament, such as glass, PEI, or tape. Glass beds may need glue or hairspray, while textured PEI often works without extra adhesives. Level the bed using a paper gauge or automatic sensor. Heat the bed to about 60°C for PLA and up to 100°C for ABS. This helps the first layer stick and prevents warping.
- Set nozzle height to 0.1–0.2 mm.
- Use the right bed surface for your filament.
- Level the bed at five points.
- Heat the bed to the recommended temperature.
|
Parameter |
Filament Type |
Recommended Bed Temperature Range (°C) |
Notes on Adhesion and Effects |
|---|---|---|---|
|
Bed Temperature Range |
General |
Common range for FDM printers |
|
|
Optimal Bed Temperature |
PLA |
80 - 120 |
Improves adhesion; slightly above glass transition temperature |
|
Optimal Bed Temperature |
ABS |
~110 (not exceeding 120) |
Minimizes shape deformation and maximizes adhesion |
Note: Careful bed prep is essential for first printing success in additive manufacturing.
First Printing and Monitoring
Start Print
You have finished all the setup and calibration steps. Now you are ready for your first printing experience with the Sovol SV08 Max. Before you press start, double-check your slicer settings and make sure the model is centered on the bed. Confirm that the filament feeds smoothly and the bed surface is clean.
Starting the print involves a few key steps:
- Preheat the nozzle and bed to the recommended temperatures for your filament.
- Load your sliced file onto the printer using an SD card, USB, or Wi-Fi connection.
- Use the touchscreen to select your file and press "Print."
- Watch the printer as it lays down the first layer. This layer is the foundation for the entire print.
Empirical studies show that certain print parameters can improve your results. For example, using a 'Lines' infill pattern gives your print higher strength. Set the extrusion temperature to 234°C for strong bonding. A printing speed of 25 mm/s helps prevent errors, and a layer thickness of 0.29 mm balances speed and quality.
|
Parameter |
Influence on Print Quality |
Recommended Setting |
|---|---|---|
|
Infill Pattern |
Increases strength and stability |
Lines |
|
Extrusion Temp |
Improves layer bonding |
234°C |
|
Print Speed |
Reduces risk of missed steps |
25 mm/s |
|
Layer Thickness |
Balances detail and speed |
0.29 mm |
Tip: Always watch the first layer closely. If you see gaps, warping, or poor adhesion, pause the print and adjust the bed or nozzle height.
Monitor Progress
Once the print starts, you need to monitor the process carefully. Large 3d prints can take many hours, so early detection of problems saves time and material. Use the Sovol SV08 Max display to check temperatures and print progress. Many users set up a camera to watch the print remotely.
You can use several methods to catch issues early:
- Check each layer as it prints. Look for signs of shifting, blobs, or missing lines.
- Use layer-wise monitoring tools. These tools compare images of each layer to spot small changes.
- Apply control charts, like EWMA, to track pixel differences in layer images. This helps you notice defects before they become serious.
- Group similar layers together to make monitoring easier and faster.
Machine learning and image analysis can help automate this process. Even with just two successful prints, you can start using control charts to catch problems early. This approach lets you fix issues before they waste material or ruin your print.
Note: Real-time monitoring is important for large 3d prints. It helps you maintain quality and avoid costly mistakes.
Troubleshooting
Sometimes, even with careful setup, problems can happen during the first printing. Knowing the most common failure points helps you fix issues quickly and get back to printing.
Here are the most frequent failure points in large 3d printing:
- Layer delamination: Layers separate because of poor bonding or temperature changes.
- Support structure failures: Weak supports can collapse, causing the print to fail.
- Peel forces: Large prints can detach from the bed if the peel force is too high.
- Print orientation problems: Bad orientation can lead to weak spots or poor surface finish.
- Nozzle clogging: Blocked nozzles stop filament flow and ruin prints.
- Debris or poorly mixed resin: Dirt or old material can cause weak layers.
- Overexposure to cleaning solvents: Too much solvent can weaken layer bonding.
You can solve these problems with a few practical steps:
- Hollow out large prints to reduce peel force and avoid trapped resin.
- Strengthen supports by making them thicker or adding extra struts.
- Secure the print platform to prevent movement and layer misalignment.
- Change the print orientation to reduce stress and avoid unsupported areas.
- Clean the nozzle and use high-quality filament to prevent clogs.
- Avoid using too much cleaning solvent on your parts.
Studies show that unskilled users face a 20% failure rate in FFF 3d printing, often due to nozzle clogs or poor monitoring. Using sensors and real-time monitoring tools helps you catch these problems early. This keeps your Sovol SV08 Max running smoothly and improves your success rate.
Tip: If you notice a problem, pause the print and check the printer. Fixing small issues early prevents bigger failures later.
Maintenance and Training
Routine Maintenance
You need to keep your Sovol SV08 Max in top shape to get the best results from every 3d print. Regular maintenance helps you avoid sudden breakdowns and keeps your 3d printer running smoothly. Predictive maintenance uses sensors and data to track your printer’s condition. This smart approach lets you fix problems before they cause downtime. You can schedule maintenance based on how much you use your 3d printer, not just by the calendar.
Here are some important steps for your routine maintenance process:
- Clean dust and debris from the printer to prevent jams and poor print quality.
- Check and tighten bolts, belts, and bearings so nothing comes loose during a print.
- Replace worn parts like nozzles, belts, or print beds when you see signs of wear.
- Update your software and firmware to get new features and better performance.
- Lubricate moving parts to reduce friction and keep the motion system smooth.
- Keep your printer in a room with stable temperature and low dust.
- Balance your printing schedule. Too much or too little use can shorten the life of your 3d printer.
- Record all maintenance and part changes to track your printer’s health.
- Use high-quality filament to avoid jams and extra strain on the machine.
Tip: A clean and well-maintained 3d printer gives you better prints and saves money on repairs.
Training Resources
Learning how to care for your 3d printer makes a big difference in print quality and machine life. Operator training teaches you the right process for cleaning, adjusting, and fixing your Sovol SV08 Max. Research shows that skilled users who follow a regular maintenance process can extend the lifespan of key parts like the nozzle and filament drive. For example, a ruby nozzle can print over 100 models before needing replacement, while a standard nozzle may last for only five.
You can find helpful training resources in several places:
- Manufacturer’s manuals and official videos
- Online forums and 3d printing communities
- Local workshops or maker spaces
- Step-by-step guides for cleaning and part replacement
Note: Regular training and practice help you spot problems early and improve your 3d printing process.
A well-trained operator and a good maintenance process work together to keep your Sovol SV08 Max reliable for every 3d project.
You have learned the key steps for large 3d printer setup, from unboxing to your first print. Keep refining your additive manufacturing skills by checking calibration metrics like nozzle height, bed leveling, and print success rates:
- Regular calibration and documentation reduce print errors.
- Real-time monitoring and AI tools help you catch defects early.
- Quality checks and operator training support consistent results.
Stay curious and enjoy the creative power of additive manufacturing. Your first success opens the door to endless 3d possibilities.
FAQ
How much space do you need for the Sovol SV08 Max?
You need a sturdy table with at least 80x80 cm of clear space. Leave extra room around the printer for easy access and airflow. Good ventilation helps keep your prints safe and high quality.
What should you do if your first layer does not stick?
Try these steps:
- Clean the bed with isopropyl alcohol.
- Re-level the bed.
- Lower the nozzle slightly.
- Use a brim or raft in your slicer.
A clean, level bed gives you better adhesion.
How often should you calibrate your large 3D printer?
You should calibrate after every major move, part replacement, or firmware update. For best results, check bed leveling and extruder calibration before each long print. Regular calibration keeps your prints accurate and reliable.
What filament works best for your first print on the Sovol SV08 Max?
PLA filament works best for your first print. It is easy to use and does not need high temperatures. Store your filament in a dry place to prevent moisture problems.


