




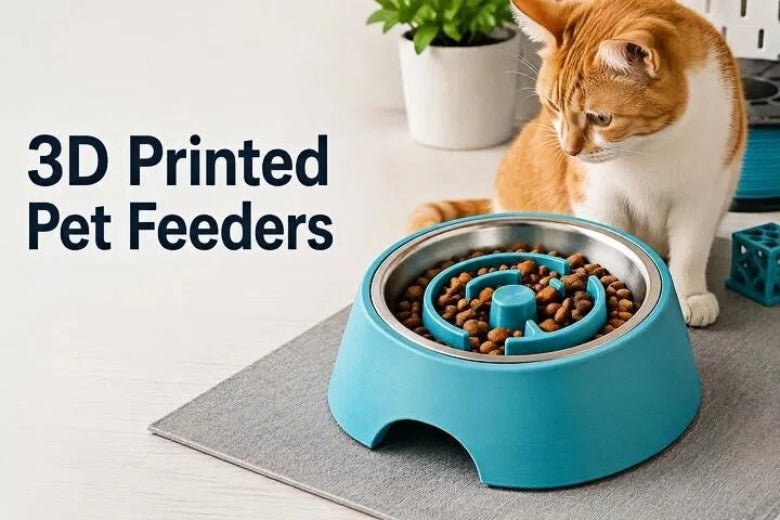
- Practicality & Hygiene First: Focus on modular components, anti-tip base geometry, and removable food-contact inserts (such as stainless steel or ceramic) to simplify daily cleaning.
- Pet Ergonomics: Individual pet needs vary. Some cats prefer shallow, wide bowls to reduce whisker contact, while dogs may benefit from heavy, wide-footprint bases or puzzle-style slow feeder inserts to moderate eating pace.
- Mechanical Prototyping: Dispensing mechanisms benefit from initial baseline parameters—such as ~0.3mm to 0.5mm mechanical clearances and ~45°+ funnel angles—as starting test values for fine-tuning.
- Material Considerations: PLA is well-suited for prototypes and dry outer shells; PETG offers higher toughness and moisture resistance for indoor functional parts; ASA is generally preferred for outdoor exposure depending on specific formulations.
- Food Contact Safety: Filament labels alone do not guarantee food safety. Always consider nozzle history, layer geometry, additives, and cleaning methods. Using removable inserts is the most reliable approach for routine feeding.
Custom 3D printing allows pet owners and makers to solve everyday feeding problems with personalized hardware. Whether you need an elevated dish for an aging cat, a slow-feeder maze for a dog that gulps food, or a scheduled automatic kibble dispenser, desktop FDM printing offers complete freedom over dimensions and mechanics.
However, designing functional pet gear involves more than downloading a 3D model and pressing print. Pet feeders must withstand daily mechanical wear, impact from hungry animals, constant moisture, and rigorous cleaning. More importantly, makers must address hygiene and material safety so that custom feeding equipment remains clean and safe for daily use.
This guide breaks down the essential engineering design rules, material selection criteria, food safety precautions, and slicing configurations needed to create a durable, practical, and easy-to-clean pet feeder.
What Makes a 3D Printed Pet Feeder Practical and Reliable?

A functional pet feeder must balance structural durability with daily user convenience. Unlike decorative desktop models, pet hardware operates in a demanding environment involving animal saliva, dry kibble dust, wet food residue, and accidental kicks.
To ensure your feeder operates reliably over months or years of use, focus on four core design pillars:
- Modular Architecture: Split your design into distinct functional assemblies—such as a structural outer housing, a dispensing mechanism, and a removable food tray. If a pet chews a single corner or a gear teeth breaks, you can print a replacement part without re-fabricating the entire assembly.
- Tip and Slide Resistance: Animals exert significant force while eating. Incorporate a wide lower footprint, a low center of gravity, and dedicated mounting slots for rubber feet or weighted bases.
- Support-Free Geometry: Design overhangs at or below 45° angles and chamfer bottom edges. Minimizing print supports produces cleaner surface finishes and eliminates rough, abraded areas that trap dirt.
- Serviceability and Toolless Disassembly: Mechanical parts will inevitably accumulate food dust and require cleaning. Use twist-lock mechanisms, snap-fit latches, or drop-in slots instead of permanent glue or hard-to-reach screws.
Cat Feeders vs. Dog Bowls vs. Slow Feeders: Key Ergonomics
Different pets require tailored feeding geometries based on size, feeding habits, and comfort preferences. Designing a feeder should always take into account your specific pet's behavior and needs rather than applying a single universal rule.
3D Printed Cat Feeder Considerations
When designing feeding gear for cats, bowl shape and accessibility play an important role in daily comfort.
- Shallow and Wide Contours: Some cats prefer shallow, wide dishes so their whiskers do not constantly brush against the sidewalls. As an initial test baseline, try a bowl depth under 30mm and a width around 120mm to 150mm.
- Elevated and Tilted Bases: Elevating the feeding surface (e.g., 50mm to 100mm) and adding a mild forward tilt (such as 10° to 15°) can make food more accessible for certain cats. However, dish height and angle should be adjusted for individual pets.
- Smooth Interior Radii: Avoid sharp 90° interior corners. Using generous internal fillets (such as R >= 15mm as a starting design point) allows pets to reach food easily and simplifies washing.
- Skin Health & Cleanliness: According to veterinary resources such as PetMD's Feline Acne Overview, feline skin conditions like chin acne have complex origins. Plastic dishes can harbor oils and bacteria in microscopic layer lines if unsealed; choosing non-porous stainless steel, glass, or ceramic inserts may reduce residue retention and simplify cleaning.
3D Printed Dog Bowl Considerations
Dogs often interact with feeding hardware more aggressively, applying downward force, pushing bowls across floors, or chewing exposed edges.
- Broad Footprint & Stepped Base: Flaring the base rim helps prevent tipping when a pet pushes against the outer wall during feeding.
- Enclosed Hardware: Recess all fasteners, motor wires, and electronic sensor housings inside thick structural walls to shield mechanical components.
- Structural Wall Thickness: A recommended starting wall thickness of 3.5mm to 5.0mm helps absorb impact and resist flexing under daily use.
3D Printed Slow Feeder Considerations
Some pets may eat more slowly with a puzzle-style feeder, but the design is not a substitute for veterinary advice or medical prevention. As noted in VCA Animal Hospitals' Bloat Guide, rapid food intake is one of several potential risk factors associated with gastric dilatation-volvulus (GDV), but feeder difficulty and bowl elevation must be evaluated individually with your veterinarian, as elevated dishes can actually increase risk in certain large dog breeds.
|
Design Parameter |
Small Pet / Cat Slow Feeder (Starting Reference) |
Medium & Large Dog Slow Feeder (Starting Reference) |
|---|---|---|
|
Obstacle Height |
~15mm – 25mm |
~35mm – 50mm |
|
Channel Width |
~18mm – 25mm (paw / tongue access) |
~30mm – 45mm (muzzle / tongue access) |
|
Internal Fillet Radius |
Minimum 5mm rounded base |
Minimum 8mm rounded base |
|
Pattern Geometry |
Concentric rings, wavy ridges, smooth posts |
Deep mazes, spiral vanes, geometric pillars |
When designing a slow feeder, ensure all channels are wide enough for the pet's tongue or muzzle to reach the bottom without pinching or scraping skin.
Manual Feeders vs. Automatic Feeders: Mechanical Options
Deciding between a passive manual feeder and an automated motorized dispenser depends on your pet's schedule, portion requirements, and technical preferences.
Gravity Dispensers
Gravity feeders store dry kibble in an upper hopper and rely on gravity to refill the lower dish as the pet eats.
- Chute Angle: As a starting guideline, maintain a funnel slope of around 45° to 55° relative to the horizontal plane. Shallower slopes can cause kibble grains to interlock and bridge, halting food flow.
- Dispensing Opening: As an initial test value, aim for a hopper throat diameter approximately three to four times larger than your largest kibble grain (typically a 35mm to 50mm opening).
- Agitation Geometry: Including an internal baffle or rounded center cone above the outlet helps distribute kibble weight toward the perimeter, reducing compaction.
Rotating Food Wheels, Gears, and Servo Mechanisms
An automatic pet feeder 3D print uses motorized mechanisms to control meal portions on a programmed schedule.
- Rotating Paddle Wheels: A compartmented wheel rotates inside a cylindrical housing, dropping a measured volume of kibble per turn.
- Screw Augers: An Archimedes screw transports kibble horizontally or at an incline. Augers provide precise portion increments but require careful pitch selection to avoid crushing kibble.
- Mechanical Clearances: An initial clearance gap of 0.3mm to 0.5mm between rotating components (wheels, augers, gears) and stationary outer walls serves as a practical baseline. Tighter tolerances may cause binding from food dust, while larger gaps can allow small kibble grains to jam the mechanism.
Portion Control and Preventing Food Jams
Kibble pieces are irregularly shaped and vary in friction. To reduce the risk of motor stalls and jam failures:
- Flexible Sweep Paddles: A hybrid printing approach—combining rigid feeder gears with flexible TPU (Thermoplastic Polyurethane) wiper blades—allows blades to bend over stubborn kibble grains instead of locking the drive shaft.
- Reverse-Pulse Logic: Programming your drive motor (stepper or continuous servo) to rotate forward (e.g., 90°), reverse slightly (e.g., 15°) to clear potential jams, and then resume forward movement is a helpful starting control strategy.
- Motor Torque: Choose stepper motors (such as NEMA 17) or metal-geared servos with adequate torque ratings (e.g., >= 4.5 kg-cm as a baseline) rather than lightweight plastic micro-servos. Adjust motor sizing based on your mechanism's friction and capacity.
Material Selection: PLA vs. PETG vs. ASA
Choosing the appropriate thermoplastic filament depends on your feeder's environment, mechanical exposure, and cleaning routine.
|
Filament Property |
PLA (Polylactic Acid) |
PETG (Polyethylene Terephthalate Glycol) |
ASA (Acrylonitrile Styrene Acrylate) |
|---|---|---|---|
|
Glass Transition Temp (Tg) |
~60°C (140°F) |
~80°C (176°F) |
~100°C (212°F) |
|
Impact & Toughness |
Moderate (Rigid / Brittle) |
High (Ductile) |
Very High (Impact Resistant) |
|
Moisture & Chemical Resistance |
Moderate (Dry environment focus) |
Good moisture resistance, formulation-dependent |
Good to high UV/weather resistance, formulation-dependent |
|
UV & Outdoor Resistance |
Limited |
Moderate |
Good to high UV/weather resistance, formulation-dependent |
|
Ease of Printing |
Very Easy |
Easy to Moderate |
Moderate (Requires heated bed/enclosure) |
|
Recommended Application |
Prototypes, dry outer housing, stands |
Indoor feeder bodies, hoppers, stands |
Outdoor feeders, sunlit patio stations |
Note: Dishwasher suitability and chemical compatibility vary significantly by manufacturer and specific filament formulations. Always consult specific manufacturer material safety data sheets (MSDS) and product instructions.
PLA Considerations
PLA is widely favored for its ease of printing and dimensional accuracy. It is ideal for initial sizing prototypes, decorative outer shells, and dry structural stands. However, standard PLA has a lower glass transition temperature (~60°C) and softens under hot water or elevated heat. Avoid using PLA for components subjected to heat or direct wet food contact.
PETG Considerations
PETG is a practical functional material for indoor pet feeder structures. It offers good impact resistance, ductility, and moisture resistance compared to standard PLA. PETG withstands routine hand-washing with warm water and mild soap. However, like most 3D printing polymers, printed PETG parts can still collect fine residue if layer lines remain unsealed.
ASA Considerations
ASA is typically better suited for long-term outdoor exposure than PLA or PETG due to its higher UV stability and thermal resistance (~100°C Tg). It is an effective option for patio or outdoor feeding stations. However, actual weatherability depends on filament formulation, color choice, print quality, and specific environmental exposure. ASA requires higher printing temperatures, a heated bed (90°C–105°C), and an enclosed build chamber to prevent thermal warping.
Food Contact Safety and Easy-Clean Precautions

A common area of confusion among makers is whether printing with a filament labeled "food-safe" creates a finished food-safe pet feeder.
Filament labels alone do not make a finished FDM print suitable for repeated food contact. Surface geometry, additives, nozzle history, printing conditions, post-processing, cleaning, and intended use all matter. Food-contact safety requires evaluating materials, colorants, nozzle composition, printing environment, and post-processing together. Official manufacturer resources—such as Prusa Research's Food Safe 3D Printing Guide and Snapmaker's 3D Printing Guidelines—similarly emphasize using removable inserts or barrier holders rather than relying on raw 3D prints or material labels alone.
Key Factors Influencing FDM Hygiene
- Layer Geometry and Micro-grooves: FDM printing produces sub-millimeter layer lines along vertical walls. Over time, food oils, moisture, and kibble dust settle into these micro-crevices, where standard hand washing may not fully reach.
- Nozzle Material and History: Nozzle material and prior use are additional considerations, but switching to a stainless-steel nozzle does not by itself make a print suitable for repeated food contact.
- Chemical Additives: Commercial filaments contain colorants, flow aids, and plasticizers that may not be certified for repeated direct food contact.
Practical Hygiene Workarounds
To maintain strict hygiene while enjoying custom 3D printed designs, implement these engineering approaches:
- Removable Stainless Steel or Ceramic Inserts: Treat your 3D printed assembly as an elevated, weighted, or decorative holder, and design the opening to accept a standard off-the-shelf stainless steel or ceramic dish. Non-porous inserts are easy to wash, dishwasher-safe (per dish manufacturer guidelines), and may reduce residue retention and simplify cleaning.
- Sealing and Protective Coatings: If a custom-printed surface must contact food directly (such as an intricate slow feeder maze), applying a coating explicitly specified for the intended food-contact application helps seal layer lines into a smooth surface. Always follow the coating manufacturer's curing and safety guidelines.
- Large Internal Fillets: Avoid 90° internal junctions. Designing smooth rounded corners makes hand washing with warm soapy water much more effective.
Slicing Parameters and Print Setup
Optimizing slicer settings ensures your pet feeder components are structurally sound, watertight, and efficient to print.
- Wall Loops: 3 to 4 perimeters (>= 1.6mm total wall thickness)
- Infill Density: 20% to 25% Gyroid or Cubic pattern
- Top Solid Layers: 5 to 6 solid layers
- Bottom Solid Layers: 4 to 5 solid layers
Print Orientation and Structural Alignment
Orient functional parts so operational loads run parallel to print layers rather than perpendicular to layer interfaces. For instance, orient hopper walls vertically and position mounting lugs so layer lines absorb tensile forces along their length.
- Watertight Bottoms: Print feeder bases flat on the build plate to maximize bed contact and produce a dense, leak-resistant initial layer.
- Low-Support Design: Chamfer bottom outer edges (~3mm chamfer) to reduce elephant foot while enabling clean, support-free overhangs.
Slicer Configuration Reference
|
Slicer Parameter |
Recommended Value (Baseline) |
Engineering Purpose |
|---|---|---|
|
Wall Loops / Perimeter |
3 to 4 walls (>= 1.6mm) |
Helps prevent liquid penetration between infill gaps; enhances structural rigidity. |
|
Top Solid Layers |
5 to 6 layers |
Helps ensure a smooth top surface without pillowing or small gaps. |
|
Bottom Solid Layers |
4 to 5 layers |
Promotes leak-resistant floor surfaces for liquid or moisture contact. |
|
Infill Density & Pattern |
20% – 25% Gyroid or Cubic |
Delivers balanced multi-directional structural strength without excessive weight. |
|
Layer Height |
0.20mm (or 0.28mm with 0.6mm nozzle) |
Balances overall print speed with layer bonding strength. |
|
Flow Rate Multiplier |
Calibrated per printer / filament |
Use the flow rate calibrated for your specific printer, nozzle, and filament. Avoid intentional over-extrusion as a universal solution. |
Build Volume and Hardware Considerations
Large or complex feeder projects benefit from capable FDM hardware:
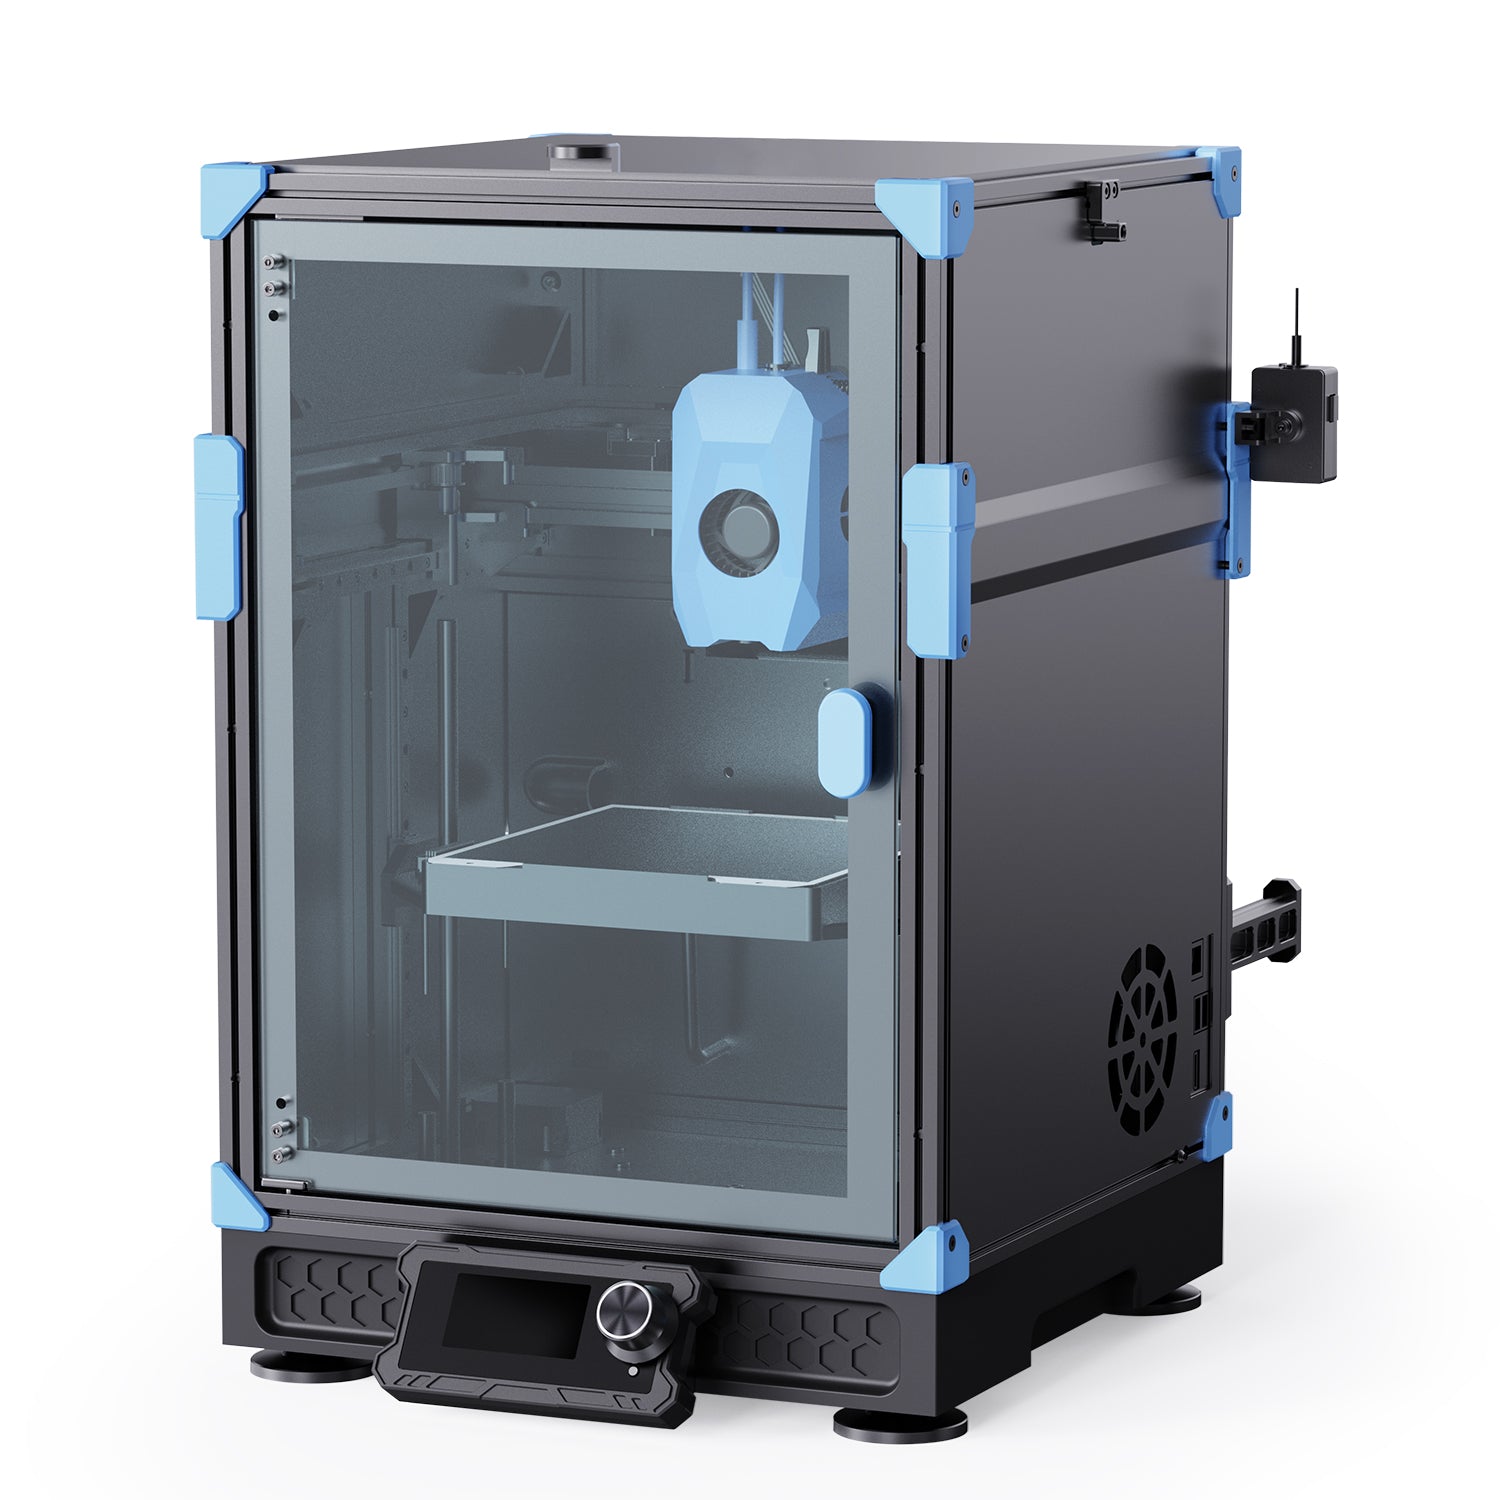
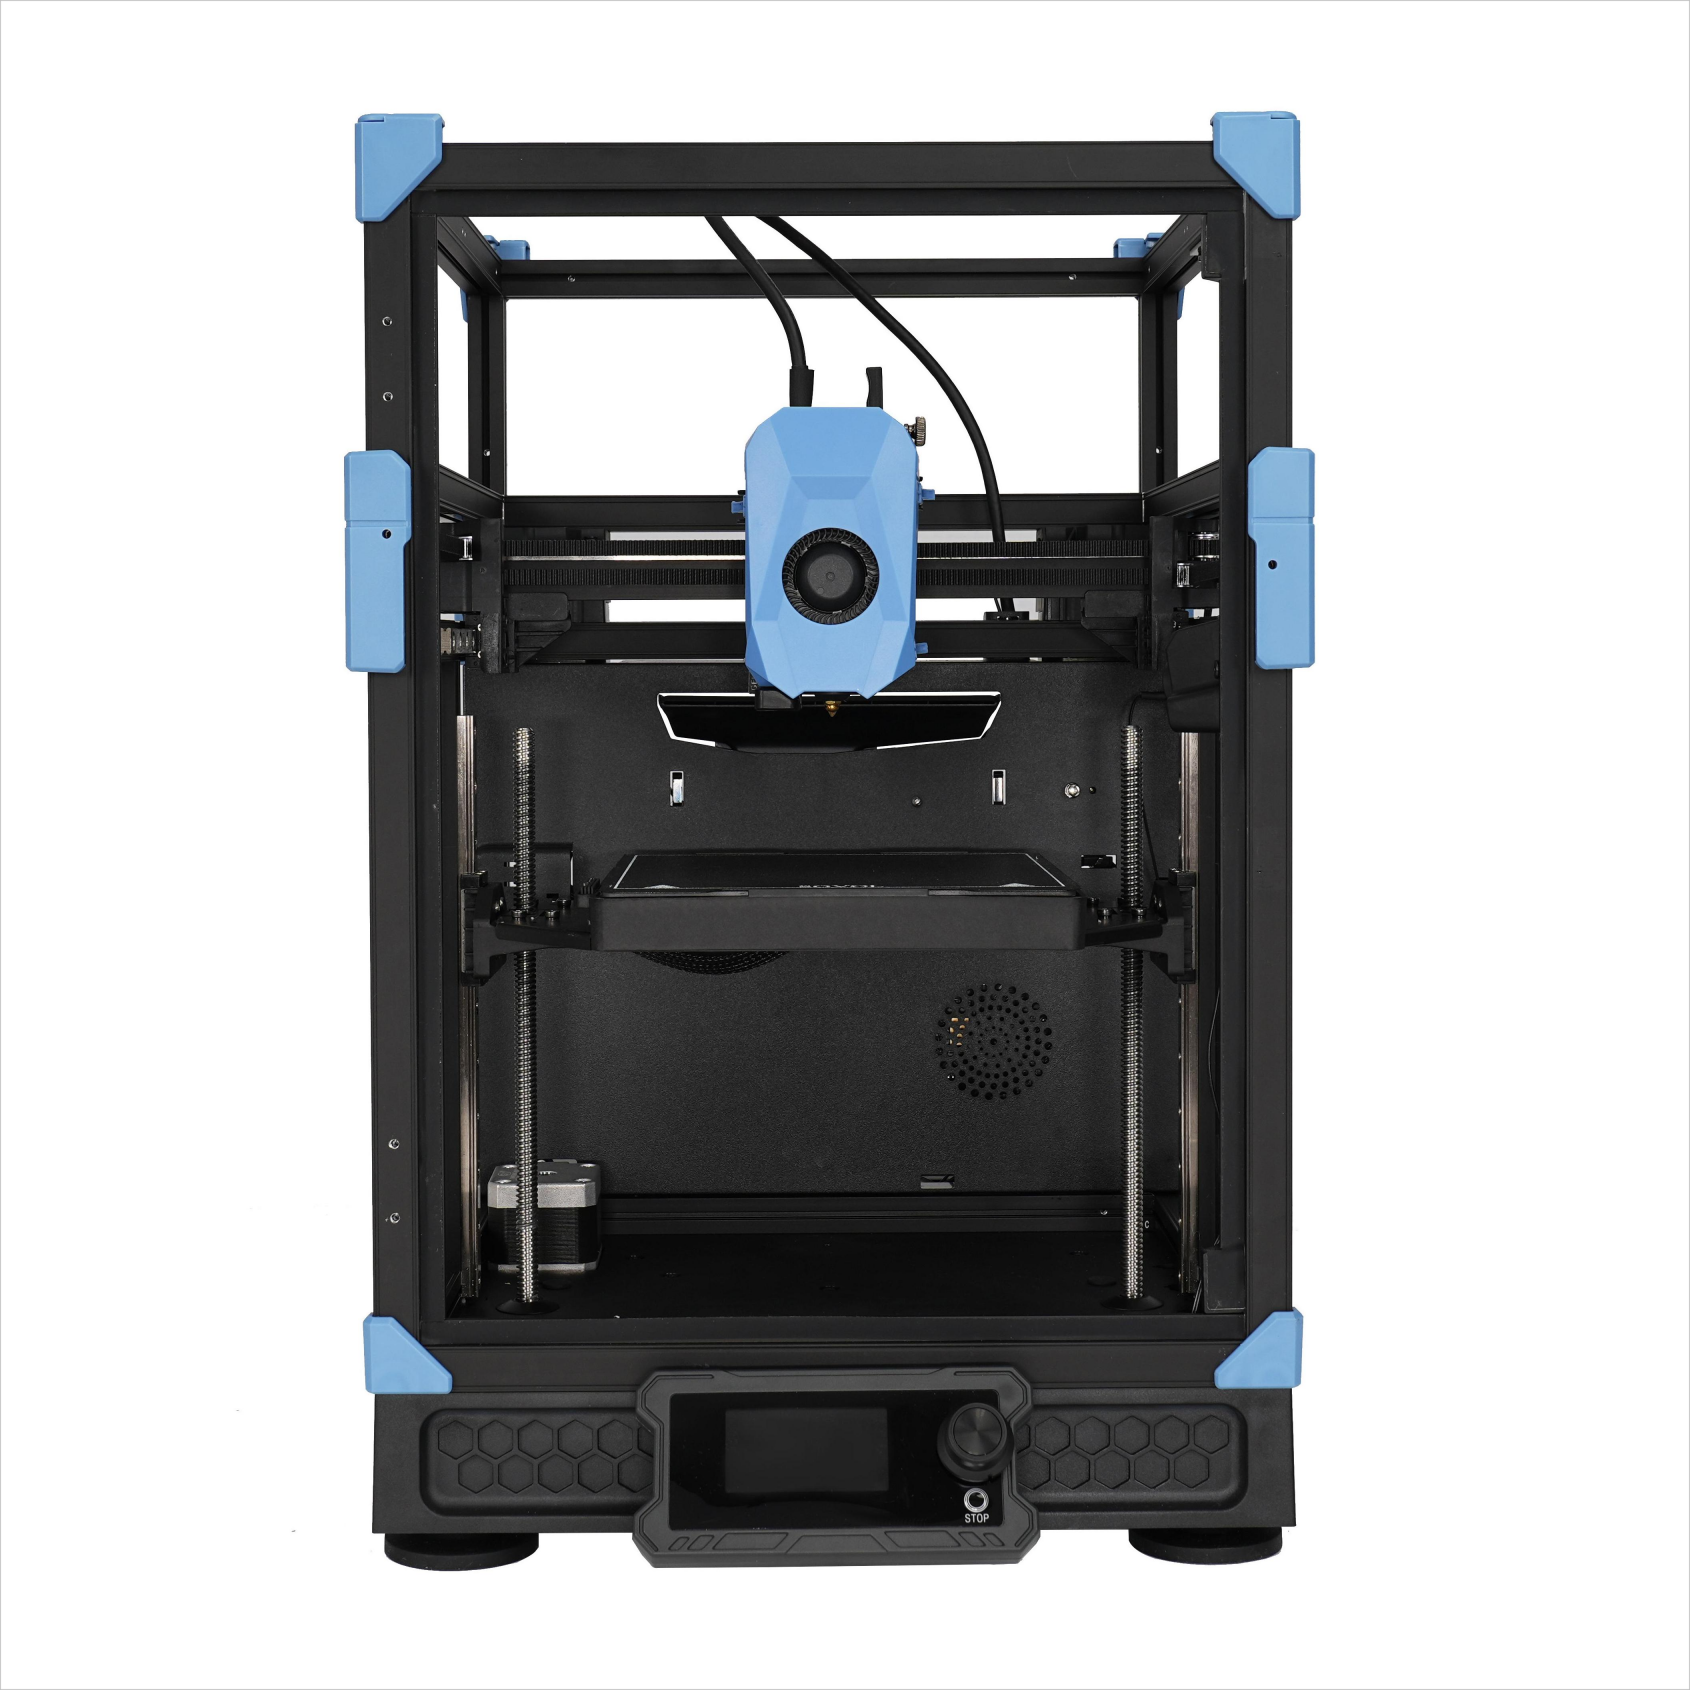
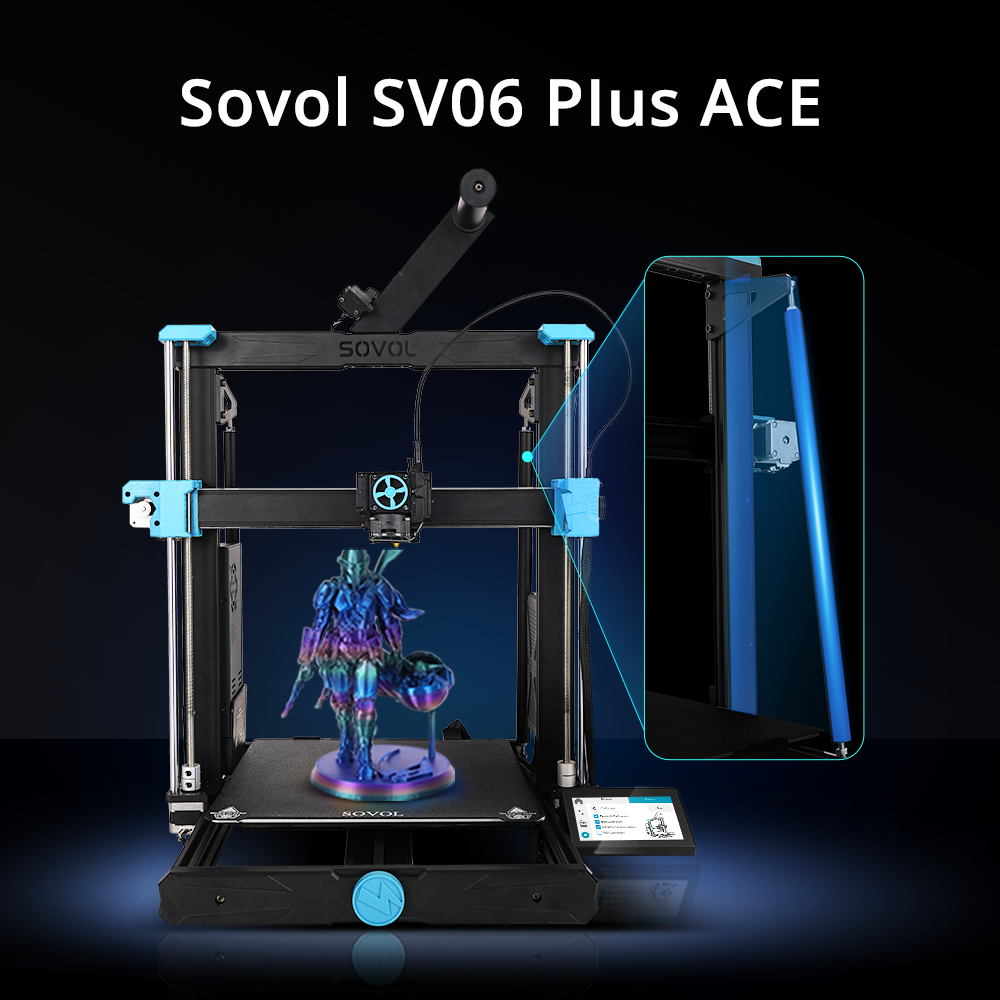
- Large Build Volume Capabilities: High-capacity hoppers or multi-pet slow feeder dishes often exceed 300mm in dimension. Utilizing large-format CoreXY 3D printers like the Sovol SV08 (with its 350 × 350 × 345 mm build space) allows you to print complete hopper enclosures in a single print job without splitting files or gluing sub-assemblies.
- Ultra-Large Pet Hardware: For large dog breeds requiring broad-footprint slow feeders, ultra-large capacity machines like the Sovol SV08 MAX with its 500 × 500 × 500 mm build volume remove build volume restrictions.
- Multi-Material Capabilities: Multi-material printing may be suitable for combining rigid and flexible components, but the exact workflow depends on toolhead compatibility, material profiles, and slicer support.
- Filament Compatibility: Review a comprehensive technical print material guide to verify optimal nozzle temperatures, cooling fan speeds, and bed adhesives for technical polymers like PETG and ASA.
Practical Testing Checklist Before Deployment
Before deploying your custom 3D printed pet feeder, complete this functional testing checklist. Note that testing values (such as test loads and iteration counts) serve as example starting points to validate your specific design:
|
Testing Category |
Inspection Item |
Pass Criteria (Baseline Example) |
Suggested Adjustment |
|---|---|---|---|
|
Structural Stability |
Tip & Slide Resistance |
Feeder remains stable under expected pet force (e.g., test with ~5kg lateral push on rim). |
Broaden base width, add internal ballast weights, or install TPU rubber feet. |
|
Food Flow & Dispensing |
Kibble Bridge Test |
Fill hopper to operational capacity; run multiple test cycles (e.g., 15–20 dispenses) without bridging. |
Increase funnel chute angle (e.g., >= 50°); add an internal agitator cone. |
|
Mechanical Clearance |
Gear & Wheel Rotation |
Dispenser mechanism rotates freely with baseline clearance (~0.3mm–0.5mm); no binding. |
Adjust CAD clearances or utilize slicer horizontal expansion / XY compensation settings. |
|
Watertightness & Cleaning |
Water Leak Test |
Fill liquid reservoir / dish with warm water for 1–2 hours on paper towel. |
Zero moisture leaks detected. Increase wall loops to 4 and recalibrate extrusion flow rate. |
|
Surface Safety |
Sharp Edge Check |
Inspect internal and external surfaces manually for burrs or rough print lines. |
Sand rough layer burrs with fine wet sandpaper and seal surfaces appropriately. |
Common Design Considerations and Fixes
Even experienced makers encounter mechanical or usability challenges when printing pet hardware. Here are common issues and practical engineering fixes:
1. Kibble Jamming in Dispensing Chutes
- Possible Cause: Shallow slope angles (<35°) or a chute opening too narrow for irregular kibble shapes.
- Engineering Fix: Adjust chute angle toward 45° to 50° as a starting baseline. Ensure the outlet opening is roughly 3 to 4 times the kibble grain size.
2. Bowl Sliding Across Floors
- Possible Cause: Lightweight, smooth plastic underside sliding on tile or hardwood floors.
- Engineering Fix: Incorporate recessed pockets on the underside to press-fit rubber feet or attach non-slip pads.
3. Pet Skin Irritation and Cleanliness Issues
- Possible Cause: Microscopic residue buildup inside unsealed FDM layer lines of raw plastic dishes.
- Engineering Fix: Use drop-in stainless steel or ceramic inserts as the food-contact surface, or seal printed surfaces with an appropriate food-contact-rated coating following manufacturer instructions.
4. Motor Stalls or Mechanical Resistance
- Possible Cause: Rigid drive mechanisms locking against trapped kibble grains, overloading motor drivers.
- Engineering Fix: Upgrade motor capacity (e.g., NEMA 17 stepper) and replace rigid wipers with flexible TPU blades that deflect over trapped kibble.
5. Part Distortion During Cleaning
- Possible Cause: Washing standard PLA parts with high-temperature tap water (above ~55°C).
- Engineering Fix: Use PETG or ASA for functional bodies. Wash printed parts exclusively by hand using lukewarm water (<= 45°C) and mild dish soap.
Conclusion: Building Practical, Easy-Clean Pet Hardware
Designing a custom 3D printed pet feeder is a rewarding functional project that combines mechanical prototyping, material selection, and thoughtful pet ergonomics. By using removable food-contact inserts, applying reasonable mechanical clearance starting points, and selecting durable materials like PETG or ASA, you can create customized pet hardware that is functional, safe, and easy to maintain.
Whether you are printing a simple elevated holder or an automated dispenser, prioritizing modular construction and cleanable geometry ensures long-term usability.
Next Steps: Ready to start your next functional 3D printing project? Explore Sovol high-speed 3D printers and accessories to discover open-source, large-format machines designed to bring your CAD models to life.