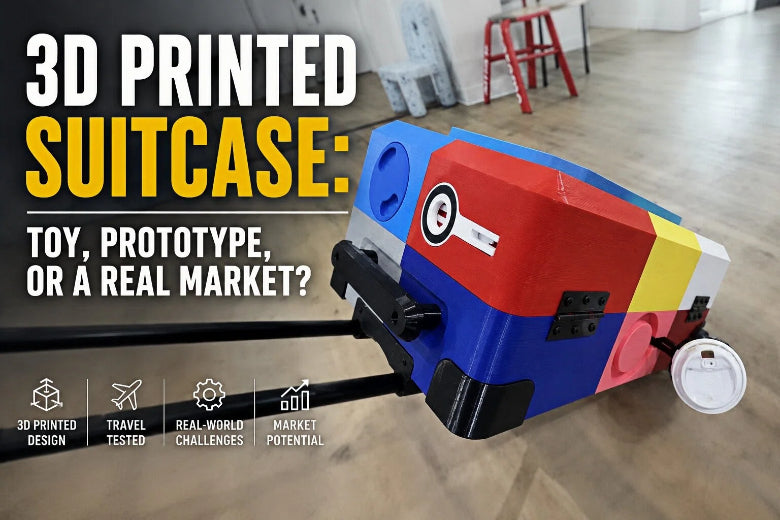
When YouTube creator Matty Benedetto ("Unnecessary Inventions") built a carry-on-style suitcase with a MagSafe phone mount, a flip-out tray table, a gimbal-style cup holder, and hidden AirTag storage, he didn’t just make a prop. He took it on a real trip—and the prototype did what prototypes do: it failed in all the places a travel product can’t afford to.
So here’s the real question for advanced FDM makers: is a 3D printed suitcase just a toy for views, or is it an early signal of a product category that could eventually make sense?
The flight test wasn’t “a fail”—it was a checklist of reality
Popular Science’s recap, “3D-printed suitcase includes foldout table, cup holder, and a secret compartment” (2026), lays out what happened when Benedetto treated an airport like a durability lab.
The suitcase concept had real thought behind it:
- Flip-up table
- MagSafe phone holder
- A “smart” display gadget (because modern products apparently require one)
- A gimbal-stabilized cup holder
- Hidden compartments in the feet for an AirTag
And the travel test surfaced the exact problems you’d predict if you’ve ever built a large, functional print:
- Fit constraints on smaller planes
- Hairline cracks forming along the body
- Add-on pieces detaching or getting lost
None of that is surprising. What’s useful is why it happened—because that’s what tells you whether there’s a path forward.
What a suitcase must survive (and why “it printed” doesn’t matter)
A suitcase isn’t a static part. It’s a moving system with abuse baked into the job description.
Constraint #1: Carry-on rules are an unforgiving box
Even if you design the most elegant shell in CAD, it still has to fit airline constraints.
The U.S. FAA notes in its carry-on baggage guidance (2024) that the maximum carry-on size for most airlines is 45 linear inches (height + width + depth)—and that airlines can be stricter depending on aircraft and overhead-bin space.
That matters because:
- A few millimeters of “CAD optimism” becomes a real-world problem once you add wheels, feet, handles, and any printed add-ons.
- The suitcase isn’t a cube. Real overhead bins are weird shapes.
Constraint #2: Airport handling is basically a durability test suite
Luggage durability isn’t one number like “impact strength.” It’s a pile of tests aimed at predictable failure points.
Travel Sentry’s overview of “Luggage quality tests in factories” (2025) highlights the kind of torture manufacturers expect a bag to survive—drop tests, handle jerk tests, mileage/rolling tests, and impact tests.
If you translate that into maker language, you’re designing for:
- Drops (corner hits, curb hits, conveyor belt falls)
- Cyclic fatigue (rolling vibration + handle pulls over time)
- Fastener stress (handles, wheels, hinges ripping out)
- Abrasion and puncture (edges, corners, sharp impacts)
If your design can’t survive those, it doesn’t matter how clever the accessory list is.
Why FDM “suitcase-scale” parts crack: the failure modes you can’t ignore
A suitcase pushes on the exact weak points of FDM print strength layer adhesion and long-term durability:
- Large panels
- Repeated impacts
- Hardware interfaces
- Long-term vibration
1) Anisotropy: the part is strong… in the wrong direction
FDM parts aren’t equally strong in every direction. They’re typically strongest along the printed roads and weaker between layers.
BigRep’s DFAM guidance on design for additive manufacturing emphasizes how print orientation affects strength and performance.
For luggage, the worst case is when the load tries to peel layers apart (think: a corner hit that “zips” a crack through Z-bonding).
What to do instead:
- Align major load paths with layer planes when you can.
- Break the shell into panels so each panel can be oriented for its primary stress.
2) Stress concentrators: sharp corners are crack starters
Luggage corners get hit first. If your geometry concentrates stress at those corners, cracks don’t need much encouragement.
Even if your filament is “tough,” a sharp inside corner + repeated impacts is basically an invitation for a crack to start and grow.
What to do instead:
- Add generous radii/fillets on both inside and outside corners.
- Reinforce corners as sacrificial, replaceable bumper modules.
3) Walls matter more than infill for this kind of abuse
If you’ve ever printed a “strong” part with 60% infill and it still snapped, you already know the punchline: for many functional parts, walls/perimeters do most of the work.
Hydra Research’s FFF design rules note that perimeters are a major source of strength, which lines up with what most experienced makers see in practice.
What to do instead:
- Bias toward thicker walls and thoughtful ribbing, not just cranking infill.
- Design a shell that behaves like a structure, not a hollow decoration.
4) Hardware interfaces are where “real products” separate from prints
Wheel mounts, handle brackets, hinges—these are high-load, high-fatigue zones.
A printed shell can survive a lot… until a metal screw bites into plastic and turns the area into a crack farm.
What to do instead:
- Design around mechanical interfaces: metal backing plates, captured nuts, or heat-set inserts (where appropriate).
- Spread loads across larger areas instead of point-loading a thin printed wall.
5) Vibration isn’t just a print-quality problem—it’s a durability problem
If your printer rings on tall prints, that vibration can also show up as weak zones, poor bonding, or inconsistent geometry.
SOVOL’s guide on input shaping and active vibration compensation for large prints is a good reminder that motion stability is part of the “functional print” stack—not a cosmetic nice-to-have.
The case for a 3D printed suitcase (yes, there is one)
A fully printed suitcase is hard. But “hard” isn’t the same as “pointless.”
Pro #1: Custom features are genuinely easier to iterate
A suitcase is basically a platform for micro-utilities:
- Phone mount that fits your device
- Add-on table that clears your laptop size
- Modular organizers built around your packing style
Prototyping these with FDM is fast, cheap, and personal.
Pro #2: Repairability and modular replacement can be a real differentiator
Traditional luggage is repairable… sometimes. But it’s often a pain.
A modular printed design could make high-failure parts replaceable—which is a big win for 3D printed functional parts durability:
- corner bumpers
- wheel housings
- handle covers
- latch guards
That’s especially compelling for makers who already think in parts libraries and revisions.
Pro #3: Hybrid manufacturing is a believable path
The flight test actually points toward a more realistic future:
- Print the parts where customization matters.
- Use conventional components where durability is proven (wheels, telescoping handles, hinges).
That’s not a compromise. That’s how a lot of real products are made.
The case against it (and why it’s not just “print settings”)
Con #1: Suitcases are impact + fatigue products
This isn’t a one-time load. It’s thousands of small stresses.
That puts you in fatigue territory, where tiny cracks grow slowly until something snaps. It’s why “it survived one drop test” doesn’t mean much.
Con #2: Large prints amplify everything you hate about large prints
Printing big panels means:
- warping risk
- long print times
- higher failure cost
- more seam/joint engineering
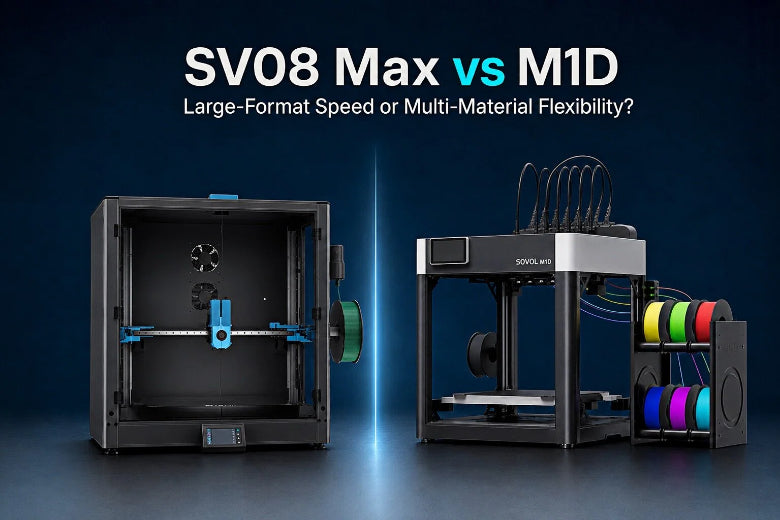
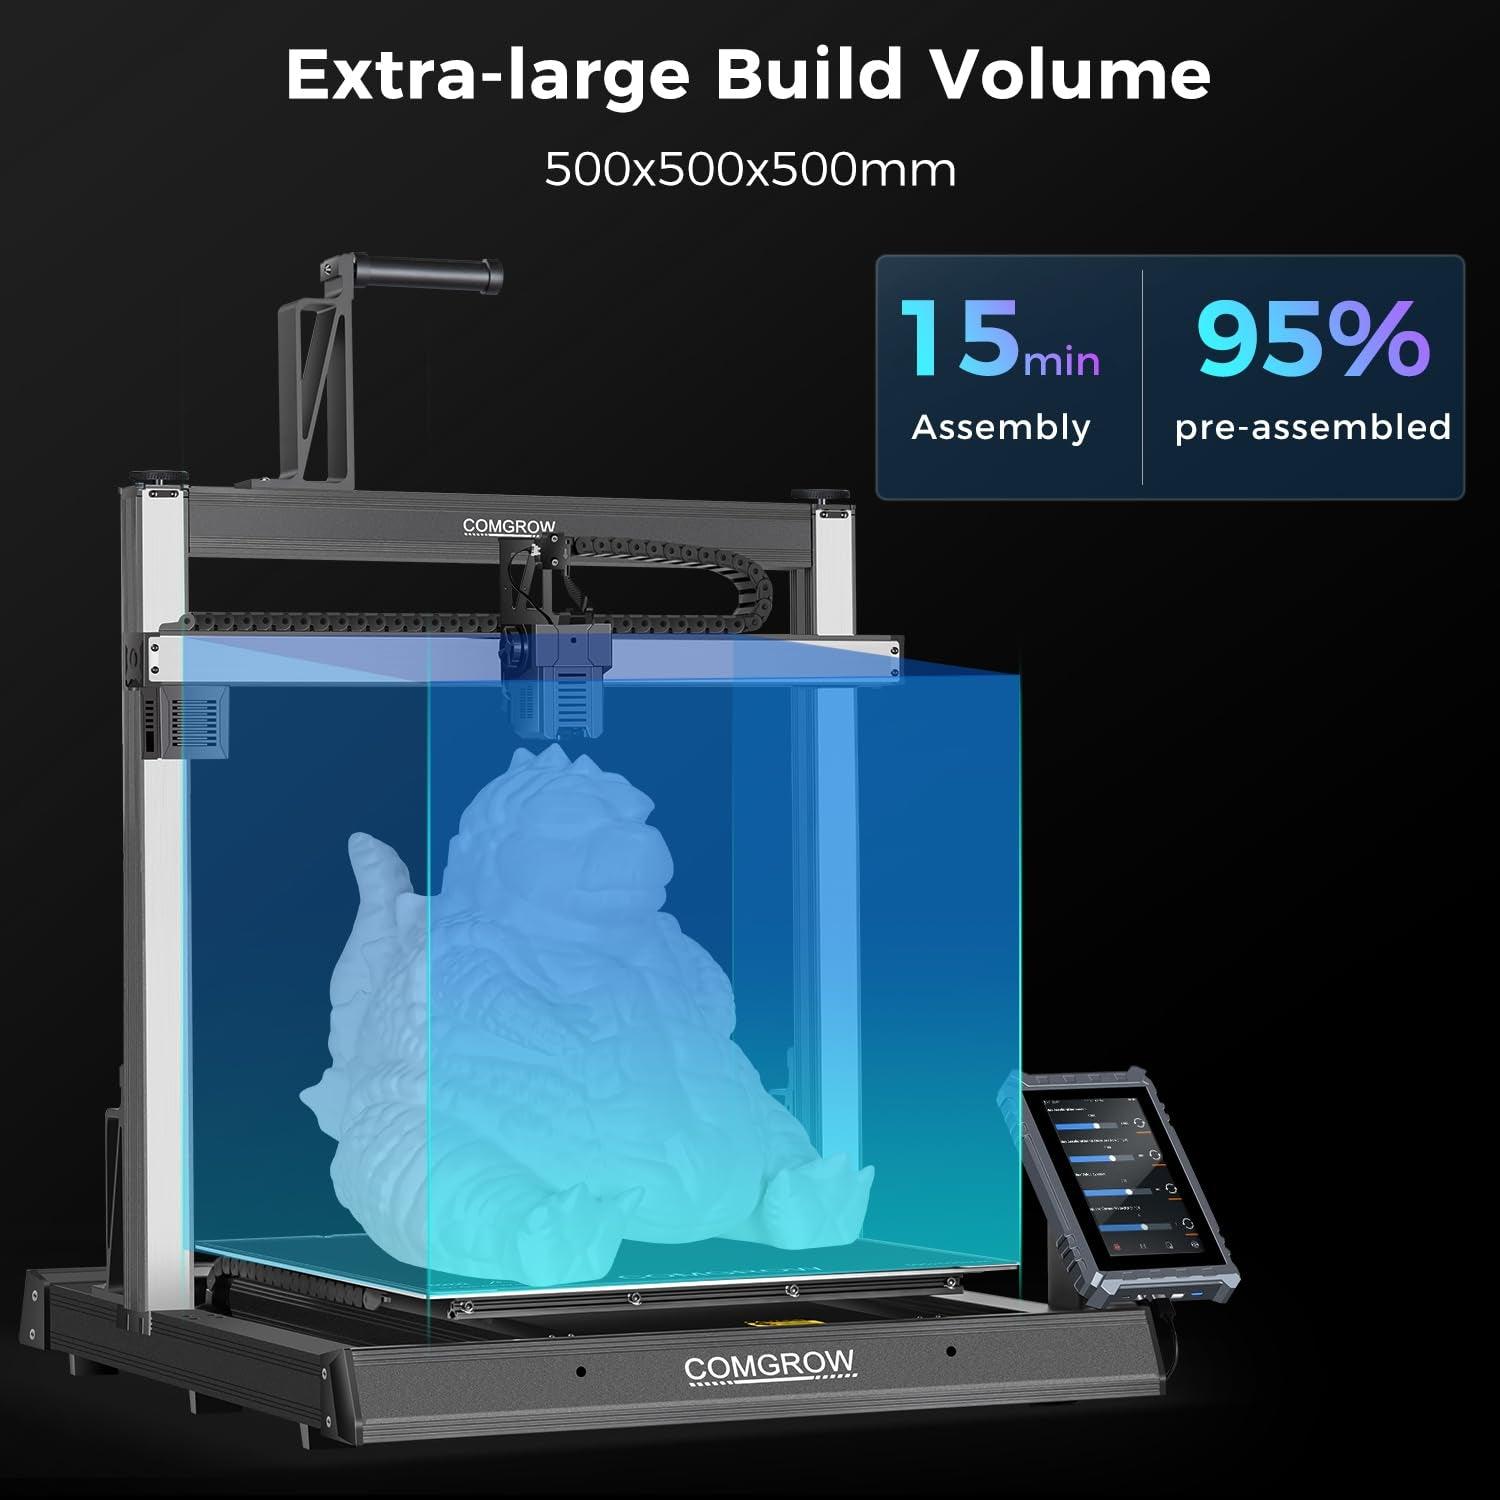
SOVOL’s post on large build volume vs high speed captures the broader reality: as prints get bigger and faster, stability and reliability become the actual bottleneck.
Con #3: Heat metrics don’t equal real-world “left in a hot car” durability
If you start thinking about luggage sitting in cars, cargo holds, or sunlit windows, you’ll run into the usual confusion: Tg vs HDT vs real-world behavior.
- Protolabs explains what glass transition temperature (Tg) is and why it matters.
- SpecialChem explains what heat deflection temperature (HDT) measures.
Neither metric is a magic “safe temperature.” Real parts depend on geometry, stress, time at temperature, and how the load is carried.
⚠️ Warning: If your suitcase design relies on “the filament spec sheet says it’s fine,” you’re building a prototype—not a travel product.
So… toy or market?
Here’s a useful way to call it:
A fully 3D printed suitcase is mostly a prototype platform today
If the goal is to ship a product that survives airline handling, a fully printed shell is fighting the physics of FDM (anisotropy, fatigue, hardware interfaces) and the realities of travel abuse.
But “3D printed luggage” can be real in three niches
- Accessories and add-ons (the things that actually improve your travel day)
- Repair parts (replace what breaks instead of replacing the whole suitcase)
- Hybrid designs (printed customization on top of conventional structure)
That’s not a viral stunt. That’s a plausible product direction—especially for the kind of customer who already values open ecosystems and mod-friendly hardware.
If you’re in that camp, SOVOL’s broader functional-print mindset content—like useful things to 3D print for practical solutions—is the more realistic starting point than printing a whole shell on day one.
If you want to build your own: a maker’s build-and-test checklist
If you still want to try a 3D printed carry on experiment, don’t start with a full shell. Start with a plan.
Design checklist
- Break the body into panels that can be oriented for strength (not just convenience)
- Use radii/fillets everywhere impacts are likely (especially corners)
- Design replaceable corner bumpers and wheel housings
- Spread hardware loads with backing plates or wide bosses
- Treat seams like structural joints, not cosmetic lines
Print + assembly checklist
- Prioritize walls/perimeters and ribbing over extreme infill
- Use consistent, repeatable assembly methods (fasteners over glue-only where possible)
- Label parts with revision markers so you can iterate without confusion
Test plan (before you fly with it)
- Drop test a loaded corner module (multiple times)
- Roll test on rough pavement for an hour (listen for loosening hardware)
- Handle “jerk” test: quick pulls to simulate catching on thresholds
- Temperature reality check: don’t assume spec-sheet heat values equal real service conditions
Pro Tip: Treat the first version like a test rig. If you can swap a broken module in 10 minutes, you’re learning fast instead of starting over.
Key takeaways
- A real trip is a better durability test than any “it feels sturdy” bench check.
- A suitcase stresses the weak points of FDM: layer direction, fatigue, corners, and hardware mounts.
- The market isn’t “a fully printed suitcase.” It’s printed accessories, repair parts, and hybrid designs.
- If you want to try it anyway, design modularly and test like a factory: drops, rolling, and handle stress.
Next steps
If you’re experimenting with suitcase-scale functional prints, it helps to treat your printer like a machine tool: tune motion stability, understand speed-vs-quality tradeoffs, and design parts for real load paths.
A good starting point is SOVOL’s walkthrough on active vibration compensation and input shaping for large prints (search “input shaping” on the SOVOL blog).