


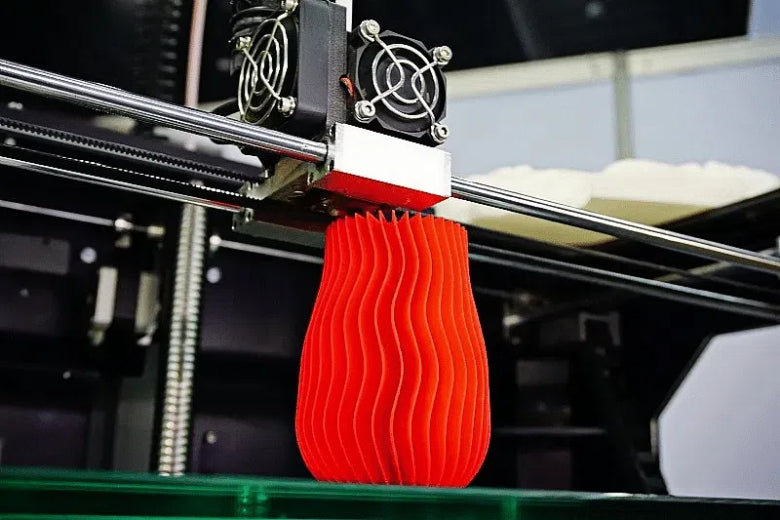
When your 3d printer not extruding at the start of the print, you may face issues like a clogged nozzle, filament jams, incorrect temperature, extruder problems, or bed leveling errors.
- Clogged nozzles block the flow of filament.
- Bed leveling mistakes can prevent the first layer from sticking.
- Filament feed or hardware problems stop material from moving.
Quick troubleshooting can make a big difference. Automated systems now detect and fix extrusion problems almost instantly, while manual checks may take longer and lead to missed errors. Use this troubleshooting guide to solve 3d printer not extruding problems fast. Most fixes, like checking bed leveling or cleaning the nozzle, only take a few minutes.
Key Takeaways
- Check for clogged nozzles regularly and clean them using recommended methods to keep filament flowing smoothly.
- Ensure the filament feeds freely by avoiding tangles, moisture, and damaged filament; store filament in dry, sealed containers.
- Set the correct nozzle and bed temperatures based on your filament type to prevent extrusion issues caused by wrong heat settings.
- Level the print bed properly and adjust the Z-offset to create the right gap for good first layer adhesion and smooth extrusion.
- Maintain your printer with regular cleaning, lubrication, and part checks to avoid common extrusion problems and improve print quality.
3D Printer Not Extruding Causes
When you find your 3d printer not extruding at the start of a print, you need to check a few common causes. Most problems come from a clogged extruder, filament feed issues, or incorrect temperature settings. Each of these can stop your printer from working as expected. Let’s look at each cause, the symptoms you might see, and how you can fix them.
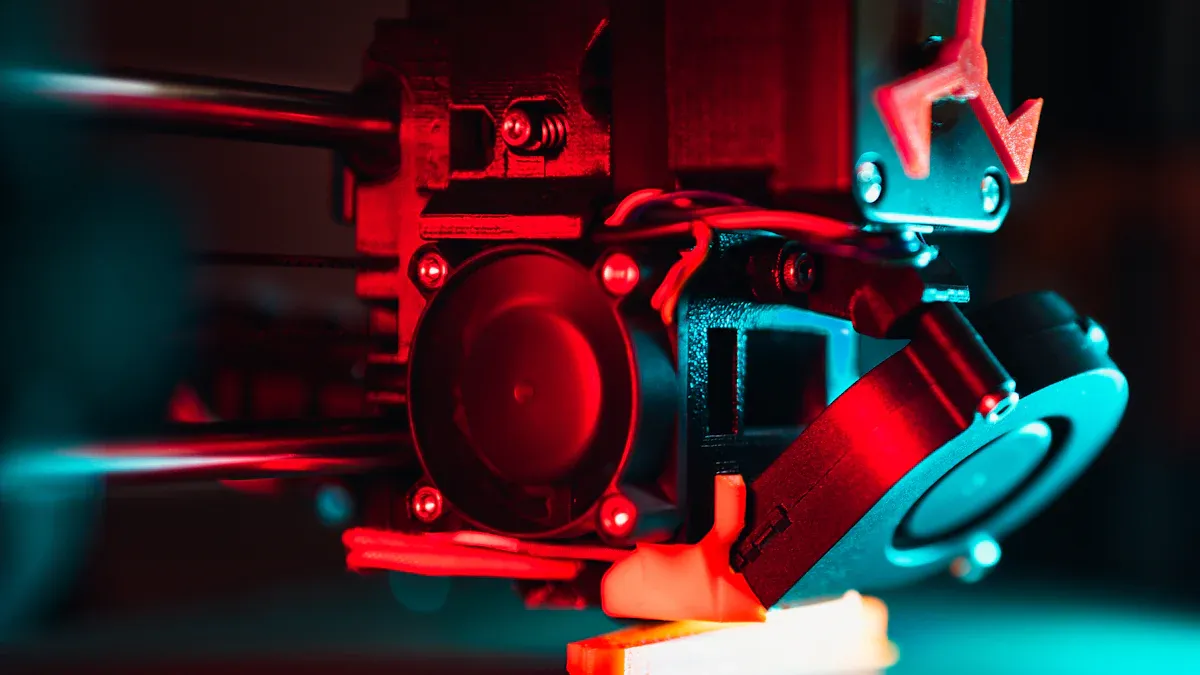
Clogged Extruder
A clogged extruder is one of the most frequent reasons for a 3d printer not extruding filament. This happens when debris, leftover filament, or dust blocks the nozzle. You might notice these symptoms:
- The printer is not extruding at all or only a little.
- The extruder motor makes clicking or ticking noises.
- The filament curls up and sticks to the nozzle instead of coming out smoothly.
- Printed lines look thin or do not stick to the bed.
A clogged nozzle can happen if you use low-quality filament, print at too low a temperature, or let dust build up. Regular cleaning and using good filament help prevent this. If you suspect a clog, try these steps:
- Heat the nozzle to the recommended temperature for your filament.
- Manually push the filament through to see if it moves.
- If it does not move, unload the filament and cut off any damaged part.
- Clean the nozzle using a cleaning filament or a thin wire.
- Reload the filament and try again.
Tip: Printing a skirt or priming line before your main print helps clear any leftover debris from the nozzle.
|
Cause |
Explanation |
Solution |
|---|---|---|
|
Clogged nozzle |
Filament residue or debris blocks nozzle, preventing extrusion. |
Clean nozzle; avoid excessive retraction; follow unclogging guides. |
Clogged extruders are a common problem in 3D printing. Regular maintenance and using clean, dry filament can help you avoid this issue.
Filament Feed Issues
Filament feed issues can also cause your 3d printer not extruding at the start. These problems happen when the filament cannot move smoothly from the spool to the nozzle. You might see the extruder motor spinning, but nothing comes out.
Common causes of filament feed issues include:
- Tangled or knotted filament on the spool.
- Inconsistent filament diameter, which makes the extruder slip.
- Bumps, bubbles, or unmelted particles in the filament.
- Moisture in the filament from poor storage.
- Worn or dirty extruder gears.
If you notice your printer is not extruding, check the filament path first. Make sure the filament moves freely and is not tangled. Look for any signs of grinding or shavings near the extruder gear. If you see these, the gear may have stripped the filament, and you need to cut off the damaged part and reload.
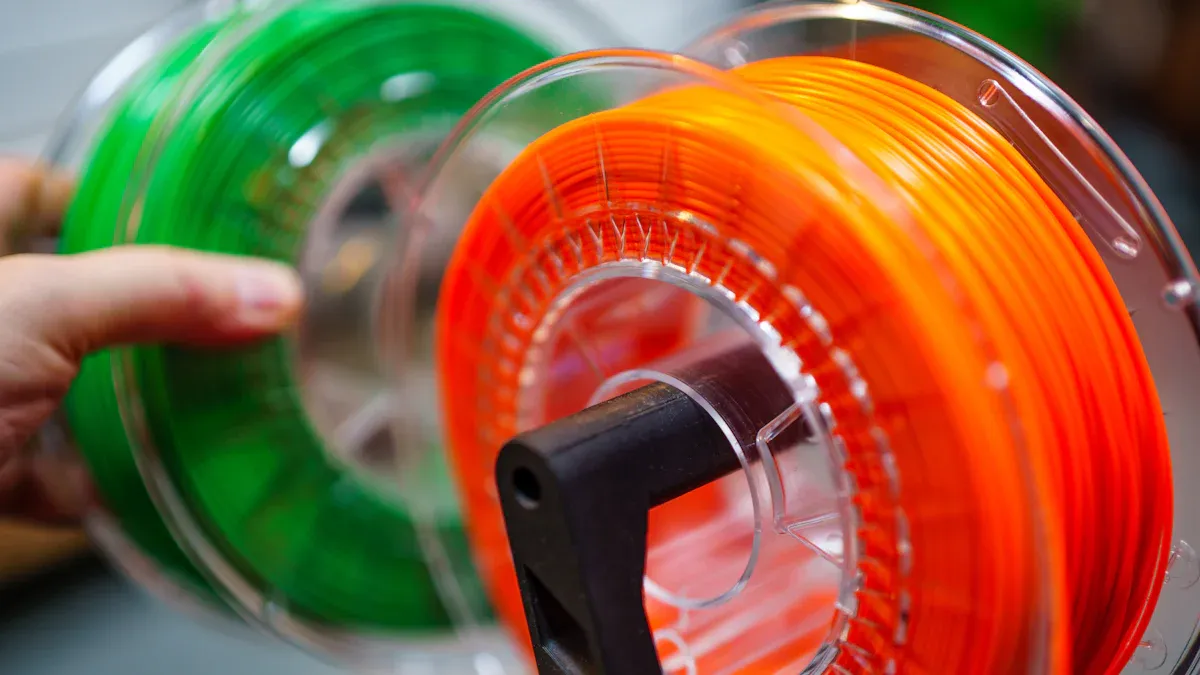
Note: Always store filament in a dry place to prevent moisture, which can cause bubbles and feed problems.
|
Cause |
Explanation |
Solution |
|---|---|---|
|
Filament jam |
Tangling, knots, or incorrect filament path stops extrusion. |
Check filament path; untangle or re-route filament. |
|
Drive gear teeth remove filament plastic, causing extrusion failure. |
Adjust gear or filament feed; reload filament. |
|
|
Bad filament |
Moisture or degradation affects filament flow, causing jams. |
Use dry, well-stored filament; improve storage conditions. |
Filament problems like inconsistent diameter can make the extruder slip and stop feeding. Always check the quality and storage of your filament to avoid these issues.
Incorrect Temperature
Incorrect temperature settings are another major reason for a 3d printer not extruding. If the nozzle is too cold, the filament will not melt and flow. If it is too hot, the filament can burn or clog the nozzle.
You might notice these signs:
- The printer starts, but no filament comes out.
- The first layer does not stick to the bed.
- The extruder motor skips or makes noise.
To fix temperature issues, always set the nozzle temperature according to the filament’s specifications. For example, PLA usually prints at 190°C to 220°C, while ABS needs 220°C to 250°C. Check the filament package or technical data sheet for the right range.
|
Filament |
Nozzle Temperature Range |
Typical Nozzle Start Temp |
Heated Bed Temperature Range |
Notes |
|---|---|---|---|---|
|
PLA |
~200°C |
40°C - 60°C |
Heated bed helps adhesion; not always required |
|
|
ABS |
220°C - 250°C |
235°C - 245°C |
90°C - 110°C |
Heated bed strongly recommended |
If your printer is not extruding, try increasing the nozzle temperature by 3°C at a time. Make sure the bed is also at the right temperature to help the first layer stick. Do not heat the nozzle too early or too high before printing, as this can cause clogs or oozing.
Checklist:
- Set the correct nozzle and bed temperature for your filament.
- Prime the extruder before starting the print.
- Watch the first layer to make sure the printer is extruding properly.
Quick Troubleshooting Checklist
- Check for a clogged nozzle and clean if needed.
- Make sure the filament moves freely and is not tangled.
- Inspect the filament for damage, moisture, or diameter issues.
- Set the correct nozzle and bed temperature for your filament.
- Prime the extruder before starting your print.
If you follow these steps, you can solve most 3d printer not extruding problems quickly and get back to printing.
Clogged Nozzle and Heat Creep
A clogged nozzle or clogged extruder can stop your 3D printer from working at the start of a print. Debris, leftover filament, or a problem called heat creep often cause these clogs. Heat creep happens when heat travels up the hotend and softens the filament too early. This makes the filament swell and block the path before it reaches the nozzle. You may see this problem more with filaments like PLA or PETG, especially if your printer’s cooling fans are not working well or the room is too warm.
Signs of a Clogged Extruder
You can spot a clogged by watching and listening to your printer. Here is a table to help you identify the signs:
|
Symptom/Sign |
Description |
Identification Method |
|---|---|---|
|
Grinding or clicking sounds from extruder motor |
The motor struggles to push filament due to blockage |
Listen for unusual motor noises during extrusion |
|
Difficulty in extrusion or print failures |
Filament flow is inconsistent or stops |
Watch the filament as it comes out of the nozzle |
|
Filament melting above heat break (heat creep) |
Filament softens and clogs upstream of nozzle |
Check the filament inside the PTFE tube for swelling |
|
Extrusion stopping mid-print without error |
Printer moves but no filament comes out |
Monitor print progress and extrusion consistency |
If you notice the extruder motor making clicking sounds or the filament not coming out, you likely have a clogged nozzle. Sometimes, the filament expands inside the PTFE tube because of heat creep. This can happen even if you use different brands of filament.
Cleaning and Prevention
You can clean the nozzle and prevent future clogs by following these steps:
- Heat the nozzle to the right temperature for your filament.
- Try to push the filament through by hand. If it does not move, unload it.
- Use a thin wire or needle to gently clear the nozzle.
- For tough clogs, use the cold pull method. Heat the nozzle, insert nylon filament, let it cool, then pull it out to remove debris.
- Clean the nozzle with a cleaning filament or soak it in a solvent if needed.
Tip: Always clean the nozzle when you switch filament types or after a long print.
To prevent clogs:
- Use high-quality filament and store it in a dry place.
- Check that your cooling fans work well.
- Keep the hotend and nozzle clean between prints.
- Adjust your printing temperature and speed to match your filament.
Quick Checklist:
- Listen for clicking or grinding sounds.
- Watch for filament swelling in the PTFE tube.
- Clean the nozzle regularly.
- Store filament dry and dust-free.
- Check cooling fans before each print.
Not Extruding Due to Filament or Hardware
Filament Contamination
Filament contamination can stop your 3D printer from working at the start. You might not notice this problem right away, but it can cause big issues. Contaminated filament often comes from poor storage or handling. Here are some common sources:
- Environmental exposure in non-sterile rooms, like home workshops or maker spaces.
- Handling printed objects with dirty hands.
- Using filament that has absorbed moisture or dust.
- Printing with specialty filaments that release ultrafine particles or volatile organic compounds (VOCs).
Some bacteria, such as Staphylococcus aureus or E. coli, can grow on filament, especially if you store it in a damp place. Filament materials like PLA or ABS can also release particles that affect print quality and health. Always store your filament in a dry, sealed container and avoid touching it with dirty hands. If you see dust or debris on the filament, wipe it clean before loading.
Tip: Use antimicrobial or specialty filaments if you print in shared or non-sterile environments.
Extruder Tension and Gear Issues
Extruder tension and gear problems can cause your printer to stop extruding at the start. If the extruder gears do not grip the filament well, the filament slips or grinds. You might see faint marks on the filament or hear the motor struggle. Too little tension means the gears cannot push the filament forward. Too much tension can deform the filament, making it buckle or jam.
You should check the extruder tension by looking for grinding marks or listening for clicking sounds. Adjust the tension so the gears grip the filament firmly but do not crush it. Make sure the filament spool unspools freely. If you suspect a partial clog, clean the hotend using a cold pull method. Also, set the hotend temperature to match your filament’s needs.
|
Problem |
Symptom |
Solution |
|---|---|---|
|
Low extruder tension |
Filament slips or grinds |
Increase tension; check gear alignment |
|
High extruder tension |
Filament buckles or jams |
Decrease tension; use correct filament |
|
Dirty gears |
Inconsistent extrusion |
Clean gears; remove filament debris |
Retraction and Priming Settings
Retraction and priming settings play a big role in extrusion at the start of a print. Retraction pulls the filament back to prevent oozing, but too much retraction can cause under-extrusion when the print resumes. If you do not prime extruder enough after retraction, the nozzle may not have enough pressure to start extruding right away.
You should set retraction distance to about 1.0mm as a starting point. Adjust the extra restart distance (priming) to avoid gaps or blobs. For most printers, a coasting distance between 0.2mm and 0.5mm helps relieve pressure before stopping extrusion. Try to minimize unnecessary retractions, especially with Bowden extruders.
Note: Proper tuning of retraction and priming settings helps prevent filament problems and ensures smooth extrusion from the first layer.
Quick Troubleshooting Checklist:
- Store filament in a dry, sealed container.
- Check extruder tension and gear condition.
- Clean filament before loading.
- Adjust retraction and priming settings for your printer.
- Watch the first layer to confirm smooth extrusion.
Bed Leveling and Z-Offset
Bed Too Close or Far
Bed leveling is one of the most important steps before you start a print. If you skip proper bed leveling, you may see your printer fail to extrude at the start. When the nozzle is too close to the bed, filament cannot flow out. This can block the nozzle and damage the print surface. If the bed is too far, the filament will not stick, causing gaps or weak adhesion on the first layer.
Here are some common problems caused by incorrect bed leveling:
- The nozzle too close to the bed stops filament from coming out, leading to poor extrusion.
- A bed that is too far from the nozzle causes the filament to lay loosely, making the first layer weak.
- Uneven bed surfaces make adhesion worse, especially if you use tape or other surfaces.
- You may see blobs, gaps, or under-extrusion at the start of your print.
Tip: The ideal gap between the nozzle and the bed is about 0.1 mm, which is roughly the thickness of a sheet of paper. This helps the filament stick well and form a strong first layer.
Bed leveling ensures the nozzle deposits filament evenly. You should always check bed leveling before each print to avoid these issues.
Calibration Tips
You can solve most first layer extrusion problems by following a few calibration steps. Start with bed leveling, then fine-tune the Z-offset. Z-offset sets the vertical distance between the nozzle and the bed. It is not a fixed value. You should adjust it by printing test patterns and watching how the filament lays down.
Follow these steps for better results:
- Clean the bed and make sure it is flat before you start bed leveling.
- Use a piece of paper to set the initial gap. Slide the paper under the nozzle and adjust until you feel slight resistance.
- Print a small test square. If the filament does not stick, lower the nozzle slightly. If the filament looks squished or the nozzle drags, raise it a bit.
- Use the 'Live-Z Adjust' method. Start with the nozzle higher and lower it in small steps until the first layer looks smooth and sticks well.
- Set the extrusion multiplier to 1 during calibration. This prevents over-extrusion and keeps the first layer clean.
- Fine-tune the Z-offset after each test print. Watch for gaps or scarring and adjust as needed.
|
Calibration Step |
What to Check |
What to Adjust |
|---|---|---|
|
Bed leveling |
Even gap across the bed |
Bed screws or knobs |
|
Z-offset |
Filament sticks, no gaps or blobs |
Z-offset setting |
|
First layer test print |
Smooth, even lines, good adhesion |
Nozzle height, Z-offset |
Note: Always use basic PLA for calibration prints. Save your specialty filament for finished projects.
Quick Checklist:
- Check bed leveling before every print.
- Adjust Z-offset after leveling.
- Use a paper test for the right gap.
- Print a test square to confirm first layer quality.
- Clean the bed for better adhesion.
Prevention and Quick Checklist
Maintenance Tips
You can prevent most extrusion problems by following a regular maintenance routine. Start by checking your printer before every print. Clean the nozzle and heat block to remove any leftover material. Lubricate the rails and bearings so the printer moves smoothly. Inspect the belts and adjust their tension if needed. Replace worn parts, such as nozzles or PTFE tubing, to keep your printer working well. Make sure the extruder gears grip the filament firmly and are not worn out. Use high-quality filament from trusted suppliers to avoid jams and clogs.
Tip: Update your printer’s firmware and calibrate your slicer software often. This helps you control print settings and hardware more accurately.
Here is a quick maintenance checklist:
- Clean the nozzle and heat block regularly.
- Lubricate rails and bearings.
- Check and adjust belt tension.
- Replace worn nozzles and PTFE tubes.
- Inspect extruder gears for wear.
- Use good filament and dry it before use.
- Keep firmware and slicer software updated.
Filament Storage
Proper filament storage is key to reliable extrusion. Many filaments, like PLA and nylon, absorb moisture from the air. This moisture turns into steam during printing and causes bubbles, stringing, and weak prints. You should always store filament in airtight containers or vacuum-sealed bags. Add silica gel packs to absorb extra moisture. Keep humidity below 15% to protect your filament from damage.
You can use dry boxes with desiccants for long-term storage. Check your filament often for signs of brittleness, discoloration, or bubbling. If you notice these problems, dry the filament before printing. Custom storage solutions, such as modular shelving and sealed bins, help you organize and protect different filament types.
Note: Good filament care saves you time and money by reducing failed prints and improving print quality.
Quick Prevention Checklist:
- Clean and lubricate your printer before each print.
- Check belt tension and replace worn parts.
- Use high-quality, dry filament.
- Store filament in airtight containers with silica gel.
- Keep humidity low and monitor storage conditions.
- Perform bed leveling and Z-offset checks before every print.
- Watch the first layer and adjust leveling if needed.
You can solve most extrusion problems by following a clear troubleshooting process. Start by checking for nozzle clogs if you see uneven filament flow or hear clicking sounds. Use the cold pull method or a thin needle to clear blockages. Always watch the first layer as your print begins. The first layer should stick well and show smooth lines. Clean the nozzle and bed before each print. Regularly monitor the first layer and adjust settings if needed. Keep a quick checklist handy to make sure every first layer prints perfectly.
- Inspect nozzle for clogs
- Clean nozzle with cold pull or needle
- Watch the first layer closely
- Adjust settings for a strong first layer
- Maintain your printer for reliable first layer results
FAQ
Why does my 3D printer not extrude filament at the start of a print?
You may have a clogged nozzle, incorrect bed leveling, or filament feed issues. Start by checking the nozzle for blockages. Make sure the filament moves freely. Adjust the bed height if needed.
How do I know if my nozzle is clogged?
Look for these signs:
- Clicking or grinding noises from the extruder
- No filament coming out
- Thin or missing first layer
Tip: Heat the nozzle and try to push filament through by hand to confirm a clog.
What should I do if the filament keeps grinding or slipping?
Check the extruder tension. Make sure the gears grip the filament firmly. Cut off any damaged filament and reload it. Clean the extruder gears if you see plastic debris.
How can I prevent extrusion problems in the future?
Store filament in airtight containers with silica gel. Clean the nozzle regularly. Level the bed before every print. Use high-quality filament and keep your printer well-maintained.
Regular maintenance helps you avoid most extrusion issues.
Quick Troubleshooting Checklist:
- Inspect nozzle for clogs
- Check filament path and quality
- Adjust bed leveling and Z-offset
- Set correct temperatures
- Watch the first layer closely


