If you’re an experienced FDM maker, you’ve probably had this thought:
- “I want to print bigger things… but my current printer already feels slow.”
- “I want to iterate faster… but high-speed printing turns into a tuning rabbit hole.”
This guide is here to make that decision less vague. Instead of arguing about top speed numbers or bed size as if they’re the whole story, we’ll break it down into what actually limits results in the real world: motion stability, extrusion flow, cooling, thermal management, and reliability.
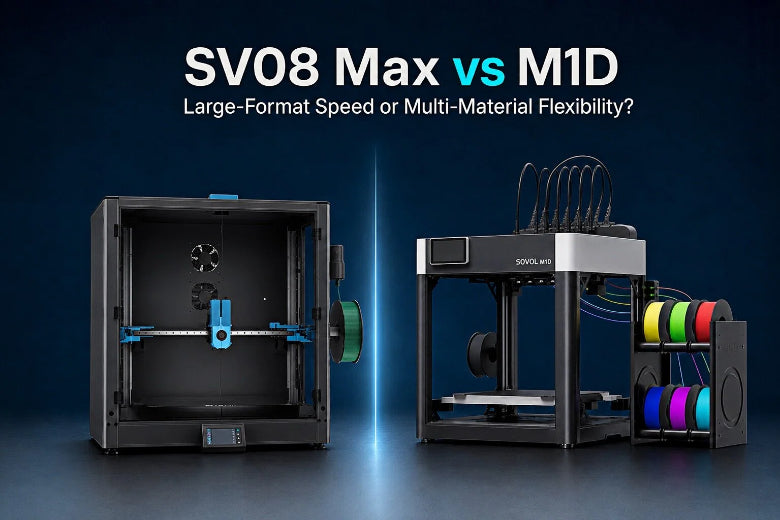
Quick answer: it’s not really “big vs fast”
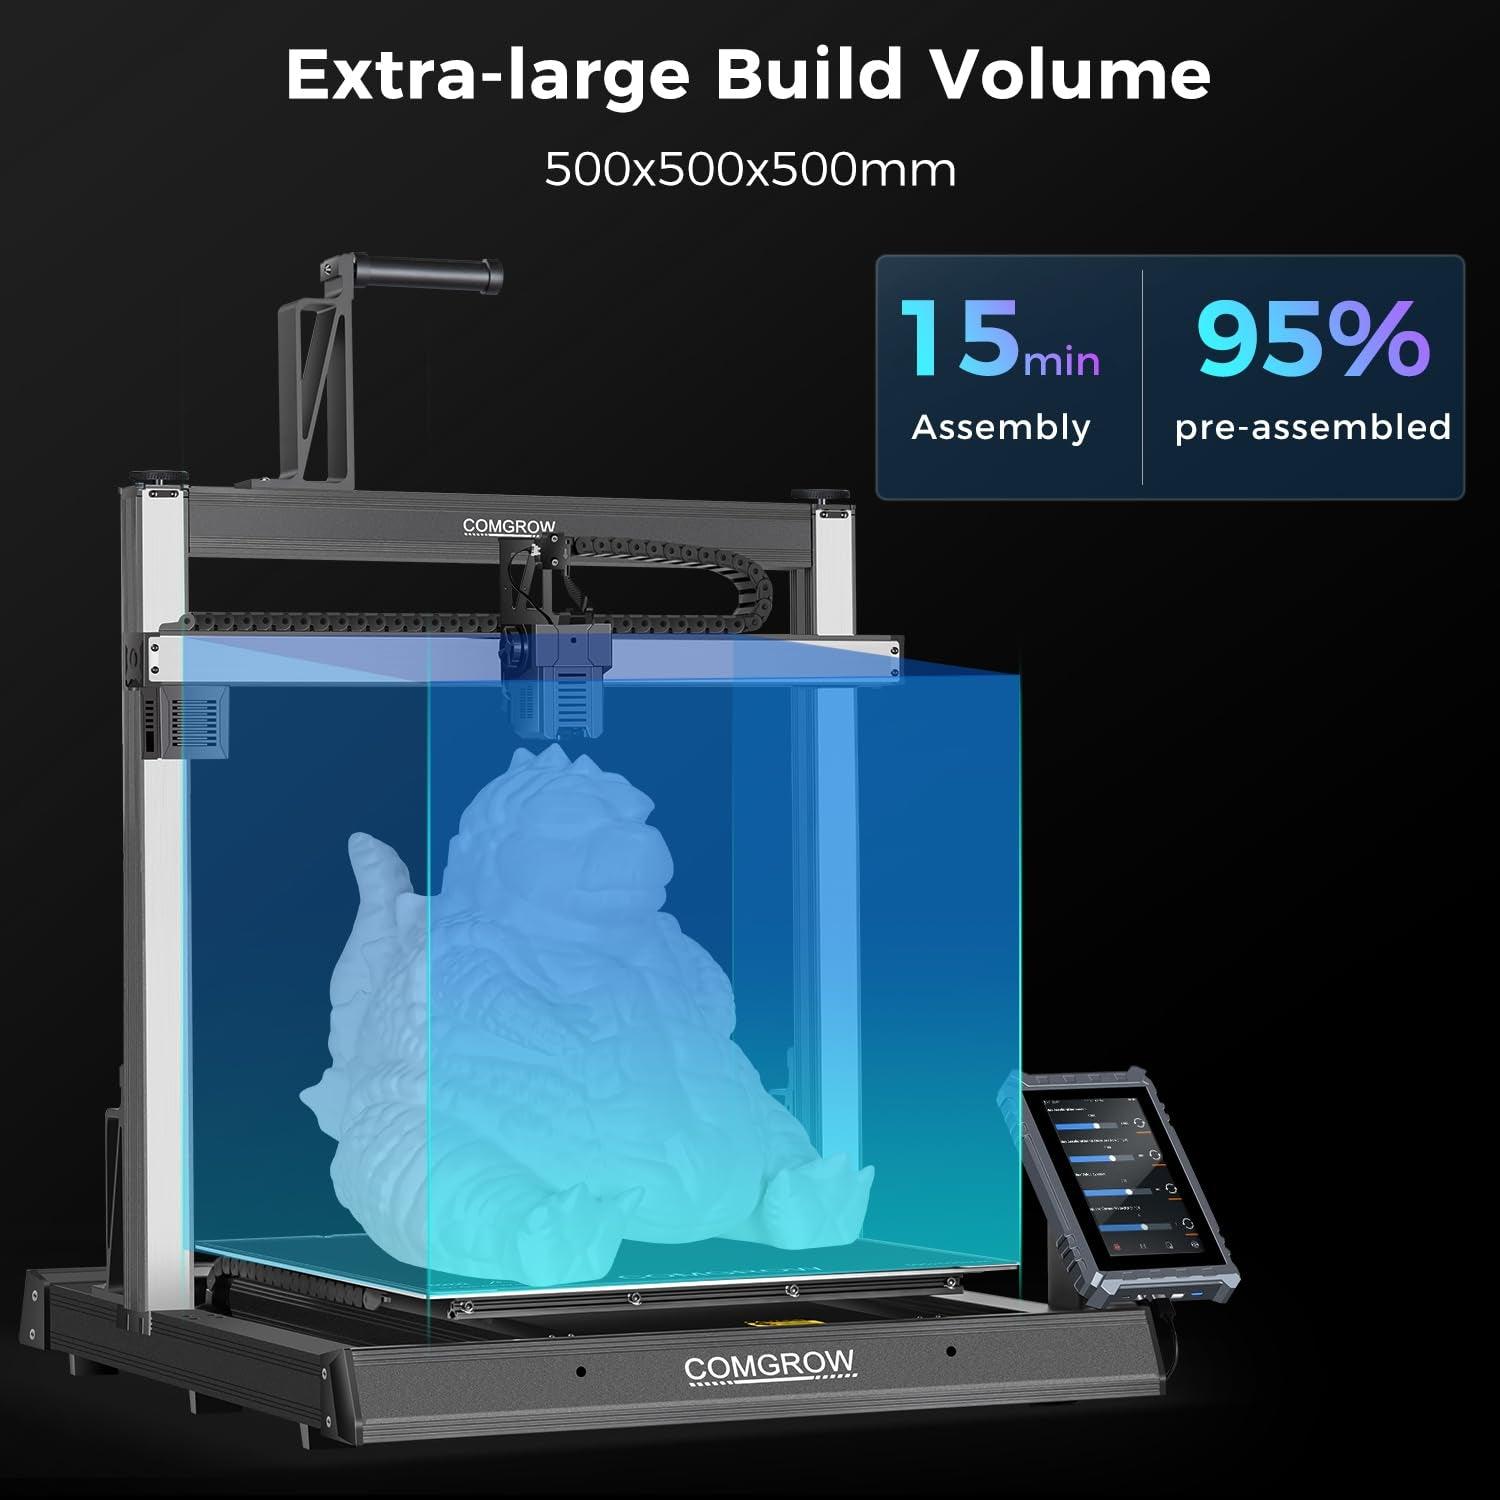
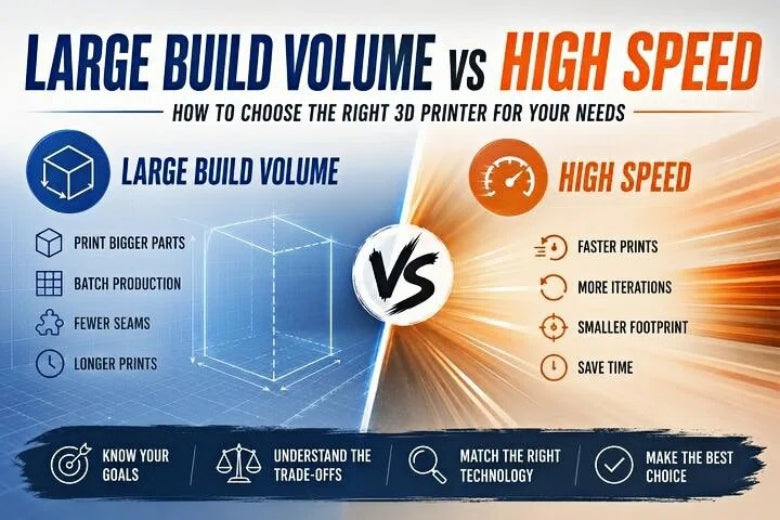
A large build volume helps when you need to print big parts (or many parts at once) without splitting models. A high-speed printer helps when you need more iteration per week (or more small/medium parts per day).
But the reason this choice is hard is simple: both “big” and “fast” put stress on the same things—frame stiffness, motion tuning, and thermal control. That’s why the best decision is usually based on your workload first, and only then on specs.
Large build volume vs high speed: quick comparison
|
If you mostly need… |
Large build volume tends to win when… |
High speed tends to win when… |
|---|---|---|
|
Big single parts |
You want one-piece helmets, enclosures, panels, jigs |
You’re okay splitting/assembling if it saves time |
|
Batch output |
You want to fill the bed and run longer jobs |
You want shorter cycles and more “prints per day” |
|
Print quality consistency |
You can print slower to keep quality stable |
You have the stiffness/cooling/tuning to go fast |
|
Stress & babysitting |
You can optimize for reliability over max throughput |
You can invest time in tuning to reduce failures |
|
Space & logistics |
You have the space for a big footprint and storage |
You want a smaller machine that runs hard |
Step 1: Do a 2-minute “needs assessment” (before looking at printers)
Answer these honestly. They’ll point you to “big,” “fast,” or “either—focus on the system.”
A. What’s your most common job?
Pick the one you do the most (not the one you dream about doing once a month):
- Large, single-piece functional parts (fixtures, housings, panels)
- Large cosplay/prop pieces (helmets, armor segments)
- Small to medium functional prints in batches (brackets, adapters, tooling)
- Rapid prototyping and iteration (multiple design revisions per week)
If you’re mostly in the first two buckets, build volume usually matters more. If you’re mostly in the last two, speed and reliability usually matter more.
B. What hurts more: long print times or failed long prints?
A slow printer is annoying. A failed 20-hour print is infuriating.
Large-format printing increases the odds you’ll hit a failure mode at least once: adhesion issues, warping, a partial clog, a layer shift, or a filament tangle. That’s not a knock on big printers—it’s just math and time-on-machine.
So ask yourself: are you optimizing for maximum size, or maximum success rate per hour?
C. Are you trying to avoid splitting models—or avoid tuning?
- If you hate splitting models, aligning parts, and dealing with seams, build volume is your friend.
- If you hate chasing ringing, cooling artifacts, and speed profiles, raw speed might not be.
Step 2: What “high speed” actually means in FDM (high speed 3D printer buyer guide)
High-speed FDM isn’t one feature. It’s a stack of limits. If you’ve ever wondered what makes a 3D printer fast, it usually comes down to how well the whole system handles acceleration, extrusion flow, cooling, and vibration.
Speed is limited by acceleration (not just travel speed)
On many prints, the print head rarely reaches “top speed” because it’s constantly accelerating, decelerating, and changing direction.
That means a printer that’s stable at higher acceleration will often feel faster than a printer that claims a high max speed but has to run conservative acceleration to avoid artifacts.
Speed is limited by flow (how much plastic you can melt and push)
Even if motion is perfect, a printer can only print as fast as the hotend and extruder can melt and move filament consistently.
Practical takeaway: when you evaluate “fast printers,” look for evidence of a system designed around sustained extrusion—hotend design, extruder consistency, and cooling—rather than assuming motion alone is the bottleneck.
Speed is limited by cooling (solidifying the line you just laid down)
When you push speed up, you’re also asking the part to cool and stabilize faster. If cooling can’t keep up, you’ll often see:
- droopy bridges
- smeared corners
- soft overhangs
- inconsistent surface texture
Speed is limited by vibration (ringing, ghosting, and other artifacts)
At higher accelerations, vibration becomes visible. Many high-speed workflows rely on vibration tuning (often referred to as input shaping/resonance compensation) to keep surface quality acceptable.
If you want a deeper explanation of what vibration compensation is trying to solve (especially on large or tall prints), this overview of SOVOL’s input shaping workflow for large-scale prints (2026) is a good primer.
Key Takeaway: “High speed” isn’t a promise. It’s what you get after stiffness, flow, cooling, and vibration control are good enough.
Step 3: What large build volume changes (large format 3D printer buyer guide)
Large build volume is a capability, but it changes the whole operating environment.
Bigger machines are harder to keep rigid
As printers get larger, they have longer spans and often more moving mass. That makes stiffness and vibration control more challenging, especially if you’re trying to run the same aggressive accelerations you’d run on a smaller, tighter machine.
That’s one reason large-format printing is frequently framed as a workflow decision, not only a spec decision. Even general frameworks for choosing large-format systems emphasize that size brings cost and complexity, so the decision should start from your application and workflow needs (see Formlabs’ framework for choosing a large-format 3D printer, updated 2026).
Bigger beds and chambers make thermal consistency more important
Large parts are more sensitive to uneven adhesion and temperature gradients. Even small “drafts” in the room or inconsistent heat across a wide surface can show up as:
- corners lifting
- warping
- layer separation on taller parts
This is why enclosure choices and bed performance often matter more on large printers than they do on small printers.
Long prints change your reliability priorities
Large prints aren’t just bigger—they’re usually longer. That shifts your must-haves toward:
- stable first layers
- filament runout and jam detection
- power-loss recovery (if you rely on it)
- easier maintenance access
General buying checklists like Raise3D’s guide on how to choose a 3D printer (updated 2026) emphasize reliability features and workflow, not only raw specs.
Step 4: The buyer guide checklist that works for both “big” and “fast” (large build volume vs high speed 3D printer)
Use this section as a framework you can apply to any printer page, review, or spec sheet.
1) Motion system: how the printer moves (and how stable it stays)
Ask:
- Is the motion system designed to stay stable at higher accelerations?
- Are the axes well-supported, with minimal flex over the full travel?
- Does the design make maintenance (belts, pulleys, rails) straightforward?
If you’re comparing architectures, you’ll often see makers discuss CoreXY vs bedslinger for speed. The key isn’t that one is “always better,” but that moving a heavy bed back and forth tends to make aggressive acceleration harder to control—especially as the bed gets larger.
2) Extrusion system: can it feed consistently at the speeds you want?
Ask:
- Is the extruder known for consistent filament control (especially for flexible or filled materials)?
- Is it easy to clear jams and swap nozzles?
- Is the hotend/cooling setup built for sustained printing, not short demos?
If you’ve ever seen vertical micro-banding or repeating surface lines, you already know that motion and extrusion “imperfections” show up on your parts. For a plain-English breakdown of one class of those artifacts, see SOVOL’s explanation of vertical fine artifacts (VFAs), updated 2026.
3) Bed + first layer: does it stay flat, consistent, and predictable?
Ask:
- Is the bed flat enough across the full area to support reliable adhesion?
- Is leveling/meshing straightforward and repeatable?
- Is the surface easy to maintain (cleaning, replacement, texture choice)?
On large-format printers, first-layer consistency is not a “nice to have.” It’s the foundation of everything that follows.
4) Enclosure + environment: do you need thermal stability or fume control?
Ask:
- Are you printing materials that benefit from an enclosure?
- Do you print in a drafty room, garage, or shared space?
- Do you need filtration, or at least better containment of odor and particulates?
Even if you’re a PLA/PETG power user, environmental consistency can be the difference between “this printer is reliable” and “this printer is moody.”
5) Firmware + sensors: what saves the print when something goes wrong?
Ask:
- What happens if filament tangles, runs out, or stops feeding?
- Do you have meaningful monitoring (camera, remote pause, notifications)?
- Are calibration and tuning tools accessible to a power user?
A lot of the “high-speed experience” is actually firmware + tuning workflow, not mechanics alone.
6) Serviceability: how quickly can you get back to printing?
Ask:
- Are spare parts easy to source?
- Can you access the parts that wear (nozzle, PTFE path, belts, fans) without a teardown?
- Is the community documentation strong?
For many advanced makers, serviceability is the hidden spec that determines whether a printer becomes your workhorse or your weekend project.
Pro Tip: If you already own a printer and you’re trying to squeeze more speed out of it, start with settings and stability before chasing “max speed.” This guide on speed vs quality settings (updated 2026) gives a useful tuning-oriented overview.
Step 5: Red flags and hidden costs (what buyer guides don’t always emphasize)
Red flags that make “big” painful
- A huge footprint that forces awkward placement (drafts, unstable tables)
- A bed surface that’s hard to keep consistent across the full area
- A machine that’s difficult to access for routine maintenance
Red flags that make “fast” frustrating
- Speed modes that look good on simple demos but fall apart on real geometry
- Cooling that can’t keep up (especially on small features)
- Vibration artifacts that require constant tuning to control
The hidden cost: your attention
A printer that needs constant babysitting is expensive in a different way. If you’re choosing between “big” and “fast,” it’s worth budgeting not only money—but the time you’ll spend dialing it in.
Step 6: Who should choose large build volume vs who should choose high speed?
Choose a large build volume if…
- You regularly print parts that you don’t want to split, align, and glue
- Your projects benefit from one-piece strength and clean surfaces
- You’re okay printing slower to keep quality and success rates high
- You have the space to keep the machine stable and the workflow organized
Choose high speed if…
- You iterate designs often and want more revision cycles per week
- You print lots of small-to-medium functional parts
- You’re willing to tune for vibration, flow, and cooling (or you enjoy that process)
- You want your printer to behave like a production tool for day-to-day jobs
If you’re stuck in the middle: buy for rigidity + reliability first
Many makers want a printer that’s “big enough” and “fast enough.” If that’s you, the safest move is to prioritize:
- stiffness and motion stability
- consistent first layers
- serviceability
- a solid tuning workflow
Then treat speed and build volume as second-order decisions.
Key takeaways
- Large build volume helps most when you need one-piece prints or batch capacity—not because it’s “better,” but because it changes what’s possible.
- High speed is a system outcome: acceleration + flow + cooling + vibration control.
- The real decision is about your workload and tolerance for tuning.
- Use a criteria-based checklist (motion, extrusion, bed, enclosure, firmware, serviceability) to compare any printer fairly.
Next steps
If you want a simple way to anchor your decision: write down your most common part size and your “failure tolerance” (how much time you’re willing to lose to a failed long print), then use that to rank the checklist items above.
For a needs-first way to frame your priorities, see SOVOL’s steps to choose a printer for your goals (updated 2026). And if you’re browsing options, you can start with the main SOVOL catalog at SOVOL 3D printers.