


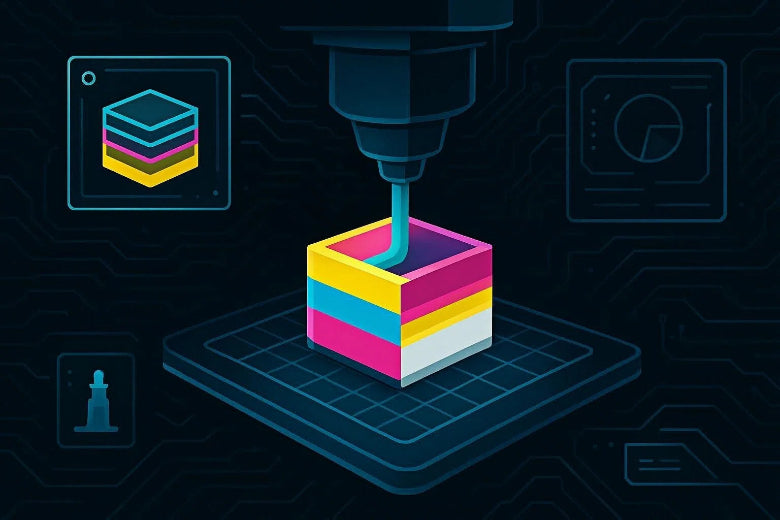
At a high level, multi-colour printing is still regular FDM 3D printing — your printer melts plastic filament and lays it down layer by layer — but it adds one extra capability: switching which filament (or which nozzle) is doing the printing at the right moments.
What is multi color 3D printing?
Multi color 3D printing (in FDM/FFF) means making one printed part using two or more filament colours by swapping colours during the print — either manually, or automatically with additional hardware.
It’s different from “painting a print” after it’s finished, and it’s also different from full-colour 3D printing (the photorealistic stuff). As Formlabs explains in its Guide to Color 3D Printers (2023), common FDM approaches rely on pre-coloured filament and have visible layer lines, while full-colour technologies add colour during printing (more like a 2D printer) using processes such as binder jetting or material jetting.
Why people love multi-colour printing (and what it can’t do)
Multi-colour printing is great for:
- Labels and text that are built into the part (name tags, control panels, tool labels)
- Colour-coding functional parts (left/right, hot/cold, size markers)
- Logos and signage that look “finished” straight off the bed
But it helps to know the limits upfront:
- More colours usually means more print time and more waste. Your printer has to switch colours and get the nozzle “clean” again.
- Sharp colour boundaries take planning. Some methods do it better than others.
- It’s not the same as true full-colour gradients or photo-real prints. That’s a different class of machines.
Key Takeaway: Multi-colour FDM is absolutely achievable at home — but it’s best thought of as “controlled colour switching”, not “printing a photo in 3D”.
The 5 main ways multi-colour FDM printing works
There isn’t one “multi-colour mode”. There are a few common hardware approaches, and the best one depends on how many colours you want and how much complexity you’re willing to manage.
Snapmaker’s overview of the 4 main methods for multi-colour printing is a good starting taxonomy; below is the same idea, expanded for beginners.
1) Manual filament swaps (pause the print and change filament)
This works on almost any single-extruder FDM printer.
- You print in colour A.
- At a chosen layer, the printer pauses.
- You unload colour A, load colour B, and continue.
Best for: simple designs where colour changes happen at specific heights (for example: black base + white text on top).
Trade-offs: you have to be present for the swap, and each swap adds a chance for a mistake (wrong filament, wrong resume timing, poor re-priming).
2) Automated filament switching (AMS/MMU-style systems)
These systems hold multiple spools and automatically feed one filament at a time into a single nozzle.
An MMU (Multi-Material Unit) is a generic term for a device that switches filaments during a print. SOVOL’s open-source MMU explainer describes the high-level idea: motors and sensors manage unloading one filament and loading the next.
Best for: multi-colour models where changes happen often and you don’t want to babysit the printer.
Trade-offs: you’ll typically see more purging/waste and you’ll want dry, consistent filament to reduce feed issues.
3) Dual extrusion (two nozzles on one machine)
A dual-extruder printer has two hotends/nozzles so it can switch between them.
Best for: reliable two-colour printing, or multi-material 3D printing scenarios (like a main material + a support material).
Trade-offs: extra calibration. You’re now managing two nozzles (offsets, temperatures, oozing control).
If you’re curious about the “materials” side, SOVOL’s multi-material printing guide is a good conceptual companion.
4) IDEX (independent dual extruders)
IDEX is a specific dual-extruder design where each extruder can move independently. One tool can park away while the other prints, which can reduce contamination.
Best for: cleaner two-colour boundaries with less interference from the “inactive” nozzle.
Trade-offs: higher machine complexity and more setup than single-nozzle systems.
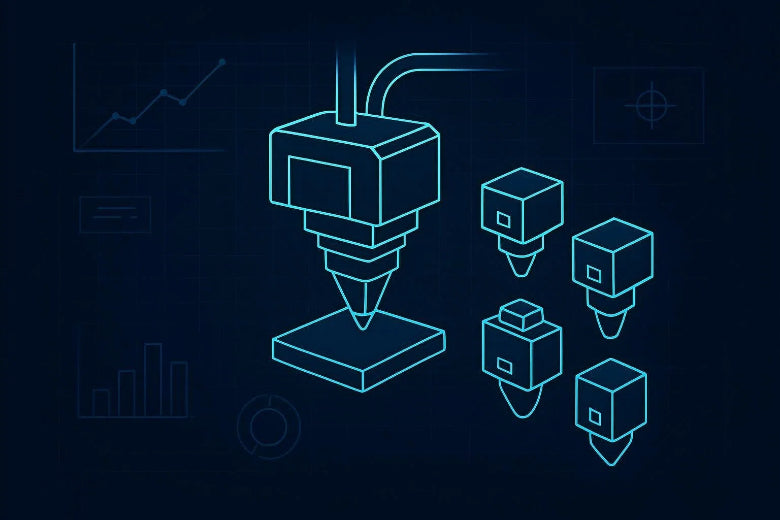
5) Toolchangers (multiple dockable toolheads)
Toolchanger systems swap whole toolheads (each with its own nozzle). This can reduce the need to purge huge amounts of filament between colours because each colour can keep its own hotend.
Best for: advanced multi-colour and multi-material work.
Trade-offs: cost and complexity.
What’s actually happening during a colour change
Multi-colour prints often surprise beginners because the printer seems to “waste” material. The reason is simple: a hot nozzle can’t instantly switch from one filament to another without mixing.
The purge/prime tower (why it exists)
A purge tower (also called a prime tower or wipe tower) is a small sacrificial structure printed next to your model.
When the printer changes colours, it extrudes filament into the tower to:
- push out leftover plastic from the previous colour
- re-prime the nozzle so flow is stable again
- reduce colour bleeding on the real part
If you’re using an automatic switching system or frequent colour changes, the tower can end up being larger than you expect — it’s the cost of clean transitions.
Colour bleeding, oozing, and “mystery strings”
Common reasons multi-colour prints look messy:
- Oozing: a hot nozzle drips while travelling.
- Contamination: the new colour is still mixed with the previous one.
- Unreliable priming: after a switch, the nozzle may briefly under-extrude.
Pro Tip: Start with a model that has only 1–2 colour changes. Your goal is to learn the workflow before you attempt a 200-change character model.
Which method should you choose? (Beginner decision table)
|
If you want… |
Start with… |
Why |
What to watch for |
|---|---|---|---|
|
2 colours with a single height change (e.g., text on top) |
Manual filament swap |
Cheapest, simplest learning path |
Remember to purge/prime after loading the new filament |
|
Several colours with minimal babysitting |
Automated filament switching (MMU/AMS-style) |
The machine handles swaps |
Purge waste, wet filament causing feed errors |
|
Two different materials (rigid + dissolvable support, rigid + flexible grip) |
Dual extrusion |
Cleaner material separation |
Calibration, matching temps, oozing control |
|
Sharper two-colour boundaries with less nozzle interference |
IDEX |
One nozzle can park away |
Added machine setup complexity |
|
Many colours/materials with fewer purge compromises |
Toolchanger |
Separate toolheads can reduce mixing |
Most complex and expensive |
Your first simple multi-colour print (manual swap, step-by-step)
This is a beginner-friendly way to get a win on almost any printer.
Step 1: Pick the right model
Choose something where the colour change is clearly layer-based:
- a flat badge
- a name plate
- a simple logo plaque
Step 2: Print it once in a single colour
Do a single-colour test print first. If the first layers aren’t reliable, multi-colour will multiply the frustration.
If you need a refresher on the basics, SOVOL’s step-by-step beginner 3D printing guide is a solid workflow overview (setup → slice → watch the first layers → post-process).
Step 3: Add the colour change in your slicer
In PrusaSlicer (and slicers with similar previews), you can insert a colour change at a specific layer in preview.
Prusa explains the basic workflow in its Color change guide: move the layer slider to the target layer and add a colour change so the printer pauses for a filament swap (commonly via an M600-style filament change).
Step 4: Swap filament cleanly
When the printer pauses:
- Unload the current filament.
- Load the new colour.
- Purge a small amount until the new colour runs clean.
- Resume.
Step 5: Stay for the first few minutes after resuming
Most problems happen right after a change:
- the filament isn’t fully loaded
- the nozzle wasn’t primed
- the first layer after the swap under-extrudes
Catching it early saves the print.
Troubleshooting: common multi-colour problems (and quick fixes)
Problem: Colours look muddy at the boundary
- Cause: not enough purging; filament still mixed in the hotend.
- Fix: increase purge/flush amount (or accept a small transition zone in your design).
Problem: Strings and blobs after colour changes
- Cause: oozing during travel; filament too hot; retraction not tuned.
- Fix: reduce temperature slightly for that filament (within manufacturer guidance), tune retraction, and keep filament dry.
Problem: The print fails right after a swap
- Cause: filament not fully loaded; nozzle not primed; pause/resume workflow issues.
- Fix: practise the swap routine on a simple model; make sure you purge until flow is consistent before resuming.
Problem: You want “multi-colour” but actually need different materials
If your goal is functional (soft grip + rigid body, dissolvable supports), you’re in multi-material 3D printing territory. Read SOVOL’s multi-material printing guide to understand compatibility and method choices.
Key takeaways
- Multi color 3D printing in FDM usually means switching filaments (or nozzles) at the right moments.
- The most common beginner path is a manual filament swap at a chosen layer.
- Automated switching (MMU/AMS-style) makes multi-colour easier — but usually increases purge waste and requires dialled-in filament handling.
- A purge tower exists to flush old colour and stabilise extrusion after a switch.
- “Multi-colour” is not the same as full-colour photoreal printing — they’re different technologies.
FAQ
Can any 3D printer do multi-colour printing?
Most FDM printers can do basic multi-colour via manual filament swaps. Automatic multi-colour usually requires additional hardware (a filament switching system) or a multi-extruder/toolchanger printer.
What’s the difference between multi-colour and full-colour 3D printing?
Multi-colour FDM typically uses pre-coloured filament and creates colour changes by switching filament/nozzles. Full-colour processes add colour during printing (like ink), which is why they can match many tones. Formlabs covers this clearly in its Guide to Color 3D Printers (2023).
Why does multi-colour printing waste so much filament?
Because your hotend needs time and extrusion to transition cleanly from one colour to the next. Purging into a tower (or another purge method) is how you prevent colour contamination and inconsistent flow.
Is multi-colour the same as multi-material?
Not necessarily. Multi-colour can be the same material in different colours (e.g., PLA + PLA). Multi-material means different materials (e.g., PLA + TPU), which adds compatibility considerations.
Next steps
If you want to go deeper (without getting overwhelmed), here are three beginner-friendly paths:
- Learn the concept of filament switching with SOVOL’s open-source MMU explainer
- Understand functional prints with SOVOL’s multi-material printing guide
- Tighten your fundamentals with SOVOL’s step-by-step beginner 3D printing guide


