


The less-fun reality: trophies and stadium-style models expose all the usual failure modes—wobbly tall prints, support scars, ugly seams, and paint that highlights every layer line you thought you sanded.
This guide is built to help you avoid that.
Key Takeaway: The fastest path to clean-looking World Cup 3D prints is to (1) choose an orientation that protects the “front” surfaces, (2) minimize supports through part-splitting, and (3) finish with a simple sand → prime → paint workflow.
World Cup 3D prints you can finish in a weekend
You don’t need a huge printer or a 12-color setup to make something that feels “event-ready.” Start with one of these.
- 3D printed trophy (desk-sized): big payoff, easy to display.
- Medals + ribbon loop: quick prints, great for watch parties.
- 3D printed keychain / bag tag: perfect for clean, flat logos.
- Coasters: the best first “multicolor logo” project.
- Stadium ring / façade silhouette: architectural vibes; great in matte filament.
- Scoreboard nameplate: print a base once, swap plates for each match.
If this is your first time doing finishing work, start with a coaster (fast feedback) or a mini trophy (big payoff).
Before you slice: three decisions that determine whether it looks “printed”
1) Decide what matters more: surface quality or print simplicity
A trophy printed upright often has cleaner symmetry and fewer support marks—but you may see more visible layer lines across curved surfaces.
The same trophy tilted can hide seams and improve the look of the front face, but it may increase supports and cleanup.
For stadium/architecture-style pieces, the main tradeoff is usually supports vs. crisp edges. One practical architectural-model overview stresses designing and orienting to minimize supports, because supports leave marks and add labor you don’t want on a display piece.The Ultimate Guide to 3D Printing Architectural Models
2) Split the model on purpose
If you’re allergic to sanding support scars (reasonable), splitting is your friend:
- print the trophy base as one part
- print the cup / globe / top as another
- assemble and hide the seam where the geometry already changes
The same logic works for stadium models: split roofs, stands, and ring details so the visible surfaces stay support-free.
3) Check the file is “solid” (watertight)
Architectural-style models sometimes arrive with broken surfaces or non-manifold geometry. If your slicer shows missing faces or it generates internal walls you didn’t expect, fix that before you waste time.
SUNLU’s prep notes put it bluntly: the model should be solid and watertight for reliable printing.TechTips: Prepare 3D Printing for Architectural 3D Model
A starter kit of FDM settings for trophies, stadiums, and accessories
These aren’t magic numbers. They’re a sane baseline you can tweak based on your printer, filament, and how much you care about surface finish.
|
What you’re printing |
Layer height |
Walls |
Infill |
Supports |
Notes |
|---|---|---|---|---|---|
|
Trophy (desk size) |
0.12–0.20 mm |
3–5 |
15–25% |
Minimal |
Prioritize clean outer surface |
|
Stadium / architecture |
0.10–0.16 mm |
2–4 |
15–30% |
Avoid if possible |
Consider splitting into parts |
|
Coasters / badges |
0.16–0.24 mm |
3–4 |
10–20% |
None |
Top surface quality matters most |
|
Keychains |
0.16–0.24 mm |
3–4 |
10–20% |
None |
Add a chamfer around the hole |
A general design-for-FDM best-practices summary calls out basics like avoiding overly thin walls and managing overhangs; it gives ~0.8 mm as a baseline minimum wall thickness for printability in many cases.7 tips and best practices to design for 3D printing
Two slicer settings that matter more than people admit
Seam placement (Z-seam). On trophies, a seam down the “front” ruins the illusion. Put it on a rear edge, inside corner, or the least-visible side.
Top surfaces. For coasters, badges, and flat logos, your top skin is the product. Add enough top layers to fully cover infill, slow it down, and consider ironing if your slicer/printer combo does it well.
How to print a trophy that doesn’t tip, wobble, or look rough
Step 1: Make the base stable (or intentionally weighted)
A trophy that looks great but tips over is… not a trophy.
Options:
- Widen the base (even by a few millimeters).
- Increase wall count on the base region.
- Add a cavity under the base so you can glue in a washer or coins after the print.
Step 2: Protect the hero surfaces from supports
If the front face matters (it does), try to orient or split so supports land on:
- the underside
- the back
- inside cavities
Step 3: Pick a detail level you can actually finish
- If you’re painting: print a little thicker and rely on primer to smooth (faster).
- If you want raw-plastic beauty: print finer layers and slow external walls (more time).
If you want a reference workflow for creating and finishing a trophy-style print, FacFox’s walkthrough is a handy overview.How to Model & 3D Print A Trophy
How to print a stadium model without turning it into a support-removal job
Stadiums are basically lots of edges, lots of overhangs, and lots of repetitive geometry. The trick is to choose a stadium style that matches FDM.
Go for silhouettes and sections, not tiny seats
If you try to print every seat row at a tiny scale, you’ll get:
- overhang soup
- stringing
- cleanup that erases detail
Instead, pick one:
- façade silhouette (looks sharp even at small scale)
- ring + supports (simple geometry)
- section cutaway (lets you hide seams inside)
Print in modules
A practical approach:
- print the ring in 2–4 arcs
- print stands as separate blocks
- align with pegs or tabs
Multicolor 3D printing without AMS: the clean, low-drama methods
You can get strong team-color vibes with a two-color workflow—without committing to a purge tower the size of your actual print.
Option A: Pause-at-height color swap
Best for: coasters, badges, flat keychains.
Workflow:
- Design the logo so the color change happens at a clean layer boundary.
- Slice and find the layer where the “top color” begins.
- Add a pause/filament-change at that layer.
- Swap filament, purge until the color is clean, then resume.
For a clear visual walkthrough of how multicolor coasters and keychains are designed (separate regions assigned to colors), Bambu Lab’s overview is useful even if you’re using other slicers.How to Design a Multi-Colored 3D Print
Option B: Inlays
Best for: badges, nameplates, jersey numbers.
- Print the base plate with a recess.
- Print the logo as a separate piece.
- Press-fit or glue it in.
Why it works: you get crisp edges without towers, purge blocks, or lots of swaps.
How to paint PLA 3D prints so they look less “3D printed”
You don’t need a pro cosplay bench. You need a consistent process.
The basic workflow
- Clean up: trim blobs, remove supports carefully.
- Sand: knock down layer lines.
- Prime: filler primer if you want fast smoothing.
- Paint: multiple light coats, let them dry.
- Optional clear coat: if it’ll be handled a lot.
Pro Tip: Prime earlier than you think. A thin primer coat will reveal exactly where your layer lines still show—before you’ve committed to paint.
PLA vs PETG for painted display pieces
- PLA is usually the easiest choice for paint: it’s stiff, prints cleanly, and sands predictably.
- PETG is tougher, but can be stringier and can be less pleasant to sand if you go aggressive.
If your goal is a clean painted finish, PLA is the low-friction option.
Troubleshooting: quick fixes for the most common failures
Problem: pitted surfaces + crackling noises while printing
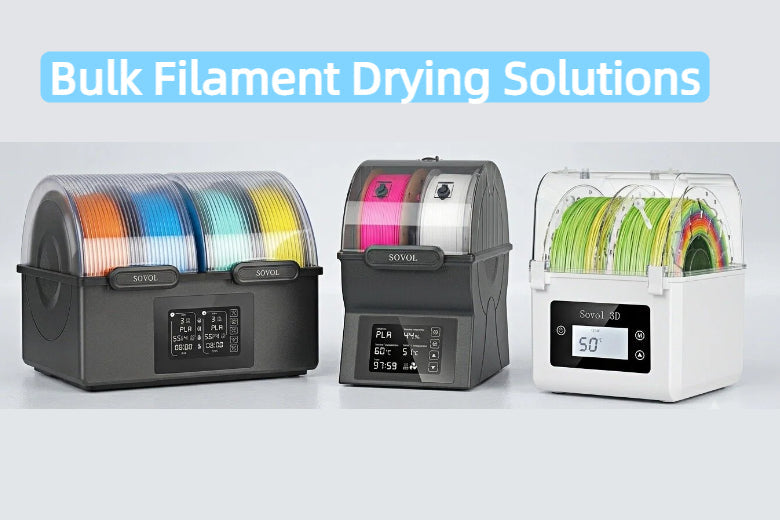
That “popping” sound is often filament moisture. Drying and storage are usually the fastest fix.
If you want a quick checklist, see SOVOL’s guide on how to fix filament popping during 3D printing.
Problem: support scars that show through paint
Try:
- re-orient so supports land on hidden surfaces
- split the model at natural geometry breaks
- reduce support density and tune support interfaces (if your slicer supports it)
Problem: the trophy looks fine… until the top wobbles
Likely causes:
- tall, narrow geometry
- too little base stability
- too much speed for the shape
Try:
- increase walls on the base
- add a brim for stability
- slow external walls for the top half
Key takeaways
- Choose a project that matches FDM: coasters and trophies are high-reward; stadiums work best as silhouettes/modules.
- Minimize supports by orienting for hero surfaces and splitting parts.
- Start from sane settings, then tune for the model.
- Finish with process, not vibes: sand → prime → light coats.
- Multicolor doesn’t require fancy hardware: pause-at-height and inlays go a long way.
Next steps
If you want a reliable platform for these kinds of “print + finish” projects—and you like open-source-friendly machines—take a look at Sovol and pick a printer size that matches the build volume you want.


