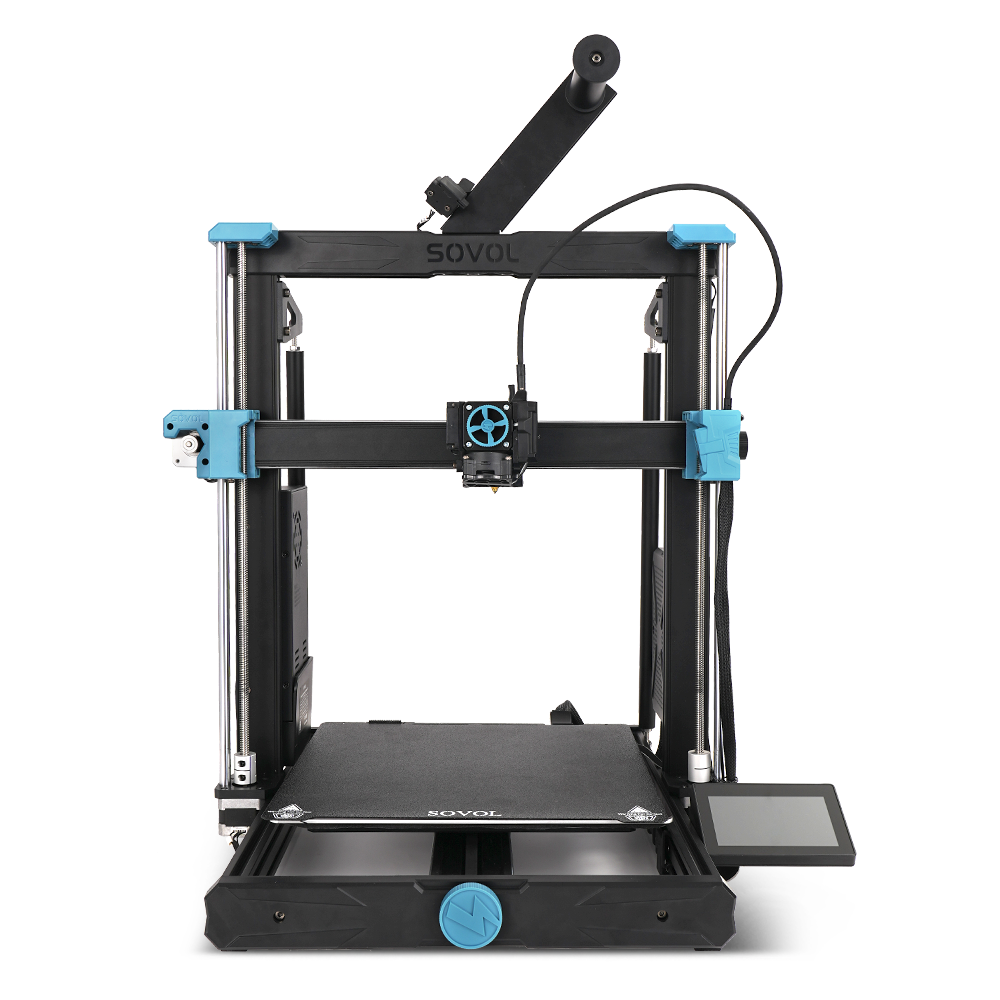
You set up your 3d printer, load your design, and hit print. Suddenly, your print peels off the bed, the nozzle clogs, or layers shift out of place. These are the top three common 3d printing problems users report:
- Bed adhesion failures
- Extrusion issues
- Layer shifting
Real users on community forums have shared practical troubleshooting tips that help you fix these issues fast.
Key Takeaways
- Improve bed adhesion by leveling your print bed and cleaning the surface before each print. Use the right surface for your filament type.
- Prevent extrusion issues by regularly maintaining your printer and calibrating settings. Store filament properly to avoid moisture.
- Address layer shifting by checking belt tension and ensuring proper alignment of pulleys. Keep the printer on a stable surface during operation.
- Utilize community tips and troubleshooting tables to quickly resolve common printing problems. Document your adjustments for future reference.
- Regular maintenance and careful setup can significantly enhance print quality and reduce the risk of failures.
3D Printer Bed Adhesion Problems
Causes of Poor Bed Adhesion
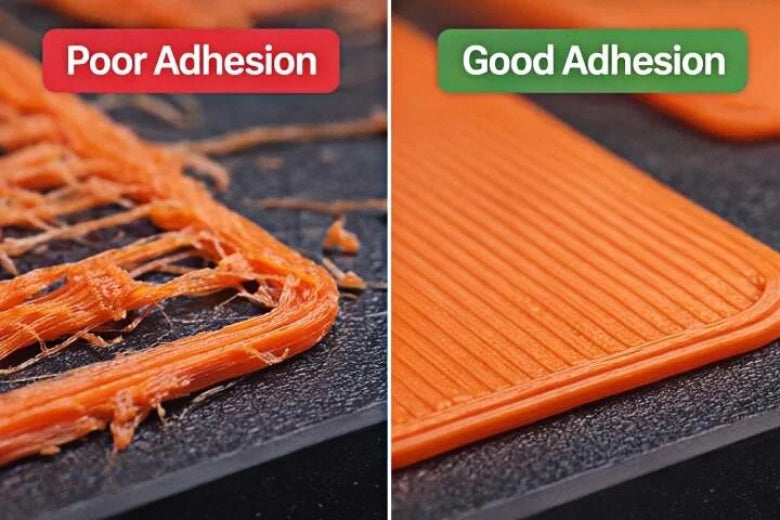
You may notice your prints lifting or curling at the edges. These issues often start with poor bed adhesion. Many users find that an unleveled print bed leads to uneven bonding, which causes the first layer to fail. If you set the print or bed temperature too low, the filament will not stick well, especially in a cold room. High printing speeds can also prevent the filament from bonding to the bed, making warping more likely. The quality of your filament matters, too. Wet or low-quality filament can cause jams and reduce print quality. A warped or dirty build plate can also create problems with layer adhesion and overall print quality.
Bed Adhesion Solutions from the Community
You can improve bed adhesion by matching your bed surface to the filament type. For example, PLA works well on glass with a glue stick, while ABS prefers PEI or Kapton tape. Always clean your print bed before starting a new job. Use isopropyl alcohol to remove dust and oils. Many users slow down the first layer speed to 20-30 mm/s and increase the extrusion width to help the filament stick. Slicer tools like brims or rafts can add extra surface area, making prints less likely to lift. Adhesives such as glue sticks, hairspray, or specialized sprays like 3DLAC can help with tricky materials. The table below shows popular combinations:
|
Filament Type |
Best Surfaces |
Tips |
|---|---|---|
|
PLA |
Blue painter's tape, PEI, glass |
Use glue stick on glass. Sand glass for better grip. |
|
ABS |
Kapton tape, heated glass |
Keep bed at 90–110°C. Use an enclosure. |
|
PETG |
PEI, glue stick on glass |
Avoid PEI alone. Lower bed temp after first layers. |
|
TPU |
PEI, glass, magnetic sheets |
Lower bed temp or use release agent. |
Preventing Print Failure Due to Adhesion
You can prevent print failures by checking bed leveling before each print. Adjust the nozzle height so the first layer presses gently into the bed. Keep the first layer temperature high enough for good bonding. Use brims or rafts for extra support, especially with large or tricky prints. Regular cleaning and maintenance will help you avoid jams and other printing problems. These troubleshooting steps will help you solve most bed adhesion issues and improve your 3d printer experience.
Common 3D Printing Problems: Extrusion Issues
Under-Extrusion and Over-Extrusion Explained
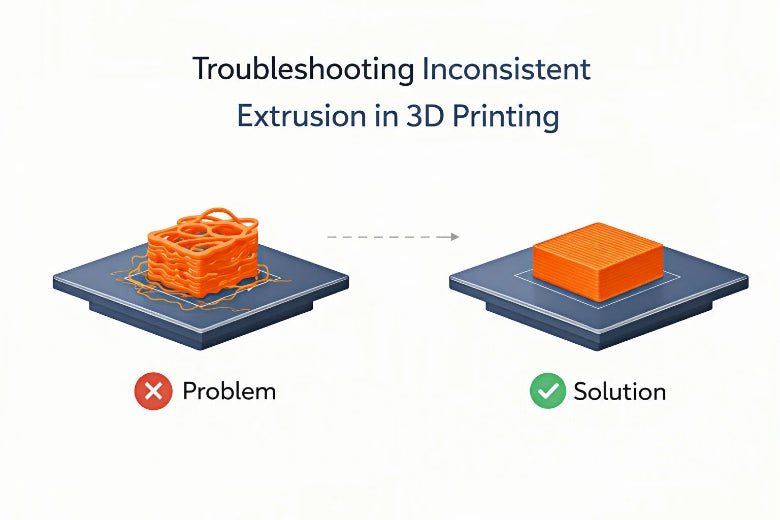
You may notice gaps, weak spots, or a melted look in your prints. These are signs of under-extrusion and over-extrusion. Under-extrusion happens when your 3d printer does not push out enough plastic. This leads to missing layers, cracks, and poor structural integrity. Over-extrusion occurs when too much plastic comes out, causing blobs, stringing, and warping. Both problems affect print quality and can waste material. Many users report frequent under-extrusion on popular models like the Prusa i3 MK3S+. Over-extrusion often results from incorrect temperature settings, filament diameter changes, or misaligned extrusion mechanisms.
|
Description |
|
|---|---|
|
Under-extrusion |
Occurs when insufficient plastic is extruded, leading to gaps and compromised structural integrity. |
|
Over-extrusion |
Happens when too much plastic is extruded, causing a melting appearance in parts. |
|
Stringing |
Small strings of plastic are left behind due to incorrect retraction settings or high temperatures. |
|
Layer separation |
Layers split apart due to excessive layer heights or low print temperatures, leading to material waste. |
|
Gaps between infill and outline |
Caused by incorrect infill overlap settings or fast print speeds, resulting in weak bonding. |
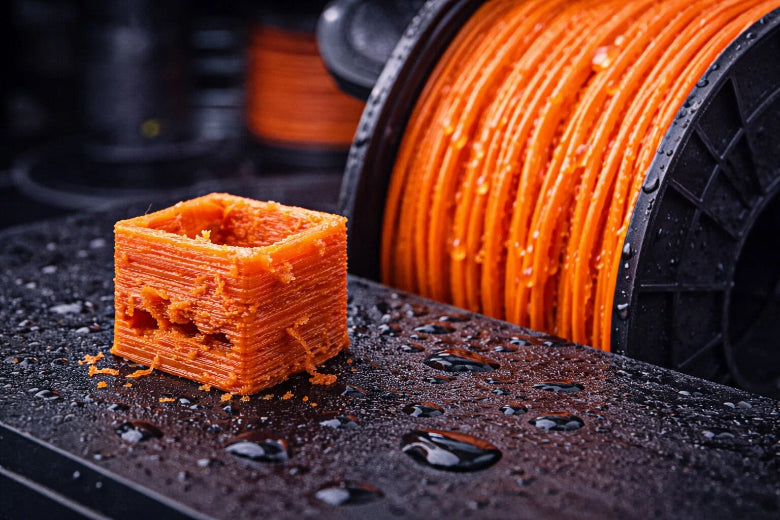
Moisture in filament can also cause extrusion issues. Steam forms inside the hot end, creating voids and gaps. You should store filament in a dry place and use a filament dryer if needed.
Troubleshooting Filament Jams and Clogs
Filament jams and nozzle jams stop your print and waste time. You can face jams from heat creep, low hot end temperature, or dust on the filament. If the nozzle is too close to the bed, extrusion stops and jams occur. Inconsistent filament diameter also causes feeding problems. To fix jams, try these steps:
- Heat the hotend 5-10°C above normal.
- Push filament through by hand or with a small tool.
- Clean the hobbed bolt if filament is ground away.
- Tighten the drive block.
- Use a steel high E string or acupuncture needle to clear hardened plastic.
You can also lower the nozzle temperature to the lowest possible for the filament type. Cut any dripping filament before starting the pull. For ABS, use 120°C; for PLA, use 90°C; for Nylon, use 100-140°C.
Community Solutions for Consistent Extrusion
You can prevent extrusion issues with regular maintenance and calibration. Clean dust and debris from electronics and ventilation areas with compressed air or a soft brush. Inspect spool holders and couplers for wear. Use cleaning filament to clear the nozzle. Store filament properly to avoid moisture and dust. Monitor filament flow during printing to catch clogs early. High-quality filament with consistent diameter improves print quality and reduces jams. Correct temperature settings help with proper melting and flow. Higher nozzle temperatures improve layer adhesion and reduce warping. Lower temperatures can cause under-extrusion and missing layers. Document any parts replaced or adjustments made during troubleshooting for future reference.
Layer Shifting and Print Failure
Why Layer Shifting Happens
You may notice your 3d printer suddenly shifts layers, causing a jagged or slanted print. Layer shifting and print failure are common issues for many users. These problems often result from mechanical or electrical faults. If you have improper belt tension, your printer can slip during printing. Loose or tight belts, misaligned pulleys, or unsecured motor fasteners can all lead to misaligned layers. Most printers use an open-loop control system. This means the printer cannot detect if the toolhead moves off track. If you bump the printer or experience a power surge, the printer cannot correct the error, and you may see missing layers or a messy first layer.
Common causes of layer shifting include:
- Issues with belt tension
- Motor pulley alignment
- Printer's power mode settings
Mechanical and calibration errors also play a big role. A loose belt creates slack, which leads to erratic movements. Insufficient power to stepper motors or an improperly calibrated driver can cause the motors to lose steps. This results in layer shifting, cracks, and poor print quality.
Troubleshooting Layer Misalignment
You can fix layer misalignment by following a few key troubleshooting steps:
- Check belts and pulleys for proper tension and alignment.
- Lubricate and clean motion parts to reduce friction and prevent jams.
- Inspect stepper motors for skipped steps or overheating.
- Secure the bed and frame to avoid vibrations and movement.
- Adjust print speed to reduce stress on the motors.
- Prevent collisions by keeping the print area clear.
Tip: Regular maintenance helps prevent nozzle jams, under-extrusion, and over-extrusion, which can all contribute to print failure.
Solutions to Prevent Print Failure
Many users share community-driven strategies to prevent layer shifting and print failure. The table below highlights some of the most effective solutions:
|
Strategy |
Solution |
|---|---|
|
Check for external interference |
Ensure X and Y axes are free from objects. Use video to spot obstacles. |
|
Dry high-viscosity filaments or use a prime tower. Adjust hotbed temperature to avoid warping. |
|
|
Adjust print speeds |
Enable auto-recovery from step loss. Clean carbon rods to reduce resistance. |
You should also monitor for jams and warping during printing. Keep your printer on a stable surface and avoid moving it while printing. Regularly check for proper leveling and adhesion to maintain print quality. By following these troubleshooting steps and community tips, you can reduce the risk of print failure and improve your overall printing experience.
Troubleshooting Quick Reference Table
Problems and Solutions at a Glance
When you face 3d printer problems, a quick reference can save you time and frustration. Many users find that having a table of common issues and solutions helps them keep print quality high and avoid repeated jams or failed prints. Below, you will find a table that summarizes the most frequent printing issues and the steps you can take to fix them. This table draws from real user experiences and community advice.
|
Issue |
Suggested Solutions |
|---|---|
|
Not extruding at the start of the print |
1. Lower printing speed |
|
Stringing / hairy prints |
1. Retraction calibration |
|
Overhangs or sagging sections in the print |
1. Add supports |
|
Support material difficult to remove |
1. Increase air gap |
|
Under extrusion |
1. Check for filament issues |
Tip: Regular maintenance and careful setup can prevent many common problems. Always check your printer before starting a new job
You can use this table as a checklist when you want to improve print quality or solve a sudden problem. For example, if you see stringing on your prints, try retraction calibration and make sure your filament stays dry. If your 3d printer stops extruding at the start, check the pulleys and belt tension first. These steps help you keep your printing process smooth and your results consistent.
A quick glance at this table can help you troubleshoot faster and keep your print quality high. Many users keep a printed copy near their printer for easy access. By following these proven solutions, you can avoid many common issues and enjoy better results from your 3d printer.
You now know the most common 3d printer problems and how users solve them. When you use these troubleshooting steps, you improve your print quality and save time. Community tips make a big difference:
- People share knowledge and help others succeed.
- Practical advice leads to better results.
- Shared insights help everyone overcome challenges.
Learning from others matters. Many students want to explore 3D printing more, and schools play a key role in sharing new ideas. Share your own tips in the comments to help others grow.
FAQ
What should you do if your first layer does not stick?
You should check bed leveling and clean the print surface. Try using a glue stick or painter’s tape. Lower the first layer speed. Adjust the nozzle height so the filament presses gently into the bed.
Why does your 3D printer make clicking noises during printing?
Clicking often means the extruder cannot push filament through. You may have a clogged nozzle or the temperature set too low. Pause the print, clean the nozzle, and check the filament path.
How can you stop your prints from warping at the corners?
Keep the bed temperature steady and use an enclosure if possible. Add a brim or raft in your slicer. Clean the bed before each print. These steps help prevent corners from lifting.
What causes layer shifting in your prints?
Loose belts, misaligned pulleys, or sudden bumps can cause layer shifting. You should check belt tension and make sure the printer sits on a stable surface. Secure all cables and avoid moving the printer during a print.
How do you store filament to prevent print problems?
- Store filament in a dry box or sealed bag with silica gel.
- Keep it away from sunlight and moisture.
- Dry filament before use if it feels brittle or makes popping sounds.


