


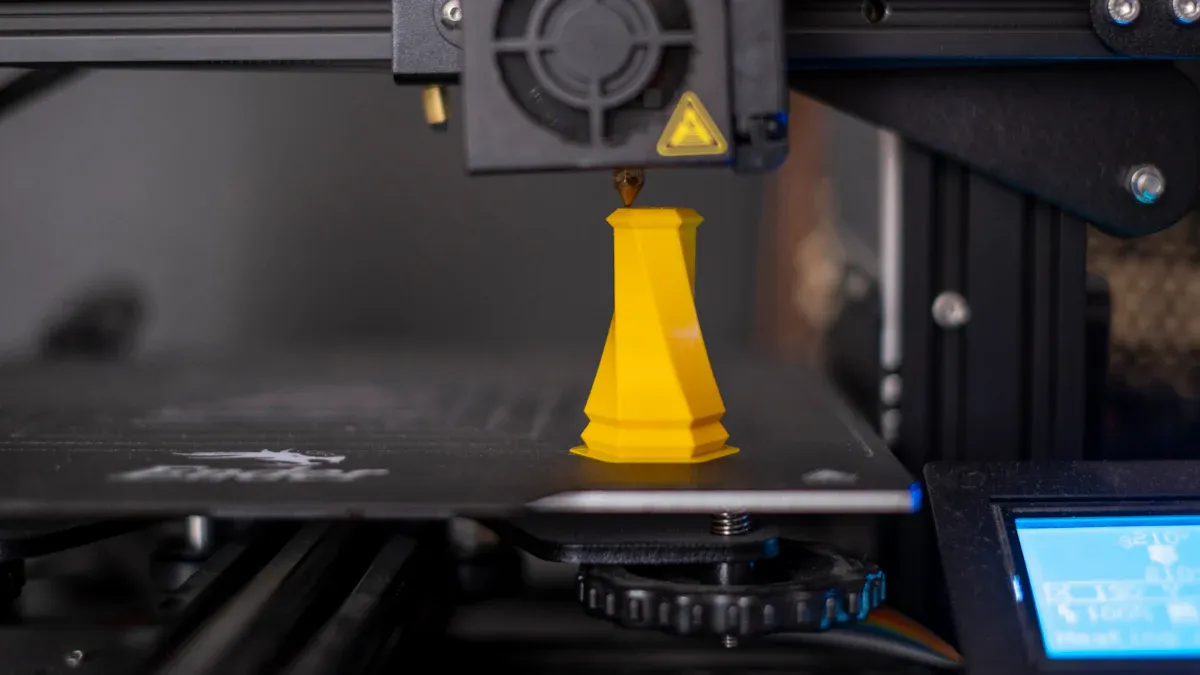
Want your prints to finish faster but still look good? You can achieve 3D printing speed optimization by changing some settings on your 3D printer. You should also use the right hardware and know your filament. Printing faster saves you a lot of time. Simple objects might only take one hour, while detailed models can take many days. Fast 3D printing helps you get more done, but you must balance speed with good results.
Key Takeaways
- You can make your printer faster by changing settings like layer height and infill density. Start with a speed of 50 mm/s. Then slowly make it faster to get better prints.
- Pick the right filament for your project. Materials like PLA, PETG, and TPU need special speed settings to work well.
- Try different settings to find a good balance between speed and quality. Print a small test first to see what works best before you print something big.
- You can make your printer faster by upgrading parts. Use bigger nozzles and good hot ends to help your printer work better.
- Write down your settings and results. Keeping notes helps you make better prints next time.
Why Optimize 3d Printer Speed
Benefits of Faster Printing
You want to get your prints done quickly, right? When you focus on 3d printer speed, you save time and boost your productivity. Imagine finishing a prototype in hours instead of days. That means you can test ideas faster, make changes, and keep your projects moving. If you run a business or work on lots of models, faster prints help you meet deadlines and take on more jobs.
Let’s look at how different speeds affect your results:
|
Dimensional Accuracy (%) |
Tensile Strength (MPa) |
|
|---|---|---|
|
Below 300 |
Increased deviations |
Weak layer bonding |
|
300 |
Optimal balance |
Best tensile strength |
|
Above 300 |
Structural defects |
Reduced tensile strength |
You can see that 3d printing speed optimization is not just about going as fast as possible. The right speed gives you strong, accurate prints. If you push your 3d printer speed too high, you might get weak or messy results.
Tip: Try to find the sweet spot for your printer. Test different speeds and see which one gives you the best mix of speed and quality.
Speed vs. Quality Trade-offs
When you speed up your prints, you make some trade-offs. Here are the most common ones:
- Simple models print faster because they have less detail.
- Laying models flat can increase speed, but you might lose some accuracy.
- For quick prototypes, you can use lower resolution and focus on speed.
- If you need parts to fit together or work well, slow down for better accuracy.
- Beautiful, detailed prints need high resolution, so they take longer.
- Sometimes, you just need something fast, even if it doesn’t look perfect.
3d printing speed optimization helps you choose what matters most for each project. You decide if you want speed, quality, or a bit of both. Every print is different, so don’t be afraid to experiment and find what works best for you.
Key Factors in 3d Printing Speed Optimization
When you want to boost your 3d printer speed, you need to look at three main areas: your hardware, the filament you use, and your slicer settings. Each one plays a big role in how fast and how well your printer works.
Hardware Capabilities
Your printer’s hardware sets the limits for 3d printing speed optimization. Some parts have a bigger impact than others. Here’s a quick look:
|
Component Type |
|
|---|---|
|
Printer Mechanism Type |
Affects the overall speed capabilities of the printer. |
|
Stepper Motors |
Higher quality motors can improve speed and precision. |
|
Cooling Systems |
Efficient cooling allows for faster printing without overheating. |
|
Hot Ends |
Affects material flow and can enable higher speeds. |
|
Nozzle Size |
Larger nozzles can extrude more material quickly. |
If you want to go faster, look for printers with strong stepper motors, good cooling, and a quality hot end. A bigger nozzle can also help you print more quickly.
Filament Properties
Not all filaments act the same when you try to print fast. Here’s what you should know:
- Some filaments melt at lower temperatures, so you can push them through the nozzle faster.
- High-speed filaments let you print quicker, but you might lose some detail.
- If you print too fast, you can get weak or stringy prints.
- Lower speeds usually give you stronger parts because the layers stick better.
Research shows that even with the same filament, like PLA, strength and quality can change a lot based on your speed and other settings. Always test new filaments before printing important parts.
Slicer Settings
Your slicer settings control how your printer moves and lays down plastic. These settings are key for 3d printing speed optimization. You can adjust print speed, layer height, infill, and more. Try these tips:
- Increase print speed for simple shapes.
- Use thicker layers for faster prints.
- Lower infill density to save time.
- Adjust cooling and retraction for smoother results.
Tip: Save your favorite slicer settings as a profile. This makes it easy to switch between fast and high-quality prints.
Essential 3d Printer Speed Settings
Getting the right 3d printer speed settings can make your prints finish much faster without turning them into a mess. Let’s break down the most important settings you should know and tweak for faster 3D printing, while still keeping your prints strong and looking good.
Print Speed
Print speed tells your printer how fast to move while laying down plastic. If you want to optimize 3d printer speed, this is the first setting you should try. Most printers let you set print speed in millimeters per second (mm/s).
Recommended print speed ranges:
|
Print Type |
Speed Range (mm/s) |
|---|---|
|
High Detail/Small |
30–50 |
|
Standard Quality |
50–70 |
|
Draft/Fast Prints |
70–120 |
- For most projects, start at 50 mm/s. If you want faster 3D printing, try bumping it up to 70 mm/s.
- For simple shapes or prototypes, you can go up to 100 mm/s or more, but watch for quality drops.
- If you see stringing, blobs, or rough surfaces, slow down a bit.
Tip: Always test new print speeds with a small object before printing something big.
Layer Height
Layer height controls how thick each layer of your print will be. This setting has a big impact on both print time and strength.
- Thinner layers (like 0.1 mm) give you smooth surfaces and fine details, but they take much longer to print.
- Thicker layers (like 0.3 mm) print much faster, but you might see more lines and lose some detail.
- The best balance for most prints is between 0.15 mm and 0.25 mm. This range gives you good strength and decent speed.
How layer height affects your print:
- Thinner layers improve surface finish and detail but increase print time.
- Thicker layers reduce print time but may compromise strength due to poorer layer adhesion.
- The optimal layer height for strength is typically around 0.15 to 0.25 mm, balancing bonding and efficiency.
Note: Don’t set your layer height higher than 80% of your nozzle diameter. For a 0.4 mm nozzle, keep it at 0.32 mm or less.
Infill Density
Infill density decides how much plastic goes inside your print. This setting changes both print time and how strong your part will be.
- Low-density filling (0%-20%): Great for models you just want to look at or test. Saves time and filament.
- Medium-density filling (20%-50%): Good for everyday items that need some strength. Still prints pretty fast.
- High-density filling (50%-100%): Best for parts that need to be strong or hold weight. Takes much longer to print.
If you want to optimize 3d printer speed, use the lowest infill that still gives you the strength you need.
Tip: For most prints, 15%–25% infill works well and keeps print times short.
Acceleration & Jerk
Acceleration and jerk settings control how quickly your printer changes speed and direction. These settings affect both speed and print quality.
|
Effect |
Description |
|---|---|
|
Higher acceleration settings enable the printer to reach target speeds more quickly. |
|
|
Reduce Wear |
Gradual acceleration settings lessen the impact on mechanical components, extending lifespan. |
|
Improve Print Quality |
Suitable jerk settings minimize vibrations, enhancing surface quality and precision. |
|
Reduce Printing Defects |
Appropriate jerk settings decrease defects caused by sudden direction changes. |
|
Lower Noise Levels |
Lower jerk settings reduce mechanical vibrations and noise during printing. |
Recommended ranges:
- Acceleration: 500–2000 mm/s² for most printers. Start low (around 800 mm/s²) and increase if your printer can handle it.
- Jerk: 5–15 mm/s. Lower values give smoother prints but slower speeds. Higher values speed things up but can cause ringing or ghosting.
Try small changes and watch your printer. If you hear loud noises or see wobbly prints, lower these settings.
Retraction Speed
Retraction speed tells your printer how fast to pull back the filament when moving between parts of your print. This helps stop stringing and blobs.
- Start with 25–40 mm/s for most filaments.
- If you see strings, try increasing the speed a little.
- If your extruder skips or jams, slow it down.
Note: Every filament acts differently. Always test retraction settings when you switch materials.
Flow Rate
Flow rate controls how much filament your printer pushes out. This setting is usually a percentage (100% is normal).
- Adjusting the print speed can help resolve underextrusion issues that arise when printing too fast, as the printer may not feed filament quickly enough.
- Adjusting the flow rate is essential for consistent extrusion and print quality, as it directly affects the amount of filament extruded, influencing both print speed and consistency.
- If the flow rate is set too high, it can lead to overextrusion, resulting in blobs or overlapping lines, while a low flow rate can cause underextrusion, leading to gaps in the printed lines.
- Flow rate is defined as the amount of filament pushed out of the nozzle, measured as a percentage or multiplier of the default amount.
- Adjusting the flow rate fine-tunes print quality, impacting the thickness of the extruded plastic.
Recommended range:
- Start at 100%.
- If you see gaps, try 105%.
- If you see blobs or rough surfaces, lower it to 95%.
Always calibrate your flow rate after changing nozzles or filament brands.
Cooling Fan
The cooling fan helps solidify the plastic as it comes out of the nozzle. Good cooling lets you print faster without the layers sagging or warping.
- For PLA, keep the fan at 100% after the first few layers.
- For ABS or PETG, use lower fan speeds (20%–50%) to avoid cracking.
- If you print very fast, make sure your fan can keep up. If not, slow down or add a stronger fan.
Tip: If you see droopy edges or poor overhangs, check your fan settings.
When you dial in these 3d printing speed settings, you get the best mix of speed and quality. Always make small changes and watch your results. Every printer and filament is a little different, so don’t be afraid to experiment. With the right settings, you can enjoy faster 3D printing and great-looking parts every time.
Hardware Upgrades for Faster Printing
If you want to push your 3d printer speed even further, hardware upgrades can make a big difference. Let’s look at three upgrades that help you print faster without losing too much quality.
Larger Nozzle
A larger nozzle lets your printer lay down more plastic with each pass. This means you can finish big prints much faster. For example:
- A 0.8 mm nozzle can print twice as fast as a 0.4 mm nozzle.
- Larger nozzles work best for big models or prototypes where you don’t need tiny details.
- If you want fine detail, stick with a smaller nozzle, like 0.2 mm, but expect slower prints.
Tip: Use a larger nozzle when you need speed over detail. You’ll see a big jump in print times for large projects.
Hot End Upgrades
Upgrading your hot end helps your printer melt plastic faster and more evenly. A high-quality hot end can:
- Boost your printing speed by heating plastic quickly and keeping the temperature steady.
- Cut down on clogs and jams, so you don’t have to stop your print.
- Handle higher flow rates, which is key when you want to print fast with a big nozzle.
Some hot ends also come with better heater cartridges. These heat up faster and keep your print running smoothly at high speeds.
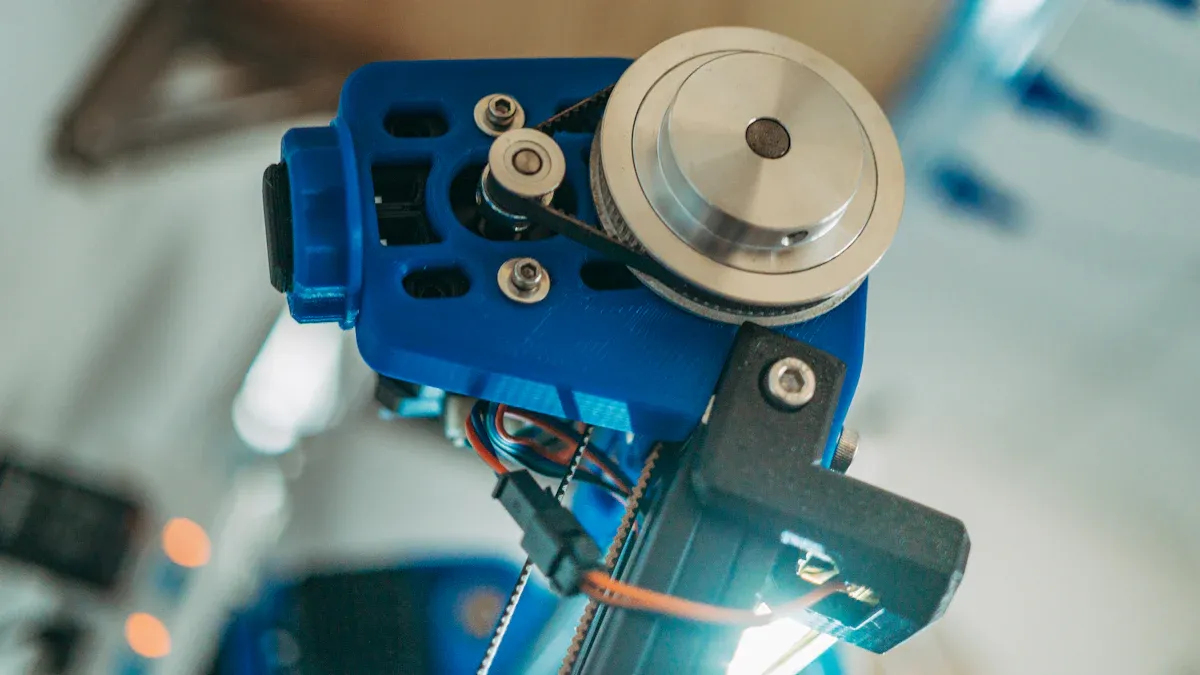
Extruder Improvements
Your extruder pushes the filament into the hot end. If it slips or can’t keep up, your print will fail. You can:
- Upgrade to a dual-gear extruder for better grip, especially at high speeds.
- Calibrate your extruder steps (E-steps) to make sure you get the right amount of plastic.
- Use firmware features like linear advance to control pressure and avoid blobs.
- Set a max flow rate in your slicer to prevent jams.
With these upgrades, your printer can handle faster speeds and still give you reliable results.
Safe Speed Optimization for Beginners
Speeding up your 3D printer can feel exciting, but you want to avoid failed prints or messy results. If you’re new to 3D printer speed optimization, start slow and build confidence with these simple steps.
Gradual Speed Increase
Don’t jump straight to the fastest settings. Begin with your printer’s default speed. Print a small test object. If it looks good, increase the speed by 10–15%. Watch for any problems like stringing or rough edges. If you see issues, slow down a bit. This way, you find the best 3D printing speed settings for your machine without risking a big print.
Tip: Keep a notebook or digital log. Write down what speed works best for each filament and model. This helps you get faster 3D printing next time.
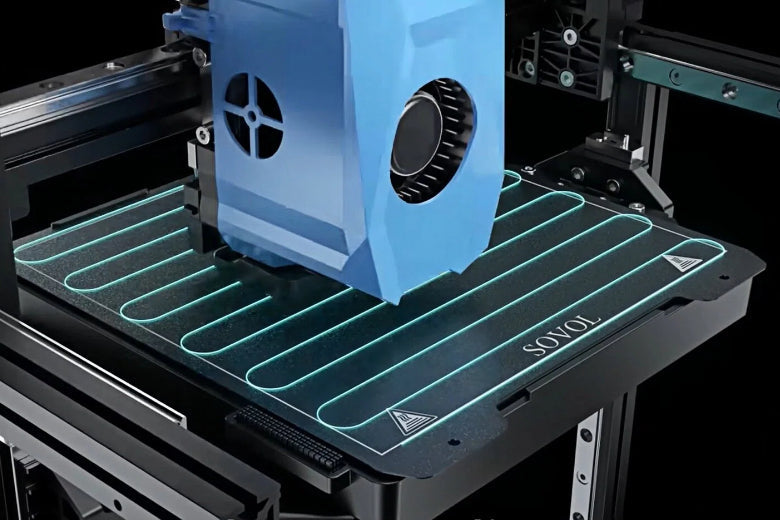
Reliable Bed Leveling
A level bed is key for high-speed prints. If your first layer doesn’t stick, your print can fail—especially at higher speeds. Many printers now use eddy current scanning for bed leveling. This method is quick, accurate, and doesn’t touch the bed. It finds bumps or dips, so your first layer goes down smooth. Here’s how reliable bed leveling helps:
|
Benefit |
Description |
|---|---|
|
Eddy current scanning levels the bed quickly and correctly, enhancing print quality. |
|
|
Non-Contact Method |
This method does not touch the printer bed, keeping it safe and clean. |
|
Detection of Surface Irregularities |
It identifies small bumps or dips, preventing print mistakes and improving the first layer. |
|
Compatibility |
Works with various bed materials and temperatures, making it versatile for different printing jobs. |
|
Enhanced Printing Experience |
Simplifies the 3D printing process, leading to more successful prints with less effort. |
A well-leveled bed means you can optimize 3D printer speed and still get great results.
Basic Extruder Calibration
Your extruder needs to push out the right amount of filament. If it pushes too much or too little, your prints will look bad—especially when you print faster. Calibrate your extruder by measuring how much filament it feeds. Most printers have a simple guide for this. Once you set it up, you’ll see better results and fewer jams.
Remember: Good calibration and leveling help you balance printing speed vs quality. Take your time, and you’ll get faster prints without losing detail.
Advanced 3d Printing Speed Optimization
Ready to take your 3D printer speed optimization to the next level? If you want to squeeze out every bit of speed, you need to look beyond basic settings. Advanced tweaks can help you get faster 3D printing while still keeping your prints strong and clean. Let’s dive into three powerful ways to optimize 3D printer speed.
Firmware Tweaks
Your printer’s firmware controls how it moves and responds. You can unlock more speed by adjusting settings like acceleration and jerk. These settings tell your printer how quickly it can start, stop, and change direction.
- Increase acceleration to help your printer reach top speed faster.
- Raise jerk values to let your printer switch directions quickly.
- Always test small prints first. Too much speed can cause ringing or wobbly lines.
⚠️ Be careful! Pushing these numbers too high can cause skipped steps or rough prints. Always balance printing speed vs quality.
Custom G-code
Custom G-code gives you direct control over your printer’s actions. You can add special commands to speed up certain parts of your print or slow down for tricky details.
; Example: Set acceleration for infill
M204 S2000 ; Set acceleration to 2000 mm/s² for infill
- Use G-code to set different speeds for perimeters and infill.
- Add commands to boost fan speed on overhangs.
- Tweak retraction and movement commands for less stringing.
Custom G-code lets you fine-tune your 3D printing speed settings for each print.
Slicer Profile Adjustments
Advanced slicer profiles give you more ways to optimize 3D printer speed. You can:
- Override filament settings to adjust speeds for different print steps.
- Set maximum print speeds for each filament, like PLA or PETG.
- Use filament profiles to set maximum volumetric rates. This helps your slicer pick the best speed for your material.
- Test your printer’s limits with tools like Orca Slicer. Adjust acceleration and jerk for better efficiency.
Tip: Save your favorite profiles. You can switch between fast and high-quality prints with just a click.
With these advanced tools, you can push your printer for faster 3D printing. Always watch your results and remember—speed is great, but quality matters too!
Material-Specific Speed Tips
Every filament acts a little differently when you try to optimize 3D printer speed. If you want faster 3D printing and great results, you need to adjust your 3D printing speed settings for each material. Here’s how you can get the best out of PLA, PETG, ABS, and TPU.
PLA Optimization
PLA is the easiest filament for 3D printer speed optimization. You can print it fast, but you still need to watch for oozing and stringing. Try these steps:
- Fine-tune retractions. Adjust your retraction settings to stop oozing. Test different values until you see clean prints.
- Maximize cooling. Set your cooling fan to 100% after the first few layers. This helps the filament cool quickly and keeps your prints sharp.
- Set the right temperature. Use an extruder temperature between 190°C and 230°C. Too hot, and you get oozing. Too cold, and you get under-extrusion.
Tip: PLA lets you push for faster 3D printing, but always check your print for quality. If you see stringing, slow down a bit.
PETG Optimization
PETG needs a different approach. It does not like high speeds. If you want to optimize 3D printer speed with PETG, keep these points in mind:
- Lower your print speed to about 20 mm/s. This helps with stable extrusion.
- If your print still looks rough, slow down even more.
- Avoid using default high-flow settings, as they can clog your nozzle.
PETG gives you strong prints, but you need to balance printing speed vs quality. Go slow for the best results.
ABS Optimization
ABS can handle higher speeds than PETG, but it warps if it cools too fast. For 3D printer speed optimization with ABS:
- Use moderate print speeds, around 40–60 mm/s.
- Keep your print area warm. Use an enclosure if you have one.
- Lower your cooling fan or turn it off to prevent cracks.
ABS needs steady heat. If you see warping, slow down or add more heat.
TPU & Other Filaments
Flexible filaments like TPU need special care. They print best at slow speeds. Here’s a quick guide:
|
Setting |
Recommendation |
|---|---|
|
Print Speed |
15–25 mm/s |
|
Retraction Distance |
Under 2 mm |
|
Retraction Speed |
Low |
|
Feed Rate Consistency |
Slow and steady |
Flexible filaments stretch and jam if you go too fast. For the best quality, keep your speed low and your movements steady.
With these tips, you can optimize 3D printer speed for any material. Always test your settings and remember—printing speed vs quality is a balance. Try small changes and watch your results for the best prints every time.
Troubleshooting Faster Printing Issues
Speeding up your 3D printer feels exciting, but sometimes you run into problems. Let’s look at common issues you might face when you try to optimize 3D printer speed and how you can fix them.
Print Quality Problems
You want faster 3D printing, but your prints start looking rough. Maybe you see lines, blobs, or even gaps. This happens when your 3D printing speed settings push your printer too hard.
Common scenarios:
- You set a high print speed, and the surface looks wavy.
- You see stringing between parts of your model.
- Details look fuzzy or melted.
How to fix it:
- Lower your print speed by 10–20 mm/s and check the next print.
- Increase cooling fan speed to help layers set faster.
- Adjust retraction settings to reduce stringing.
Tip: Always test new speed settings with a small calibration cube before printing big models.
Layer Adhesion
When you print fast, layers might not stick together well. You notice weak spots or cracks in your parts. This is a classic printing speed vs quality problem.
What you can do:
- Raise the nozzle temperature by 5–10°C to help layers bond.
- Slow down the print speed for the outer walls.
- Use thicker layers for better bonding.
|
Problem |
Solution |
|---|---|
|
Weak layers |
Increase temperature |
|
Cracks |
Slow down outer walls |
|
Poor bonding |
Use thicker layers |
Note: Good layer adhesion keeps your prints strong, even when you want faster 3D printing.
Mechanical Limitations
Your printer has limits. If you push it too fast, you might hear grinding noises or see skipped steps. Sometimes, the printer shakes or vibrates.
How to handle it:
- Check belts and pulleys for tightness.
- Lower acceleration and jerk settings in your slicer.
- Upgrade to stronger stepper motors if you print fast often.
Remember: Balancing printing speed vs quality means knowing what your machine can handle. Don’t force it past its limits.
With these troubleshooting tips, you can optimize 3D printer speed and still get great results. Always watch your prints and make small changes for the best balance.
Results Comparison: Speed vs. Quality
Speed Improvement Metrics
You want to see real results when you optimize 3D printer speed. Let’s look at how much time you can save with different 3D printing speed settings. You can measure your progress with a stopwatch or use your slicer’s estimated print time.
Here’s a quick table to show how changing just a few settings can impact your print time:
|
Setting Change |
Print Time (Hours) |
Time Saved (%) |
|---|---|---|
|
Default (Standard Quality) |
5 |
0% |
|
+20% Print Speed |
4 |
20% |
|
Thicker Layer Height (0.25mm) |
3.5 |
30% |
|
Lower Infill (15%) |
3 |
40% |
You can see that even small tweaks give you faster 3D printing. If you combine these changes, you can cut print time in half! Always test with a simple model first. This helps you find the best 3D printer speed optimization for your setup.
Tip: Write down your print times for each project. This helps you track what works best for your printer and filament.
Visual Quality Changes
When you push for speed, you might notice changes in how your prints look. Printing speed vs quality is a real trade-off. Here’s what you might see:
- Layer lines get thicker. Surfaces look less smooth.
- Corners may look rounded. Fast moves can cause slight bulges.
- Small details can blur. Letters or logos might lose sharpness.
- More stringing or blobs. Fast retractions can leave tiny threads.
You can use this checklist to spot changes:
- Does the surface feel rough?
- Are the edges sharp or soft?
- Do small holes or text look clear?
If you want to optimize 3D printer speed, always check your prints up close. Sometimes, a little extra speed is worth it. Other times, you might slow down for a perfect finish. Balancing speed and quality is the key to great results.
Remember: Every printer and filament is different. Test, compare, and adjust your 3D printing speed settings for the best outcome.
You can make your 3D printer work faster by changing your 3D printing speed settings, getting better hardware, and picking the right filament. Always try to keep a good balance between printing speed and quality so your prints turn out well. Begin with slow speeds, try small changes, and look at your prints often. Being safe and making sure your printer works well is very important. Do you have your own 3D printer speed optimization tips or any questions? Put them in the comments!
FAQ
What is the safest way to start with 3D printer speed optimization?
You should start slow. Change one 3D printing speed setting at a time. Print a small test object. Watch for problems like stringing or rough edges. If your print looks good, try a faster speed next time.
How do I balance printing speed vs quality?
You need to find the right mix for your project. Use this table as a quick guide:
|
Goal |
Speed |
Quality |
|---|---|---|
|
Prototype |
High |
Medium |
|
Display |
Medium |
High |
|
Functional |
Medium |
Medium |
Tip: Always check your print after each change.
Which 3D printing speed settings matter most for faster 3D printing?
You should focus on print speed, layer height, and infill density. These settings have the biggest impact. Try thicker layers and lower infill for faster prints. Don’t forget to adjust your cooling fan and retraction settings, too.
Can I use the same speed for every filament?
No, you can’t. Each filament acts differently. PLA prints fast. PETG and TPU need slower speeds. Always check the filament label or do a quick test print. Adjust your 3D printer speed settings for each material.
Why does my print look messy when I try to optimize 3D printer speed?
You might be printing too fast for your hardware or filament. Slow down a little. Check your cooling and retraction settings. Make sure your printer is well-calibrated. Sometimes, a small speed drop makes a big difference in quality.


