


Big prints are unforgiving.A small amount of vibration that’s “fine” on a 60 mm calibration cube turns into obvious ripples on a 400 mm wall. And when a print runs for 10+ hours, tiny mechanical looseness has more than enough time to show up as ringing, ghosting, and smeared corners.
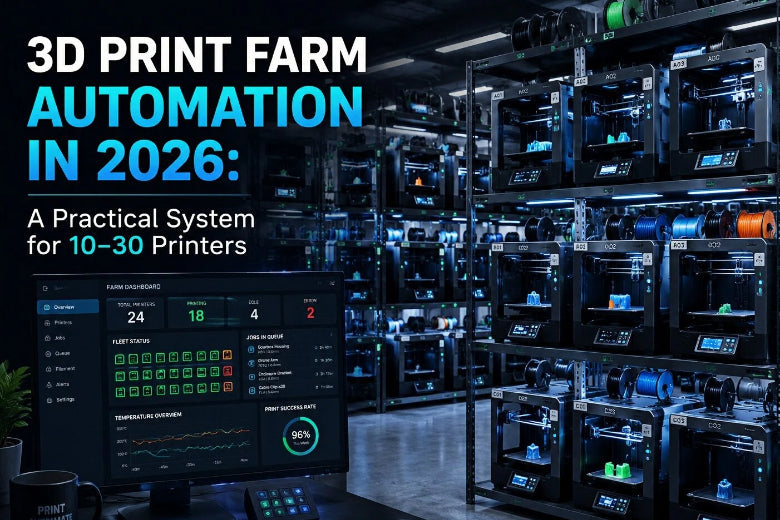
This guide is a practical playbook for active vibration compensation 3D printer setups—what most makers will know as input shaping—with a focus on large-format and tall prints.
Key Takeaway: Input shaping can erase a lot of ringing, but it only works well when your mechanics are tight and your acceleration limits are realistic for a big machine.
Why ringing gets worse on big printers and big parts
On large-scale prints, you’re usually fighting some combination of:
- More inertia: bigger gantries, larger beds, heavier toolheads, longer belts—more mass wants to keep moving after a direction change.
- Longer spans: larger frames have more ways to flex and resonate.
- Long, flat surfaces: big walls make “echo” patterns painfully visible.
- Higher stakes: a small defect on layer 50 is still a defect on layer 500.
The result is the classic pattern: sharp corners look fine up close, but you see a repeating wave pattern fading away from features—especially around text, holes, and hard edges. That’s the “ghosting 3D prints” look most people are trying to eliminate.
Input shaping 3D printer basics (and what it won’t fix)
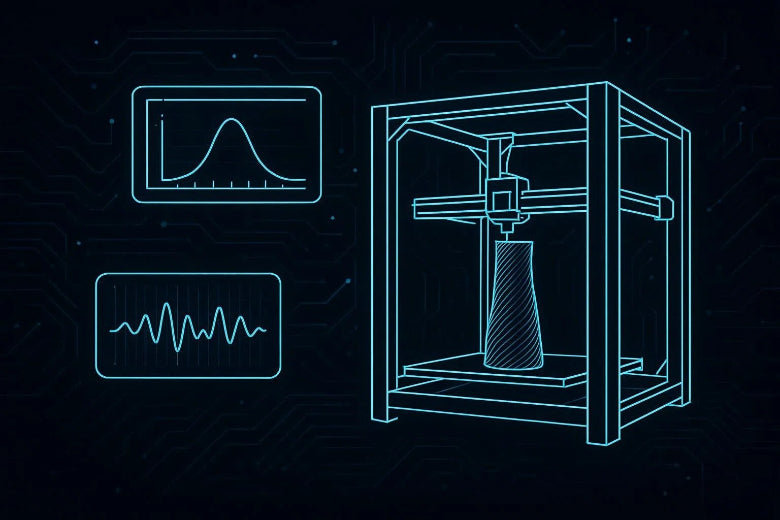
Input shaping is a firmware-level method that changes how the printer accelerates and decelerates so the motion system doesn’t “ring” at its resonance frequency.
What input shaping is great for:
- Ringing / ghosting on walls
- Ripples after direction changes
- Letting you run higher acceleration for the same surface quality
What input shaping won’t fix:
- Corner blobs, ooze, or under-extrusion from pressure changes (that’s usually pressure advance / linear advance)
- Z-wobble, bent lead screws, or inconsistent extrusion
- A printer that’s physically loose
If you’re deciding what to tune first, SOVOL’s breakdown of input shaping vs pressure advance matches the workflow most experienced makers end up with: stabilize motion first, then refine extrusion.
The large-format pre-flight checklist (mechanics first)
Before you touch firmware settings, do a quick mechanical pre-flight. Input shaping is not a substitute for tight hardware; it’s a way to work with a well-behaved machine.
1) Confirm the printer is on a stable base
Large printers love to amplify table wobble.
- Put the printer on a rigid surface.
- If the table flexes, address that first (stiffer bench, reinforcement, or mass damping).
2) Check belt tension and belt path
You’re looking for consistent tension and smooth belt travel, not “as tight as possible.”
- Confirm belt clamps are solid.
- Check that pulleys and idlers are aligned.
- Look for belt dust, fraying, or missing teeth.
3) Tighten the frame and moving assemblies
- Re-torque frame fasteners.
- Check for play in the toolhead, gantry, and bed carriage.
- If you can wiggle an axis by hand, input shaping won’t save you.
4) Clean and inspect rails/wheels
- Clean rails and re-lube if your motion system expects it.
- Verify there’s no “gritty” spot or binding.
5) Make sure the toolhead isn’t unnecessarily heavy
Large-scale printers often end up with “just one more add-on.”
If ringing is your problem, a heavier toolhead is rarely your friend.
Pro Tip: If your ringing is dramatically worse in one axis, treat that as a clue. It’s often a belt path/tension issue or a stiffness problem along that axis—not a mysterious slicer setting.
Two ways to calibrate active vibration compensation
You have two viable paths. The best choice depends on what firmware you run and how much repeatability you want.
|
Method |
What you do |
Pros |
Cons |
Best for |
|---|---|---|---|---|
|
Accelerometer-based tuning |
Measure resonance frequencies and derive shaper settings |
Fast, repeatable, less guesswork |
Requires a sensor + mounting |
Makers who tune often or push speed (e.g., with an accelerometer ADXL345) |
|
Test-print tuning |
Print a ringing tower and iterate |
No extra hardware |
Slower; more trial-and-error |
Makers who want results without a sensor |
Path A: Accelerometer-based tuning (Klipper-style)
If your printer runs Klipper (or another system that supports accelerometer-based resonance tests), this is the most direct route.
Klipper’s official workflow is laid out in Klipper’s “Measuring Resonances” documentation. In practice, this is the workflow most people mean when they say resonance compensation Klipper tuning. The most practical takeaways for real-world use are:
1.Mount the accelerometer rigidly
- It should be firmly attached to the moving assembly you’re measuring.
- Avoid “soft” mounts that can introduce their own wobble.
2. Run resonance tests axis-by-axis
You’ll typically run tests for X and Y and then analyze the results.
3. Apply shaper settings, then set conservative acceleration
The goal is not maximum numbers. It’s repeatable quality on real parts.
⚠️ Warning: Resonance testing can get violent. Treat the first run as a safety check: watch the machine, keep your hand near the stop, and back off intensity if needed.
Large-format note: Don’t treat the first suggested settings as gospel. Big printers can have multiple resonance peaks and they can shift with toolhead weight, belt tension, or even how the machine is mounted.
Also, repeated resonance tests can increase wear over time. Re-run tests after meaningful hardware changes—but don’t “auto-calibrate” every week just because you can.
Path B: No-sensor tuning (test-print method)
If you don’t have an accelerometer (or your firmware doesn’t support one), you can still get most of the benefit.
A practical approach (the goal is simple: reduce ringing without sacrificing detail):
Start with sane acceleration
- If your acceleration is extremely high, you’ll chase artifacts forever.
Print a ringing test model
- Use a model with sharp corners and repeated features.
Change one variable at a time
- Adjust the setting that controls vibration compensation (or the closest equivalent your firmware offers).
- Reprint the same test model.
Stop when the wall looks “clean enough” without rounding everything
- Input shaping can trade ringing for smoothing. Your goal is the best compromise for your parts.
If you want a readable walkthrough of the full process (still worth sanity-checking against the official docs), this is a decent reference: ThinkRobotics’ Klipper input shaper calibration guide.
Set acceleration limits that make sense for large builds
Here’s the part many guides skip: input shaping doesn’t mean “unlimited acceleration.”
For big prints, you want a configuration that:
- doesn’t reintroduce ringing halfway up a tall wall
- doesn’t shake the machine hard enough to loosen fasteners
- stays consistent across different toolhead weights and spool positions
A good mindset is:
- Use input shaping to improve quality at your current accel.
- Then increase accel gradually until quality stops improving.
If you’re seeing any of these, you’re probably asking too much from acceleration:
- ringing returns even with shaping enabled
- corners start looking softened or “melted”
- the printer sounds harsher (more “thunk” than “hum”)
Validate on a real part (not just a calibration tower)
Calibration towers are useful, but they can lie.
A tower is small, light, and often printed with short toolpaths. Your actual large part is none of those.
Use a real-print validation checklist:
Choose a part (or section of a part) with:
- long straight walls
- sharp outside corners
- at least one repeated feature (text, holes, ribs)
- Print it at the speed and accel you actually want for production
Inspect:
- corners (are they crisp or rounded?)
- walls near features (is there a fading ripple pattern?)
- consistency at different Z heights
If ringing gets worse higher up, look for:
- frame looseness developing during printing
- cable drag or spool pull changing toolhead load
- wobble from the surface the printer is sitting on
Troubleshooting: when the artifact isn’t ringing
Ringing/ghosting has a specific look: repeated ripples that fade away from a corner or feature.
If what you’re seeing doesn’t match that, check these common look-alikes:
- Corner bulges / blobs: often extrusion pressure issues → tune pressure advance / linear advance (after input shaping)
- Vertical repeating patterns: can be belt/gear meshing, motor resonance, pulleys—not always solved by shaping
- Z-banding: Z mechanics, lead screw alignment, inconsistent Z friction
If you need a step-by-step mechanical checklist focused specifically on ghosting, SOVOL’s guide to fixing 3D printer ghosting is a helpful companion.
A quick note on SOVOL and input shaping
Some SOVOL printers explicitly advertise input shaping support—for example, the product page for SOVOL SV08 references input shaping and Klipper-based features.
The practical takeaway isn’t that any specific model is “best.” It’s that if you’re shopping for a printer intended for speed and surface quality, input shaping support (and a sane tuning workflow) should be on your checklist.
FAQ
Does input shaping help with tall prints?
Yes—especially for artifacts created by X/Y direction changes. But tall prints also expose stability issues (wobble, frame looseness, changing loads), so input shaping works best when your mechanics and mounting are solid.
Do I need an accelerometer?
Not strictly. You can tune by test prints, and for many makers that’s “good enough.” An accelerometer mainly saves time and makes results more repeatable—especially after hardware changes.
Can input shaping reduce noise?
Sometimes it can change the “character” of the printer’s motion, but its main purpose is surface quality. If noise is your main goal, treat that as a separate tuning/mitigation effort.
Should I tune pressure advance before input shaping?
Most workflows recommend the opposite: stabilize motion first, then refine extrusion. That’s also how SOVOL frames it in their input shaping vs pressure advance article.
Next steps
If you want to push speed without sacrificing surface quality, treat this as a stack:
- Mechanics and stability
- Input shaping / active vibration compensation
- Pressure advance (to clean up corners and flow changes)
- Conservative accel limits for large parts
If you’re building a large-format machine (or upgrading to one), you can browse guides and printer options on SOVOL and use the checklist above to evaluate whether the motion system is set up for clean, fast prints.


