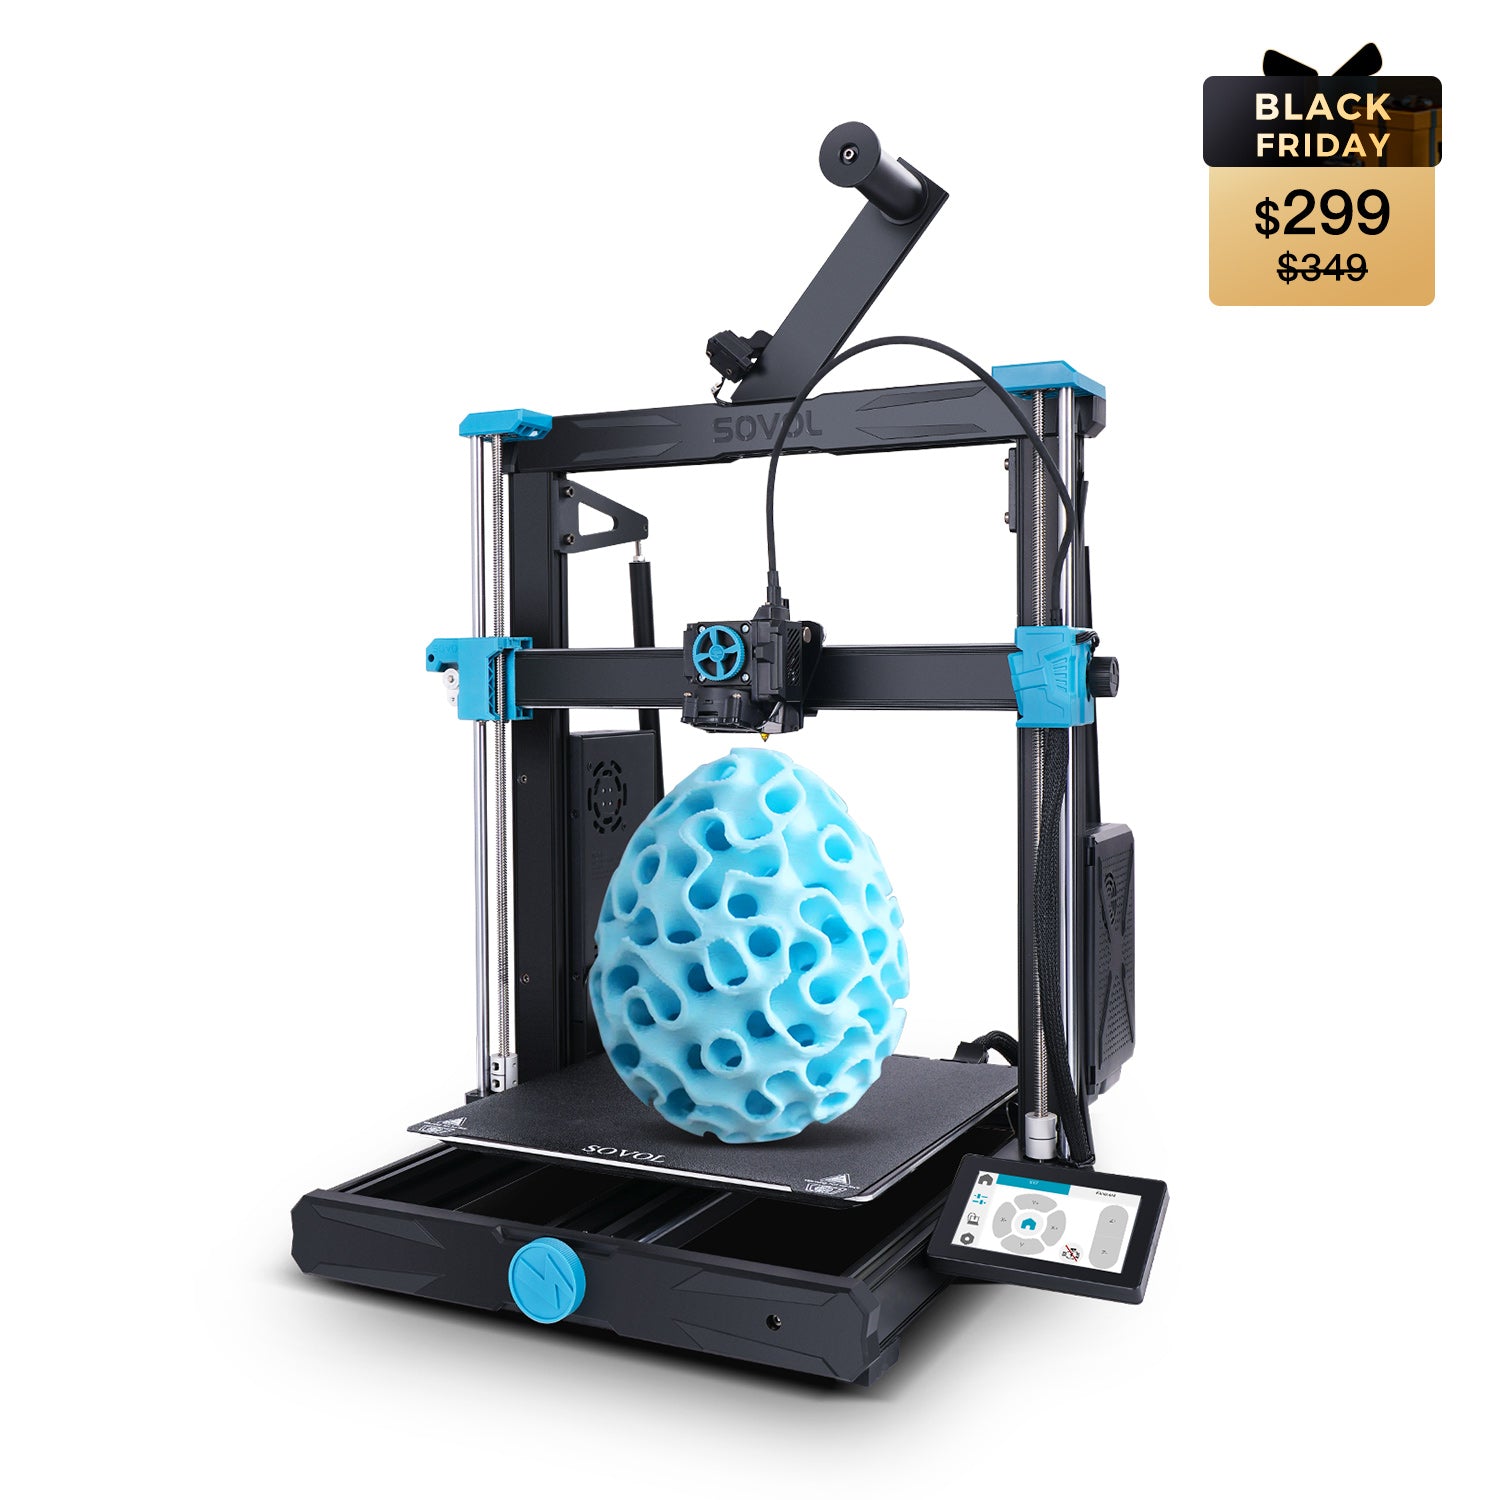
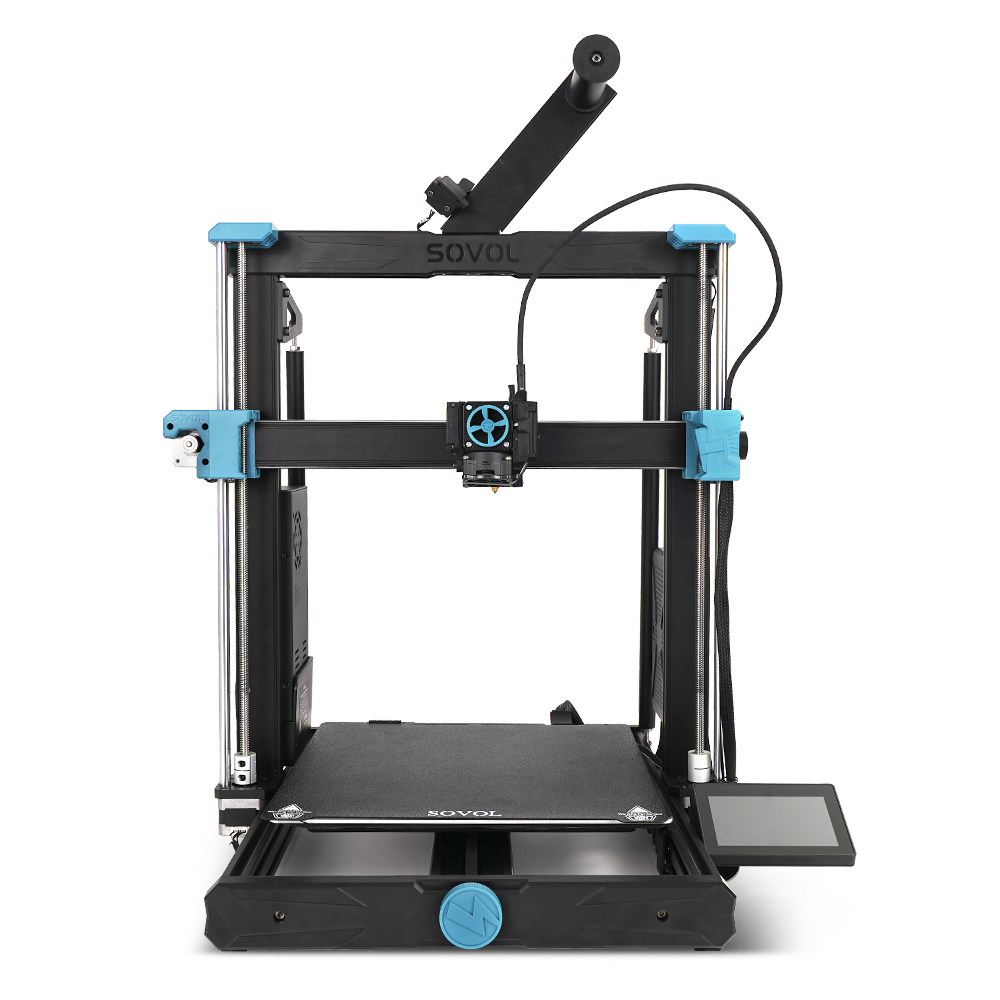
You can start 3d printing if you are curious. More people try creative 3d printing projects now. Here is why:
- The 3d printer market may reach $44.5 billion by 2025.
- Easy 3d printer software and plug-and-play printers help a lot.
- 3d printing projects ideas for beginners are simple and fun. You can make a 3d printed puzzle box or a 3d maze puzzle. Try a storage cube for nintendo switch games or diy 3d printing projects. Download 3d printer files for beginner projects to learn fast. Beginner-friendly projects help you learn and feel confident. You get useful projects for daily life. Try simple 3d printer projects and fun 3d printing projects ideas. Start your own 3d adventure now!
Key Takeaways
- Begin your 3D printing with easy projects like the Benchy boat. This helps you feel confident and learn what your printer can do. - Pick simple and useful designs, like bag clips or plant holders. These are easy to put together and help you make things you can use every day. - Try fun ideas like fashion accessories or articulated toys. These projects help you get better at 3D printing. You can also have fun and show your creativity.
How to Pick 3D Printing Projects for Beginners
Choosing the right 3d printing projects can make your first experience fun and rewarding. You want to start with ideas that are simple, practical, and help you learn the basics. When you pick your first 3d project, think about how much time it takes, how easy it is to print, and if you will use it in daily life. You can find many easy 3d printing projects that help you build confidence and skills.
Simple and Practical Ideas
You should look for projects that are not too complex. Here are some tips to help you choose:
- Pick projects with short print times.
- Use designs that do not need a lot of material.
- Try projects that are easy to assemble.
- Choose items you can use, like cookie cutters or bag clips.
- Start with 3d games pieces or a small puzzle box.
These ideas help you learn how your 3d printer works. You can also try making storage cubes for games or simple lightsaber projects. These easy 3d printing projects let you see results fast and keep you motivated.
Tip: Simple projects help you avoid frustration and make it easier to fix mistakes.
Creative and Fun Prints
You can also try creative 3d print ideas that add fun to your space. Think about making a 3d puzzle, a mini plant holder, or even cookie cutters in cool shapes. If you like games, print your own dice or tokens. Lightsaber projects are great for fans and show off your innovation. These projects let you play, decorate, and learn at the same time.
|
Challenge Description |
Reason for Challenge |
|---|---|
|
Choosing tools that create unnecessary barriers to entry |
You may spend too much time learning new tools instead of printing. |
|
Starting with hard projects can lead to frustration and confusion. |
|
|
Poor organization of project elements |
If you do not organize your files and parts, you can waste time and get lost. |
|
Lack of community engagement |
Working alone means you miss out on tips and support from others. |
When you pick 3d printing projects, focus on ideas that help you learn, have fun, and use your creativity. You will build skills, gain confidence, and enjoy the world of 3d innovation.
Benchy Boat – Classic Test Print
Description
You might have seen the little 3d boat called Benchy floating around the internet. This model is famous in the world of 3d printing projects. People use it to test and calibrate their 3d printers. The Benchy Boat has lots of shapes, curves, and tiny details. It checks how well your printer handles overhangs, small holes, and fine angles. You can find tons of examples, tutorials, and tips from the 3d community. That makes it easy to get help if you need it.
Why for Beginners
You should start with the Benchy Boat if you want to learn about your 3d printer. It’s one of the best beginner 3d printing projects because it shows you what your printer can do. When you print this boat, you can spot problems like warping, stringing, or rough layers. The model is easy to recognize and does not take long to print. You can use it to check many settings at once. This helps you avoid focusing on just one thing and gives you a better idea of your printer’s strengths and limits.
Tip: If you want to try more creative 3d print ideas, you can paint your Benchy or print it in different colors.
Print Tips
- Use PLA filament for your first Benchy. It’s easy to print and works well for most 3d printers.
- Set your layer height to 0.2 mm for a good balance of speed and detail.
- Try a print speed of 50 mm/s.
- No supports are needed for the standard Benchy.
- You can find upgraded Benchy models with extra features, like moving parts or fun faces.
- If you want more easy 3d printing ideas, try printing a mini Benchy or a giant one!
Printing the Benchy Boat is a smart way to start your 3d adventure. You get to learn, have fun, and join a big group of makers who love sharing their 3d printing project ideas.
Mini Octopus Toy – Best Projects for Kids
Description
You want a 3d project that makes everyone smile. The Mini Octopus Toy is a fun, wiggly toy that you can print in one piece. It has little arms that move and twist. Kids love to play with it, and families enjoy making them together. You can use it as a fidget toy, a desk buddy, or a cute gift. This toy is one of the best projects for kids because it is safe, soft, and has no sharp edges.
Here’s why families choose the Mini Octopus Toy:
|
Feature |
Description |
|---|---|
|
Made of soft polyester microfiber filling and plush fabric, so it feels nice and safe. |
|
|
Safe for the Little Ones |
No plastic or hard parts, so you don’t worry about safety. |
|
Unique Present for Kids |
Makes a special gift for birthdays or holidays. |
You can find many 3d models for this toy online. Most are free and easy to download. These 3d printing projects are perfect for beginners because you don’t need supports or tricky settings.
Print Tips
You want your 3d octopus to look great and last long. Try these easy print tips:
- Use PLA filament for bright colors and smooth arms.
- Set your layer height to 0.2 mm for good detail.
- Print slow, around 40-50 mm/s, for the best results.
- No supports needed for most models.
- Make sure your bed is level before you start.
Many 3d printing project ideas for kids use these same settings, so you can reuse them for other toys.
Customization
You can make your Mini Octopus Toy unique. Try these ideas:
- Print in different colors for each arm.
- Add googly eyes or paint a smile.
- Make a big or tiny octopus by changing the scale.
- Try a magnetic version for even more fun.
You can use your octopus as a fidget toy, a classroom prize, or a desk pet. This project helps you learn about moving parts and creative 3d print ideas. Beginners love how easy it is to print and share with friends.
Plant Holder – Creative 3D Printing Projects
Description
A 3d printed plant holder is a small pot or container you make with your 3d printer. You can use it to show off your favorite plants on your desk, shelf, or window. This project is both decorative and practical. You get to add a touch of green to your space and practice your 3d skills at the same time. There are many fun ideas for plant holders. You can pick a simple round pot or try something wild like a planter shaped like an octopus or a cloud.
Here are some popular 3d plant holder designs you can find online:
|
Design Name |
Features |
|---|---|
|
Bubbly Planter |
Drip tray, drainage, matching saucer |
|
Hands Holding Planter |
Eco-friendly, doubles as a jewelry dish |
|
Kinetic Planter |
Minimalist, drip plate, neutral style |
|
Fucktopus Planter |
Octopus shape, playful look |
|
CloudDrop |
Rain drop shape, twist snap drain tray |
|
Modern Planter Pot |
Fits 4-inch pots, indoor drainage |
You can choose a design that matches your style or try making your own.
Why for Beginners
You should try a plant holder if you want to learn new 3d printing techniques. This project helps you see objects as resources for creative ideas. You get to think about how to improve the design and make it work better. You can also remix other designs and turn them into something new. This is a great way for beginners to build confidence and have fun with 3d printing projects.
- You learn to look at 3d objects in a new way.
- You practice making changes to designs.
- You get to use your creativity and try out gardening at home.
Print Tips
You want your plant holder to look good and last a long time. Here are some easy tips:
- Use PLA filament for bright colors and easy printing.
- Set your layer height to 0.2 mm for a smooth finish.
- Print slow, around 50 mm/s, for better detail.
- Try a simple design first, then move to more complex ideas.
- Add a drainage hole if you plan to use real plants.
- Make a set of holders in different sizes for a cool display.
Tip: You can paint your plant holder or add stickers for a personal touch. Try making a matching saucer to catch water.
Plant holders are one of the best 3d printing projects for beginners. You get a useful item, learn new skills, and have fun with creative 3d print ideas.
Mechanical Iris Container – Unique Ideas
Description
A mechanical iris container is a small box with a lid that opens and closes like the lens of a camera. When you twist the top, the "iris" blades slide open to reveal the inside. This 3d project looks cool and feels like magic in your hands. You can use it to store coins, jewelry, or tiny treasures. Many beginners love this project because it shows how moving parts work in 3d printing projects.
You get to learn about tolerances with this idea. Tolerances are the tiny gaps between 3d printed parts. If the gaps are too tight, the iris will jam. If they are too loose, the lid will wobble. Assembling a mechanical iris container helps you see why these small details matter. You start to understand how 3d prints fit together and move smoothly.
This project is perfect for beginners who want to try something more than a simple box. You can find many creative 3d print ideas for iris containers, from simple designs to ones with extra decorations. Some people add secret compartments or use different colors for each blade.
Print Tips
You want your mechanical iris container to work well and look great. Here are some easy tips:
- Use PLA filament for easy printing and bright colors.
- Set your layer height to 0.2 mm for smooth movement.
- Print at a slow speed, around 40-50 mm/s, to help the parts fit better.
- Make sure your 3d printer bed is level before you start.
- Check the model for print-in-place designs, so you do not need to assemble many parts.
Tip: If you want a challenge, try printing a larger iris or adding your own design to the lid. You can also paint the blades for a custom look.
A mechanical iris container is one of the best 3d printing projects for beginners. You get a useful box, learn about moving parts, and discover how 3d ideas can come to life.
Baby Groot Figure – Fun 3D Printing Projects
Description
You probably know Baby Groot from the movies. Now, you can bring this adorable character to life with your 3d printer. The Baby Groot figure is one of the most popular 3d printing projects for fans and beginners. You get a cute, detailed model that makes everyone smile. This project gives you a chance to show off your creativity and try new ideas.
Why do so many people love this 3d project? Here are a few reasons:
- The design looks fun and appeals to all ages.
- You can print it easily, even if you just started with 3d printing.
- It helps you learn about 3d technology while having fun.
- You can use high-quality filament for a strong, lasting figure.
- The model has a high layer resolution, so you see lots of detail.
You can use your Baby Groot as a desk buddy, a gift, or a cool decoration. Some people even add it to their plant pots for extra fun. If you want more creativity, try printing a bigger version or painting your figure with bright colors.
Print Tips
You want your Baby Groot to look amazing and last a long time. Here are some easy tips for beginners:
- Use PLA or wood filament for a natural look.
- Set your layer height to 0.16mm for sharp details.
- Print slow, around 40-50 mm/s, for the best results.
- Try varnish as a finishing touch. It adds shine and protects your figure.
- Paint your Groot with acrylics for more creativity and fun.
Tip: Don’t be afraid to try new ideas. Add your own colors or even tiny accessories. Every Baby Groot shows your creativity!
This project is perfect if you want to mix fun, learning, and creativity. You get a cool figure, practice new skills, and enjoy one of the most creative 3d print ideas for beginners.
Coiled Serpent Pencil Holder – Desk Ideas
Description
You want something cool and useful for your desk. The coiled serpent pencil holder is a fun 3d project that looks like a snake wrapped around your pens and pencils. This holder keeps your desk neat and adds a playful touch to your workspace. You can use it at home, in your classroom, or in your office. Many beginners pick this project because it’s easy to print and doesn’t need supports. You get a decorative piece and a practical organizer in one.
Here’s why this 3d printing project stands out:
- You don’t need extra support structures, so printing is simple.
- The design has smooth curves and details, which help you test your 3d printer’s abilities.
- You can use it to hold pens, markers, or even paintbrushes.
Print Tips
You want your serpent pencil holder to look great and last long. Try these easy 3d printing ideas:
- Use PLA filament for bright colors and easy printing.
- Set your layer height to 0.2 mm for a smooth finish.
- Print at a speed of 50 mm/s for best results.
- Make sure your 3d printer bed is level before you start.
You can upgrade your holder by changing the size or adding patterns. Some people paint the serpent’s eyes or add stickers for extra style. If you want more creative 3d print ideas, try printing a matching tray or a mini version for small items.
Tip: This project helps you learn about printing curves and details. You get a useful item and build confidence with beginner 3d printing projects.
|
Variation |
Description |
|---|---|
|
Mini Serpent |
Holds small items like erasers |
|
Double Coil |
Extra space for more pencils |
|
Painted Eyes |
Adds personality to your holder |
You can show off your 3d skills and keep your desk tidy with this easy project.
Articulated Shrimp – Best Projects for Kids
Description
If you want a 3d project that moves and feels fun, try the articulated shrimp. This toy looks like a shrimp with many little joints. You print it in one piece, and the body bends and wiggles right off the printer. Kids love to play with it, and you can use it as a desk toy, a fidget, or even a classroom prize. The articulated shrimp stands out in 3d printing projects because it teaches you about how joints work. You get to see how each segment connects and moves.
Here’s why this 3d idea is perfect for beginners:
- You learn about joint mechanics by handling the moving parts.
- You see how important precision is for making the joints work well.
- You practice calibrating your 3d printer for smooth movement.
You can use the shrimp as a toy, a gift, or a cool decoration. Some people even add magnets or paint their shrimp in bright colors for extra fun.
Print Tips
You want your articulated shrimp to move easily and look great. Here are some easy tips for this 3d project:
- Use PLA filament for simple printing and bright colors.
- Set your layer height to 0.2 mm for smooth joints.
- Print at a speed of 50 mm/s for best results.
- Make sure your 3d printer bed is level before you start.
- No supports needed for most shrimp models.
Want to upgrade your shrimp? Try printing a giant version or use glow-in-the-dark filament. You can even add tiny stickers for eyes. This project helps you build skills with 3d printing project ideas and gives you a fun, creative result.
Tip: Articulated toys like this shrimp help you learn about movement and design. You get hands-on experience with 3d ideas that move!
Space Shuttle Model – Educational 3D Printing Projects
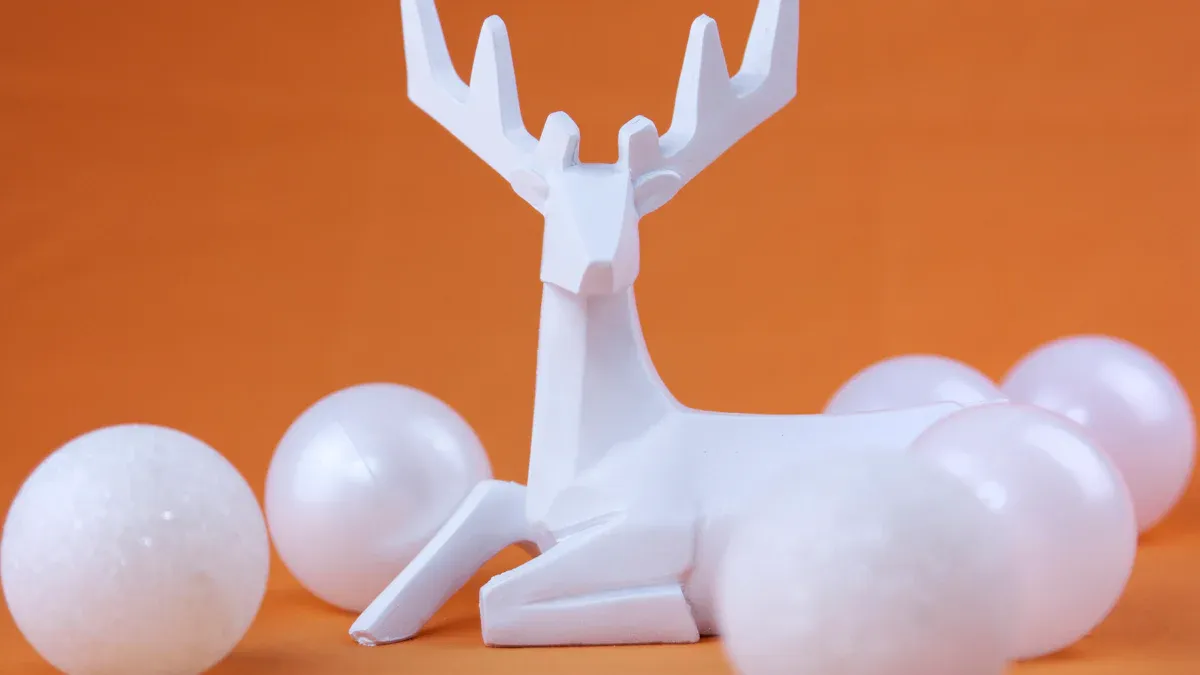
Description
You can bring space exploration right to your desk with a 3d space shuttle model. This project is perfect for beginners who want to learn and have fun at the same time. The shuttle has cool details like wings, a cockpit, and boosters. You get a compact model, about 75 mm long, that fits easily on a shelf or in a classroom display.
Many teachers and students use this 3d project to learn about science and technology. You can see how real shuttles look and talk about space missions. The model works great for school projects, science fairs, or just as a fun decoration. You can even use it in videos or presentations to help others understand space travel.
Here’s a quick look at what makes this 3d shuttle special:
|
Feature |
Description |
|---|---|
|
Design |
Detailed wings, cockpit, and boosters |
|
Educational Value |
Helps you learn about space and STEM |
|
Visual Learning |
Great for classroom displays and science presentations |
|
Customization |
Try different colors or materials for unique shuttle textures |
|
Inspiration |
Based on NASA’s shuttle program and modern STEM teaching tools |
Students say these models make learning more fun and help them understand space science better. You can experiment with colors and even add your own creative 3d print ideas, like a launch pad or astronaut figures.
Print Tips
You want your 3d shuttle to look sharp and last long. Here are some easy tips for beginners:
- Use PLA filament for simple printing and bright colors.
- Set your layer height to 0.2 mm for a smooth finish.
- Print slow, around 50 mm/s, for the best detail.
- Some shuttle models have overhangs, so add supports if needed.
- Try painting your shuttle for extra flair.
Tip: You can print a set of shuttles in different sizes or colors for a cool display. Add a nameplate or a mini flag for more creative 3d print ideas.
Teachers and students both love this project. It’s one of the best 3d printing projects for learning, display, and building your skills as a beginner.
Bag Clip with Screw Cap – Practical Ideas
Description
You probably have snacks or bags that need sealing. A 3d printed bag clip with a screw cap solves this problem fast. This tool keeps chips, cereal, or coffee fresh. You twist the cap to open or close the clip. The design is simple and works every day. You can print it in different sizes for small or big bags. Many beginners choose this project because it’s easy to make and useful around the house.
Here’s why you’ll like this 3d printing project:
-
Quick to print with common materials.
-
Easy to customize for different bag sizes.
-
Simple design means fewer printing mistakes.
-
Everyday utility for kitchen, office, or travel.
You can use these clips for snacks, pet food, or craft supplies. The screw cap adds extra protection, so nothing spills out.
Print Tips
You want your bag clip to work well and last long. Start with PLA filament because it’s strong and easy for beginners. Set your layer height to 0.2 mm for a smooth finish. Print at a speed of 50 mm/s. Most designs don’t need supports, so setup is simple.
Try these easy upgrades:
-
Print in bright colors to match your kitchen.
-
Add a label area for writing dates or names.
-
Make a set with different sizes for all your bags.
|
Upgrade Option |
Benefit |
|---|---|
|
Color Variations |
Easy to spot in drawers |
|
Label Area |
Stay organized |
|
Multiple Sizes |
Fits any bag |
Tip: If you want more creative 3d print ideas, try adding a magnet to stick your clip on the fridge.
This project helps you learn basic 3d printing skills and gives you a handy tool for daily life. You’ll see why beginner 3d printing projects like this build confidence and spark new ideas.
Fashion Accessories – Easy 3D Printing Projects
Description
You can turn your 3d printer into a mini fashion studio. Fashion accessories make great 3d printing projects for beginners. You can start with easy ideas like rings, bracelets, or earrings. These small items print fast and let you try out lots of shapes and styles. You might want to make a simple band, a chunky bangle, or a pair of fun hoop earrings.
You can also try more creative 3d print ideas. Many beginners love making custom-fit eyewear frames. Some people design cool patterns for handbags or even smart jewelry that holds tiny electronics. You can print custom-fit earbuds that match your style. These accessories show off your personality and make awesome gifts for friends and family.
Here are some popular accessories you can print:
- Rings and bracelets in any size or color
- Earrings with fun shapes or initials
- Eyewear frames that fit your face
- Decorative pieces for bags or backpacks
- Smart jewelry or custom earbuds
You can mix and match designs, add your name, or use your favorite colors. Every piece you make is unique.
Print Tips
You want your accessories to look good and last long. Try these simple tips:
- Use PLA or PETG filament for strong, safe accessories.
- Set your layer height to 0.2 mm for a smooth finish.
- Print slow, around 40-50 mm/s, for better detail.
- Try flexible filament for stretchy bracelets or soft earrings.
- Paint or add beads for extra flair.
Tip: Make a matching set for yourself or as a gift. You can even print a jewelry box to store your new accessories!
Fashion accessories are perfect for beginner 3d printing projects. You get to learn, have fun, and create something you can wear every day.
How These 3D Printing Projects Build Skills
When you try different 3d printing projects, you build important skills step by step. Each project helps you learn something new about your 3d printer and how to get the best results. You start with simple ideas and soon feel ready to try more creative 3d print ideas. These projects give you a safe space to make mistakes and learn from them. You get to see how your choices change the final look and feel of your 3d prints.
Here’s a quick look at the skills you develop as you work through these beginner 3d printing projects:
|
Skill Developed |
Description |
|---|---|
|
Printer Setup |
You learn how to set up your 3d printer for a successful print. |
|
Print Settings |
You figure out which settings give you the best quality. |
|
Troubleshooting |
You solve common 3d printing problems and keep going. |
|
Creativity |
You use your imagination to design and finish your 3d ideas. |
|
Problem-Solving |
You find ways to fix issues and improve your 3d projects. |
Learning Print Settings
You will notice that changing print settings can make a big difference in your 3d results. For example:
- If you adjust anti-aliasing, your prints look smoother, but you might lose some tiny details.
- When you change UV power, your 3d printer works faster, but too much power can hurt your machine.
- Thicker supports help your 3d prints stay strong, but they can leave marks. Thinner supports look better but need slower print speeds.
You get to test these settings with each new 3d project. This helps you see what works best for your ideas. You learn to balance speed, detail, and strength.
Understanding Materials
You also discover how different 3d materials work. PLA is great for most beginners because it is easy to use and comes in many colors. As you try more 3d printing projects, you might want to test PETG or flexible filaments. Each material has its own feel and look. You learn which one fits your 3d ideas best.
Tip: Try new materials on small projects first. This way, you can see how they print and if you like the results.
With every 3d project, you get better at choosing the right settings and materials. You build confidence and get ready for bigger, more creative 3d printing ideas.
Basic Tools and Prep for Beginners
Getting ready for your first 3d printing projects feels exciting. You want to make sure you have the right tools and software before you start. This helps you avoid problems and makes your ideas come to life faster. Let’s look at what you need to get started.
Equipment Checklist
You don’t need a huge toolbox for beginner 3d printing projects. Here are some must-have items that make your 3d experience smoother:
- Paper towels for quick cleanups and keeping your workspace tidy.
- Pencils and paper to sketch ideas or write down measurements.
- Wire cutter for trimming filament and removing supports.
- Dremel for sanding and polishing your 3d prints.
- Extra filament so you never run out in the middle of a project.
- Extra glass plate to swap out and start your next print right away.
- Dissolving kit for removing water-soluble supports.
- Glue stick and blue tape to help prints stick to the build plate.
- Spatula or palette knife for lifting finished prints.
- Deburring tool and cutting mat for cleaning up rough edges.
- Pliers and tweezers for handling small parts and support material.
- Digital caliper to check the size and precision of your 3d prints.
Tip: Keep your tools organized. This saves time and helps you focus on your creative 3d print ideas.
Software Tips
Choosing the right slicing software makes 3d printing easier for beginners. Slicing software turns your 3d ideas into instructions for your printer. Here’s a quick look at some user-friendly options:
|
Slicing Software |
User-Friendliness |
Key Features |
|---|---|---|
|
Cura |
Most user-friendly |
Simple interface, pre-set settings |
|
PrusaSlicer |
Good for Prusa users |
Optimized for Prusa printers |
|
Bambu Studio |
User-friendly |
One-click print, easy experience |
You can start with Cura if you want something simple. PrusaSlicer works well if you use Prusa printers. Bambu Studio gives you easy one-click options. Try each one to see which fits your style and ideas best.
Tip: Download a few sample 3d models and test your software before starting big projects. This helps you learn the basics and avoid mistakes.
With the right tools and software, you’re ready to explore more creative 3d printing projects. You’ll find new ideas and build confidence as you go.
You can start your 3d journey with simple 3d printing projects. These ideas help beginners create useful things, learn by doing, and build problem-solving skills. You get to design, customize, and see your 3d ideas come to life. Pick a project that excites you and keep exploring new 3d adventures!
- Make practical items for daily use.
- Grow your creativity with hands-on 3d ideas.
- Stay motivated as you see quick results.
Tip: Choose 3d printing projects that match your interests and tools. As you learn, try more advanced 3d ideas and enjoy the fun!
FAQ
What is the easiest 3d project for beginners?
You can start with a Benchy boat. This project helps you learn how your 3d printer works. You see results fast and build confidence.
Where can I find free 3d ideas for beginners?
You can visit websites like Thingiverse or Printables. These sites have many free 3d printing projects and creative ideas. You just download and print.
How do I avoid failed 3d prints as a beginner?
You should level your print bed and use PLA filament. Start with simple 3d ideas. Check your printer settings before each project for better results.


