


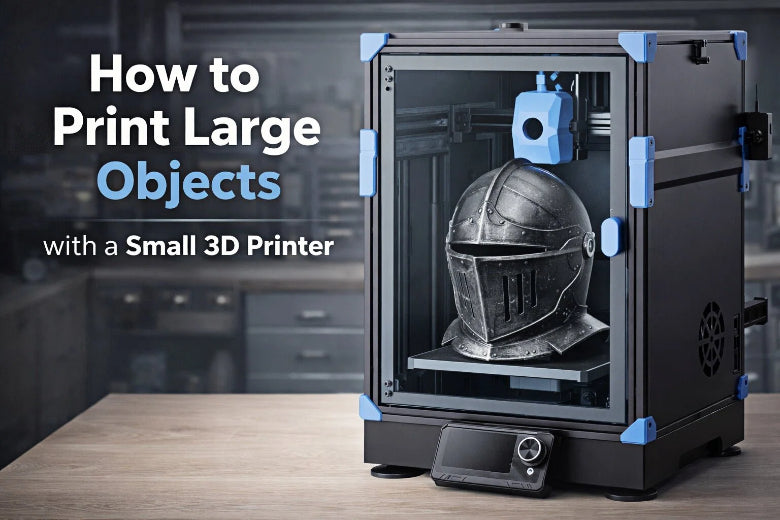
Yes, you can print big things using a small 3D printer. Most desktop printers for hobbyists have a build area like this:
|
Printer Model |
Build Volume (mm) |
Build Volume (inches) |
|---|---|---|
|
Entry-Level A |
200x200x200 |
7.9x7.9x7.9 |
|
Entry-Level B |
220x220x220 |
8.7x8.7x8.7 |
|
Entry-Level C |
250x250x250 |
9.8x9.8x9.8 |
When your project is bigger than this, you just split your model into smaller parts and put them together after printing. You do not need advanced skills. You only need to follow clear steps to learn how to print large objects with your small printer.
Key Takeaways
- Know how big your printer can print. If your object is too large, break it into smaller pieces to print.
- Use slicer software to cut your model. Make cuts along natural lines. This helps hide seams and makes it easier to put together.
- Add connectors and pins for strong joints. Pick tough materials. Design joints so they do not break easily.
- Change your print settings for each part. Print a small piece first to check quality. Do this before printing the whole thing.
- Clean and finish your prints with care. Sand any rough spots. Use glue or welding to make the assembly strong.
How to Print Large Objects with a Small Printer
Understanding Build Volume Limits
You probably noticed that your 3D printer has a limited build volume. This means you can only print objects that fit inside a certain box. Most small printers for beginners have a build area like 220 x 220 x 220 mm. That’s about the size of a shoebox. Here’s a quick look at common sizes:
|
Build Volume Tier |
Dimensions (mm) |
Examples of Printers |
|---|---|---|
|
Compact |
180 x 180 x 180 |
Bambu Lab A1 Mini |
|
Standard |
220-256 x 220-256 |
Ender 3 V3, Prusa MK4S |
|
Large |
300 x 300 x 300+ |
Bambu Lab X1E, Creality K1 Max |
|
Extra Large |
400+ in any axis |
Prusa XL, Creality CR-M4 |
Most hobbyists use the standard size. It works well for figurines, tools, and small gadgets. If you want to print large models, you need to work around these limits.
Tip: If your project is bigger than your printer’s build volume, you can split 3D models into smaller parts and assemble them later.
When you try to print something larger than your printer’s build volume, you face some challenges:
- You must split your model into parts.
- You get seams where parts join.
- You might have weak spots at the joints.
- Print times can get longer because you print more pieces.
But don’t worry! You can learn how to print large objects by following a few simple steps.
Splitting Models for Printing
You need to split your model before you start large object 3D printing. This step is key for anyone who wants to print large models on a small printer. You can use slicer software to cut your model into sections that fit your printer’s build volume.
Here’s how you can split 3D models using popular software:
- Fusion 360: Import your part, scale it up, create a solid box for your printer’s bed, pick a cut plane, and slice the model.
- Bambu Studio: Open your STL file, scale it, position the model, select a cut plane, and add pins for assembly.
- Autodesk Maya 3D: Import your project, scale it to life-size, and create a cube that matches your printer’s build volume.
You can also use slicer tools like:
- Ultimaker Cura
- Bambu Studio
- Anycubic Photon Workshop
- OrcaSlicer
- IdeaMaker
- SuperSlicer
- PrusaSlicer
- Lychee
- Chitubox
- Tango Slicer
Note: Always check that each part fits inside your printer’s build volume before you start printing.
When you split your model, try to plan the cuts in places that are easy to hide or finish. For example, if you print a large statue, cut it at the waist or along natural lines. This makes seams less visible and helps you assemble the parts easily.
Using Connectors and Pins
After you split your model, you need a way to join the parts. Connectors and pins make assembly easier and stronger. You can add these features in your slicer software or design them in your modeling program.
Here are some reliable connector types:
- Set process-appropriate tolerances: Use 0.5 mm for FDM snap-fit connectors and 0.3 mm for SLS, SLA, MJF, and material jetting.
- Choose tough, ductile polymers like ABS, PETG, or nylon for snap-fit connectors.
- Design joints to reduce stress and strain.
Common mechanical joints include laps, dados, dovetails, mortises, and puzzle joints. These joints give your project strength and help parts fit together smoothly. You can use glue, a 3D printing pen, or even plastic welding guns to join parts.
Tip: If you want a strong bond, try plastic welding guns or soldering irons. They create solid joints but may leave marks. UV resin welding is easy but not as strong.
Real-world example: If you print a large sword for cosplay, you can split the blade and handle, add dovetail connectors, and glue the parts together. This makes the sword sturdy and easy to assemble.
When you design your parts, always think about how you will put them together after printing. Make sure the connectors line up and the parts fit snugly. This step is important for anyone learning how to print large objects with a small printer.
Callout: Planning your splits and connectors saves time and makes assembly much easier. You get a stronger, better-looking final product.
By understanding your printer’s limits, splitting models smartly, and using connectors, you can master how to print large objects—even with a small 3D printer.
Model Preparation and Slicing
Choosing the Right Software Tools
You need special software to get your model ready. These tools help you split and set up your model before printing. Good slicer tools make things much easier, especially if you want to learn how to print large objects with a small 3D printer. Here are some popular slicers you can try:
|
Software Name |
Description |
|---|---|
|
This slicer is easy to use with Bambu Lab printers. It lets you work smoothly and even watch prints from far away. |
|
|
Ultimaker Cura |
This works with many FDM printers. It has a helpful community and lots of print settings to pick from. |
|
Anycubic Photon Workshop |
This is great for Anycubic printers. It can fix models and add supports by itself. |
|
ideaMaker |
This one is simple for new users but also has advanced tools for experts. |
If you want something even simpler, OrcaSlicer is good for FDM beginners. It has tests built in to help you set up your printer and gives you lots of control. For resin printers, Lychee and Chitubox are both easy to use and have strong support features.
Tip: Try out a few slicers to find the one you like best. Most of them are free to get.
Optimizing Orientation and Supports
How you put your model on the print bed is very important. You can save time and use less material if you plan the orientation and supports well. You also get a better finish.
- Change the angle of your part so you need fewer supports. Sometimes, splitting the part helps too.
- Use your slicer to add supports only where you really need them.
- Hollow out big parts to save weight and filament.
- Add lattice shapes inside to make it strong and stop shrinking.
- Put vent holes in to stop cupping and make supports easier to remove.
- Turn important details upward for a smoother finish.
- Think about how the layers stick together. Good orientation makes your print stronger.
When you take off supports, you might see rough spots. You can sand these places or fill small holes to make it smooth. Breakaway supports snap off but may need sanding. Soluble supports melt away in water or a solution, so the surface looks cleaner.
Note: If you plan your orientation and supports well, your large object 3D printing project will look better and need less cleanup.
Printing and Assembly Steps
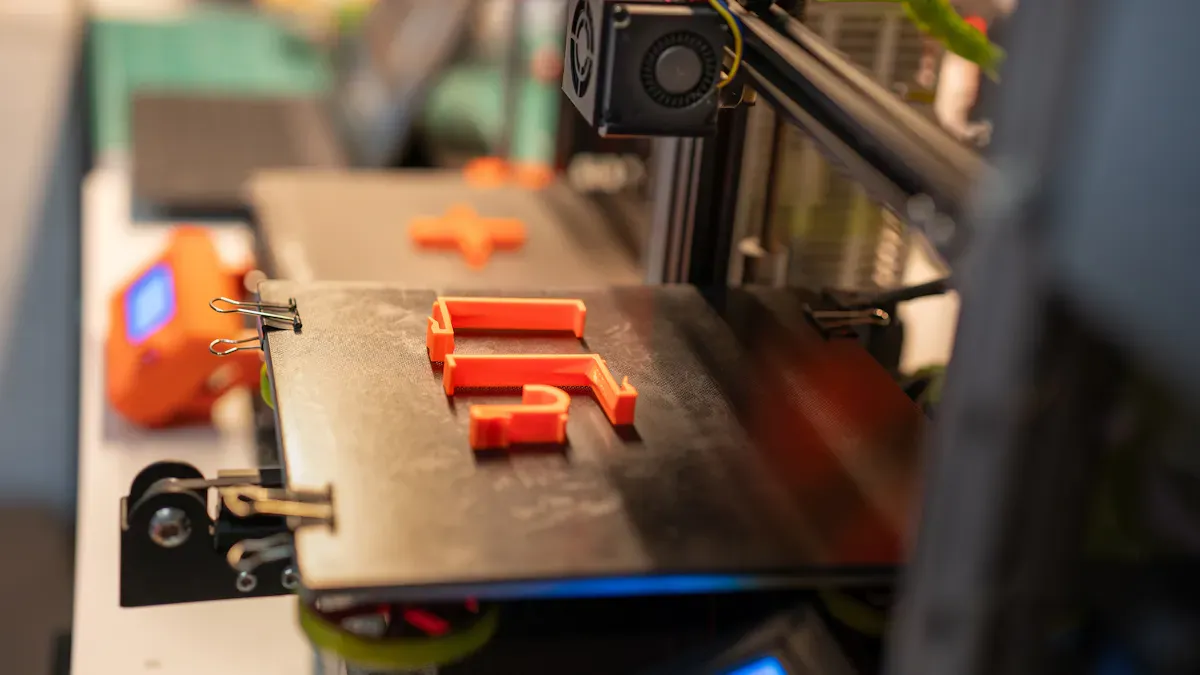
Printing Each Section
You have split your model and set up your files. Now, it’s time to print each part. Start by double-checking that every piece fits inside your printer’s build volume. Adjust your print settings for the best results. If you want faster prints, use a thicker layer height, but remember this can make the layers weaker and more visible. For strong parts, use a higher infill percentage. Lower infill works for display pieces, while higher infill is better for parts that need to handle stress.
Here’s a quick checklist for printing:
- Make sure each part is oriented for the best strength and surface finish.
- Use supports only where needed to save time and material.
- Label your parts if they look similar, so you don’t mix them up later.
Tip: Print one small section first to test your settings before starting the whole project.
Cleaning and Post-Processing
Once your prints finish, you need to clean them up. Remove any supports with pliers or a scraper. Sand rough spots and seams to make the surfaces smooth. For FDM prints, basic sanding works well. If you use resin, wash the parts in isopropyl alcohol and cure them under UV light. For powder-based prints, use a brush or compressed air to remove extra powder.
- Fill gaps or small holes with putty or filler.
- Sand seams until they feel even.
- Try chemical smoothing for ABS or PETG to get a glossy finish.
Cleaning and post-processing make your large object 3D printing project look professional and help the parts fit together better.
Joining and Finishing Parts
Now, you can assemble your model. Use glue, connectors, or even screws, depending on your design. Superglue works fast and gives a strong bond. For ABS parts, acetone can melt the seams together for an invisible joint. If you want extra strength, add metal pins or rods inside the joints. Friction welding with a soldering iron and leftover filament can also join parts.
|
Method |
Strengths |
Weaknesses |
|---|---|---|
|
Superglue |
Fast, strong, clean finish |
Can crack with flexible parts |
|
3D Gloop! |
Permanent, smooth finish |
Needs surface prep, may need extra coats |
|
Acetone |
Invisible seams, very strong for ABS |
Can damage thin parts, needs care |
|
Friction Welding |
Simple, good for low-stress connections |
Not for high-stress parts |
After assembly, sand the seams again. You can paint or coat your model for a smooth, durable finish. Surface finishing not only makes your project look better but also protects it from damage and helps it last longer.
Take your time with these steps. A little extra effort here makes your finished model stand out!
Troubleshooting and Tips
Avoiding Common Mistakes
When you learn how to print large objects, you might run into a few common problems. Here’s how you can avoid them:
- Warping: This happens when the corners of your print lift off the bed. It’s very common with ABS and large PLA prints. To prevent warping, keep your printer away from drafts, use an enclosure, and control the room temperature. Try not to print large models with a big flat area touching the bed—rotate or split 3D models to reduce this risk.
- Misalignment: If your parts don’t fit together, check your printer for loose screws, worn belts, or uneven temperatures. Regular maintenance helps keep everything in line. Tighten belts and use anti-vibration pads for better results.
- Weak Joints: Joints can break if you don’t design them well. Use simple connectors like dovetails or snap fits, and make sure you print them in the right direction for strength. Keep part thickness uniform—about 3 mm works well for stability.
Tip: Always inspect your printer before starting a big project. A quick check can save you hours later!
Improving Strength and Appearance
You want your large object 3D printing project to look great and last long. Here are some ways to boost strength and style:
- Use tough materials like glass-filled or mineral-filled nylon to reduce warping and make parts stronger.
- For snap-fit joints, print them in the right orientation and add features like ribs or hooks for extra grip.
- Sand your parts to remove layer lines, then use primer and paint for a smooth, colorful finish.
- Try bead blasting for a matte look or vapor smoothing for a shiny surface.
A little extra time spent on finishing makes your print large models stand out!
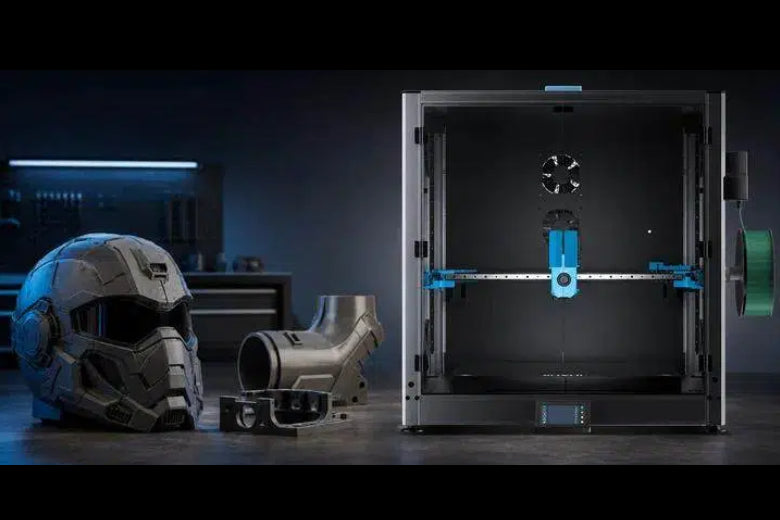
Considering Large-Format Printers
If you often need to print large models, you might wonder if a large-format printer is worth it. Here’s a quick comparison:
|
Aspect |
Small-Format (Split & Assemble) |
|
|---|---|---|
|
Print Size |
Prints big objects in one piece |
Must split 3D models and assemble |
|
Assembly Time |
Minimal |
More time needed |
|
Strength |
Fewer weak spots |
Joints may be weaker |
|
Cost |
Higher upfront |
Lower upfront, more labor |
Large-format printers let you print large objects faster and with fewer seams. If you only do big projects sometimes, splitting and assembling works well. For frequent large object 3D printing, investing in a bigger printer can save you time and effort.
Think about your needs and budget. Both methods can help you create amazing, big prints!
You can print large objects with a small 3D printer by following a few clear steps:
- Split your model into smaller parts.
- Print each section with the right settings.
- Clean, assemble, and finish your project.
Printing large models this way feels rewarding and opens up new creative options. Many beginners face challenges, but you can find help in online forums and guides. If you want even bigger or faster prints, you might enjoy a large-format printer in the future. Give it a try and see what you can create!
FAQ
How do I know if my model is too big for my printer?
You can check your printer’s build volume in the specs. If your model is bigger, you need to split 3D models into smaller parts. Most slicer software shows if your model fits the print area.
What is the best way to split 3D models for large object 3D printing?
Use slicer software like Cura or Bambu Studio. Pick natural lines or flat areas for cuts. This makes seams easier to hide and parts easier to join. Always check that each piece fits your printer.
How do I make sure my large models stay strong after assembly?
Add connectors or pins to your split parts. Use strong glue or plastic welding for the joints. Print with higher infill for extra strength. Try to line up connectors for a snug fit.
Can I use any filament to print large models?
You can use PLA, PETG, or ABS for most projects. For strong or outdoor parts, pick PETG or ABS. PLA works for display models. Always check your printer’s filament compatibility.
What should I do if my parts don’t fit together?
Try sanding the edges or adjusting your print settings. Sometimes, small changes in scale or tolerance help. Test-fit parts before gluing. If you still have trouble, check your slicer’s export settings.


