


When you want a successful 3d print, you must focus on three main fixes for bed adhesion: bed leveling and cleaning, adjusting temperature and first layer settings, and using adhesion helpers. Good bed adhesion keeps your print attached to the bed and avoids common problems that can ruin your project.
Proper bed adhesion reduces print failures and keeps your 3d print secure during the process. You can use glue sticks, adjust bed temperature, or print a brim to help your print stay in place.
You might see prints not sticking to the bed, curling edges, or gaps in the first layer. Here are some typical issues:
|
Symptom |
Description |
|---|---|
|
Filament curling or detaching |
Filament peels up or pops off the bed during a 3d print run. |
|
Uneven or inconsistent first layer |
Wavy lines or gaps appear in the first layer. |
|
Warping or curling edges |
First layer edges lift, causing the print to lose shape. |
Most fixes are easy to try and work for a wide range of printers and materials. Always check for material compatibility and avoid common mistakes for the best chance at print success.
Key Takeaways
- Level and clean your print bed regularly to ensure a flat, grease-free surface for strong first layer adhesion.
- Set the correct bed and nozzle temperatures based on your filament type to prevent warping and improve sticking.
- Adjust first layer settings like speed, height, and extrusion width to create a solid foundation for your print.
- Use adhesion aids such as glue sticks, tape, or brims to help prints stick better, especially with tricky materials.
- Follow a troubleshooting checklist and avoid common mistakes like skipping cleaning or incorrect nozzle height to boost print success.
Bed Leveling and Cleaning
Achieving good bed adhesion starts with a flat, clean, and properly calibrated build platform. If you skip these steps, your 3d print may not stick, or the first layer may look uneven. Let’s break down the essential steps for bed leveling and cleaning, and see how nozzle height and common mistakes can affect your results.
Bed Leveling
Bed leveling ensures the print bed is parallel to the nozzle across the entire build platform. If you do not level the bed, you risk poor bed adhesion, warping, or even complete print failure. Manual bed leveling is a hands-on process, but you can master it with practice. Here’s a step-by-step guide for most FDM printers:
- Place your printer on a stable surface and make sure the build platform is at room temperature.
- Loosen or partially tighten all bed leveling screws to about halfway, allowing for adjustment.
- Home the Z axis to bring the nozzle to the starting position.
- Disable the stepper motors so you can move the printhead freely.
- Move the printhead over each leveling screw, starting at one corner.
- Place a piece of standard printer paper between the nozzle and the print bed.
- Adjust the screw until you feel slight resistance when moving the paper. The nozzle should not press too hard or be too far away.
- Repeat this process for all four corners, moving to adjacent corners (not diagonally).
- Check the center of the build platform for uniformity. If the center is off, your bed may be warped.
- Recheck all corners, as adjustments can affect other points.
- Start a test print and fine-tune the screws if needed during the first layer.
- Make bed leveling part of your regular maintenance routine.
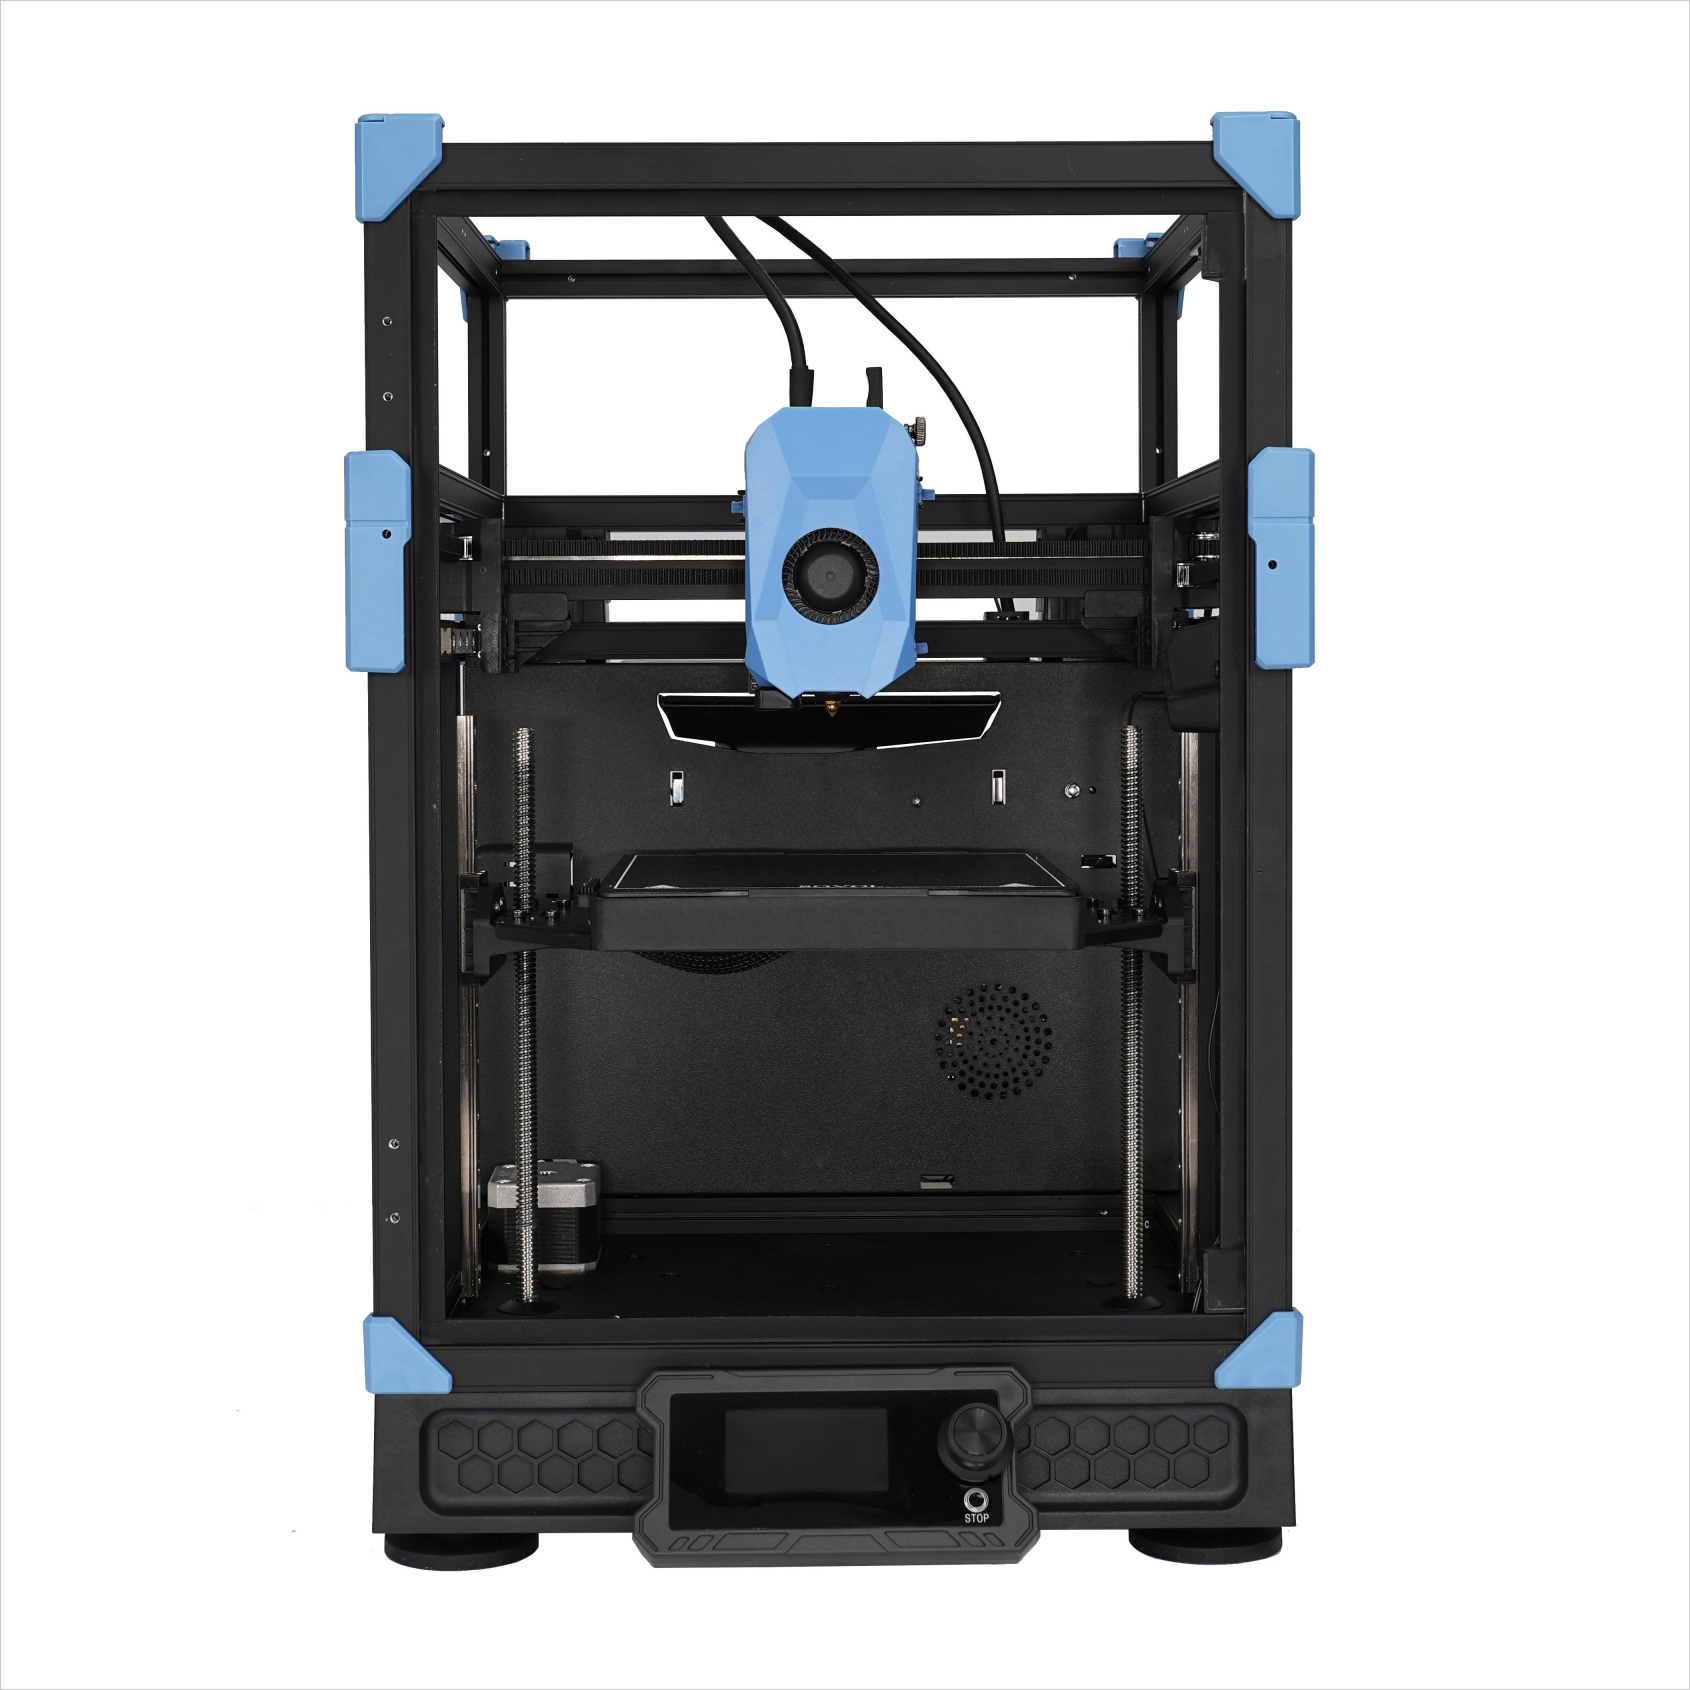
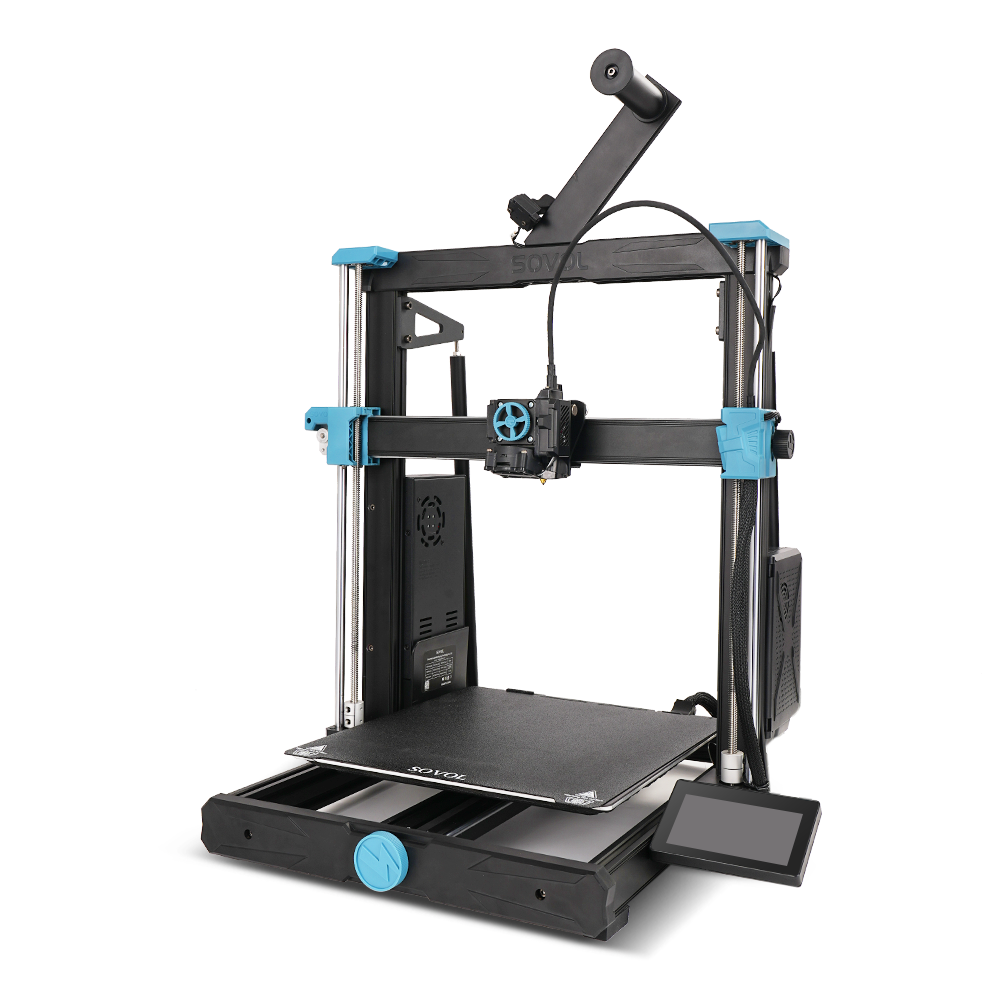
Tip: Some printers, like Sovol models, offer auto-leveling features that make this process easier and more consistent.
Poor bed leveling leads to weak first layer adhesion, causing lines to detach or warp. Using a brim can help stabilize the first layer, but nothing replaces a well-leveled build platform.
Cleaning the Print Bed
A clean print bed is just as important as a level one. Oils from your fingers, leftover glue, or filament residue can prevent your 3d print from sticking. Cleaning methods depend on your build platform type:
Glass Beds
- Wipe with isopropyl alcohol (IPA, 90% or higher) before each print.
- For stubborn residue, use warm soapy water or a small amount of acetone, then rinse thoroughly.
- Avoid touching the surface after cleaning to prevent oil transfer.
PEI Sheets
- Clean regularly with IPA.
- Use warm soapy water if adhesion drops.
- Use acetone sparingly to refresh the surface, but avoid frequent use to prevent damage.
BuildTak or Adhesive Surfaces
- Clean gently with IPA only.
- Never use metal scrapers or harsh chemicals like acetone.
- Replace the sheet if you see significant wear or residue.
|
Build Platform Type |
Everyday Cleaning |
Deep Cleaning |
Precautions |
|---|---|---|---|
|
Glass |
IPA wipe |
Soap & water, acetone |
Avoid fingerprints, rinse acetone |
|
PEI |
IPA wipe |
Soap & water, acetone |
Use acetone sparingly |
|
BuildTak |
IPA wipe |
Replace if worn |
No metal scrapers, no acetone |
Note: Regular cleaning with IPA removes grease and residue, improving bed adhesion and extending the life of your build platform.
Nozzle Height and Z-Offset
Nozzle height and Z-offset control the distance between the nozzle and the print bed. This distance is critical for first layer adhesion. If the nozzle sits too high, the filament will not stick. If it sits too low, the filament gets squished, causing uneven layers or even clogging.
To set the correct nozzle height:
- Home the printer and heat the bed and nozzle to operating temperature.
- Place a piece of paper between the nozzle and the print bed.
- Adjust the Z-offset until you feel slight resistance when moving the paper.
- Repeat the process at all four corners and the center.
- Run a test print and watch the first layer. Adjust the Z-offset if you see gaps or squished lines.
You should check nozzle height regularly, especially after moving your printer or changing the build platform. Even small shifts can affect bed adhesion. Remember, nozzle height is a primary factor in getting your 3d print to stick.
Common Mistakes
Many users struggle with bed adhesion because of simple mistakes. Here are some of the most common issues and how they affect your print quality:
- Relying only on the paper test when the printer is cold. The nozzle and bed expand when heated, so always level at printing temperature.
- Forgetting to relevel after moving the printer or changing the build platform.
- Not cleaning the print bed regularly, leading to oil or residue buildup.
- Using the wrong build platform setting in your slicer, which changes the nozzle height and affects adhesion.
- Failing to adjust nozzle height or bed leveling when switching filament types or nozzle sizes.
- Ignoring signs of bed wear or damage, which can reduce bed adhesion.
- Applying too little or too much glue, or not using a brim when needed.
Pro Tip: Make small adjustments and test frequently. Good bed adhesion comes from careful calibration and regular maintenance.
By following these steps and avoiding common mistakes, you can achieve reliable bed adhesion and improve your 3d print success rate. Always start with a level, clean build platform and check your nozzle height before every print.
Temperature and First Layer Settings
Getting your 3D print to stick starts with the right temperature and first layer settings. These factors control how the filament bonds to the bed and set the foundation for the rest of your print. If you notice your print not sticking to the bed, adjusting these settings can make a big difference.
Bed Temperature
The bed temperature plays a key role in first layer adhesion. Each filament type needs a specific range to bond well with the print bed. Setting the bed too low can cause weak adhesion, while too high can deform the filament or damage the build surface. Use the following table as a quick reference for common filaments:
|
Filament |
Recommended Bed Temperature |
Additional Notes |
|---|---|---|
|
PLA |
Keep ambient temperature cool (20-25°C) to avoid jams |
|
|
PETG |
70-80°C (some use 50-80°C) |
For large prints, increase ambient by ~10°C to prevent warping |
|
ABS |
Use enclosure ambient 40-50°C to prevent warping |
|
|
Nylon |
90-110°C |
High bed temp reduces warping, improves bonding |
|
TPU |
30-60°C |
Too low causes weak adhesion |
Tip: Start with the recommended temperature for your filament. If you still see warping or poor adhesion, increase the bed temperature by 5°C at a time.
Proper bed temperature helps prevent warping, elephant foot defects, and layer separation. For example, ABS and Nylon need higher bed temperatures to avoid rapid cooling and shrinking. PLA works well at lower temperatures and is less prone to warping. Always check your printer’s manual and filament packaging for specific recommendations.
Nozzle Temperature
Nozzle temperature affects how well the filament melts and flows onto the bed. If the nozzle is too cold, the filament will not melt enough to bond with the bed. If it is too hot, you risk stringing or blobs, but the filament will stick better. Here are the typical nozzle temperature ranges for popular filaments:
|
Filament |
Recommended Nozzle Temperature |
Notes on Bed Adhesion and Print Quality |
|---|---|---|
|
PLA |
190-220°C |
Good flow and adhesion at 200-210°C |
|
PETG |
Start at 235°C, adjust as needed |
|
|
ABS |
230-250°C |
Higher temps improve bonding |
Increasing the nozzle temperature improves filament fluidity. This allows the filament to press onto the bed and increases the contact area. You get a stronger bond and a smoother first layer. If you set the nozzle temperature too low, you may see under-extrusion or gaps in the first layer. The filament may lay down as separate strands instead of a continuous strip.
Note: For PETG, avoid exceeding 260°C to prevent material degradation. For PLA, going above 220°C can cause stringing or discoloration.
You should always adjust the nozzle temperature in small steps. Watch the first layer closely and look for smooth, even lines that appear slightly flattened, like a paint stroke.
Print Speed and Cooling
Print speed and cooling fan settings have a big impact on first layer adhesion. Printing the first layer too fast can cause the filament to drag or not bond well. Cooling fans that run too early can solidify the filament before it sticks.
- Set the first layer print speed lower than the rest of the print. Try 20-30 mm/s for PLA and PETG, and 40-60 mm/s for ABS.
- Turn off the cooling fan for the first few layers. Set the fan speed to 0% for the first 3 layers, then gradually increase it as the print builds up.
- Use minimum layer time settings in your slicer to give each layer enough time to cool and bond.
- After the first few layers, increase the fan speed to 30-60% depending on the filament.
Pro Tip: Slower print speeds and no cooling for the first layer give the filament more time to melt and grip the bed. This helps prevent the print from not sticking to the bed.
Ambient temperature also matters. Printing in a drafty or cold room can cause the first layer to cool too quickly, leading to poor adhesion. If possible, use an enclosure or keep the printer away from open windows and vents.
First Layer Adhesion Tips
You can improve first layer adhesion by adjusting a few key slicer settings:
- First Layer Height: Set the first layer height close to your nozzle diameter. For a 0.4 mm nozzle, use 0.2-0.3 mm. A thicker first layer increases flow and heat, helping the filament bond to the bed.
- First Layer Extrusion Width: Increase the extrusion width to 120-200% of the nozzle diameter. For a 0.4 mm nozzle, set the width to 0.5-0.75 mm. This creates wider lines that compensate for small leveling errors and improve edge grip.
- First Layer Speed: Slow down the first layer to 20-30 mm/s. This gives the filament more time to adhere.
- Nozzle Gap: Make sure the nozzle is close enough to the bed for the filament to squish slightly. The first layer should look like a smooth, flat strip, not a round string.
- Disable Cooling: Turn off the cooling fan for the first 2-3 layers to keep the filament warm and sticky.
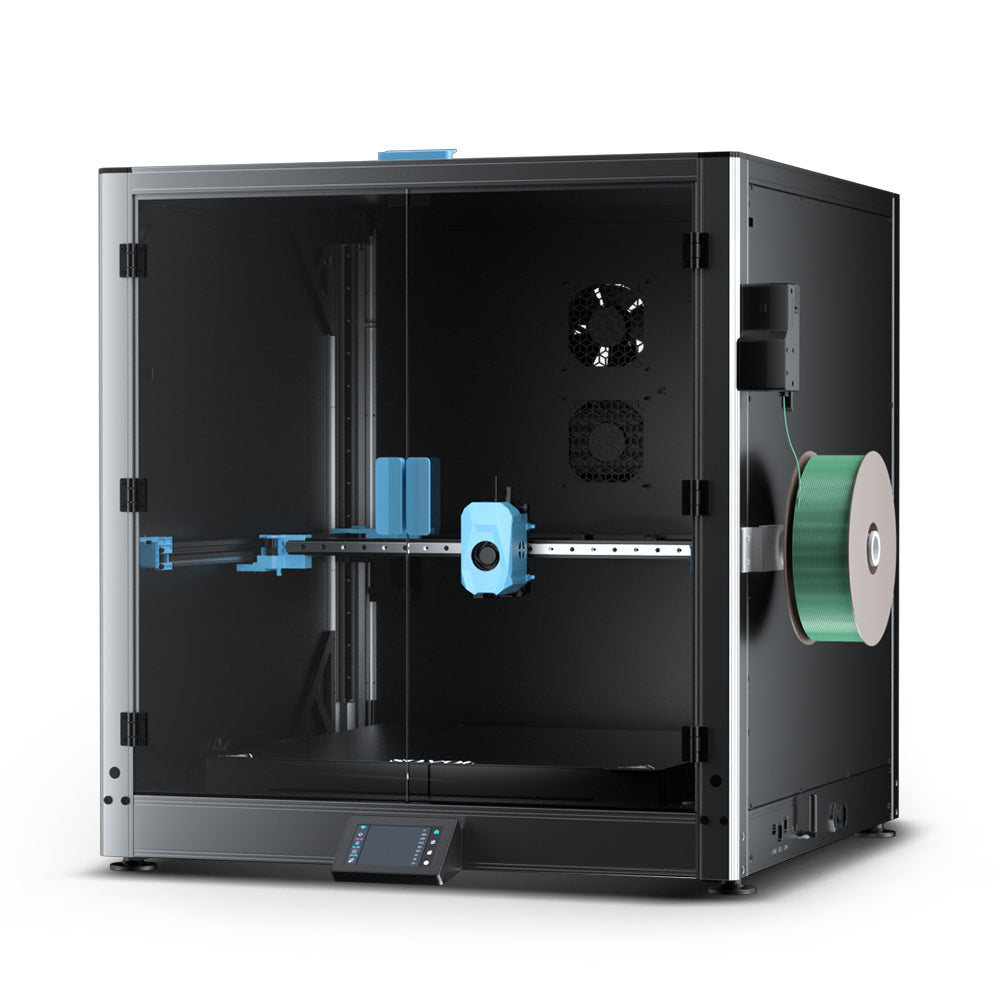
Note: If you use a Sovol 3D printer, take advantage of features like auto bed leveling and PEI-coated beds. These features help maintain a consistent nozzle gap and improve first layer adhesion.
If you still have trouble, check for bed cleanliness, correct Z-offset, and filament quality. Sometimes, using a brim or raft in your slicer can help anchor the print and prevent lifting at the edges.
By fine-tuning these settings, you can achieve good bed adhesion and reduce the risk of print failure. Always monitor the first layer and make small adjustments as needed. With practice, you will learn what works best for your printer and filament.
Adhesion Helpers and Build Surfaces
Adhesion Aids (Glue, Tape, etc.)
You can boost print bed performance by using simple adhesion aids. These products help your 3d print stay in place, especially if you struggle with not sticking to the bed. Here is a quick comparison of common options:
|
Adhesion Aid |
Common Usage & Effectiveness |
Notes & Limitations |
|---|---|---|
|
Glue Stick |
Works well for PLA, TPU, some ABS and PETG. Easy to apply and clean. Good for most prints. |
Can become slippery at high temperatures. Water-soluble. |
|
Hairspray |
Popular for ABS and PETG. Effective for many filaments. Needs thin layers. |
Messy, flammable, and requires cleaning. Some brands work better than others. |
|
Blue Painter's Tape |
Adds texture for PETG and PLA. Simple to use and replace. |
May not last long. Can peel during large prints. |
|
Kapton Tape |
Best for ABS and PETG at high temperatures. Reliable and heat resistant. |
Difficult print removal. Can warp on big prints. |
|
BuildTak |
Premium surface for all filaments. Excellent adhesion and easy removal. |
May need temperature tweaks. Durable but costs more upfront. |
Apply a thin, even layer of glue stick or a light mist of hairspray to the build platform. Replace tape when worn. Always clean the print bed after each print for best results.
Build Surface Types
Your choice of build platform affects print bed adhesion and print removal. Here are the most common types:
- Glass beds give a smooth, glossy finish but may need glue or tape for better grip.
- PEI sheets offer strong, reusable adhesion for PLA, ABS, PETG, and TPU. Clean with isopropyl alcohol and avoid sharp tools.
- BuildTak provides excellent grip for most filaments and lasts for many prints.
- Magnetic flexible plates make print removal easy. You can bend the plate to pop off prints, but they may not suit high-temperature filaments.
- Aluminum beds heat up fast and spread heat evenly.
A heated print bed improves adhesion for materials like ABS and PETG. Always match your build platform to your filament for the best results.
Skirt, Brim, and Raft
You can use slicer features to improve first layer adhesion:
- Skirt: Prints a line around your object. It primes the nozzle but does not help with adhesion.
- Brim: Adds extra lines attached to your print’s base. Use a brim for small parts or materials that warp, like ABS. It increases the contact area and helps prevent lifting.
- Raft: Prints a thick, flat base under your object. Use a raft for uneven or damaged beds, or for prints with small footprints. It provides a stable foundation and helps with removal.
Tip: Adjust the brim or raft settings in your slicer to balance adhesion and easy removal.
Material Compatibility
Not every build platform works with every filament. PLA sticks well to glass or PEI, while ABS needs a heated bed and sometimes Kapton tape or BuildTak. PETG can bond too tightly to PEI, so use a release agent if needed. Always clean the build platform with soap and water, not just isopropyl alcohol, to remove oils and improve adhesion. Check that you use the correct side of one-sided build plates and avoid counterfeit surfaces, as these can cause prints to fail.
Troubleshooting Bed Adhesion Issues
Troubleshooting Checklist
When you face persistent first layer problems or print failures, use this checklist to find the cause and fix it:
-
Prepare and Maintain the Print Surface
Clean the bed with 90% isopropyl alcohol. Use dish soap and warm water for stubborn residue. Avoid touching the surface with your hands. For some filaments, apply a PVA glue stick. If needed, gently resurface the bed with a sponge or fine sandpaper. -
Calibrate Nozzle Height
Set the correct nozzle distance using your printer’s calibration tools. Do not squish the first layer to fix adhesion issues. -
Adjust Speed and Temperature
Lower the print speed to 75% for the first three layers. Use the recommended bed and nozzle temperatures. Raise the bed temperature by 5–10°C if prints still detach. -
Check for Clogs
Inspect the nozzle for any blockages that could affect extrusion. -
Check Bed Flatness and Position
Make sure the bed is flat and free of debris. Use bed leveling correction if your printer supports it. -
Use Brims
Enable a brim in your slicer to increase the first layer’s surface area.
Environmental Factors
Drafts and low room temperatures can cause the first layer to cool too quickly. This rapid cooling leads to warping and detachment. You can prevent these issues by enclosing your printer and keeping the ambient temperature stable. Humidity also affects print quality. High humidity causes filaments to absorb moisture, which weakens layer bonding. Keep your workspace at 30–50% humidity for best results.
Filament Quality
Moisture in filament leads to poor first layer adhesion and rough surfaces. You may hear hissing or popping sounds if the filament is wet. The table below shows how moisture affects print quality:
|
Effects on Print Quality and Adhesion |
|
|---|---|
|
0.34% |
Visible artifacts, reduced adhesion |
|
0.5%+ |
More artifacts, weak layers |
|
0.75% |
Voids, poor strength, severe adhesion problems |
|
>1% |
Bubbling, rough finish, major extrusion issues |
Store filament in dry boxes or sealed bags to avoid these problems.
3D Print Calibration Tips
Regular calibration reduces print failures and improves first layer results. Calibrate the X, Y, and Z axes for accurate movement. Adjust the Z-offset for the right nozzle-to-bed distance. Calibrate the extruder to ensure proper filament flow. Sovol printers, like the SV06, offer auto-leveling and magnetic PEI beds. These features help you maintain a perfect first layer and make print removal easier.
You can achieve print success by focusing on three main solutions: level and clean your bed, fine-tune temperature and first layer settings, and use adhesion helpers when needed. Start with bed leveling and cleaning for the best foundation. Adjust print settings next, then try glue sticks or brims if prints still lift. Always check for material compatibility and avoid these common mistakes:
- Skipping regular cleaning or leveling
- Using the wrong bed temperature or nozzle height
- Applying adhesives unevenly
Keep a troubleshooting checklist handy. With these steps, you will see more print success and fewer failed first layers.
FAQ
Why does my 3D print not stick to the bed?
You may have an unlevel bed, dirty surface, or incorrect nozzle height. Check your bed leveling, clean the print bed with isopropyl alcohol, and adjust the Z-offset. These steps improve first layer adhesion and help prevent print bed issues.
What is the best bed temperature for PLA?
Set your print bed to 50–60°C for PLA. This range works well for most printers, including Sovol 3D printers. If you still see poor bed adhesion, try increasing the temperature by 5°C until the first layer sticks.
How do I remove prints stuck to a PEI bed?
Let the bed cool completely. Gently flex a magnetic PEI plate or use a plastic scraper. Avoid metal tools to protect the surface. Sovol 3D printers with flexible PEI beds make print removal much easier.
Should I use glue stick or blue tape for bed adhesion?
Use a glue stick for PLA, PETG, or TPU on glass or PEI beds. Blue painter’s tape works well for PLA and PETG. Both options help if you struggle with 3D prints not sticking, especially on older or worn beds.
How often should I level my print bed?
Level your bed before every long print or after moving your printer. Sovol 3D printers with auto-leveling features reduce the need for frequent manual adjustments. Regular leveling keeps your first layer consistent and improves print success.


