


You use multi material 3d printing to make things with more than one material or color at the same time. This technology is special because you can print hard designs without gluing or putting parts together. You have more choices for design, save time, and make better parts. Here are some main benefits:
|
Advantage |
Description |
|---|---|
|
You can make each part of your object work best for different jobs. |
|
|
Improved Manufacturing Efficiency |
You do not need as many steps to put things together, so you save time and make fewer mistakes. |
|
Optimized Material Properties |
You can mix strong and bendy materials in one print, which helps in cars and medical tools. |
Key Takeaways
Multi-material 3D printing lets you make things with different materials. This helps objects work better and look nicer. This technology saves time and cuts down on assembly steps. It makes the manufacturing process faster and easier. Picking the right materials is very important. Some materials stick together better than others. This can change how strong the finished product is. Dual-extrusion systems let you print with two materials at the same time. But you need to set them up carefully to stop mixing. Start with easy projects to learn what your printer can do. This will help you get better at multi-material printing.
What Is Multi Material 3D Printing?
Core Concepts and Definition
You use multi material 3d printing to make one object from two or more materials at the same time. This way, you can give different parts of your object special features. For example, you can print a tool with a hard handle and a soft grip all at once. You do not need to glue or put together different pieces.
Here is a table that explains why this technology is special:
|
Feature |
Description |
|---|---|
|
Definition |
Uses two or more materials in one build to make objects with different parts. |
|
Capabilities |
Lets you print things with different material features in one go. |
|
Advantages |
Makes parts with many uses, saves assembly steps, and allows tricky shapes. |
|
Applications |
Used in biomedical engineering, aerospace, consumer products, and electronics manufacturing. |
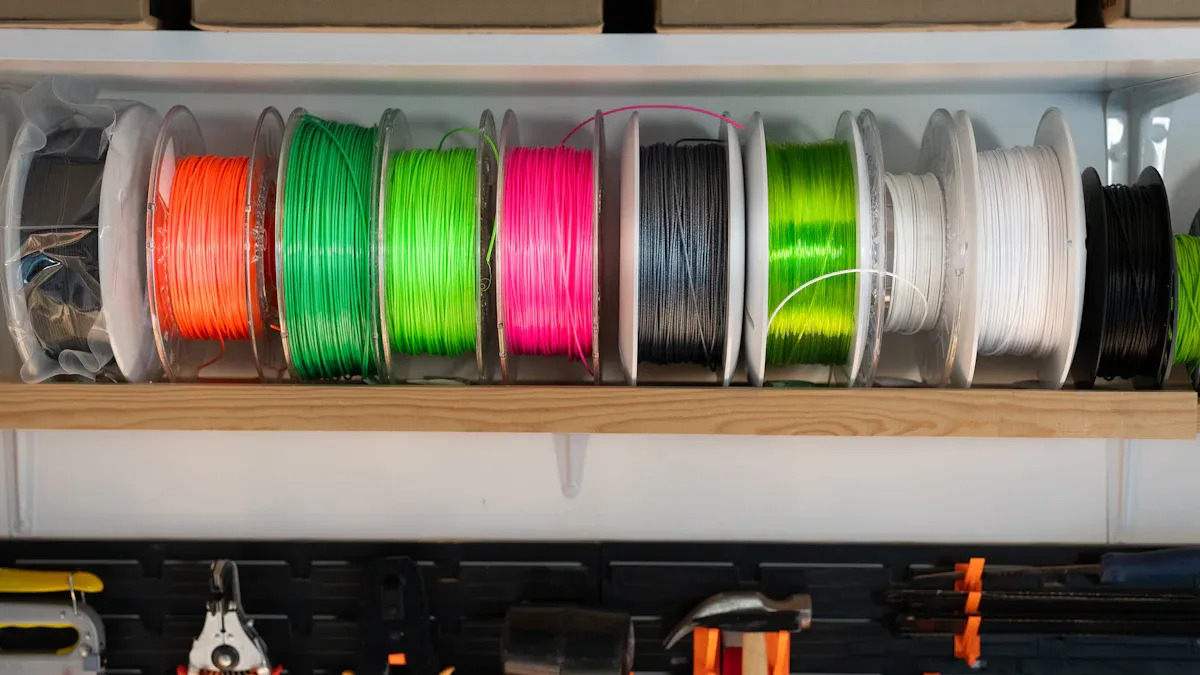
You can pick from many materials for multi material 3d printing. Each one has its own good points. Here are some common materials and what they are used for:
|
Material |
Properties |
Applications |
|---|---|---|
|
PETG |
Sticks well to ABS and ASA, not great for support |
Models with PLA body and PETG clips |
|
PLA |
Comes off PETG easily, good for supports |
Support structures |
|
TPU |
Bends and stretches |
Soft grips or hinges |
|
ABS |
Strong and heat resistant |
Tough projects |
|
ASA |
Handles sunlight, like ABS |
Outdoor uses |
|
Nylon |
Very strong, mixes with carbon fiber |
High-strength parts |
|
PEEK |
Handles high heat and chemicals |
Aerospace and medical |
|
ULTEM |
Works like PEEK, high performance |
Aerospace and medical |
|
PVA |
Melts away in water |
Easy support removal |
|
BVOH |
Melts away in water |
Tricky shapes |
You can choose the best material for each part of your design. This helps you make products that fit your needs.
Tip: Try using PVA or BVOH for supports if you want to print tricky shapes. These supports melt in water, so you do not have to break them off by hand.
Multi-Material vs. Multi-Color Printing
You might hear about multi-color 3D printing and multi material 3d printing. They are not the same. Multi-color 3D printing uses one material but changes the color as it prints. This is good for making bright models or toys. Multi material 3d printing uses different materials, not just colors. This gives you more choices for how your object works and lasts.
Here is a table to show the differences:
|
Feature |
Multi-Color Printing |
Multi-Material 3D Printing |
|---|---|---|
|
Materials Used |
Same material, different colors |
Different materials, any color |
|
Main Purpose |
Looks nice |
Works better and lasts longer |
|
Example |
Colorful figurines |
Soft grips, hard frames |
|
Printing Techniques |
Filament swapping, color mixing |
Dual extruders, AMS, MMU, IDEX |
You use multi-color 3D printing when you want your object to look cool. You use multi material 3d printing when you need your object to be strong or have special features.
- Multi-color 3D printing: Good for art, models, and toys.
- Multi material 3d printing: Good for tools, medical devices, and parts that need special features.
There are many 3D printers for both ways. Some printers use two extruders or let you print with more than one filament. These machines can switch colors or materials while printing. Some advanced printers can even mix materials or change tools for each layer.
Note: If you want both color and special features, some printers let you use both multi-color and multi material 3d printing. You can make things that look good and work well.
Now you know the main ideas about multi material 3d printing. You also know how it is not the same as multi-color 3D printing. This helps you pick the right way to print your project.
How Multi Material 3D Printing Works
Printing Processes Overview
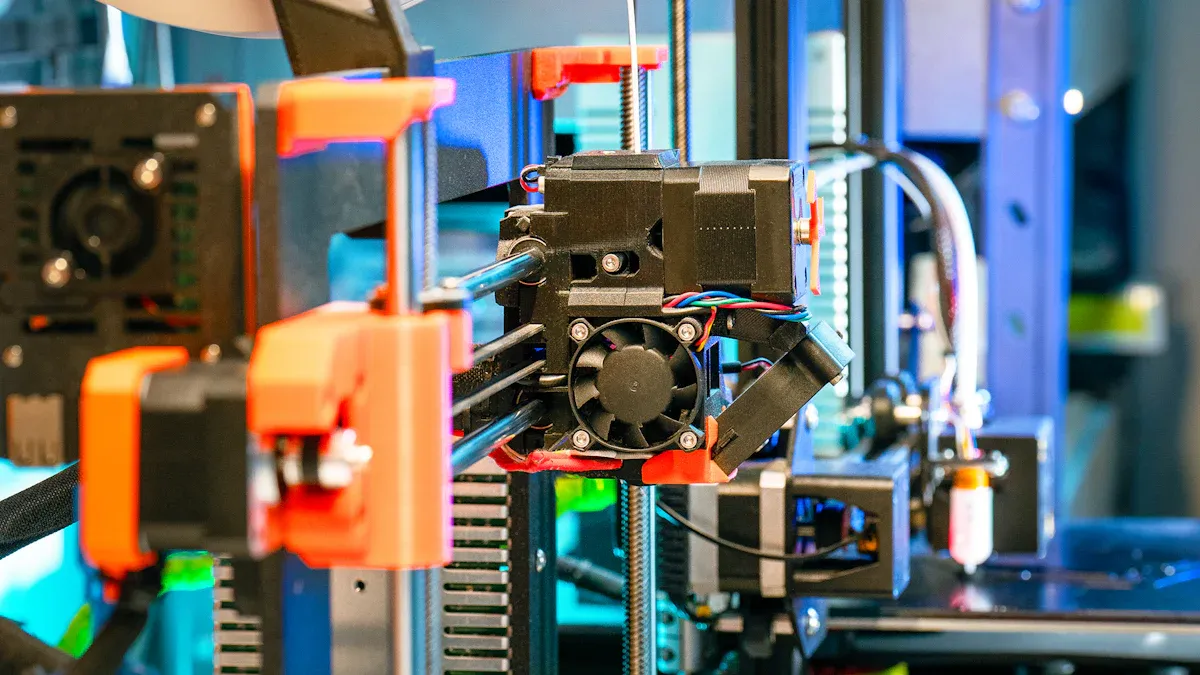
When you use multi material 3d printing, you need special hardware and software. The printer works with more than one filament or resin at once. There are different systems you can pick. Some use two extruders, some use one hotend with a feeder, and some can even change tools.
First, you get your 3D model ready in slicing software. This software lets you pick what material or color goes where. Some printers let you do this online. That makes it easier to handle your projects and saves time. You can also control many printers from one place. You can watch your prints as they happen and see if there are problems.
Tip: Use build plate leveling and filament sensors. These help you avoid failed prints and make your work smoother.
Dual-Extrusion and Single Hotend Systems
You can pick dual-extrusion or single hotend systems for multi material 3d printing. Each one has good and bad points. Dual-extrusion printers have two extruders or nozzles. Single hotend systems have one nozzle but can switch filaments.
Here is a table that shows how two types of dual-extrusion systems are different:
|
Independent Dual Extrusion |
|
Fixed Dual Extrusion |
|---|---|---|
|
Each extruder is light and moves fast. This helps stop print mistakes. |
Print Quality |
Both extruders together are heavy. This can make prints look messy. |
|
When not used, extruders wait away from the plate. Nozzles get cleaned before printing again. This keeps layers neat. |
Material Contamination |
Nozzles not in use can drip. This can mess up your print. |
|
Extruders stay far from the other hotend. |
Heat Bleed |
Hotends close together can heat each other. This can melt filament and ruin prints. |
Single hotend systems use a device to feed filaments into one nozzle. These are lighter and cheaper. But they need to clean out old material before using new. This can waste filament and take longer.
Note: Dual extrusion with print cores makes switching materials easy. You can change print cores for new materials or nozzle sizes.
Material Switching and Management
Switching materials is important in multi material 3d printing. The printer must clear out old material before adding new. This stops colors or materials from mixing by mistake.
Here are some ways to handle material switching:
|
Method/Feature |
Description |
|---|---|
|
Cloud-based model prep and slicing |
Makes managing projects easy and saves time. |
|
Remote printer management |
Lets you run many printers from one spot. |
|
Real-time monitoring and reporting |
Helps you check prints and fix problems fast. |
|
Dual extrusion with print cores |
Makes switching materials quick. |
|
NFC material recognition |
Printer reads the material and uses the right settings. This helps stop mistakes. |
You can get better prints by doing these things:
- Change retraction settings to stop stringy prints.
- Pick the right retraction distance and speed for each material.
- Set cooling based on the material you use.
When you switch materials, you need to clean the nozzle. This means you take out the old filament so the new one prints well. Here is an easy way to do it:
- Heat the nozzle for the filament you have now.
- Use 'Unload' or 'Retract' to pull out the old filament.
- Pull the filament out gently.
- Let the hotend cool to about 50–60°C.
- Put cleaning filament in until it reaches the gear.
- Use 'Load' or feed the filament in short bursts.
- Push the cleaning filament until it comes out clean.
- For deep cleaning, cool the hotend to 80–100°C, then pull the filament out fast.
- Let the nozzle cool with cleaning filament inside.
- Pull out the filament and clean the nozzle outside.
Tip: Fast speeds up to 500 mm/s and high acceleration can make prints faster. A strong steel gear feeder helps move filament well.
You can use NFC material recognition to make sure the printer picks the right settings. This helps you make fewer mistakes and get better prints.
Multi material 3d printing lets you make objects with different strengths, colors, or textures all at once. If you know how your printer switches and handles materials, you can get great results for your projects.
Multi Material 3D Printing Methods
Dual-Extrusion Technology
Dual-extrusion lets you print with two filaments or colors at once. You can mix materials with different features or use supports that dissolve in water. This helps you make shapes that are hard to build. Many students and hobbyists use dual-extrusion because it costs less and is easy to try.
Advantages:
- Print two materials or colors in one job
- Use supports that melt for tough designs
- Mix hard and soft materials for better parts
- Cut down on steps to put things together
Disadvantages:
- Prints take longer since the printer switches filaments
- More waste comes from cleaning out old material
- Needs careful setup and slicer settings
- Only works with materials that melt at close temperatures
- Costs more and needs extra care
Tip: Dual-extrusion works best with materials that melt at similar temperatures.
Tool-Changing and Mixing Hotends
Tool-changing systems let your printer swap hotends with different materials. This gives you full control over each material and fast switching. You waste less material because you do not need to clean as much between changes. Mixing hotends blend filaments inside one nozzle. This can make new colors or gradients, but it wastes more material and switches slower.
|
Single Nozzle + Multi-Input |
Nozzle Swap |
Tool-Changing (Multi-Head) |
|
|---|---|---|---|
|
Material Independence |
No |
Partial |
Yes |
|
Purge Waste |
High |
Medium |
Very Low |
|
Switch Time |
30–40s |
20–30s |
5–10s |
|
Soft + Hard Materials |
Limited |
Limited |
Excellent |
|
Soluble Supports |
Risky |
Inconsistent |
Reliable |
Tool-changing systems give you more choices and less waiting. The printer heats each hotend fast, so you can switch materials in seconds. This makes your work faster and easier.
Material Jetting and Advanced Methods
Material jetting uses print heads to drop tiny bits of different materials. This method gives you smooth surfaces and high detail. New technology lets you print with many shades of gray, which makes surfaces smoother and clearer. Some printers use smart software to keep lines sharp and edges neat.
- Multi-level grayscale printing makes surfaces smoother by changing how thick the material is.
- Smart image tools cut down stair-step marks on curved parts.
- Acoustic wave checks watch droplet formation in real time for better prints.
- New resins and nanoparticle mixes make edges sharper and reduce mistakes.
- Thermo-responsive polymers help control when the material hardens, making details clearer.
Material jetting is good for prototypes, dental models, and parts that need fine details. You can make things that look and feel like finished products.
Challenges and Solutions
Technical Difficulties and Print Quality
When you use multi material 3d printing, you can run into problems. Handling more than one material at once is hard. Printers must keep each material working together. If the printer does not switch materials well, prints can look bad. Here is a table with common problems:
|
Challenge |
Description |
|---|---|
|
Process Coordination |
Keeping materials working together while printing. |
|
Material Compatibility |
Making sure materials fit together. |
|
Post-Processing Integration |
Finishing and joining parts made from different materials. |
To make prints better, check your printer often. Use filament sensors and clean nozzles. Look for stringy bits or blobs when you change materials.
Material Compatibility and Bonding
Picking the right materials matters a lot. Some materials stick well, but others do not. If materials do not stick, your part can break or fall apart. Here is a table that shows bonding types:
|
Bonding Type |
Characteristics |
Typical Use |
|---|---|---|
|
Strong Bonding (Chemical Adhesion) |
Layers stick together for strong parts. |
Structural parts. |
|
Weak Bonding (Dissimilar Interfaces) |
Layers come apart easily. |
Support interfaces. |
|
Engineered Bonding (Mechanical Interlocking) |
Parts fit together by shape. |
Overmolded parts. |
- Choose materials that stick well for strong parts.
- Weak bonds are good for supports you want to take off.
- Use special shapes to help materials stay together if they do not stick.
Tip: Always check melting points and shrink rates before you print. This helps stop warping and bad sticking.
Cost and Maintenance
Multi material 3d printing costs more than using one material. You pay extra for good resins and advanced printers. Taking care of the printer also costs money. Here is a table of common costs:
|
Cost Component |
Description |
|---|---|
|
Material Costs |
Good resins and filaments cost more money. |
|
Machine Maintenance |
Advanced printers need regular care and fixing. |
|
Production Time |
Printing with many materials takes more time. |
- Basic filaments are cheap, but special ones cost more.
- Starter printers cost about $200. Big models cost much more.
- Skilled users help save materials and fix problems fast.
Note: Plan your money for materials, care, and time. Good planning helps you save money and get better prints.
Applications and Tips
Common Uses and Industries
Multi material 3d printing is used in many fields. It helps make parts with different features in one print. Here are some ways people use it:
- Aerospace: You can make light parts. This helps save fuel.
- Healthcare: You can print implants that fit each patient.
- Automotive: You can make special car parts for each person.
- Industrial Equipment: You can make tools and spare parts fast.
- Construction: You can build safer tools and fixtures.
- Consumer Goods: You can make things with soft and hard parts, like toothbrushes with rubber grips.
Engineers use dual extrusion to print a wrench. The wrench has a hard body and a soft handle. Doctors use 3D printing to make bone implants for patients.
Benefits of Multi-Material Printing
You get many good things when you use multi material 3d printing. It helps with product development and prototyping. The table below shows the main benefits:
|
Benefit |
Description |
|---|---|
|
Increased Functionality |
You can mix different features in one object. This makes your designs more useful. |
|
Reduced Assembly Time |
You print the whole part at once. You do not need to put pieces together. |
|
Design Freedom |
You can make tricky shapes and mix colors. Other methods cannot do this easily. |
|
Economic Impact |
You save money and time by making your work easier. |
|
Cost Savings |
You use less labor and material. This lowers your costs. |
|
Prototyping Efficiency |
You can test many designs fast. Sometimes you finish in a few days. |
Beginner Tips and Workflow Advice
If you are new to multi material 3d printing, try these tips:
- Pick materials like PLA and PETG. They print easily and make strong parts.
- Watch your temperature settings. Use a heated plate and good adhesion to stop warping.
- Change retraction settings to cut down stringing when you switch materials.
- Set your print orientation well. This saves time and uses less material.
- Choose the right material for your project. Think about what you need, like strength or flexibility.
- Think about how many parts you want to make. Use 3D printing for small batches or tricky shapes.
- Check how long your job will take. 3D printing starts fast, but big jobs take longer.
- Look at your quality needs. For smooth surfaces, change printer settings or try new materials.
Tip: Begin with easy projects. Learn how your printer works with different materials. This helps you avoid mistakes and get better at printing.
You now know that multi-material 3D printing helps you make parts with different features and tricky shapes in one go. To do well, you must learn about your printer’s hardware. You should pick materials that work together. It is important to plan your steps before you start. Experts say you should try small prints first. Watch your prints as they happen. Always check if your materials fit together.
|
Key Takeaways |
Description |
|---|---|
|
Material Diversity |
You can print with many materials for special jobs. |
|
Challenges |
Look out for problems with sticking and how the surface looks. |
|
Applications |
This is good for custom electronics and fast prototypes. |
FAQ
What is the difference between multi-material and multi-color 3D printing?
Multi-material 3D printing uses more than one material in a print. Multi-color 3D printing uses one material but changes the color. Multi-material printing makes objects work better. Multi-color printing makes objects look bright and fun.
Can I use dual extrusion for multi-filament printing?
Yes, you can use dual extrusion for multi-filament printing. Dual extrusion lets you print with two filaments at the same time. You can mix colors or use different materials. This helps you make strong parts or colorful models.
What materials work best for multi-material 3D printing?
You can use PLA, PETG, TPU, ABS, and PVA. PLA and PETG are easy for beginners to use. TPU is good if you want your part to bend. PVA is great for supports. Always check if your materials stick together well.
How do I prevent material contamination during printing?
Set the right retraction and purge settings on your printer. Clean the nozzle when you switch materials. Use filament sensors and print cores. These steps help you stop colors or materials from mixing.
Is multi-material 3D printing technology expensive?
Multi-material 3D printing costs more than using one material. You pay extra for better printers and special filaments. Start with a basic printer if you want to save money.


