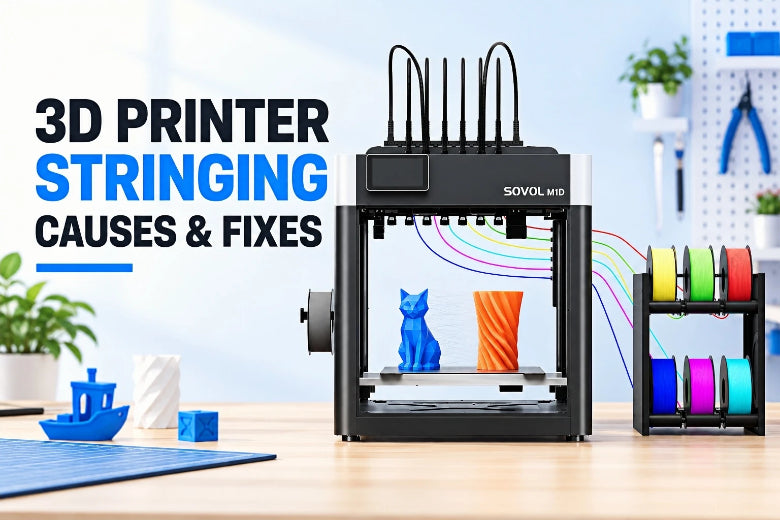
This guide is about how to stop 3D printer stringing by finding its actual cause, not by pasting someone else's retraction numbers into your profile. Stringing causes are rarely mysterious once you know which one you're looking at. The order below provides a practical starting point: read the pattern first, then work through your material and slicer setup, filament condition, temperature, retraction, travel, and finally hardware. Depending on your material and printer, some steps may need to be repeated. Change one variable at a time, reprint the same model, and compare like with like.
The steps here are written for beginners, schools, makerspaces, and developers working on direct-drive and tool-changing machines, where retraction and extrusion behavior are the usual suspects.
Read the Stringing Pattern Before You Change Anything
Pick up the failed print and look at it before you open your slicer. The shape of the strings can help narrow down likely causes among the five usual 3D printing stringing suspects, and that saves you from resetting retraction for a problem that lives in your filament. A quick look at the travel moves in your slicer's preview makes that diagnosis faster.
Three terms matter here. Oozing is melted plastic continuing to flow out of the nozzle when it should not. A travel move is the non-printing jump the head makes between two printed areas. Retraction is the slicer pulling filament backward during that jump to relieve nozzle pressure.
|
What you see |
Likely cause |
First test to run |
|---|---|---|
|
Fine hair-like wisps between towers |
Mild oozing: temperature slightly high or retraction slightly weak |
Drop nozzle temperature a few degrees |
|
Thick blobs and heavy cobwebbing |
Temperature far too high, retraction far off, wet filament, or poor travel behavior |
Dry the spool first |
|
Popping, hissing, rough inconsistent extrusion |
Moisture |
Dry the spool first |
|
Strings that only improve when travel is much faster |
Slow travel or inefficient pathing |
Raise travel speed |
|
Strings that survive sensible slicer tuning |
Hardware: partial clog, worn nozzle, hotend leak, poor nozzle-to-heat-break seal |
Inspect the hotend |
Moisture deserves its own row because it mimics everything else. Absorbed water flashes to steam inside the hot end, and that vapor pushes melt out of the nozzle during travel, which is why wet filament produces wispy strands alongside blobs and rough surfaces (Sovol's guide to spotting wet filament, 2025). It also explains why retraction tuning can feel useless: SUNLU's stringing and oozing explainer names moisture as the primary cause and notes that retraction cannot hold back steam-driven pressure.
Follow This Diagnostic Order, One Variable at a Time
Change exactly one thing per reprint, on the same model and the same spool. Lock a baseline first: one spool, one small test model, one saved profile.
- Observe the stringing pattern. Decide whether you're looking at fine wisps, heavy cobwebbing, rough popping extrusion, or strings that only thin out at speed.
- Confirm material, nozzle, and slicer setup. Check that the loaded profile matches the filament, nozzle diameter, and printer, and that the flow is calibrated. An M1D first-print setup walkthrough covers the baseline checks worth repeating.
- Check filament condition. Dry the spool if there's any sign of moisture before touching other settings.
- Temperature. Step nozzle temperature down in small increments.
- Retraction. Adjust distance first, then speed, in small steps.
- Travel pathing and speed, plus minimum travel distance and retract-on-layer-change.
- Hardware. Inspect the nozzle, hotend, and feed mechanism for clogs, wear, or leaks.
The order reflects how each factor behaves. A wet spool and wrong material settings can mimic bad retraction, so ruling those out first stops you from chasing a slicer value for a problem that lives elsewhere. Travel speed sets how fast the nozzle leaves a move, minimum travel distance decides whether retraction happens at all, and distance and speed set how much filament is pulled back and how fast (Polymaker Wiki, Travel and Retraction). Because each setting controls a different part of the behavior, changing several together produces results you cannot read.
The increments also differ by extruder type for a mechanical reason. Direct drive has a short, stiff filament path, so a small retraction transmits quickly; a Bowden tube compresses and rebounds like a spring, so the same pressure relief needs a much longer pull (Wevolver, Cura retraction settings, 2024). Use the filament manufacturer's profile as a starting point, then make small controlled changes based on your printer, nozzle, material, and slicer.
Verify your result. After each reprint, inspect the same two zones: the gap between separate towers and the top surface. Strings gone in both means the last change worked. Strings reduced but still present means continue rather than reverse.
If steps 3 through 6 clear the strings, stop there. If they don't, the cause sits upstream of these retraction settings for 3D printing, and the hardware section covers where to look.
Test Temperature, Retraction, and Travel Without Guessing
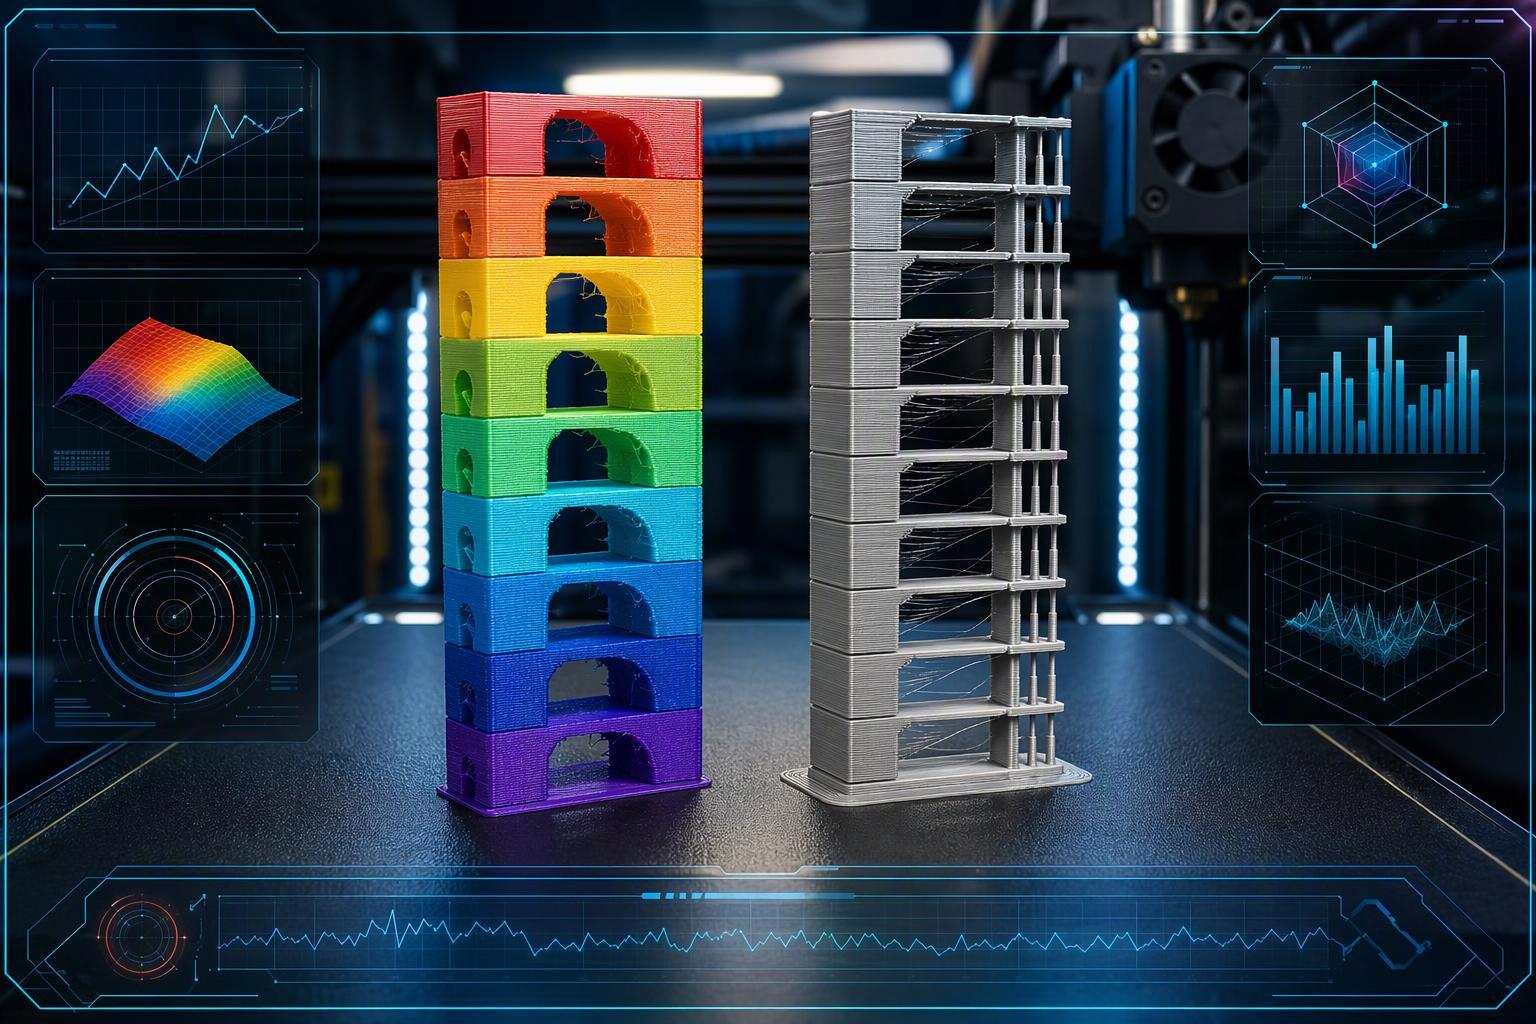
Change one variable per test, or you will not know which one worked.
1. Temperature. Print a tower whose nozzle temperature steps as Z rises, usually in small increments, with every other setting fixed. Judge layer adhesion, stringing, and surface finish band by band, then pick the lowest temperature that still bonds well (FormFutura's temperature tower guide, 2025-06-23). The right step size depends on the material, so start with your manufacturer's range and narrow it down. Verify: the chosen band holds together when you flex it.
2. Retraction distance. Use your slicer's retraction tower. In Orca Slicer, each section is labelled with its retraction length; only length varies while speed stays fixed (Kingroon's walkthrough of the Orca retraction test, 2025-08-26). Start from the value your filament or printer profile suggests, then step up in small increments rather than jumping to a large one. Verify: the cleanest section still extrudes fully, with no gaps in the walls.
3. Travel. Raise travel speed and lower minimum travel distance for small features, watching how the strings change. The trade-off is more retractions per layer (Polymaker's travel and retraction explainer). Verify: the stringing thins without the print slowing noticeably.
Retraction tuning has a ceiling. Push distance too high and you get under-extrusion and weak layer bonding, so aim for the lowest setting that works, not the highest.
Rule Out Moisture, Then Check Hardware
If retraction tuning isn't working, dry the filament before you touch another setting. Wet filament mimics bad slicer settings and won't respond to retraction changes until it's dry (SUNLU's stringing and oozing explainer).
Run the A/B test: dry the spool, reprint the same model with zero slicer changes, and compare. If the strings thin out or vanish, moisture was your cause. Watch for popping or crackling, rough surfaces, new strings between parts, bubbles or gaps, inconsistent extrusion, hissing, extruder clicking, and blobs or drips (Sovol's guide to spotting wet filament, 2025).
Drying temperature and time depend on the polymer, so follow your filament manufacturer's guidance rather than a single universal chart, and use the longer end for fully saturated spools. Safe temperature is set by the polymer's heat resistance, while time depends on how hygroscopic the material is and how big the spool is. A lower temperature for longer is not equivalent to a shorter hotter cycle, and drying also cannot reverse hydrolysis (Prusa's filament drying knowledge base page, 2026).
If the strings survive a proper dry and reprint, the cause is hardware: a partial clog, a worn nozzle, a hotend leak, or a poor nozzle-to-heat-break seal. Retraction tuning may not resolve these hardware-related problems. A toolhead maintenance routine is the place to start: inspect, clean, and reseat the hotend before you touch another slicer value. On multi-tool machines, residue can also appear where one tool hands off to another. On a tool-changing printer such as the Sovol M1D, check each toolhead's material assignment in the material compatibility guide and preview tool-change transitions in your slicer, since different filaments may require separate temperature and retraction profiles.
Common Mistakes That Keep the Strings Coming Back
The most frequent mistake is changing several settings at once. When temperature, retraction distance, and travel speed all move in the same test, no single result is attributable to any one change, so you cannot tell which fix worked or which one made things worse. Change one variable, reprint the same test model, and compare.
Jumping retraction distance far past the starting range. Once a small increase reduces stringing, the temptation is to keep going. Past a point, extra retraction causes grinding, heat creep, and a slow re-prime as the nozzle refills. Step the distance up in small increments and stop at the first value that clears the strings (Polymaker's travel and retraction explainer).
Treating combing as a fix. "Avoid crossing perimeters" reroutes travel inside already-printed areas, which hides strings rather than eliminating them. Retraction is still required for long hops, so combing alone will not solve the problem (Bambu Lab's stringing and oozing wiki).
Enabling z-hop with weak retraction. Z-hop lifts the nozzle to protect the printed surface, but it can introduce new blobs or stringing when retraction is insufficient (Polymaker's travel and retraction explainer).
Retracting flexible filament hard. TPU often benefits from conservative retraction settings, but the appropriate value depends on the printer, filament, and slicer profile. Aggressive retraction can make the filament buckle in the extruder path, which creates feed problems instead of fixing stringing (Polymaker's travel and retraction explainer).
Frequently Asked Questions
Why does stringing PETG behave differently from PLA?
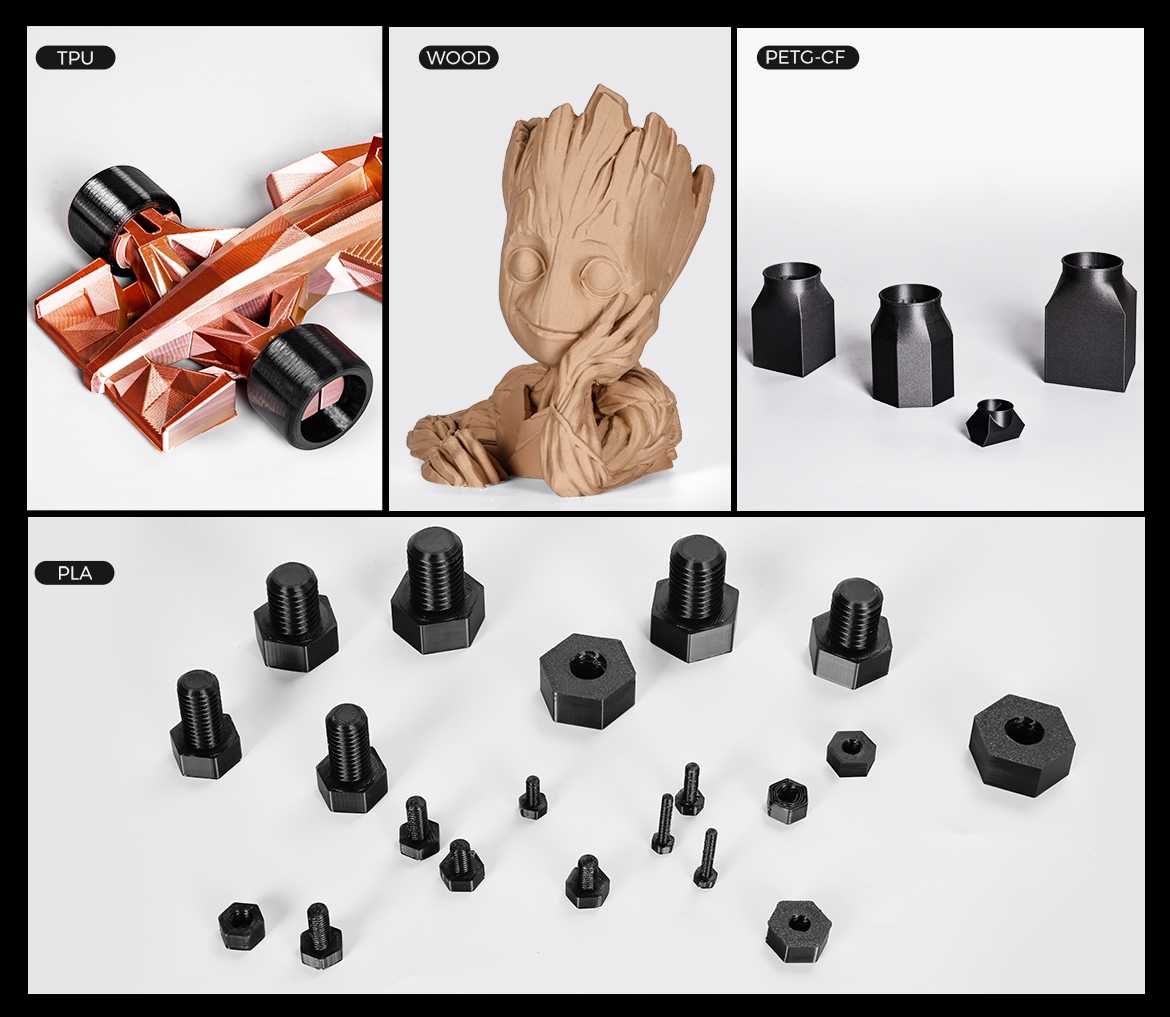
PETG prints hotter and stays soft and sticky for longer instead of snapping back the way PLA does, and it also absorbs moisture readily. That combination means a profile that prints PLA cleanly can still leave strings on PETG (Snapmaker's PETG stringing guide, 2025-12-09). Treat stringing PETG as its own case rather than assuming your PLA settings carry over.
Does a retraction distance that works on one printer work on another?
No. Direct-drive and Bowden setups behave differently because a Bowden tube compresses and rebounds like a spring, so the same retraction distance does not transfer between them (Wevolver's Cura retraction breakdown, 2023-09-12). On a direct-drive PETG setup, start from your manufacturer's profile and adjust in small increments, watching the result rather than assuming a fixed range applies (Snapmaker's PETG stringing guide, 2025-12-09).
What should I do when stringing returns after a filament change?
Re-run the diagnostic order from the top rather than reaching for a new profile. A different spool can shift the moisture level and the ideal temperature, so start from the filament maker's recommended range and adjust in small increments (Wevolver's PETG stringing article, 2023-09-12). Change one variable at a time so you can tell which one fixed it.
Can I just cut the strings off after printing?
You can, and it is a reasonable way to salvage a part. Learning how to remove 3D printer strings with a blade or heat gun cleans the surface, but it does not address the cause, so the next print will likely show the same webbing. Removal is a cosmetic fix, not a diagnosis.
Conclusion
You now have a repeatable way to work, not a list of settings to copy. Read the pattern first: fine hairs point one way, thick strands another, and the shape narrows the suspects before you touch a profile. Then move through the order, moisture and temperature before retraction, travel and hardware, and change one variable at a time on the same model so the comparison means something.
That method is what makes 3D printer stringing tractable. A test you cannot compare to a baseline tells you nothing, and two changes at once tell you less. Keep the model, the filament and the profile fixed, adjust a single value, reprint, and look at the same corner you looked at last time.
If the diagnosis keeps landing on travel moves and tool changes rather than temperature, you may be working with more filaments than a single nozzle handles comfortably. Look at how your slicing software previews tool changes, and lay out separate temperature and retraction profiles per material before you print.