If you’ve been printing for a while, you already know the dirty secret of “faster printing”: the printer isn’t always the bottleneck.
The real throughput killer in a busy workshop is often human time:
- starting and restarting jobs all day
- removing parts, cleaning plates, and reloading filament
- sanding seams and aligning glued joints
- reprinting “almost-good” parts because a split line didn’t fit the way it should
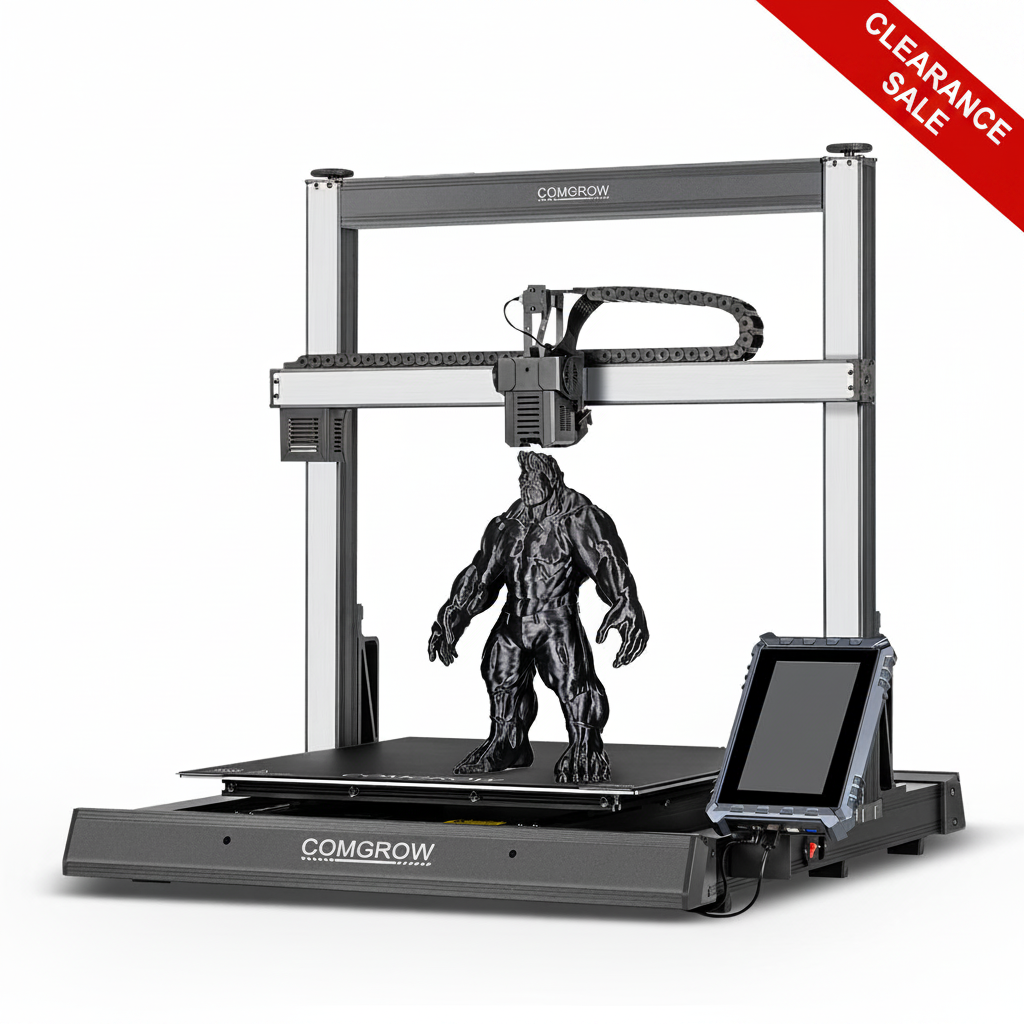
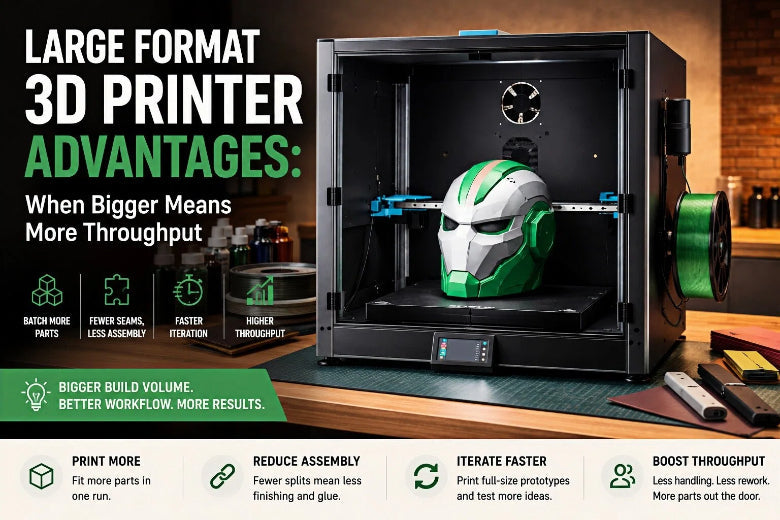
That’s the context where large format 3D printer advantages stop being about “printing huge props” and start being about getting more finished parts out the door with less handling.
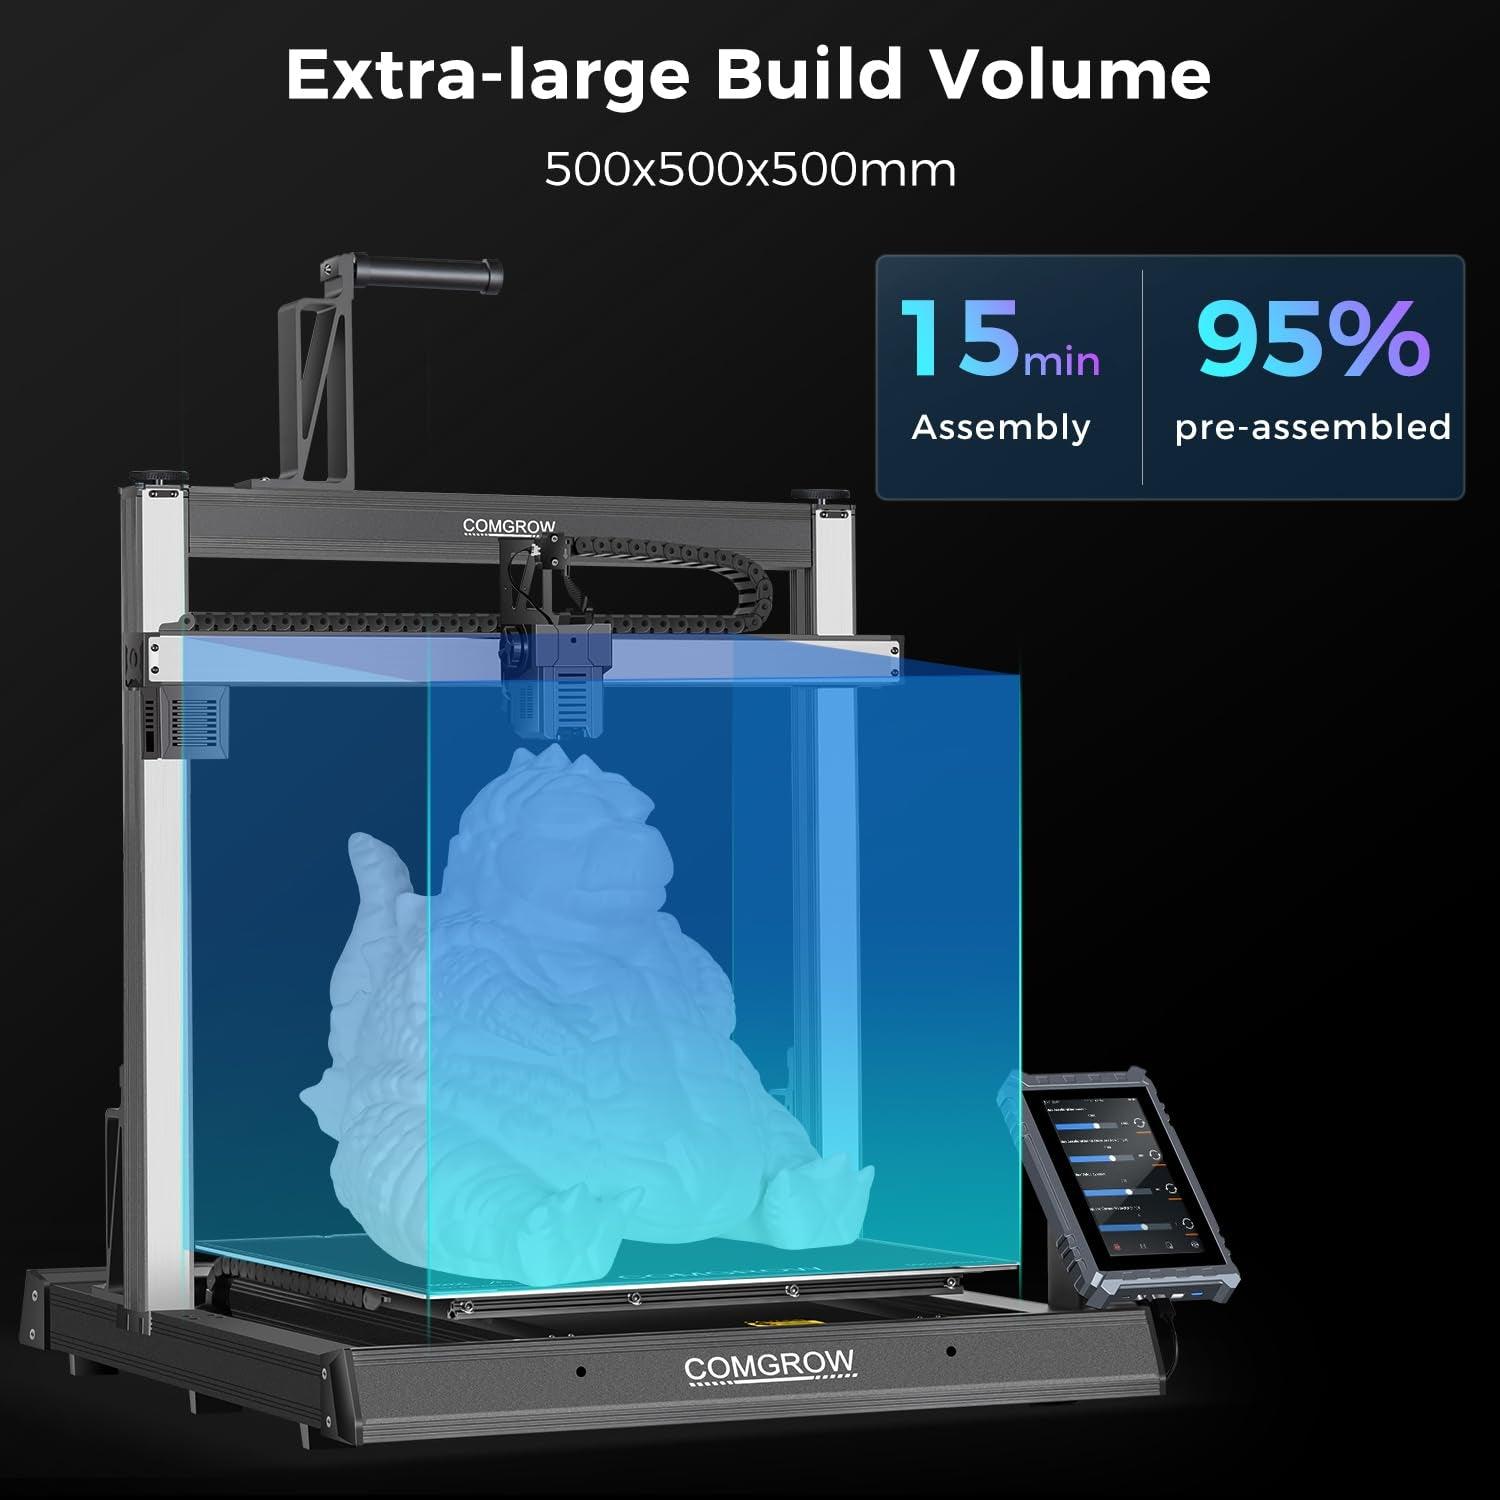
This article breaks down what you actually gain from a large-format FDM printer (think 500mm build volume 3D printer class), where the risks go up, and how to decide if it’s worth the footprint.
The throughput bottleneck isn’t your mm/s—it’s your workflow
For advanced FDM users, “throughput” is usually a mix of:
- Machine hours (how long the printer is occupied)
- Labor hours (setup, supervision, post-processing, assembly)
- Risk cost (how often long jobs fail, and how expensive those failures are)
Large-format printers don’t automatically reduce machine hours. In fact, printing big parts can take longer.
What they can reduce—dramatically, in the right workflows—is labor hours and avoidable rework. And that’s where the real throughput gain often hides.
Large format 3D printer advantages for throughput start with batching
Advantage 1: Batch more work per setup (the “overnight tray” win)
A large bed lets you treat your printer like an oven tray: load it up, hit print, and come back to a pile of finished parts.
That matters because every job has fixed overhead:
- heat-up and purge
- bed wipe / re-apply adhesive
- first-layer verification
- unloading, cooling time, cleanup
If you can print 10 parts in one run instead of 10 separate runs, you don’t just save time—you save context switching.
Batch printing without turning one failure into a disaster
There’s a catch: a full plate concentrates risk. One adhesion issue can turn into a spaghetti festival that ruins everything.
So for batch printing 3D printer workflows, aim for “high utilization” without maxing out the plate every time.
A few practical layout habits:
- Leave real spacing. Many batch/nesting workflows start with a few millimeters of clearance between parts so they don’t fuse and so small warps don’t collide. (This is also why industrial nesting tools care about collision and surface exposure.) See Sculpteo’s overview of 3D printing nesting (2024) for the general logic.
- Use brims where they earn their keep. Brims are boring, but they’re cheaper than a 14-hour restart. A solid primer on when they help is FacFox’s guide to 3D printing brims (2022).
- Be cautious with “print one at a time” (sequential printing). It can reduce domino failures, but only if your printer’s toolhead clearance and slicer settings are dialed in—otherwise you’ve created a new collision risk.
If your workshop is running lots of small-to-medium functional parts (clips, brackets, mounts, spacers, tool organizers), batching is often the first large-format advantage you’ll notice.
Advantage 2: Fewer seams and assemblies (your finishing time drops)
Splitting models is normal. It’s also a quiet tax you pay forever:
According to Forge Labs’ overview of large format 3D printing (2024), the work isn’t just the extra print time—it’s the added design and assembly complexity (joints, alignment, finishing) that shows up every time you manufacture the part.
- time designing joints (keys, dovetails, alignment tabs)
- extra supports and extra contact scars
- glue-ups, clamping, seam filling
- tolerance stack-ups that only show up when it’s time to assemble
A large format FDM printer won’t eliminate splitting, but it reduces how often you split purely because your bed is small.
That matters for throughput because assembly is “slow time” you can’t easily parallelize. One person can only glue and sand so many seams.
If you want a deeper framework for deciding when to split, SOVOL’s breakdown of split model vs large printer is a useful companion read.
A practical rule: avoid splitting when the seam becomes a process step
If a seam forces you to:
- do test fits
- add alignment hardware
- redesign joints after the first attempt
…you’re no longer “just splitting a model.” You’ve turned one print job into a mini manufacturing project.
Large build volume often keeps more of your work in the “print it, clean it, use it” zone.
Advantage 3: Faster iteration cycles for jigs, fixtures, and prototypes
Throughput isn’t only about copies. It’s also about iteration speed.
A larger build volume helps in three iteration-heavy scenarios:
1) Full-scale fit checks
If you’re designing a housing, enclosure, duct, or bracket, printing full-size (or closer to it) catches problems early:
- cable routing that looked fine in CAD but doesn’t clear in real life
- screw access that’s blocked by a rib
- “it technically fits” parts that are annoying to install
2) Fixture families
Shops rarely need one jig. They need a jig for each variant.
A bigger bed is great for printing a family of fixtures in one run—especially when you’re still tuning the geometry.
3) One-run A/B testing
For advanced makers, it’s common to test:
- two wall thicknesses
- different infill patterns
- different rib placements
A large bed makes it easier to print variations side-by-side under the same conditions.
Advantage 4: Better nesting for mixed jobs (when your plate is your schedule)
Most real workshops don’t print one SKU all day. They print a mix:
- a fixture for today’s assembly
- two replacement parts
- an enclosure prototype
- a handful of small accessories
A large bed lets you combine that work into a single schedule-friendly run.
Stratasys highlights the idea of multi-part nesting as a throughput lever in its overview of large-format 3D printers (2025). You don’t need an industrial machine to benefit from the principle: the more you can convert “a dozen tiny jobs” into “one managed run,” the more predictable your week becomes.
(If you want a deeper dive specifically on using large-format machines for production-style scheduling, SOVOL’s large format 3D printer guide for small-batch production is a good next read.)
What gets harder at large format (and why it surprises people)
Large-format printing magnifies the stuff you could previously get away with.
Risk concentration is real
If a 2-hour print fails at 90%, it’s annoying.
If a 22-hour print fails at 90%, it’s a workflow event.
That’s why “bigger” is only an advantage when your process can support longer, more failure-prone runs.
Warping and corner lift are more likely on big parts
Large flat areas cool unevenly. Corners lift. Stress builds.
A solid general reference on causes and mitigation is Weerg’s guide to preventing warping in 3D printing (2025), and The Virtual Foundry’s explanation of corner curling (2026) is a good reminder that draft control and temperature stability matter.
First-layer consistency matters more across a big bed
On a small printer, you can sometimes compensate for a slightly imperfect mesh.
On a big bed, you may have one corner that’s perfect and another corner that’s barely touching. That’s the kind of inconsistency that kills batch printing.
Space, noise, and shop reality
Large machines are physically harder to place.
They may require more thought around:
- ventilation (especially for materials with odor)
- noise
- power stability
- keeping filament dry near the machine
If you’re evaluating large-format options in general, Formlabs’ framework in How to Choose a Large-Format 3D Printer (2024) is helpful for thinking through facility and workflow implications.
Practical mitigation checklist before you commit to a big batch
Use this as a pre-flight list for large plates and long runs.
Thermal and warp control
- Preheat and let things stabilize (bed and enclosure, if you use one).
- Reduce drafts (AC vents can ruin a long print).
- For warp-prone geometries, consider rounded corners or small design changes that reduce stress concentrations.
First-layer discipline
- Clean the build surface.
- Run a quick first-layer test where the print will actually sit on the bed.
- Don’t “hope it’ll be fine.” Stop early if it’s marginal.
Filament reality
- Keep filament dry and consistent.
- If you’re printing hygroscopic materials, dry them and store them properly.
Batch layout risk management
- Don’t pack the plate so tightly that one curl can take out a neighbor.
- If a part is mission-critical, consider printing it solo (or at least separated) instead of burying it in a crowded tray.
Power and monitoring
- For very long prints, assume interruptions can happen.
- If your printer offers recovery features, treat them as “better than nothing,” not as a guarantee.
Pro Tip: If you’re frequently running multi-hour prints unattended, invest in process stability before chasing speed. A reliable 18-hour run beats a fast 18-hour failure.
When a large format printer is not the right answer
Large format is a tool, not a badge.
You might not need it if:
- your parts are small and you’d benefit more from multiple smaller machines
- your work is detail-heavy (where resin or other technologies fit better)
- your environment can’t support long, stable runs (temperature swings, drafts, unreliable power)
- you frequently print materials that demand tight thermal control—and you don’t plan to solve that first
Sometimes the right throughput move is simply: two reliable printers instead of one huge one.
FAQ
What counts as a “large format” FDM printer?
There’s no single definition, but in practice many makers use “large format” to mean you can print parts that are hard or annoying to fit on a typical ~220–300 mm bed. In SOVOL’s ecosystem, “large format” commonly shows up as 500mm-class machines for specific one-piece and batching workflows.
Is a large build volume automatically better for production?
Not automatically. It can improve throughput when it reduces labor (fewer setups, fewer assemblies) and increases overnight utilization. But it also increases risk concentration—so you need reliability and good process control.
Is one-piece always stronger than a glued assembly?
Often, a one-piece print avoids the seam/joint as a failure point. But strength in FDM is complicated: orientation, layer adhesion, and geometry matter. If splitting lets you orient sections for better layer direction or fewer supports, a split part can still be the better engineering choice.
Do I need an enclosure for large prints?
It depends on your material and geometry. Draft control and temperature stability help reduce warping and corner lift, especially on large, flat parts. For some materials, an enclosure is a practical way to get that stability.
Key Takeaway: Large format makes your process more important, not less. The bigger the job, the more you feel every weak link.
If I care about temperature resistance, what should I look at: Tg or HDT?
Both matter, and neither alone tells the whole story.
- Tg (glass transition temperature) is where a polymer starts to soften.
- HDT (heat deflection temperature) is a test-based measure under load.
- Real-world conditions depend on load, geometry, airflow, and how the part is constrained.
If you’re choosing a material for a warm environment, look at how the part is loaded and avoid treating a single temperature number as a guarantee.
Key takeaways
One more keyword phrase you’ll see around this topic is large build volume 3D printer benefits. In practice, the “benefit” isn’t only the ability to print huge objects—it’s the ability to run your printer like a production tool with fewer touchpoints.
- The most useful large format 3D printer advantages are often throughput advantages: fewer setups, fewer assemblies, more work per run.
- Large beds shine when you can batch parts, nest mixed jobs, and print one-piece functional parts that would otherwise become an assembly project.
- The trade-off is risk concentration: long prints magnify warping, first-layer issues, and failure cost.
- If you want large format to pay off, invest in process stability (thermal control, first-layer discipline, filament dryness, monitoring).
Next steps
If you want to go deeper on the “one piece vs split” decision and other large-format workflows, start with the SOVOL blog resources on large build volume vs high speed and large-scale 3D printing with big-format printers.