


Have you ever watched your 3D print finish, only to find thin lines, gaps, or weak spots? You might feel frustrated when prints come out incomplete or fragile. Most 3D printer under extrusion problems show up as missing layers or weak parts. You can usually fix these issues with a few quick checks and simple adjustments.
Don’t worry—many people fix under-extrusion in minutes with the right steps.
Key Takeaways
- Look for thin layers, gaps, or weak spots in prints. Finding problems early helps you fix them fast.
- Clean your nozzle often to stop clogs. A clean nozzle lets filament flow well and makes prints better.
- Change the feeder tension so the extruder holds filament right. Good tension stops slipping and grinding.
- Check your filament diameter and set it in your slicer. Correct settings keep the flow steady.
- Raise the nozzle temperature slowly if you see under-extrusion. More heat can help filament flow and stick better.
What is under-extrusion
Simple definition
You might wonder what under-extrusion means when you start 3D printing. In simple terms, under-extrusion happens when your printer does not push out enough filament to build strong, solid layers. This problem leads to prints that look weak or incomplete. According to industry standards, under-extrusion is a condition where the printer fails to deliver enough filament, so your parts end up with thin walls, gaps, or fragile spots. You want your printer to lay down smooth, even layers, but under extrusion issues stop that from happening.
If you notice your prints look thin or have missing sections, you are likely dealing with under extrusion issues.
Key symptoms
You can spot under-extrusion by looking for a few clear signs. These symptoms show up right on your finished print. Here are the most common things you might see:
- Thin or missing layers in your print
- Visible holes or gaps in the structure
- Missing or thin lines of filament
- Layers that do not stick together well
- Fragile internal structure that breaks easily
- Prints that crumble, crack, or tear when you handle them
- Sparse infill or weak spots between layers
If you see any of these problems, your printer is not feeding enough material. You might notice gaps between lines or layers that look like they could peel apart. Sometimes, the print feels light or brittle. These are all signs that you need to fix under extrusion before you try another print.
Knowing these symptoms helps you catch under extrusion issues early. When you spot them, you can take action right away and get your printer back to making strong, solid parts.
Common causes of under-extrusion
When your printer has under-extrusion, you might ask why. Let’s look at the main reasons you get weak prints. Each problem has its own signs. You can spot them if you know what to check.
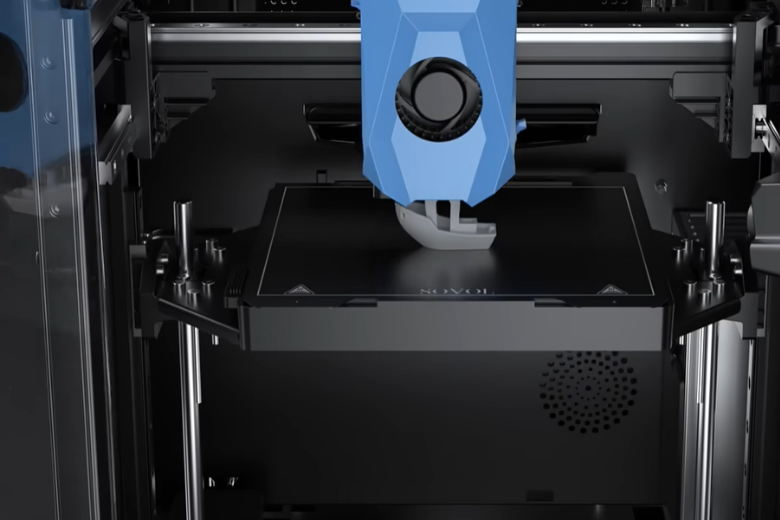
Nozzle clogs
A clogged nozzle is a big cause of under-extrusion. Old filament, dust, or burnt plastic can block the nozzle. When this happens, your printer can’t push out enough filament. You might see thin lines or gaps in your print. If filament comes out slowly, your nozzle might be clogged. Cleaning the nozzle or doing a cold pull can fix this fast.
Tip: Check your nozzle often to stop clogs before they start.
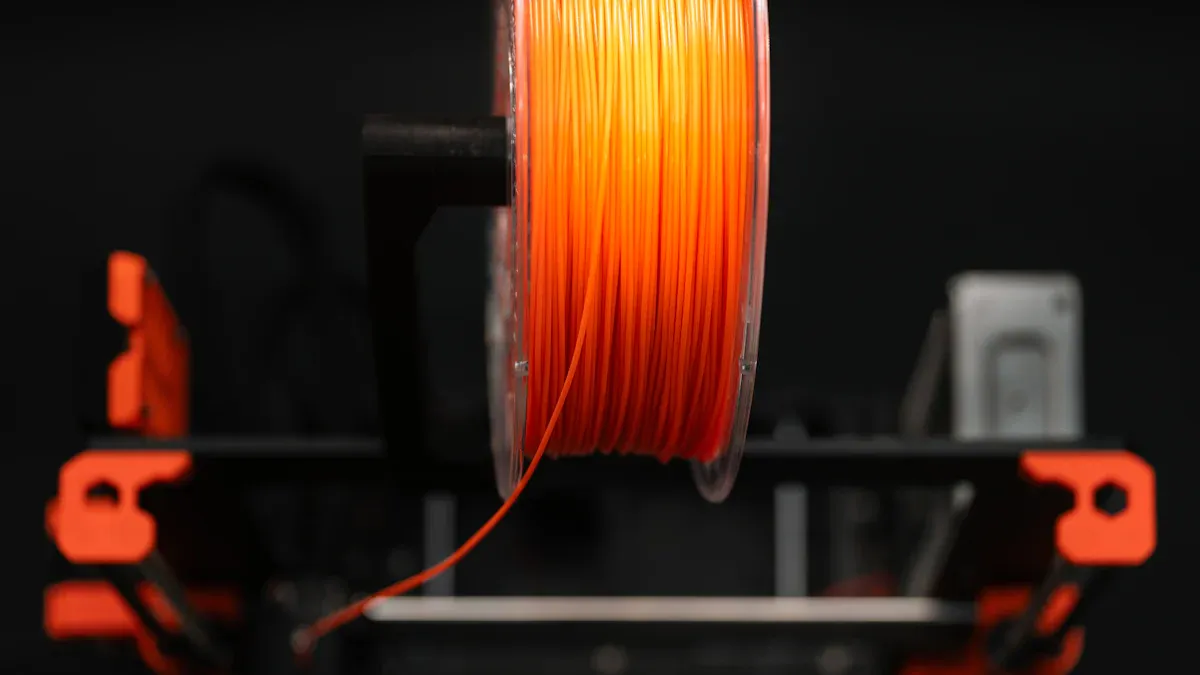
Filament and diameter issues
Filament quality is very important. Bad or uneven filament diameter can cause under-extrusion. If filament is too thick or thin, the printer can’t feed it well. You might see weak spots or uneven layers. Here’s how filament diameter affects your prints:
- Changes in diameter cause under-extrusion and over-extrusion.
- Weak supports and poor bonding can make prints break.
- Uneven diameter leads to stringing and oozing, especially with TPU or PETG.
- Even stress helps prints stay strong.
To get good results, measure your filament diameter and set it in your slicer.
Extruder tension and gear problems
The extruder pushes filament through the nozzle. If tension is too loose, gears slip and grind the filament. If tension is too tight, filament gets squished and won’t flow well. Both problems cause under-extrusion. Check the tensioner and make sure it grips the filament just right. Not enough pressure on the feeder causes feeding problems.
|
Cause |
Description |
|---|---|
|
Teflon tubes can bend, making friction and causing under-extrusion. |
|
|
Not enough pressure on the material feeder |
Not enough pressure means the feeder loses grip and causes under-extrusion. |
|
Printing speed is set too high |
High speed can be too fast for filament flow, causing under-extrusion. |
Incorrect temperature or settings
Temperature is very important for extrusion. If the nozzle is too cold, filament won’t melt fast. This causes under-extrusion, especially with fast prints. Each filament type needs its own temperature. Look at this chart for the best nozzle temperatures:
Caption: Different filaments need different nozzle temperatures to stop under-extrusion.
If you print below the right temperature, you’ll see weak layers and gaps. Always set your nozzle temperature for the filament you use.
Retraction and travel moves
Retraction settings control how the printer pulls back filament. If retraction distance or speed is wrong, you might get under-extrusion after the nozzle starts printing again. The extra prime amount in your slicer helps fill gaps from retraction. Too much or too little retraction can cause clogs or thin lines. Most people use a retraction speed between 30–80 mm/s.
- Retraction distance, speed, and extra prime amount change filament flow.
- Wrong settings can cause thin or missing lines after travel moves.
If you change these settings, you can fix under-extrusion and get better prints.
Quick fixes for 3d printer under extrusion
When you spot 3d printer under extrusion, you want to fix it fast. You do not need to take your printer apart or buy new parts right away. Try these quick fixes first. Most users solve under-extrusion with these simple steps. You can get back to strong, smooth prints in minutes.
Increase nozzle temperature
If your printer struggles with under-extrusion, check the nozzle temperature first. Sometimes, the filament does not melt well because the nozzle is too cool. This makes the flow rate too low and causes gaps or weak layers.
- Raise the nozzle temperature by 10°C at a time.
- Watch the extrusion. If the flow rate improves, you are on the right track.
- Each filament type has its own best temperature. For example, PLA works well around 200°C, while ABS needs about 240°C.
- Do not set the nozzle too hot. If you go too high, the filament can get runny and hard to control.
Tip: Increasing the nozzle temperature helps the filament flow better. You get stronger layers and better print quality. If the temperature is too low, the flow rate drops and you see under-extrusion.
Clean or cold pull the nozzle
A clogged nozzle is a common reason for 3d printer under extrusion. Dust, burnt plastic, or old filament can block the nozzle and slow the flow rate. You can fix this with a quick cleaning or a cold pull.
- Heat the nozzle to the printing temperature for your filament.
- Push filament through by hand to check the flow rate.
- If it feels blocked, let the nozzle cool to about 90°C (for PLA).
- Pull the filament out quickly. This pulls out debris and clears the nozzle.
- Repeat if needed until the nozzle looks clean.
Cold pulling works well for most filaments, especially PLA and PETG. It keeps the nozzle clear and helps prevent under-extrusion. You should do this when you switch to sensitive filaments or if you see a sudden drop in flow rate.
Note: A clean nozzle gives you a steady flow rate and helps you avoid 3d printer under extrusion.
Adjust feeder tension
The extruder feeder pushes filament into the hot nozzle. If the tension is too loose, the gear slips and the flow rate drops. If it is too tight, the filament gets squished and jams the nozzle. Both problems cause under-extrusion.
- Find the tension screw on your extruder.
- Turn it slowly to adjust the pressure.
- You want the gear to grip the filament firmly, but not crush it.
- Test by feeding filament through the nozzle. If the flow rate is steady, you fixed the problem.
Proper feeder tension keeps the filament moving at the right flow rate. You avoid slipping, grinding, and under-extrusion.
Check filament diameter and settings
Filament that is too thick or thin can mess up the flow rate and cause 3d printer under extrusion. Always measure your filament and set the right diameter in your slicer.
- Use calipers to measure the filament diameter in several spots.
- Enter the average diameter in your slicer settings.
- Make sure the filament matches the size your printer expects (usually 1.75mm or 2.85mm).
- If the diameter is off, the flow rate will not match the slicer’s plan, and you get under-extrusion.
Tip: Good filament and correct settings keep the flow rate steady and help you avoid under-extrusion.
Tweak retraction and extrusion multiplier
Retraction settings control how much filament pulls back during travel moves. If retraction is too high or too fast, the nozzle can clog or the flow rate can drop. The extrusion multiplier sets how much filament the printer pushes out.
- Lower the retraction distance or speed if you see gaps after travel moves.
- Increase the extrusion multiplier slightly (try 1–2% at a time) if you see thin lines or missing layers.
- Watch the flow rate as you print. If you see improvement, you fixed the under-extrusion.
Adjusting the extrusion multiplier changes the flow rate directly. Too low, and you get under-extrusion. Too high, and you get blobs or rough surfaces. Find the balance for your printer and filament.
Note: Fine-tuning these settings helps you fix under-extrusion and get a smooth, even flow rate.
Quick Checklist for Fixing 3d Printer Under Extrusion:
- Raise nozzle temperature by 10°C and test flow rate
- Clean or cold pull the nozzle to clear blockages
- Adjust feeder tension for steady filament movement
- Measure filament diameter and update slicer settings
- Tweak retraction and extrusion multiplier for better flow rate
Advanced Option:
The Linear Advance feature helps you control pressure inside the nozzle. When you tune it right, you get better flow rate, fewer rough spots, and more precise prints. You can also try a dual-gear extruder for a stronger grip and smoother flow rate. These upgrades help reduce under-extrusion, especially at higher speeds.
You can fix most 3d printer under extrusion problems with these quick steps. If you still see under-extrusion after trying them, move on to deeper fixes. Keep your nozzle clean, check your flow rate, and adjust your settings. You will see better results and stronger prints.
Step-by-step solutions for persistent under-extrusion
If you still see under-extrusion after trying quick fixes, you need a deeper approach. These step-by-step solutions help you fix under-extrusion for good and keep your 3d printing projects strong.
Deep clean the nozzle
A dirty nozzle causes stubborn under-extrusion. Old filament or debris can block the flow. You should deep clean your nozzle every month or two, especially after using tough materials.
Steps:
- Heat the nozzle to printing temperature.
- Use a cleaning needle to clear any blockages.
- Try a cold pull: Insert filament, let it cool to 90°C, then pull it out to remove debris.
- For a deep clean, soak the nozzle in solvent if needed.
Tip: Run cleaning filament through your printer after using abrasive or high-temp materials.
|
Action |
|
|---|---|
|
Monthly |
Soak nozzle in solvent if needed. |
|
Every month or two |
Perform a cold pull or solvent bath for deep cleaning. |
Calibrate extrusion and E-steps
Incorrect calibration leads to under-extrusion. If your printer does not push out the right amount of filament, your prints will be weak.
Steps:
- Find your current E-steps setting in the printer menu.
- Load a standard filament.
- Mark the filament 120 mm above the extruder.
- Tell the printer to extrude 100 mm.
- Measure how much filament actually moved.
- If it is not 100 mm, calculate the new E-steps value.
- Enter the new value in your printer.
- Repeat to check your calibration.
Tip: Good calibration and first-layer calibration help you avoid under-extrusion and get solid prints.
Replace or upgrade extruder parts
Worn gears or weak springs in the extruder can cause under-extrusion. If you see grinding or slipping, it is time to check your extruder.
Steps:
- Inspect the extruder gears for wear.
- Replace any damaged or worn parts.
- Upgrade to a dual-gear extruder for better grip if you print often.
A strong extruder helps you fix under-extrusion and keeps your 3d printing projects reliable.
Maintain Bowden tube and hotend
Friction in the Bowden tube or a loose connection can cause under-extrusion. You need smooth filament movement for good 3d printing results.
Steps:
- Remove the Bowden tube and check for debris.
- Clean or replace the tube if needed.
- Reseat the tube and nozzle tightly.
- Make sure the hotend stays at the right temperature.
Regular maintenance of the Bowden tube and hotend prevents under-extrusion and keeps extrusion smooth.
Test with different filament
Sometimes, the filament itself causes under-extrusion. Poor quality or old filament can jam or break.
Steps:
- Try a new spool from a trusted brand.
- Measure the diameter in several spots.
- Store filament in a dry box to prevent moisture.
If you still see under-extrusion after these steps, check your slicer settings for pressure loss due to retraction or mismatched extrusion width.
Caption: Clean parts and good calibration keep your 3d printing strong.
By following these steps, you can fix under-extrusion and enjoy reliable 3d printing. Regular calibration and first-layer calibration make a big difference. Keep your printer clean and use quality filament for the best results.
Preventing under-extrusion long-term
If you want strong 3d prints, stop under-extrusion early. You can avoid most problems by using good habits. Here are some easy ways to keep your printer working well.
Regular maintenance
Check your printer before you start each print. Clean the nozzle and heat block so filament moves well. Put oil or grease on rails and bearings to help them slide. Look at all the moving parts every month. Change old belts, nozzles, or PTFE tubing if they look worn out. If a belt feels loose, tighten it. Make sure the extruder gears hold the filament tightly.
|
Maintenance Task |
Frequency |
|---|---|
|
Clean nozzle and heat block |
Before every print |
|
Lubricate rails and bearings |
Regularly |
|
Inspect mechanical parts |
Monthly |
|
Replace worn belts, nozzles, PTFE |
As needed |
|
Adjust belt tension |
As needed |
|
Use high-quality filament |
Always |
Tip: Use silicone oil or Teflon spray for smooth movement. Always read your printer’s manual for the best advice.
Quality filament and storage
Good filament helps you stop under-extrusion. It has a steady size and flows well. Keep filament in a sealed box with desiccant packs. This keeps water out and stops bubbles or weak layers. If your filament feels wet, dry it with a filament dryer or a warm oven.
- Pick trusted brands for filament.
- Store spools in a dry, closed box.
- Check the filament size before you use it.
Calibration routines
Calibrating your printer often helps you get good prints. Start with live-Z calibration for a strong first layer. Change the extrusion multiplier for each filament type. Adjust retraction after you set the multiplier. Change the temperature to match your material and print settings. Try linear advance for even better control.
- Do live-Z calibration often.
- Change the extrusion multiplier in your settings.
- Adjust retraction and temperature.
- Check extruder gears for damage.
Tips for PLA, PETG, TPU
Each material needs special care to stop under-extrusion. For PLA, turn up the nozzle temperature if you see gaps. For PETG, slow down the print speed so the filament melts better. TPU works best with a bigger purge on the wipe tower. Always check your print settings for each material.
- Raise the print temperature if layers look thin.
- Lower the print speed if you see weak spots.
- Change purge and retraction in your settings.
Note: Good habits and the right settings help you fix under-extrusion before it ruins your print.
You can fix under-extrusion quickly with a simple checklist. First, check the nozzle for any problems. Adjust your slicer settings to help prints look better. Make sure the filament moves through the printer easily. If you see holes or weak spots, clean the nozzle and level the bed. Clean dies and change old parts often to keep your printer working well. Use good filament and keep it dry in storage. Don’t let under-extrusion ruin your prints—try these steps for stronger results.
FAQ
What causes 3D printer under extrusion most often?
Under extrusion happens a lot because the nozzle gets clogged. Bad filament or wrong temperature settings can also cause it. Sometimes, feeder tension or slicer settings are the problem. Check these things first if you want to fix under extrusion fast.
How do I know if my printer has under extrusion?
Check your prints for thin layers or gaps. Weak spots or missing lines are signs too. If your parts break easily, you probably have under extrusion. These problems mean you should fix under extrusion before printing again.
Can I fix under extrusion without taking my printer apart?
Yes, you can fix under extrusion without taking things apart. Try raising the nozzle temperature or cleaning the nozzle. Adjust the feeder tension if needed. Most people fix under extrusion with these quick steps and no tools.
Does filament quality affect under extrusion?
Yes, filament quality matters a lot. Cheap or old filament can cause under extrusion. Always use good filament and keep it dry. Good filament helps you avoid problems and makes fixing under extrusion easier.
What should I do if quick fixes do not work?
If quick fixes do not help, try deep cleaning the nozzle. Calibrate E-steps or change worn extruder parts. Test with a new spool of filament. These steps can help you fix under extrusion for good.


