The tradeoff is real. UltiMaker's comparison of PVA against breakaway supports describes dissolvable PVA as giving almost complete design freedom for large overhangs, cavities, and intricate shapes, with a very smooth surface and no risk of scratching the print, while noting that it takes several hours to dissolve, costs more than other support options, and degrades if stored improperly. Cost is the other part of the decision: PVA is usually more expensive than common breakaway support materials, so it is most useful when the geometry makes mechanical support removal difficult.

Key Takeaways
- PVA is a water-soluble support filament for FDM printing: print it as support, soak the part, and the support dissolves instead of being pulled out.
- It can be useful on trapped supports, internal cavities, and delicate overhangs where removal might scratch or break the model.
- PVA is usually more expensive than common breakaway support materials, and dissolution often takes several hours rather than minutes.
- PVA absorbs moisture quickly, so dry storage and a dry spool before printing matter; moisture can degrade print quality.
- Every setting in this guide is a starting point for your specific filament, nozzle, printer, and slicer, not a universal value.
Quick Answer: When PVA Supports for 3D Printing Are Worth It
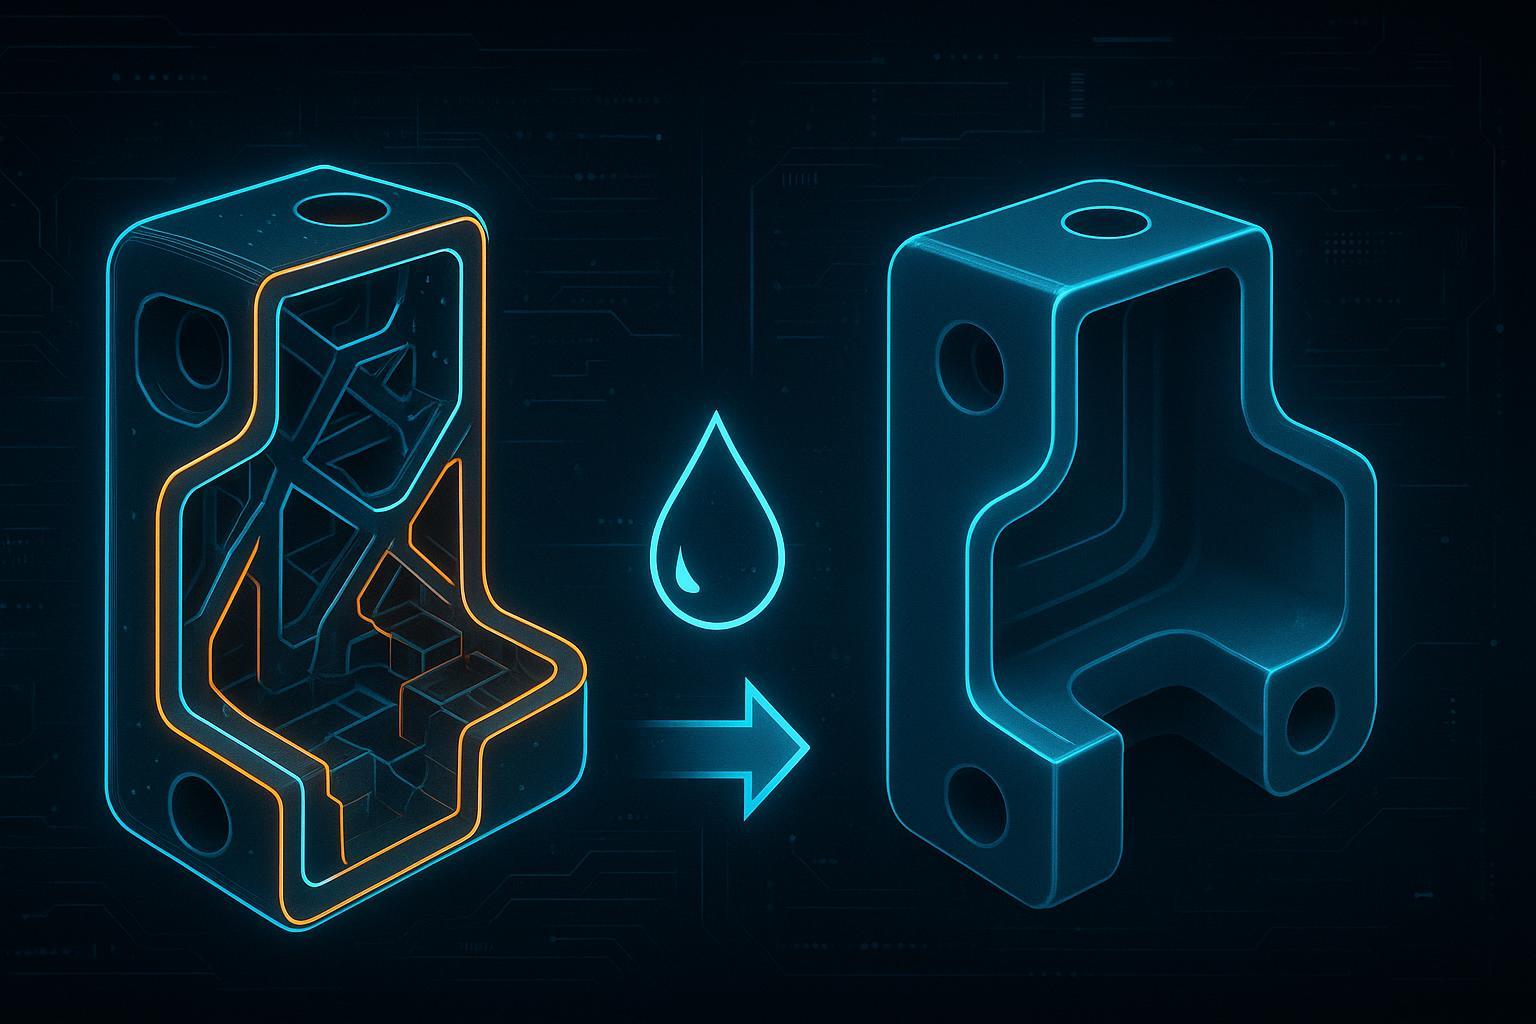
PVA supports for 3D printing can be worth their cost and soak time in a common situation: when the supports sit somewhere no tool can reach, such as enclosed cavities, internal channels, or lattice geometry. UltiMaker's own guidance describes dissolvable supports as delivering almost complete design freedom and a very smooth underside, while noting they take several hours to dissolve and cost more than other support options.
Cost is the other half of the decision. PVA is usually more expensive than common breakaway support materials, so it is most useful when the geometry makes mechanical support removal difficult.
A simple rule covers most cases: for reachable supports, breakaway is often faster and cheaper; for supports a tool cannot reach, water-soluble PVA can be the cleaner option.
Key Takeaway: If you can reach the supports with pliers or a scraper, breakaway is often faster and cheaper. If you cannot, water-soluble supports can help, depending on the model and setup.
How PVA Works as a Water-Soluble Support Material
PVA dissolves because its polymer chains are strongly hydrophilic, so water penetrates the support and pulls the material into solution, as FilamentFeed's FDM guide explains.
One practical consequence shapes every step that follows: dissolution depends on water reaching the support and on fresh water replacing saturated solution. Deep internal cavities dissolve far more slowly than exposed ones and may need warm water, agitation, water changes, or pressure flushing. When you raise the soak temperature, the ceiling comes from your model material, not from the PVA, as Bambu Lab's PVA printing guide notes.
PVA vs. Breakaway Supports: Comparison Table
|
|
Removal method |
Suitable model geometry |
Material handling |
Cost and convenience |
Main limitations |
|---|---|---|---|---|---|
|
PVA |
Dissolve in water after printing |
Enclosed cavities, internal channels, and any overhang a tool cannot reach |
Absorbs moisture quickly, so keep it sealed with fresh desiccant and follow the manufacturer's storage guidance |
Usually more expensive than common breakaway support materials |
Often several hours of dissolution, and quality can degrade if stored improperly (UltiMaker's comparison of PVA against breakaway supports) |
|
Breakaway |
Snap off by hand or with pliers |
Open geometry where the support interface stays reachable |
No drying or sealed storage needed |
Lower cost, no post-processing setup |
Requires reachable supports; brittle interfaces can scar the model surface |
The table settles the common case quickly: if you can reach the interface with a tool, breakaway is often cheaper and faster. PVA can be more useful when the geometry hides the support from your hands.
Material Compatibility: PLA and PVA Supports, PETG and PVA Supports
PLA and PVA are a commonly documented pairing, but compatibility still depends on the filament brands, temperature ranges, interface settings, and printer setup. Sovol's M1D material compatibility guide lists "PLA + PVA" as a Best Material Pairing in its soluble-support row and never states PETG + PVA. The temperature overlap is a useful starting point: PVA prints around 180–210 °C and PLA around 190–220 °C, so both sit in a shared 190–210 °C window (typical nozzle temperature ranges, 2026).
PETG and PVA compatibility varies by manufacturer. Bambu Lab's PVA printing guide states that PVA is not compatible as a support filament for PETG, and UltiMaker optimizes PVA for PLA, Nylon, and CPE without naming PETG. PETG's 230–250 °C window meets PVA only at PVA's highest and PETG's lowest settings, so the two materials barely share a working temperature. Test a small support interface before starting a large print.
Before committing a spool, run a small adhesion test:
- Print a 20 mm single-wall tower with PETG as the model and PVA as the interface.
- Watch the first interface layer for curling, gaps, or stringing.
- Pull the tower apart by hand and check whether the PVA releases cleanly or tears the PETG surface.
If the interface bonds or the PVA drags, keep PVA for PLA and use a dedicated PETG support material instead.
Preparing PVA Before Printing
Moisture is what ruins many of these prints, not a slicer setting. PVA absorbs moisture quickly, so follow the filament manufacturer's storage guidance. Keep it sealed with fresh desiccant and feed it from a dry box when possible.
Drying temperatures are not universal. Published guidance for PVA filament for 3D printing varies widely by brand, so follow your filament maker's datasheet rather than a number from a forum.
Pro Tip: Feed the spool straight from a sealed dry box rather than loading it, printing, and putting it back on an open shelf. The dry box becomes the spool's home, not a stopover.
Preparing Your Printer and Slicer
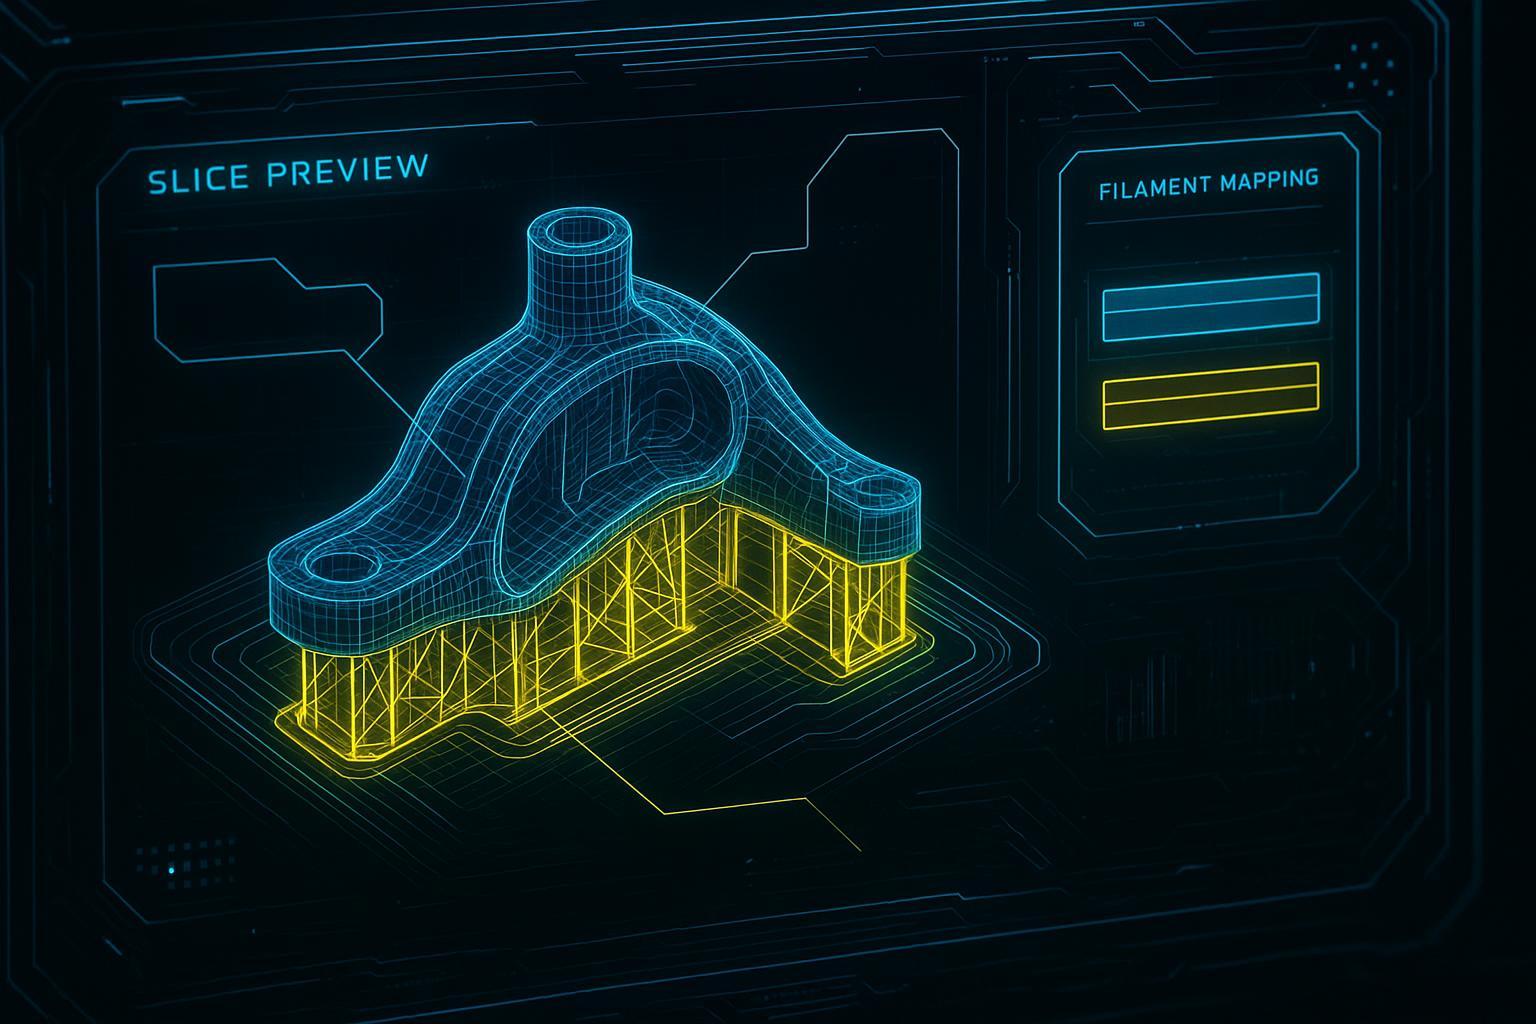
Before you touch a spool, settle the machine side: slicer, filament profiles, and toolhead mapping. Get the mapping wrong and the PVA prints the model while the model material prints the supports.
The M1D slices with OrcaSlicer by default. Add one filament profile per material you plan to use, then assign each material to its intended toolhead so the model, any supports, and any wipe structure all draw from the right channel. Sovol's M1D setup guide walks through the mapping step and treats it as a key check before printing—one that can help prevent "the blue spool printed where the red should be."
⚠️ Warning: Double-check the mapping before you slice. This is the check before printing that can help avoid "the blue spool printed where the red should be."
For temperatures, start from the filament maker's range rather than a universal number. Bambu Lab's material table lists PVA at 190–240 °C (±10 °C) at the nozzle, with a bed of 35–45 °C on a Cool Plate or 45–65 °C on an Engineering Plate with glue. Treat those as a starting window, then confirm the range printed on your own spool.
Once the profiles and mapping are set, slice and open the preview. Check the toolhead and material assignments, and confirm the supports are drawing from the support material rather than the model channel. If the colors are swapped, fix the mapping before you print, not after.
Adjusting Support Density, Interface Layers, and Contact Distance
Three settings decide how much PVA you burn and how cleanly the interface releases.
- Support density: start with the slicer's support preset, then adjust based on the model geometry and how much PVA you want to use. Denser supports use more filament and soak longer.
- Interface layers: a denser interface layer can leave a smoother underside on the part.
- Contact Z distance: adjust it to ease removal; tune the value on a test print rather than assuming one number works for every material.
Verify: the interface should peel away with light pressure in most cases, depending on the model and setup.
PVA for All Supports vs. PVA for the Support Interface Only
You do not have to spend a whole spool to get a clean release. Printing PVA only at the support interface, with the bulk of the support structure in the model material, is a common way to stretch it. Simplify3D's PVA materials guide reports that a dense, interface-only PVA layer can still dissolve cleanly and leave a smoother underside. Using PVA only for the support interface may reduce material use compared with printing the entire support structure in PVA, but the actual savings depend on the model and slicer settings.
The tradeoff is real either way: interface-only PVA still calls for the same drying, filament mapping, and soak discipline as a full PVA build, and a failed interface can ruin the part just as thoroughly. What changes is how fast you go through filament and how much of your evening the soak takes.
PVA with Multi-Toolhead and Tool-Changing Printers
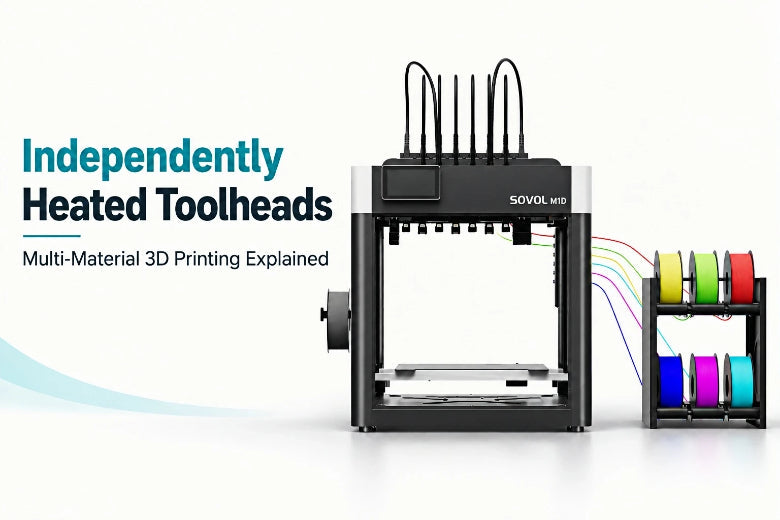
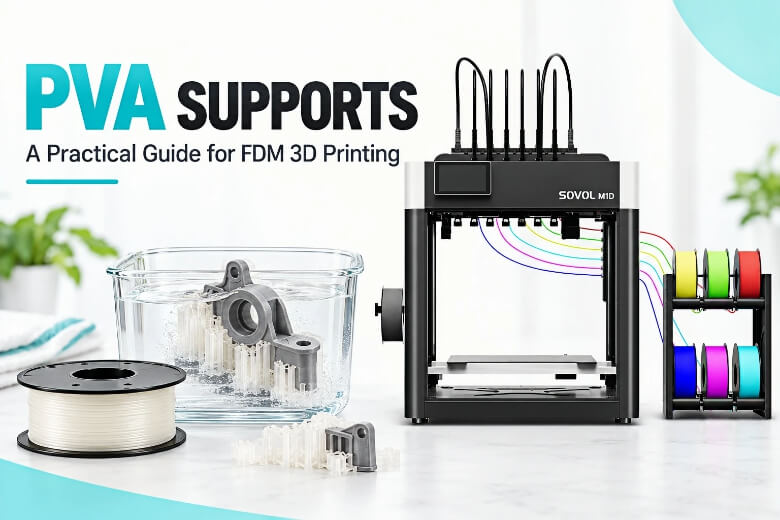
A second material channel makes PVA support workflows more convenient, so a dual-extruder or tool-changing printer is the easier route—though some single-nozzle printers can also use PVA through manual or automated filament changes. the Sovol M1D uses a 1 + 6 DualX tool-changing system with independently heated toolheads, and toolhead changes can take as little as five seconds under suitable conditions. PVA appears on the M1D's recommended material list alongside PLA, PETG, and TPU, and the official M1D specifications list a 0.4 mm hardened steel nozzle. Other multi-toolhead and tool-changing printers work the same way: one channel for the model, one for the soluble support material for FDM.
Step-by-Step Workflow
Eight steps take you from a raw model file to a clean, support-free part. Each step ends with a check, so a problem surfaces before it costs you a spool of PVA.
Step 1: Confirm Your Model Needs PVA
By the end of this step, you'll know whether PVA is justified for this specific part. Inspect the model for enclosed cavities, internal channels, or overhangs no tool can reach. If a pair of flush cutters or a needle file can get to every support contact point, breakaway is the cheaper answer. PVA earns its place when the support sits inside geometry you cannot open.
Verify: you can name the exact feature that breakaway cannot serve.
Step 2: Dry the PVA
By the end of this step, the spool is dry and ready to feed. PVA absorbs moisture from the air, so check your filament maker's datasheet for its drying temperature and time. Across manufacturers, recommended drying temperatures span roughly 45 to 85 °C, which is wide enough that guessing is not worth the risk. Once dried, move the spool straight into a dry box or a sealed container with desiccant.
Verify: the filament feeds from dry storage, not an open spool holder.
Step 3: Load and Map the Filament
By the end of this step, each material is assigned to the toolhead you intend to print it from. Sovol's M1D setup guide walks through the sequence: create one filament profile per material, assign each material to its toolhead, then confirm the mapping before you slice.
Verify: the slicer's filament list shows the model material and PVA on separate, correctly named channels.
Step 4: Set Model and Support Temperatures
By the end of this step, you have a temperature starting point for both materials. Treat every value below as a starting point tied to a specific filament, nozzle, and printer, not a universal setting.
Step 5: Configure Support Density, Interface Layers, and Contact Distance
By the end of this step, the support structure is defined in the slicer. Start with the slicer's support preset, then adjust density and interface settings based on the model geometry and how much PVA you want to use. Keep the interface dense enough to hold the overhang, and adjust contact distance as a starting point you tune per material.
Verify: the preview shows interface layers sitting directly under each overhang.
Step 6: Preview the Toolpaths
By the end of this step, you have confirmed the assignment before committing filament. Step through the toolpath preview layer by layer and check that PVA appears only where support is needed.
Verify: model and support toolpaths render in contrasting colors on separate channels.
Step 7: Print and Inspect the Interface
By the end of this step, the print is complete and you know whether the interface behaved. Inspect the support contact marks before soaking. If the interface fused to the model, stop and adjust contact distance before the next attempt.
Verify: support separates from the model with light hand pressure at the interface in most cases; check before printing the full job.
Step 8: Soak, Rinse, and Verify
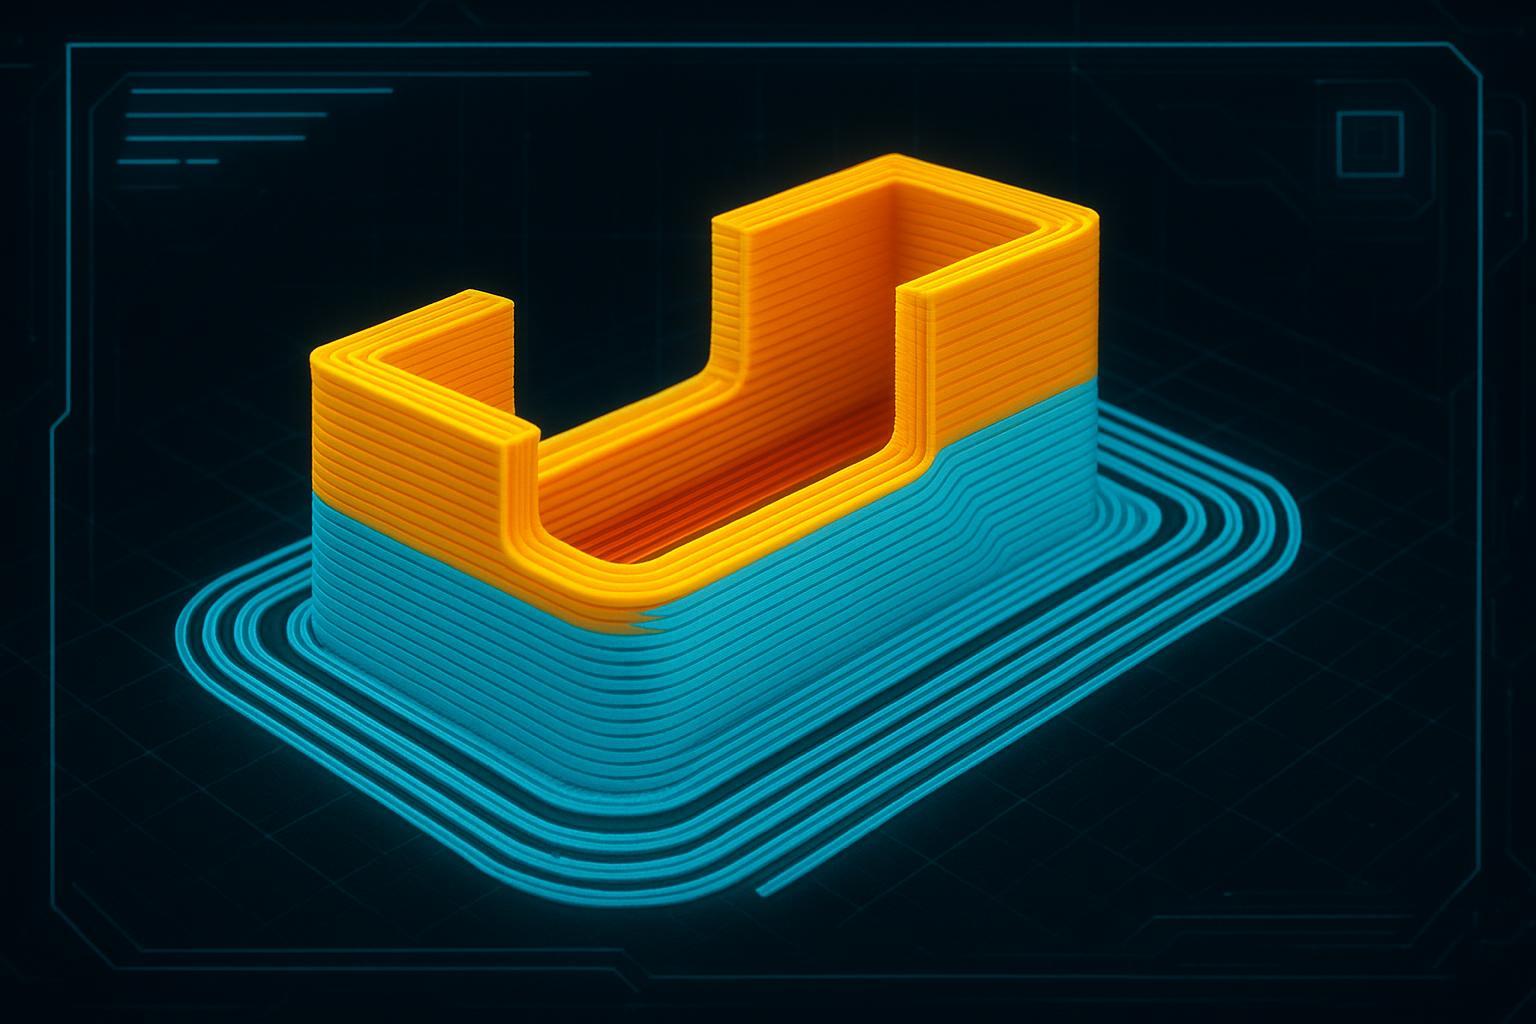
By the end of this step, the channels are clear. Dissolution depends on water reaching the support, so agitation and warm water shorten the wait considerably. Rinse the part, then confirm no residue remains inside the channels.
Verify: you can see through every internal channel and no white film remains.
Dissolving PVA Safely
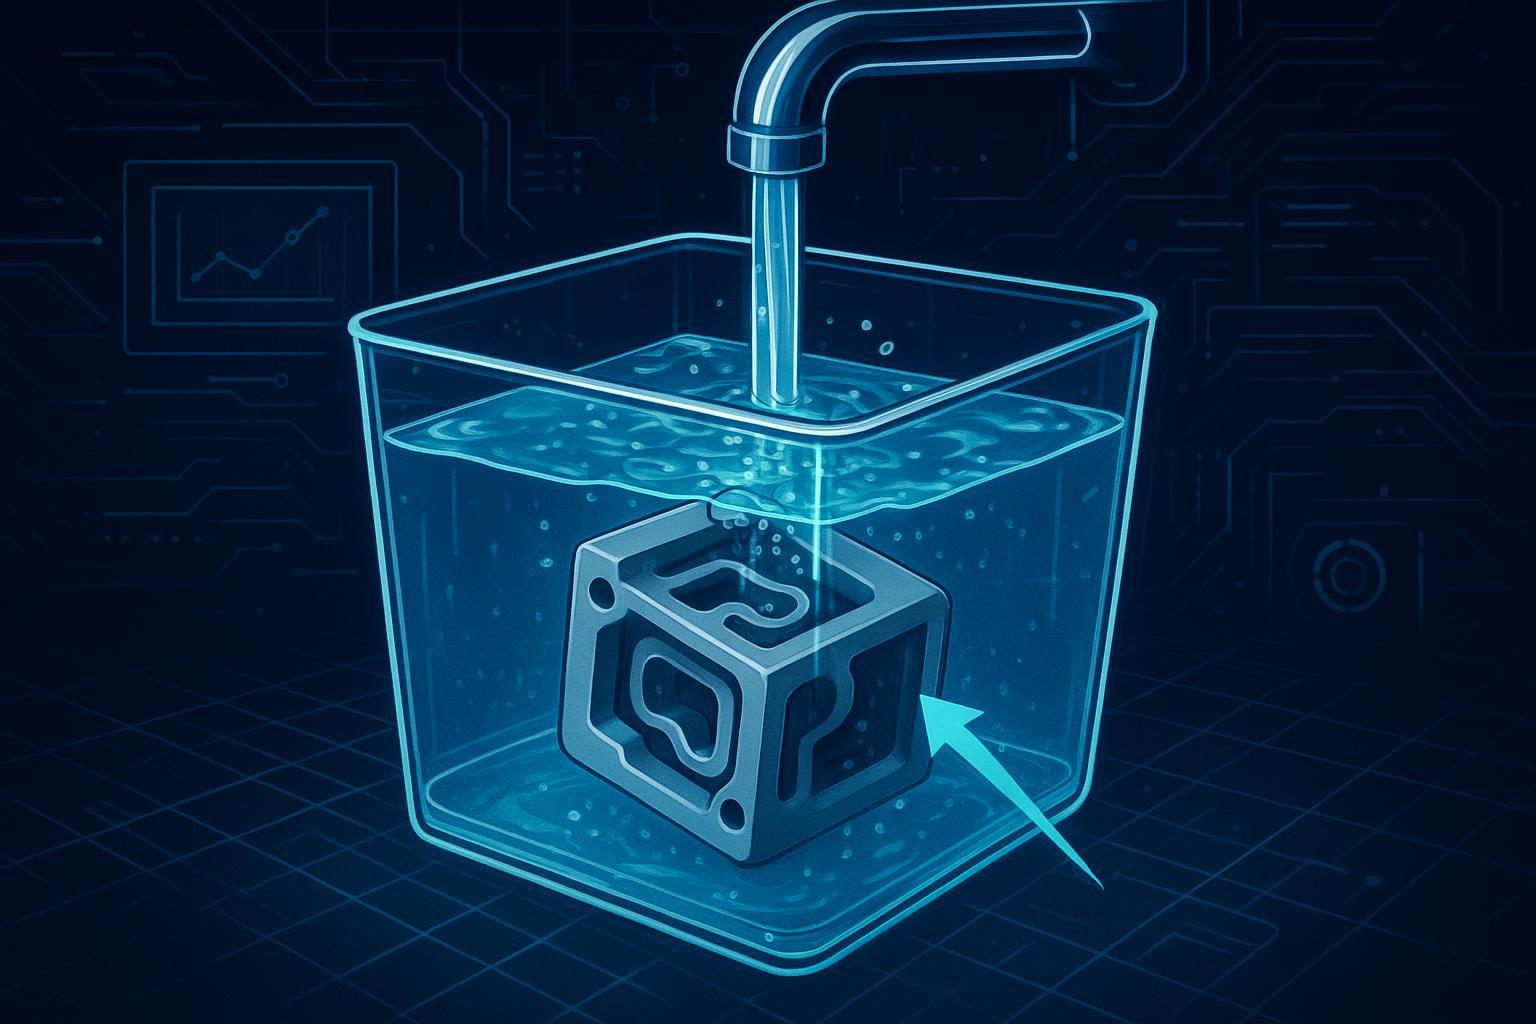
Soak the part in water and give it time. Bambu Lab's PVA printing guide reports a range of a few hours to a dozen hours, with warm water and agitation speeding things up.
⚠️ Warning: Use water conditions recommended by the PVA and model-filament manufacturers. Warmer water and gentle agitation may speed up dissolution, but the model material can soften or deform if the water is too hot.
Deep cavities need more than a single soak. Once the water around the part is saturated, dissolution stalls, so change the water, agitate it, or flush the channels under pressure until they run clear.
Troubleshooting PVA Support Problems
Many PVA failures can often be traced back to moisture, temperature, or a slicer setting that was never verified in preview. The table below maps each symptom to its likely cause and a starting fix to test.
|
Symptom |
Likely cause |
Fix to test |
|---|---|---|
|
PVA snaps or shatters at the spool |
Filament absorbed moisture or was dried unevenly |
Dry it before the print, then load straight from a dry box |
|
Extrusion stutters or stops mid-print |
Filament path or toolhead mapping is wrong |
Recheck the mapping and confirm the toolpath in preview |
|
PVA softens or clumps during a long print |
Ambient moisture reabsorbed mid-print |
Keep the spool sealed and dry (Bambu Lab's storage guidance) |
|
Support lifts away from the model |
Contact distance is too large for the geometry |
Reduce contact Z distance in small increments and re-preview |
|
Interface will not release after soaking |
Interface layers are too dense or too thick |
Thin the interface and retest on a small calibration piece |
|
PVA stays gummy after a long soak |
The water is saturated and no longer dissolving material |
Replace the water and agitate (Sovol's M1D setup guide) |
|
Model material separates from PVA mid-print |
Model and support temperatures overlap outside the material's range |
Widen the temperature gap and verify both profiles before printing |
Treat every fix as a starting point, not a guaranteed setting: nozzle, filament brand, and geometry all shift the number that works.
Frequently Asked Questions
Is PVA worth it for a model with reachable supports?
Usually not. If a pair of pliers or a flush cutter can reach the support without touching the model surface, breakaway support often costs less, needs no drying, and skips the soak entirely. PVA supports for 3D printing can be more useful when the supports sit trapped inside a cavity, behind an overhang, or wrapped around a delicate feature that no tool can reach without scarring it, depending on the model and setup.
Can I print PETG with PVA supports?
PETG and PVA compatibility varies by manufacturer, so treat this as a test-it-yourself question. Bambu Lab states that PVA is not compatible as a support filament for PETG, while UltiMaker optimizes its PVA for PLA, Nylon, and CPE and never names PETG. The two materials also print in barely overlapping temperature windows, which is the practical reason the pairing is unreliable. Test a small support interface on your own machine before starting a large print.
How long does PVA take to dissolve?
Reported times run from a few hours to more than a dozen hours, and the spread comes from your setup rather than the brand. Cavity depth, water temperature, agitation, and how often you change the water move that number far more than the filament label does. The dissolution section walks through the procedure.
Do I need a dual-extruder printer to use PVA?
Not strictly. A second material channel makes PVA support workflows more convenient, so a dual-extruder or tool-changing system such as the Sovol M1D is the easier route, and the workflow is similar on both. That said, some single-nozzle printers can also use PVA through manual or automated filament changes—the process is just more involved and may be less efficient or reliable.
What happens if I leave PVA out of dry storage?
It can degrade fairly quickly, and how fast depends on your room. PVA absorbs moisture quickly, so keep it sealed with fresh desiccant and feed it from a dry box when possible. That is why Step 2 pairs drying with sealed storage rather than treating them as separate tasks.
Conclusion
You now have what you need to decide whether PVA supports for 3D printing make sense for a given job, and to run the process if they do: a dry spool, a correctly mapped toolhead assignment, support settings that keep the bond at the interface, and a soak-and-rinse routine that finishes the part without scraping. The payoff shows up in the print itself. Support contact marks often stay confined to the interface layer instead of scarring visible surfaces, and internal channels that no tool could reach can come out clear.
If you are still weighing the material, check your printer's published material compatibility guidance before you buy a spool. PVA is not listed for every machine, and the machines that handle it well are typically the ones with an independent support channel. The Sovol M1D is one example of a tool-changing printer that lists PVA among its recommended materials, so you can see printer options if that architecture is what you are shopping for.
Either way, start small. A test part with an overhang and one enclosed cavity tells you more about your settings than a full plate does, and it costs a fraction of the filament.