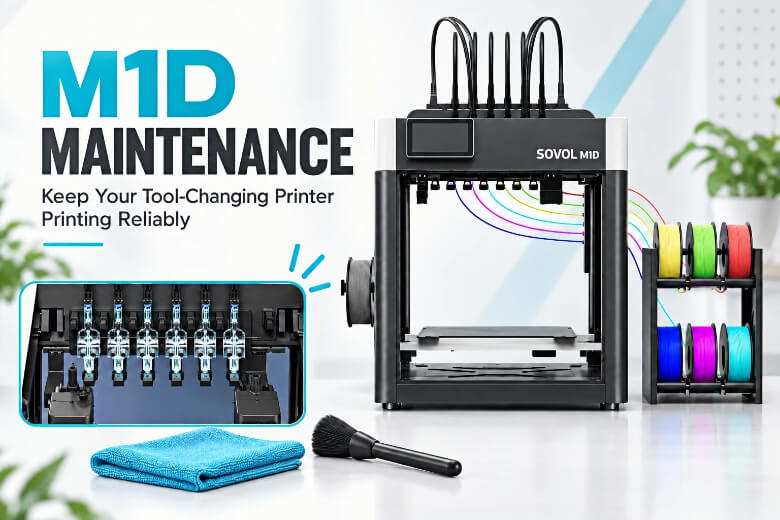
A toolhead is the assembly that melts and deposits filament. Docking is the parking bay a secondary toolhead rests in between swaps. IDEX, or independent dual extruder, describes a printer where two carriages move separately, and a tool change is the handoff from one toolhead to another. On a hybrid IDEX machine like the Sovol M1D, one fixed head pairs with a dock of swappable ones.
This tool-changing 3D printer maintenance routine gives you a repeatable inspection, cleaning, and calibration habit, so every toolhead seats, parks, and prints the same way.

Key Takeaways
- Hesitation at the dock, inconsistent first layers by head, and mid-job tool change failures are maintenance signals, not necessarily hardware faults.
- A repeatable routine covers three areas: cleaning, toolhead seating and calibration, and slicer preview checks before you print.
- Verify each step against observable states, such as no visible gap between toolhead and dock, rather than a vague sense that it looks fine.
- Stop and escalate to manufacturer support when a toolhead fails to lock, when calibration cannot converge, or when you see physical damage.
The routine below assumes a hybrid IDEX machine and walks through inspection, cleaning, seating, calibration, and troubleshooting in that order. Where a step depends on your specific printer, follow the manufacturer's documentation for your model.
Tool-Changing 3D Printer Maintenance: What to Inspect and Why It Matters
Tool-changing 3D printer maintenance covers more ground than a single-extruder routine because every added tool is its own wear point. Each hotend, nozzle, heater, fan, and carriage collects its own contamination and drifts out of alignment on its own schedule, so inspection has to reach every tool instead of one shared extrusion system (Sovol, "Nozzle Swapping vs Single Nozzle", 2026-04-29).
That is the practical difference behind IDEX printer maintenance. Docking and parking areas have to stay free of debris, because the system depends on repeatable pickup and release positions; debris or wear in the dock prevents proper seating and can cause position errors or crashes (Sovol, "Independently Heated Toolheads: Why They Matter", 2026). A single-extruder machine has no such interface to keep clean.
The Sovol M1D is one example of the architecture: a 1 + 6 DualX system with one fixed toolhead plus six tool-changing toolheads, its motor-driven automatic locking mechanism enables changes in "as little as five seconds,"
Key Takeaway: Every toolhead, nozzle, heater, fan, and carriage is a separate wear and contamination point, and the dock that parks them is a precision interface. Inspect all of them, not just the one that printed last.
A Quick Maintenance Checklist for Tool-Changing Printers
Run this 3D printer toolhead maintenance pass before a job that matters, and you will catch most tool-change failures before they cost you a print. The M1D first-print setup guide covers the setup side of the same checks.
Pre-job pass. Verify each toolhead you plan to use is seated and locked in its bay, and that exchangeable toolheads move freely with no visible debris on the nozzle tips. Confirm the parking bay is clear of obstruction, filament, or debris, and that no wire or filament runs through the path a toolhead needs to park in.
Cleaning pass. Remove hardened residue from parked nozzle tips, and clear dust and filament fragments from the docking and contact areas. Cleaning residue after a new filament is easier when you know which materials the machine supports, so check the M1D material compatibility guide when you are running a material you have not used before.
Calibration check. Run the manufacturer's procedure whenever a trigger applies: a failed exchange, a dragged nozzle, or a head that looks off.
Test-print check. Watch the first layer and the first few exchanges park smoothly, lock in, and start extruding with a clean nozzle.
Pro Tip: Treat this as a condition-based routine, not a clock-based schedule. How often you run it depends on your usage, material, and environment. No fixed hour count applies, and none is published.
How to Clean a Tool-Changing 3D Printer Safely
Learning how to clean a tool-changing 3D printer safely starts with the same three prerequisites as any maintenance task: follow the manufacturer's instructions for powering down and cooling the printer before reaching into the toolhead or docking area, and read the guidance for your specific model first. From there, the routine is mostly mechanical rather than chemical.
Remove loose filament fragments and dust from the docking bay and the contact surfaces where toolheads seat. Hardened residue on parked nozzle tips should be cleared so it does not transfer onto the next toolhead or interfere with seating. For anything beyond dry debris, follow the cleaning guidance published by your printer and filament manufacturers rather than reaching for a generic solvent, because the correct agent depends on the residue and the materials it touches. Sovol's M1D material compatibility guide covers which materials the machine is set up to run and is the right starting point before you clean up after a new filament.
One cleaning-adjacent setting is worth checking while you are already in the menu. A cold standby toolhead is a maintenance-relevant configuration, not a hardware fault: check whether preheating is enabled for standby toolheads in your slicer or firmware settings, since a cold toolhead will either make the printer wait or throw a temperature error. Depending on the machine, a small wipe or prime may still be needed at transitions even with dedicated toolheads.
⚠️ Warning: Never force a toolhead into position, and never apply a solvent, lubricant, or cleaning chemical that your printer manufacturer has not specified. Forcing a head can damage the locking mechanism, and an unapproved chemical can attack the very surfaces you are trying to protect.
How to Check Toolhead Seating, Recalibrate, and Read the Slicer Preview
Start with seating, because it answers the hardware-or-settings question fastest. Inspect the docking mechanism for debris or wear and confirm the toolhead is seated correctly, then look for incomplete engagement, a visible gap, unusual movement, or a failed tool change. The locking and docking mechanism varies by printer, so follow your manufacturer's instructions. If one toolhead consistently prints worse, Sovol's guidance is to tune its flow rate, retraction, and print speed individually rather than assume a hardware fault.
|
Recalibration trigger |
What to do |
|---|---|
|
Toolhead installed or changed |
Consider running the manufacturer's calibration procedure, especially if nozzle height, alignment, or first-layer quality looks different |
|
Printer moved or collided |
Recheck offsets before the next print |
|
Failed tool change |
Verify seating, then recalibrate |
|
Inconsistent first layers or nozzle alignment |
Run multi-toolhead offset calibration |
|
Toolheads not meeting the same surface height |
Calibrate and test each toolhead individually |
The exact calibration sequence varies by printer. Follow the procedure provided for your model rather than copying menu paths or mechanical checks from another machine. As a general principle, run the multi-toolhead offset calibration first, then calibrate and test each toolhead individually if uneven first layers persist.
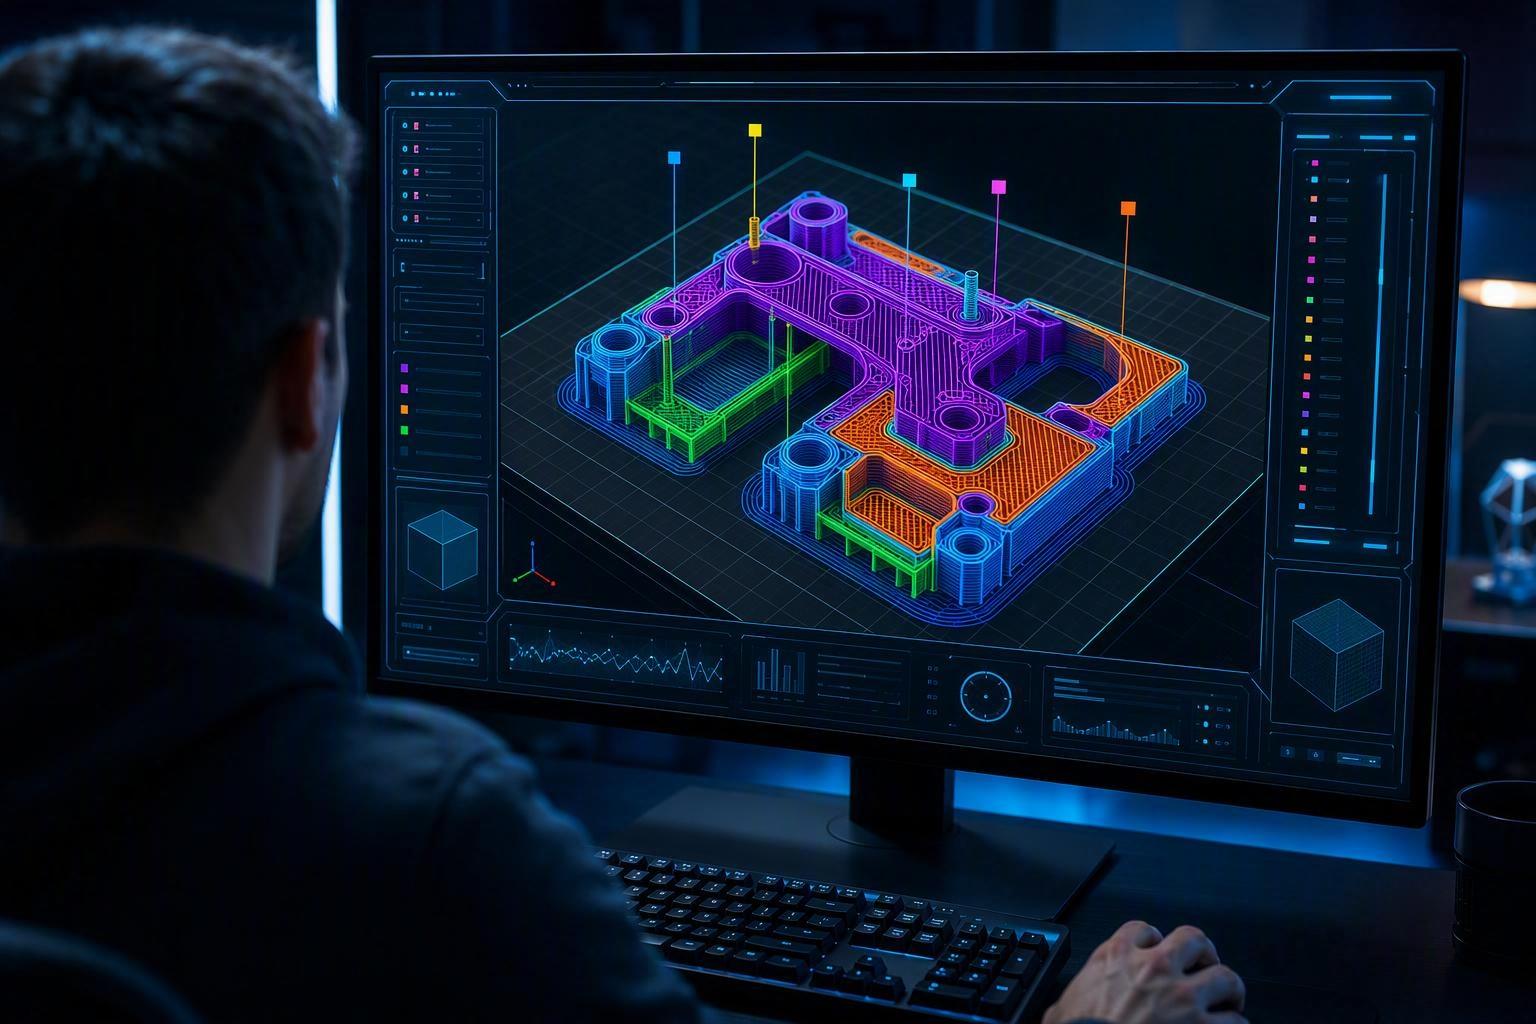
Then confirm the slicer agrees with the hardware. Check that each material is assigned to the intended toolhead, that the selected tool-changing profile matches your printer, and that tool-change movements and support-material assignments look right. The preview should show no unexpected toolhead changes. Reading travel moves and oozing is a separate skill covered in how to read a slicer preview; that guide does not cover toolhead assignment, so verify that part in your slicer's tool settings.
Maintenance Workflow, Troubleshooting, and When to Stop
Run the same seven-step sequence every time, and this M1D maintenance guide becomes a routine rather than a repair session: inspect the printer before any long or multi-material job, clean visible residue and debris, check the toolhead and filament path, run the manufacturer's calibration procedure when a trigger applies, print a small test object, then watch the first layer and the first tool change. Log any recurring symptom with the date and the job it appeared on.
Sovol's M1D first-print setup guide describes what a healthy sequence looks like: bed leveling and toolhead calibration complete without errors, and the first few exchanges park smoothly, lock in, and start extruding with a clean nozzle. Stop the job if a head looks off or a nozzle drags.
For toolhead changing troubleshooting and other common 3D printer toolhead problems, work through the checks below before assuming a hardware fault.
|
Issue |
Possible Causes |
Safe Checks |
|---|---|---|
|
Toolhead does not lock or dock correctly |
Debris in the parking bay; cable or tube catching during travel |
Power down and inspect the bay for residue; confirm cables and tubes clear the full travel range |
|
Tool change fails or pauses |
Calibration drift; filament path restriction; toolhead not fully seated |
Re-run the manufacturer's calibration procedure; check the filament path for binding |
|
First layers from different toolheads look uneven |
Per-toolhead flow differences; bed leveling drift |
Compare a small test print from each head; re-run bed leveling and calibration |
|
Nozzle alignment appears incorrect |
Offset drift after a move or a swap |
Run the documented alignment or vision calibration procedure; re-check with a test print |
|
Filament does not load or unload smoothly |
Partial clog; incorrect tension; kinked filament |
Inspect the nozzle and filament path; check extruder tension against the manufacturer's setting |
|
Material appears on the wrong toolhead |
Incorrect tool assignment in the slicer |
Review the slicer preview and confirm each material is mapped to the intended toolhead |
|
Nozzle drags across the model |
Z-offset too low; warped or lifted print |
Stop the print, re-check the first layer, and re-run leveling |
|
Print quality changes after repeated tool changes |
Accumulated debris; loosened seating; per-head settings not tuned |
Clean the toolheads and dock; check seating; tune the affected head individually |
Where one toolhead consistently prints worse, a practical next step is to tune its flow rate, retraction, and print speed individually rather than assuming a hardware fault.
Stop and contact technical support for collisions, damaged connectors, electrical issues, repeated failed tool changes, unusual motor noise, or any problem that continues after the documented calibration and cleaning procedures.
Frequently Asked Questions
How often should a tool-changing 3D printer be maintained?
There is no fixed interval that fits every machine. Treat IDEX printer maintenance as condition-based: inspect when print quality shifts, after a material change, after moving the printer, or once a toolhead has run a large number of hours. Usage intensity, filament type, and dust in the room all move the schedule earlier or later.
Why does a toolhead fail to dock?
Docking problems can come from debris in the parking bay, toolhead seating, cable routing, calibration, or mechanical wear. An obstruction in the bay, or a cable or filament tube catching in the toolhead's path, will stop a clean seat just as readily as a worn mechanism. Clear the bay and check the cable routing before adjusting anything else.
Why are first layers from two toolheads different?
Different toolheads can require different alignment, height, or flow adjustments. If one toolhead prints differently from another, check seating and follow the printer's calibration procedure before changing slicer settings.
Do I need to recalibrate after changing a toolhead?
A toolhead change may require recalibration, depending on the printer and its documentation. For the M1D, follow the recommended calibration procedure after installing or replacing a toolhead, especially if the nozzle height or alignment changes.
Can I lubricate the tool-changing mechanism myself?
Only if the manufacturer's instructions name the lubricant and the points to apply it. No verified lubricant recommendation exists for this mechanism, so anything beyond the official guidance risks attracting dust or damaging the dock. Check Sovol's documentation for your M1D maintenance guide before applying anything.
Conclusion
Tool-changing 3D printer maintenance comes down to four habits you can repeat: inspect the toolheads and dock before a job, keep the mating surfaces clean, recalibrate when a real trigger applies, and troubleshoot one variable at a time instead of changing several settings at once. None of these steps guarantees a flawless print, and that is not the point. The goal is a routine consistent enough that you notice a problem while it is still small, and predictable enough that you stop guessing which change fixed it.
One caution applies throughout: the exact locking, docking, and calibration details differ between machines, so your manufacturer's documentation stays the source of truth for your model. Where this guide describes a general principle, treat it as a starting point and confirm the specifics against your own printer's manual.
If you want one next step, run the pre-job checklist before your next multi-material print. Then confirm your machine is seated and calibrated using the M1D first print setup guide before you start.